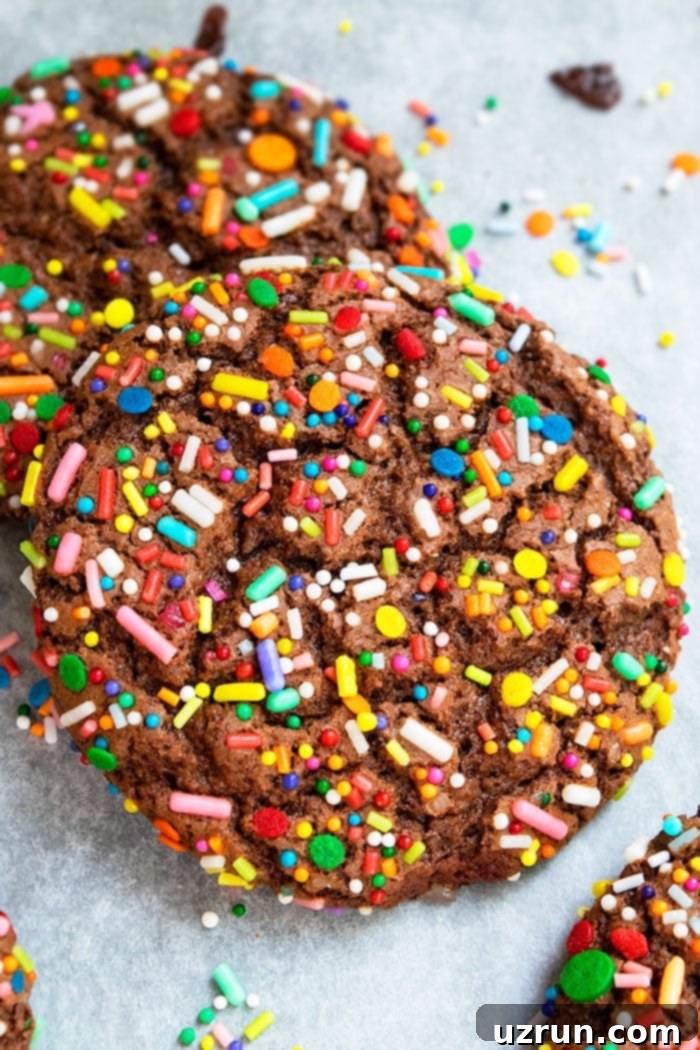
Easy & Festive Rainbow Sprinkle Cookies from Cake Mix: The Ultimate Birthday Treat
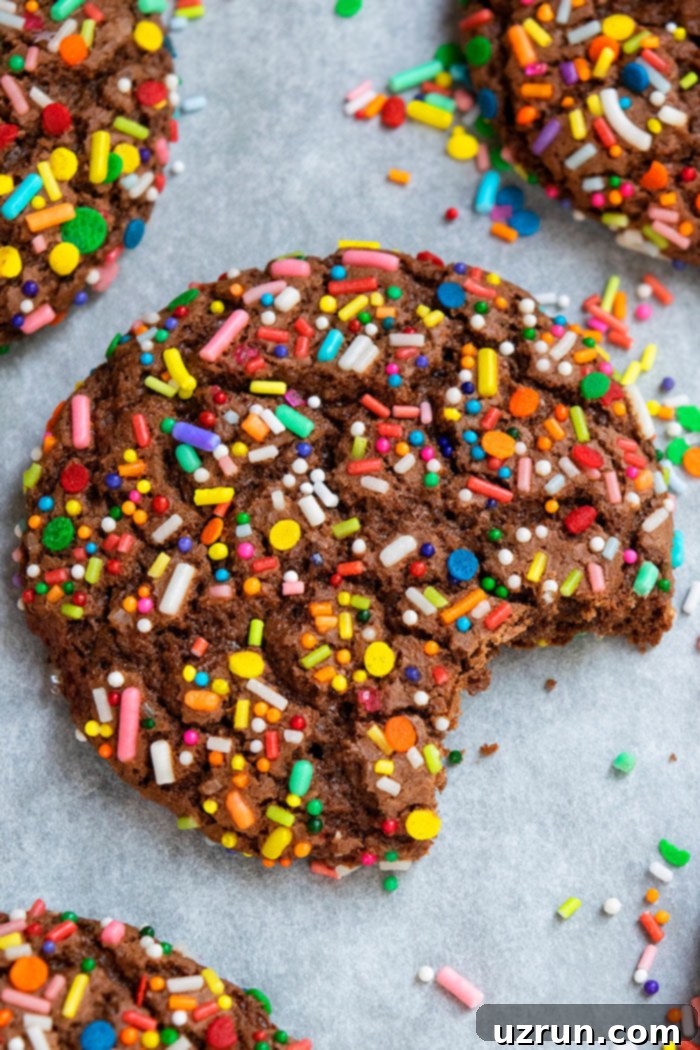
Get ready to bake the most delightful and effortlessly vibrant cookies you’ve ever tasted! These **soft, chewy, quick, and easy rainbow sprinkle cookies** (often called birthday cookies) are homemade with simple ingredients and come together in just 20 minutes. The secret to their incredible texture and speed? They start off with a chocolate cake mix, making them a baking sensation even for beginners!
These cookies are not just delicious; they’re a visual feast. Fun, colorful, and incredibly festive, they are an absolute hit for kids’ parties, celebrations, or simply to brighten up any day. You’ll love their perfect balance: wonderfully soft and chewy on the inside, with a satisfyingly crispy and crunchy edge and that charming crackled appearance. They’re just as popular as our Birthday Cupcakes (Pinata Cupcakes) with family and friends, guaranteeing smiles all around.
Why These Cake Mix Sprinkle Cookies Are a Must-Try!
Using a cake mix as the base for cookies is a game-changer. It simplifies the baking process significantly, cutting down on measuring multiple dry ingredients and ensuring a consistently delicious outcome every time. This recipe delivers a cookie that’s:
- **Incredibly Soft & Chewy:** Thanks to the cake mix and specific ingredient ratios.
- **Quick & Easy:** Perfect for last-minute treats or busy schedules.
- **Bursting with Color:** Rainbow sprinkles add a joyful touch.
- **Versatile:** Easily adaptable for different flavors and occasions.
- **Kid-Friendly:** Both to make (with supervision) and to eat!
More Rainbow Sprinkles Birthday Desserts
If you’re as obsessed with sprinkles and vibrant treats as we are, you’ll love exploring these other festive dessert ideas. They’re perfect for rounding out a birthday party spread or just adding a splash of color to your day:
- Rainbow Sprinkles Cake
- Rainbow Cereal Balls
- Rainbow Fruit Loops Marshmallow Bars
- Easy Rainbow Cake
- Rainbow Cookies
- Rainbow Cupcakes
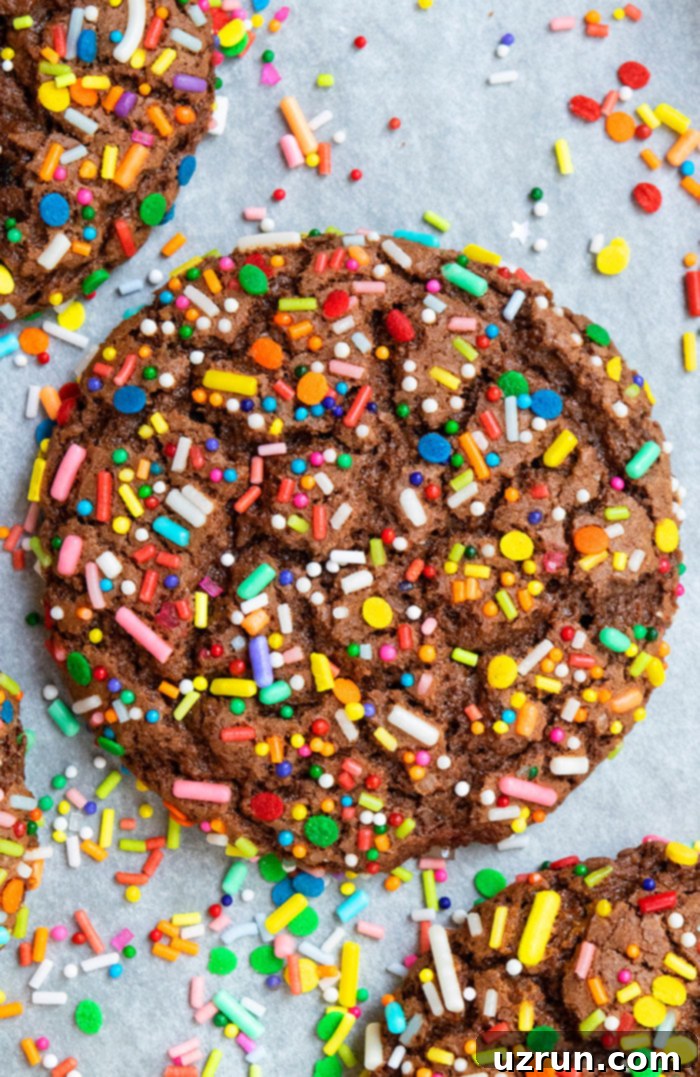
How to Make Easy Rainbow Sprinkle Cookies (Birthday Cookies): A Step-by-Step Guide
Creating these delightful birthday cookies is surprisingly simple. Just follow these easy steps for perfectly soft, chewy, and festive treats every time. No fancy equipment or advanced baking skills required!
- Prepare the Cookie Dough: In a large mixing bowl, combine your eggs and oil until smooth and well integrated. Then, gradually add the chocolate cake mix, stirring until just combined. Be careful not to overmix! The dough will be sticky, which is exactly what you want for those sprinkles to adhere properly.
- Chill the Dough: This crucial step makes the dough much easier to handle and prevents the cookies from spreading too much during baking, ensuring a perfectly rounded shape. Cover the bowl and chill in the refrigerator for at least 20-30 minutes. Don’t skip this step for best results!
- Form Cookie Balls: Once chilled, scoop out small, even portions of the dough. You can use a cookie scoop for uniformity or simply roll them by hand into smooth, bite-sized balls. Consistency in size ensures even baking.
- Roll in Sprinkles: Pour your vibrant rainbow sprinkles into a shallow bowl. Gently roll each cookie dough ball in the sprinkles until it’s completely coated on all sides. The sticky dough will act as the perfect adhesive, ensuring a generous and colorful sprinkle coverage.
- Bake to Perfection: Arrange the sprinkle-coated dough balls on a baking sheet lined with parchment paper, leaving enough space between them for slight expansion. Bake in a preheated oven until the edges are lightly golden and firm, but the centers remain slightly soft and chewy. This ensures that coveted soft-on-the-inside, crispy-on-the-outside texture.
- Cool & Enjoy: Allow the cookies to cool on the baking sheet for a few minutes before transferring them to a wire rack to cool completely. This helps them set and prevents them from breaking. Once cool, it’s time to dig in and enjoy your homemade sprinkle masterpieces!
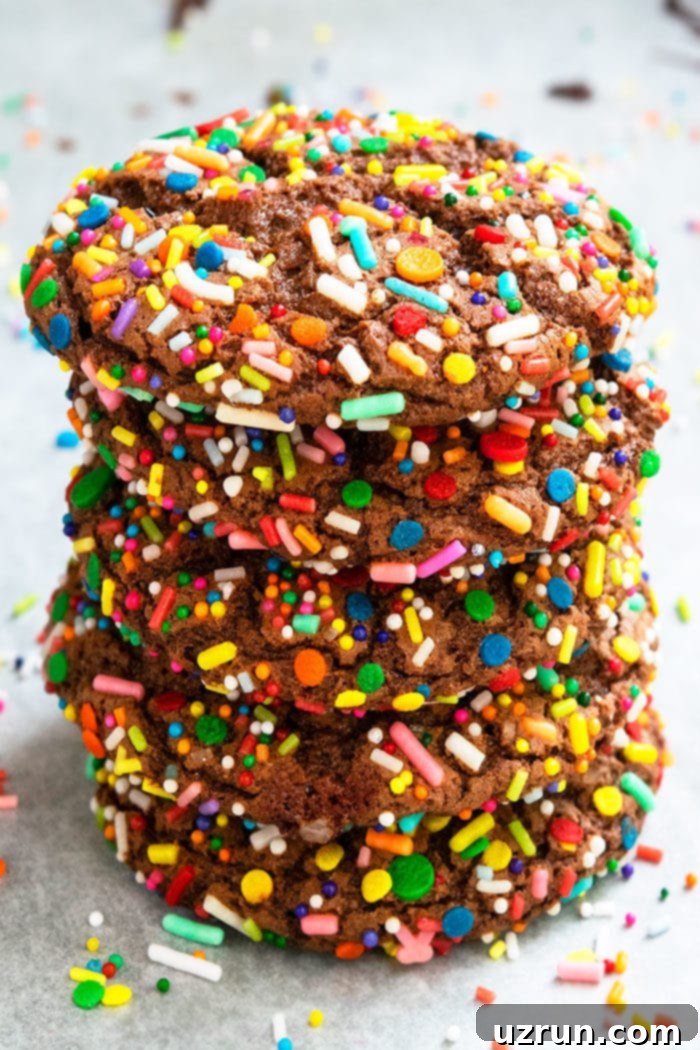
How Do You Put Sprinkles on Cookies? Before or After Baking?
For these particular sprinkle cookies, I highly recommend adding the sprinkles before baking. This method ensures that the sprinkles firmly adhere to the sticky cookie dough and bake right into the surface, creating a beautiful, vibrant crust that won’t easily fall off. Simply roll your chilled cookie dough balls in a generous amount of sprinkles until they are fully coated, then place them on your baking sheet.
However, if you’re looking for a different aesthetic or working with a less sticky dough, there’s another fantastic option: adding sprinkles after baking. Once your cookies have completely cooled, you can dip them in melted chocolate (white, dark, or milk chocolate all work wonderfully) or a simple glaze, then immediately toss or sprinkle your colorful nonpareils or jimmies on top. This creates a striking contrast and can be just as fun! For an example, check out how I incorporated a similar technique with these Chocolate Cake Mix Cookies.
What Happens if You Bake Sprinkles?
When you bake sprinkles, they generally hold their shape and color, becoming a delightful part of the cookie’s texture and appearance. The key to successful baked-in sprinkles is using a sufficiently sticky cookie dough, like the one in this recipe. This allows the sprinkles to embed themselves properly before the cookie sets.
Some bakers worry that sprinkles might fall off during baking, and this can indeed happen if the dough isn’t sticky enough or if the sprinkles are just lightly pressed onto the surface. Our cake mix cookie dough is perfectly formulated to prevent this, ensuring your sprinkles stay put and vibrant. Different types of sprinkles can also react slightly differently:
- **Jimmies (rod-shaped sprinkles):** Tend to hold their shape and color well.
- **Nonpareils (tiny round balls):** Can sometimes bleed color slightly if the dough is very wet, but generally maintain their integrity.
- **Confetti sprinkles (flat shapes):** Also tend to hold up well and add a fun, flat design.
Can You Freeze Cookies with Sprinkles?
While freezing baked cookies is often a great way to extend their shelf life, it’s generally **not recommended for cookies with sprinkles**. The moisture content during the thawing process can cause the vibrant colors of the sprinkles to bleed and become watery or messy, significantly diminishing their visual appeal. The texture of the sprinkles can also become unpleasant after freezing and thawing.
For optimal freshness and appearance, it’s best to keep these baked sprinkle cookies at room temperature. Store them in an airtight cookie jar or container, and they will remain wonderfully soft and chewy for up to 3 days. If you anticipate needing cookies for a longer period, consider baking them without sprinkles and adding them fresh after baking if using a glaze or chocolate coating, or simply make a fresh batch – they’re quick enough!
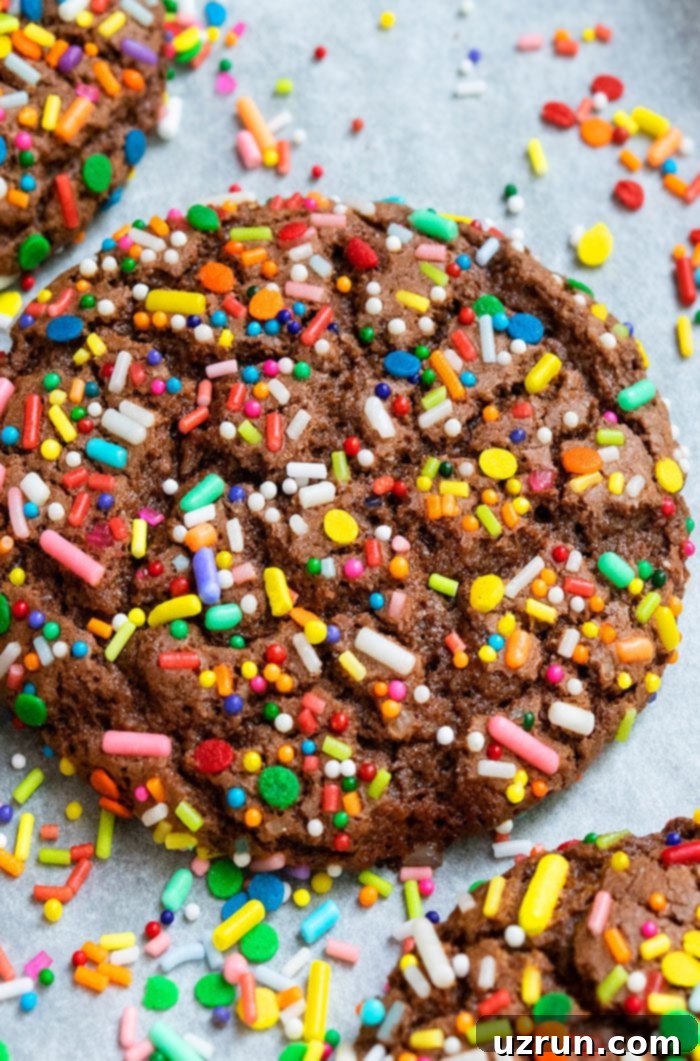
Delicious Variations to Customize Your Sprinkle Cookies
One of the best things about this easy cake mix cookie recipe is its incredible versatility. Feel free to get creative and customize your sprinkle cookies to match any holiday, theme, or personal preference!
- Christmas Sprinkle Cookies: Transform these into festive holiday treats by using a Christmas-themed sprinkle blend or a classic combination of red and green sprinkles. They’ll be a jolly addition to your holiday dessert platters.
- Italian Sprinkle Cookies: While traditionally different (often vanilla-based with a vanilla glaze), you can take inspiration by flavoring your cake mix cookies with almond extract and topping them with a simple glaze and sprinkles for a similar spirit.
- Sugar Cookies with Sprinkles: If you prefer a classic sugar cookie base, you can adapt this idea. Make a batch of my Easy Soft and Chewy Sugar Cookies or these Cut Out Sugar Cookies, and simply mix sprinkles directly into the dough before chilling and baking. This creates a “funfetti” style sugar cookie that’s always a crowd-pleaser.
- Add Chocolate Chips: For an extra layer of chocolatey goodness, mix in ⅓ cup of mini chocolate chips (or regular-sized chips) into the cookie dough. This turns them into delightful double chocolate chip cookies, with sprinkles adding a fun pop of color and texture.
- Make Stuffed Cookies: Elevate your cookies by stuffing them! Press a peanut butter cup, Rolo candy, or your favorite mini candy bar into the center of each dough ball before rolling it in sprinkles. The melted candy inside creates a gooey, delicious surprise.
- Roll in Sugar: If sprinkles aren’t your thing, or if you want a simpler, elegant look, roll the cookie balls in granulated sugar or powdered sugar before baking. This creates a sparkling, sweet exterior.
- Make Cookie Sandwiches: Turn these individual cookies into epic desserts by pairing two together with a delicious filling. American Buttercream Frosting (recipe here), rich Cream Cheese Frosting, or even a vibrant rainbow frosting would be perfect.
- Dip in Melted Chocolate: Once the cookies have cooled completely, dip them halfway into melted chocolate (white, dark, or milk chocolate) for an extra touch of decadence. You can even add more sprinkles to the wet chocolate for double the sprinkle fun!
Essential Tips and Techniques for Perfect Sprinkle Cookies
Achieving bakery-quality sprinkle cookies at home is easier than you think, especially with a few expert tips. Follow these guidelines to ensure your cookies turn out perfectly soft, chewy, and beautifully sprinkled every time.
- Chill Cookie Dough is Non-Negotiable: I cannot stress this enough – chilling the cookie dough for 20-30 minutes is a critical step. It not only makes the dough less sticky and much easier to handle, but it also significantly helps prevent the cookies from spreading excessively while baking. This results in thicker, chewier cookies with a better shape. Do not skip this step!
- Oil vs. Butter – Why Oil Here: While I’m a huge advocate for butter in most baking, this specific recipe performs best with oil. Replacing oil with butter here would yield very dense and possibly dry cookies, losing the desired soft and chewy texture. Oil contributes to the moistness and tenderness that makes these cake mix cookies so delightful.
- Roll in Sprinkles Properly: Don’t be shy with your sprinkles! Make sure each cookie dough ball is generously rolled and fully coated. Press the dough lightly into the sprinkles to ensure they adhere well before baking. This guarantees a vibrant, festive look on every cookie.
- Don’t Over-mix the Cookie Dough: Over-mixing develops the gluten in the flour (from the cake mix) too much, which can lead to tough, hard cookies. Mix only until the ingredients are just combined. A few small lumps are perfectly fine and often preferred, as they contribute to a tender crumb.
- All Ingredients Must Be at Room Temperature: This applies primarily to the eggs. Room temperature eggs (and oil, if it was refrigerated) emulsify better with the other ingredients, creating a smoother, more uniform dough. This leads to a more consistent texture in your baked cookies.
- Choosing the Right Cake Mix Flavor: For these delicious chocolate sprinkle cookies, a standard chocolate cake mix or Devil’s food cake mix is the best choice, enhancing the rich flavor. However, don’t limit yourself! A yellow cake mix can be used to create classic funfetti cookies, while a white cake mix can be adapted for a lighter vanilla base. Experiment with different flavors to find your favorite!
Storage Solutions for Your Sprinkle Cookies
Proper storage ensures your rainbow sprinkle cookies remain fresh and delicious for as long as possible. Remember, because of the sprinkles, some storage methods are better than others.
- Room Temperature: The best way to store these cookies is in an airtight cookie jar or container at room temperature. They will stay wonderfully soft, chewy, and vibrant for up to 3 days. Ensure the container is truly airtight to prevent them from drying out.
- Refrigerate: While technically possible, refrigerating these cookies is generally not recommended. The moisture in the refrigerator can cause the colors of the sprinkles to bleed, making them look less appealing. If you must refrigerate, ensure they are in a very well-sealed container and be aware that the sprinkles may fade or run. Consume within 5 days if refrigerated.
- Freezing (Not Recommended): As mentioned earlier, freezing is not ideal for sprinkle cookies due to color bleeding and texture changes upon thawing. It’s best to enjoy these fresh or within a few days of baking.
More Memorable Birthday Party Ideas
Planning a birthday celebration? Beyond delicious cookies, here are some fun and unique party ideas to inspire your next gathering, complete with themed treats and activities:
- Caterpillar Cake and Birthday Party
- Indoor Camping Party
- Backyard Kids Summer Party
- Teddy Bear Cake and Party
Recipe
Sprinkle Cookies (Birthday Cookies)
Abeer Rizvi
Pin Recipe
Want to Save This Recipe?
Enter your email & I’ll send it to your inbox. Plus, get great new recipes from me every week!
By submitting this form, you consent to receive emails from CakeWhiz
Ingredients
- 2 Eggs Large
- ⅓ cup Oil
- 1 box Chocolate cake mix
- ½ cup Rainbow sprinkles For rolling cookie dough balls
Instructions
-
In a mixing bowl, add eggs and oil and mix until smooth.
-
Add chocolate cake mix and mix until combined.
-
Cover bowl and chill cookie dough in the fridge for 20 minutes to make it easier to handle.
-
Scoop out small portions of the dough and make little balls.
-
Roll them in a bowl of sprinkles until cookie balls are fully coated.
-
Place them on a cookie tray, lined with parchment paper.
-
Bake at 350 degrees for 10-12 minutes or until the edges are firm but center is slightly soft.
-
Allow the cookies to cool down and enjoy!
Notes
- Read all my tips above.
- Leftovers can be stored in a cookie jar at room temperature for up to 3 days.
Nutrition
An automated tool is used to calculate the nutritional information. As such, I cannot guarantee the accuracy of the nutritional information provided for any recipe on this site.
Bake a Batch of Joy Today!
These rainbow sprinkle cookies are more than just a dessert; they’re a burst of joy, a celebration in every bite. Whether you’re whipping them up for a special birthday, a spontaneous get-together, or simply to bring a little extra sweetness into your day, their vibrant colors and irresistible soft-chewy texture are guaranteed to delight. With the ease of a cake mix and simple steps, you’ll be enjoying these homemade treats in no time. So gather your ingredients, grab those sprinkles, and let’s bake some happiness!
