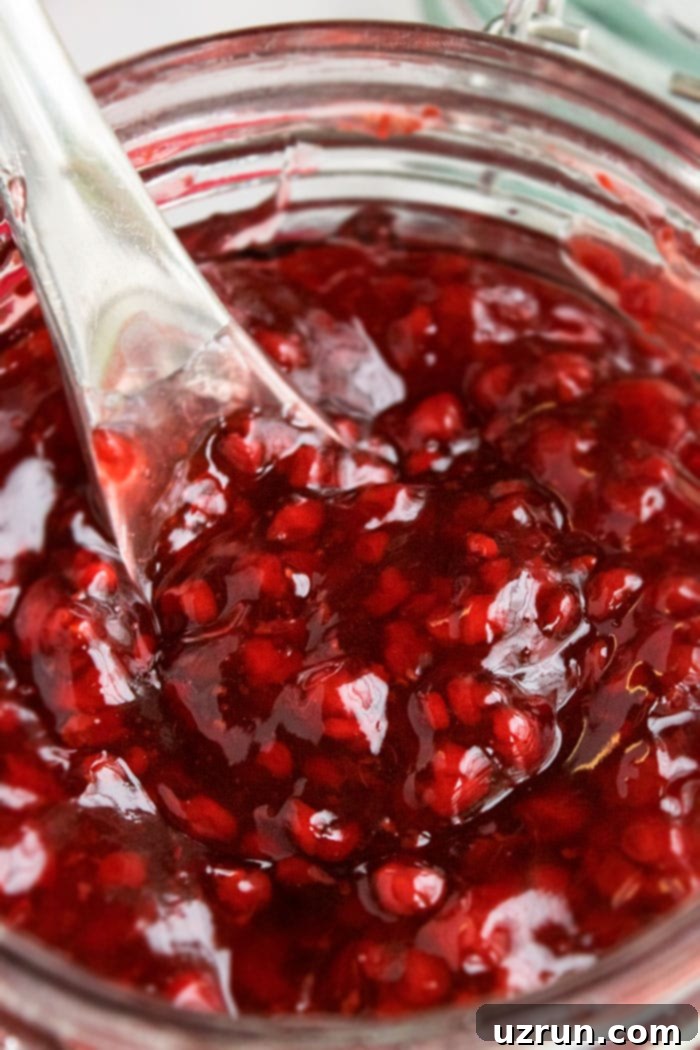
Homemade Raspberry Pie Filling: The Ultimate Guide to Fresh & Flavorful Desserts
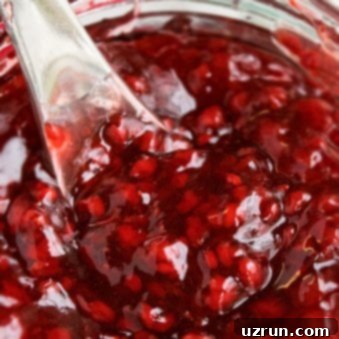
There’s nothing quite like the vibrant, sweet-tart taste of fresh raspberries, especially when perfectly captured in a luscious pie filling. Forget about bland, overly sweet, and artificial-tasting canned options; making your own raspberry pie filling from scratch is incredibly simple, requires minimal, wholesome ingredients, and delivers an unparalleled burst of natural, juicy flavor. Whether you’re working with a bounty of summer’s fresh harvest or utilizing the convenience of frozen berries from your freezer, this versatile recipe is your ticket to elevating a wide array of desserts, from classic pies and tarts to delicious cake and cupcake fillings, and even delightful breakfast toppings.
I am absolutely thrilled to finally add this essential recipe to my growing collection of homemade pie fillings. The difference in taste and freshness compared to any store-bought alternative is truly remarkable – once you experience it, you’ll understand why homemade is always the superior choice. This recipe yields a beautifully thick, glossy, and intensely fruity filling that will become a staple in your kitchen. If you’re eager to explore more fruity delights for your baking adventures, be sure to check out our other fantastic pie filling recipes:
- Peach Pie Filling
- Homemade Apple Pie Filling
- Strawberry Pie Filling
- Blueberry Pie Filling
- Cherry Pie Filling
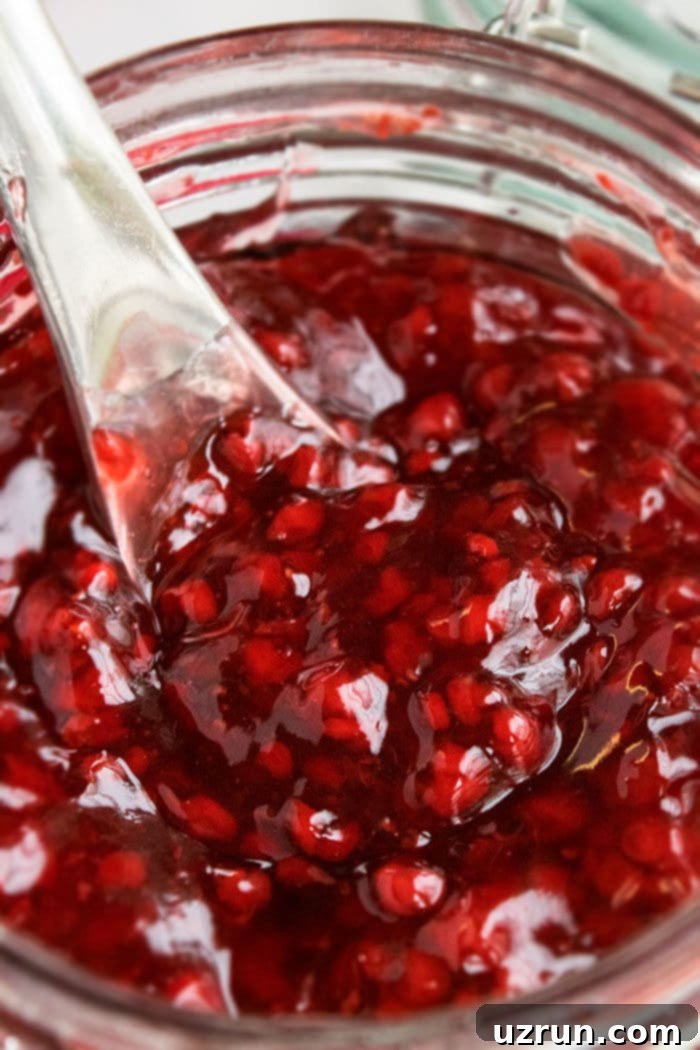
How to Make Raspberry Pie Filling with Fresh or Frozen Raspberries
Creating a truly magnificent raspberry pie filling doesn’t require culinary mastery. With just a few simple steps and the right technique, you can achieve a thick, glossy, and intensely flavorful filling that will be the star of any dessert. Here’s a detailed guide to making it:
- Prepare the Thickening Base: In a generously sized nonstick saucepan, combine the Clear Jel, granulated sugar, and water. Whisk these ingredients together thoroughly until no lumps remain and the Clear Jel is fully incorporated into the liquid. This initial step is crucial for preventing a lumpy or unevenly thickened filling.
- Cook and Thicken the Mixture: Place the saucepan over medium heat. Cook the mixture, stirring constantly with a whisk. As it heats up, you’ll notice the sugar dissolving. Continue stirring until the liquid begins to transform from a milky white color to a clear, glossy, and syrupy consistency. It will thicken considerably as it cooks. Ensure it reaches a full boil and maintains this boil for at least one minute to fully activate the Clear Jel. This process typically takes about 5-8 minutes, but pay attention to the visual cues rather than strict timing.
- Add a Splash of Lemon Juice: Once the mixture has reached its optimal thickness and clarity, immediately remove the saucepan from the heat. Stir in the fresh lemon juice, mixing it thoroughly to combine. Lemon juice is a key ingredient here; it not only brightens the natural flavor of the raspberries, enhancing their characteristic tang, but also balances the sweetness of the sugar and acts as a natural preservative.
- Gently Fold in the Raspberries: Add your fresh or frozen raspberries to the warm filling mixture. Gently fold them in using a spatula or spoon. It’s important to stir minimally to avoid breaking down the delicate berries too much. The residual heat from the filling will be sufficient to warm the berries and allow them to release their juices, integrating beautifully without turning the filling into a pulpy mash.
- Cool Completely for Best Results: Allow the homemade raspberry pie filling to cool down completely to room temperature before using it in your pie crusts or other desserts. As the filling cools, it will continue to thicken and set, achieving that ideal spreadable and stable consistency perfect for baking into a pie or using as a layering component. Patience during this cooling phase is a virtue!
Expert Tips for the Best Raspberry Pie Filling from Scratch
Achieving a professional-quality raspberry pie filling at home is easier than you think, especially when you know a few insider tricks. These expert tips will ensure your filling is perfectly textured, bursting with flavor, and versatile for all your baking needs.
- The Essential Role of Clear Jel: For a truly superior pie filling that maintains clarity, stability, and a perfect texture, Clear Jel is an absolute must-use ingredient. It’s a modified food starch that excels in fruit fillings, preventing them from becoming cloudy or watery. Unlike cornstarch, which can break down over time, especially during canning or freezing, Clear Jel provides a beautifully clear, glossy, and consistent texture that holds up wonderfully, even after baking and cooling. It gives the filling a smooth, delightful mouthfeel without any starchy residue.
- Fresh or Frozen Raspberries – Equally Delicious: This recipe is incredibly adaptable, allowing you to use either fresh or frozen raspberries interchangeably, depending on availability and your preference. If you’re using frozen raspberries, there’s absolutely no need to thaw them beforehand; simply add them directly to the warm filling mixture in the final step. This flexibility means you can enjoy homemade raspberry goodness year-round! For an exciting and classic twist, consider incorporating some finely chopped rhubarb (about ½ cup) along with your raspberries for a delightful raspberry-rhubarb combination.
- Opt for a Nonstick Saucepan: To prevent your filling from sticking, scorching, or developing an uneven texture at the bottom, a good quality nonstick saucepan is highly recommended. The continuous stirring required during the thickening process is much easier and more effective with a pan that minimizes friction, ensuring an even cook and consistent texture.
- Consider Canning for Extended Preservation: If you’re looking to preserve your delicious homemade raspberry pie filling for extended periods, it can easily be canned using proper water bath canning methods. Always refer to a reliable, up-to-date canning guide (like those from the National Center for Home Food Preservation) for specific sterilization procedures and processing times to ensure food safety. Canning allows you to seal in the peak flavor of summer raspberries, making them available even in the depths of winter.
- Stick to Granulated Sugar for Brightness: While brown sugar might seem like an appealing alternative for added depth of flavor, it’s best to stick with granulated sugar for this particular raspberry pie filling recipe. Brown sugar can impart an undesirable “weird tinge” or a slightly muddy color to your vibrant red raspberry filling, affecting its appealing aesthetic. Granulated sugar, on the other hand, ensures the color remains bright and the flavor profile is clean and purely fruit-forward.
- Versatile Crust Pairings: This incredible raspberry pie filling is wonderfully versatile and pairs perfectly with a variety of crusts, allowing you to customize your dessert experience. Feel free to use your favorite store-bought pastry for convenience or a cherished homemade pie crust recipe for that extra touch of love. For those who love no-bake options or unique flavor combinations, this filling is also absolutely divine in a Graham Cracker Crust (No Bake) or even a decadent Oreo Pie Crust (No Bake). The choice is yours, and each offers a distinct delightful experience.
- Avoid Over-Mixing Raspberries: Once you add the fresh or frozen raspberries to the cooked filling, stir them in gently and minimally. Raspberries are delicate, and over-mixing can cause them to break down too much, resulting in a pulpy texture rather than distinct, appealing pieces of fruit, which are highly desirable in a pie filling.
- Crucial Cooling Time: Patience during the cooling phase is paramount for the success of your pie. The filling needs to cool completely to achieve its final, perfect thick consistency. Rushing this step and using warm filling can lead to a soggy pie crust, an unset filling that runs out when sliced, or difficulty assembling your dessert. Always allow ample time for thorough cooling.
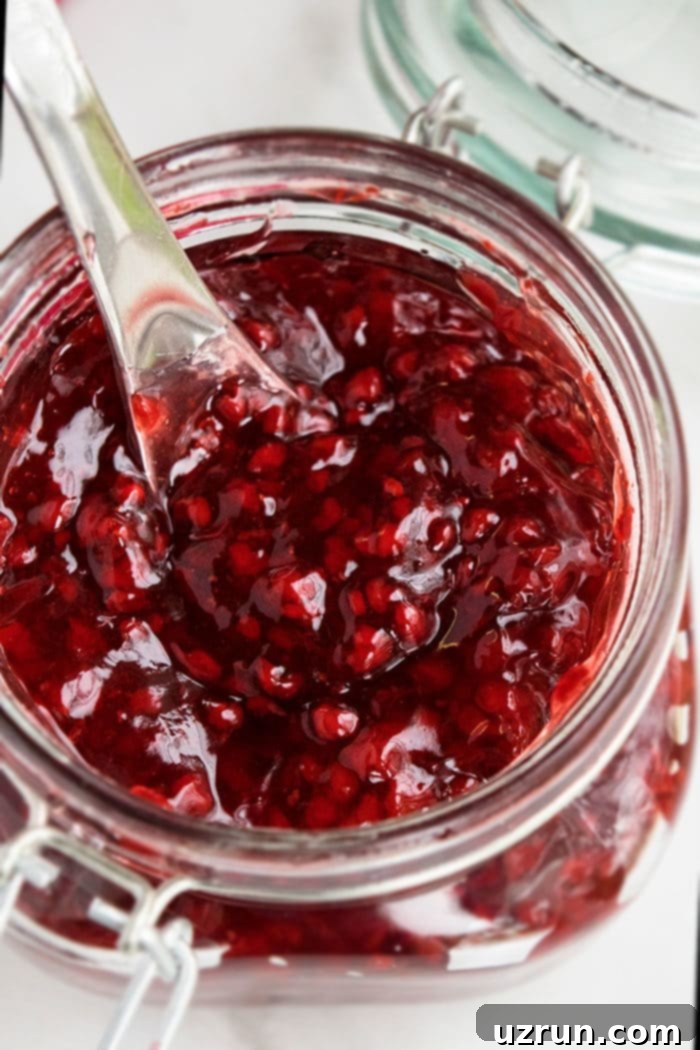
Frequently Asked Questions About Raspberry Pie Filling
How long do you bake a raspberry pie?
Once your pie is assembled with this delicious homemade raspberry filling and topped with a second crust, bake it in a preheated oven at 375 degrees Fahrenheit (190 degrees Celsius) for approximately 20-25 minutes. You’ll know it’s perfectly baked when the pie crust is beautifully golden brown, and the filling is visibly bubbling around the edges of the vents. Remember, the filling is already cooked, so you’re primarily baking the crust and ensuring the pie is heated through. It’s crucial to allow the baked pie to cool completely on a wire rack before slicing and serving to ensure the filling sets properly and prevents a runny mess.
How do you make black raspberry pie filling?
The beauty and versatility of this recipe lie in its adaptability! The very same instructions and ingredient ratios apply perfectly to both red and black raspberries. You can effortlessly substitute one variety for the other without any modifications. For an even more complex and intriguing flavor profile, consider using a delightful combination of both red and black raspberries. The subtle differences in sweetness and tartness between the two varieties will create a truly unique and memorable pie.
How do you make raspberry rhubarb pie filling?
To transform this recipe into a delectable raspberry rhubarb pie filling, you’ll simply need to adjust the fruit proportions slightly. Reduce the amount of raspberries to 3 cups and incorporate ½ cup of finely chopped fresh or frozen rhubarb into the recipe. Add the rhubarb along with the raspberries in the final folding step. The characteristic tartness of the rhubarb beautifully complements the sweetness and juiciness of the raspberries, creating a classic and beloved flavor pairing that’s both refreshing and comforting.
Can I make this raspberry pie filling ahead of time?
Absolutely! This homemade raspberry pie filling is an excellent make-ahead component, perfect for streamlining your baking process. Once prepared and cooled completely, you can store it in an airtight container in the refrigerator for up to 5 days. For longer storage, it can be frozen for up to 3-4 months in a freezer-safe container. Thaw frozen filling in the refrigerator overnight before using. This flexibility makes it ideal for meal prep or for having a delicious dessert component ready at a moment’s notice.
What if my raspberry pie filling is too thick or too thin?
If your filling turns out a bit too thick after cooling, you can gently warm it on the stovetop over low heat and thin it out with a tablespoon or two of water or additional lemon juice until it reaches your desired consistency. Stir constantly while warming to prevent scorching. If your filling is too thin, you can try returning it to the saucepan and cooking it for a few more minutes to evaporate some of the liquid. For a quick fix, mix a small amount of Clear Jel (or cornstarch, though Clear Jel is preferred for clarity) with an equal amount of cold water to create a slurry. Whisk this slurry into the warm filling and cook until it thickens to your desired consistency, stirring constantly. Remember, Clear Jel provides better clarity and stability than cornstarch.
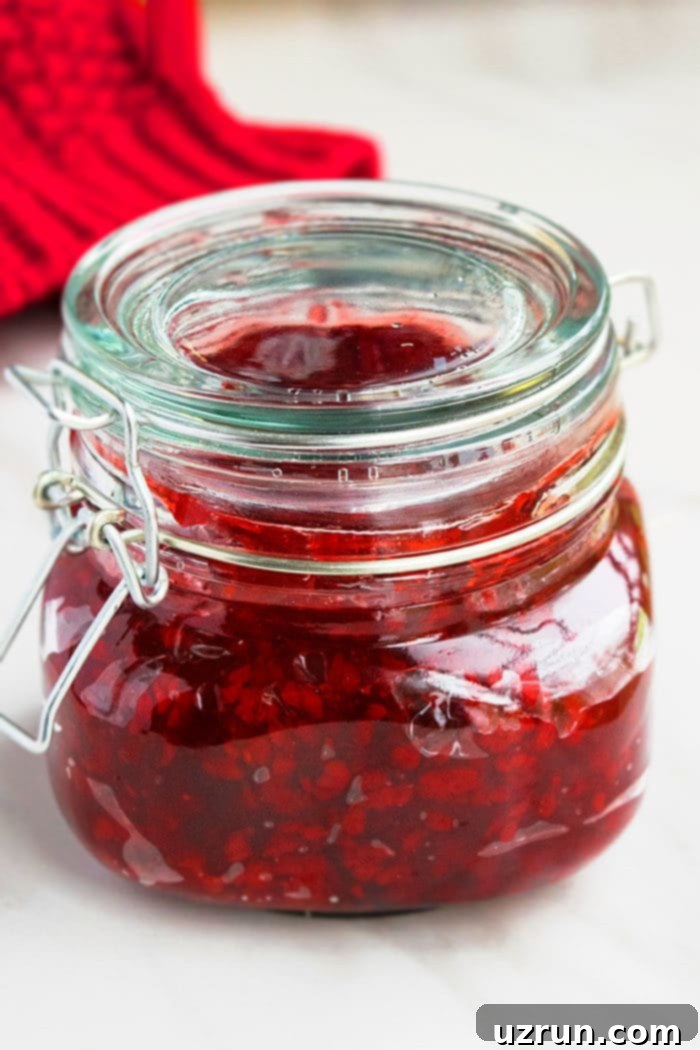
Beyond the Pie: Creative Uses for Your Homemade Raspberry Filling
While this filling is undoubtedly perfect for pies and tarts, its vibrant flavor and delightful texture make it incredibly versatile for a multitude of other culinary applications. Don’t limit yourself to just pies – let your creativity shine and explore these delicious possibilities!
- Luscious Cake Filling: Layer this exquisite filling between cake layers for a show-stopping dessert. Its bright, tart flavor perfectly cuts through the richness of vanilla, chocolate, or lemon cake.
- Delicious Cupcake Filling: Core your freshly baked cupcakes and pipe in a spoonful of raspberry filling for a delightful, fruity surprise in every bite. Top with your favorite frosting!
- Filling for Cobblers and Crisps: Use it as a vibrant base for quick and easy fruit cobblers or crisps. Simply top with your favorite oat or biscuit crumble for a comforting, warm dessert.
- Decadent Waffle Topping: Drizzle warm raspberry filling generously over freshly made waffles for a gourmet breakfast or brunch experience. Pair with a dollop of whipped cream for extra indulgence.
- Elevated Pancake Topping: Transform your morning pancakes from ordinary to extraordinary with a generous dollop of this fruity goodness. It’s far superior to maple syrup for a special treat.
- Elegant Crepe Topping: A simple yet sophisticated addition to delicate crepes, especially when paired with a dollop of whipped cream, crème fraîche, or a dusting of powdered sugar.
- Irresistible Ice Cream Topping: Spoon it warm or cold over vanilla bean ice cream, chocolate ice cream, or your favorite frozen dessert for an instant upgrade and burst of fresh flavor.
- Filling for Pies and Tarts: Of course, its primary and most beloved role! Create stunning double-crust pies, open-faced tarts, lattice-top pies, or elegant individual mini-tarts.
- Yogurt or Oatmeal Mix-in: Stir a spoonful into your morning yogurt or oatmeal for a burst of natural raspberry flavor and healthy sweetness.
- Cheesecake Swirl or Topping: Swirl it into cheesecake batter before baking for a marbled effect, or use it as a vibrant, glossy topping for a baked or no-bake cheesecake.
- Thumbprint Cookie Filler: A small dollop in the center of shortbread or sugar cookies makes for beautiful and tasty thumbprint cookies, perfect for gifting or a tea party.
Other Easy Pie Recipes You’ll Love
If you’ve enjoyed making this homemade raspberry pie filling and are looking for more delicious pie inspiration to expand your baking repertoire, be sure to explore these other easy and delightful pie recipes from our collection:
- Easy Pumpkin Pie Recipe (5 Ingredients)
- Easy Homemade Apple Pie Recipe
- Easy Caramel Apple Pie
- Easy French Silk Pie
Recipe
Raspberry Pie Filling
Abeer Rizvi
Pin Recipe
Want to Save This Recipe?
Enter your email & I’ll send it to your inbox. Plus, get great new recipes from me every week!
By submitting this form, you consent to receive emails from CakeWhiz
Ingredients
- 1 cup Granulated sugar
- ¼ cup Clear Jel (plus an optional 1 tbsp for extra thickness, if desired)
- 1 ⅓ cups Water
- 1 tablespoon Lemon juice
- 3.5 cups Raspberries (fresh or frozen, whole or slightly crushed)
Instructions
-
In a large nonstick saucepan, combine the granulated sugar, Clear Jel, and water. Whisk these ingredients together thoroughly until no lumps remain and the Clear Jel is fully incorporated.
-
Place the saucepan over medium heat and cook, stirring constantly with a whisk. Continue stirring until the sugar and Clear Jel completely dissolve and the mixture becomes smooth.
-
Maintain constant stirring and continue cooking until the mixture begins to thicken significantly and turns from a milky white color to a clear, glossy, and syrupy consistency. This typically takes about 5-8 minutes. Ensure it reaches a thick boil for at least 1 minute to fully activate the Clear Jel.
-
Remove the filling from the heat immediately. Stir in the lemon juice, mixing thoroughly to combine. The lemon juice enhances the raspberry flavor and adds brightness.
-
Gently fold in the fresh or frozen raspberries. Stir minimally to avoid breaking down the delicate berries too much. The residual heat will warm them through without turning them to mush.
-
Allow the filling to cool down completely to room temperature. As it cools, it will continue to thicken to its final, perfect consistency. Once cooled, it’s ready to be used in your favorite pies, tarts, or other desserts. Alternatively, you can proceed with canning or chilling it for later use.
-
To make a pie: Spread one pie crust into a standard 9-inch pie pan. Pour the cooled raspberry filling into the center and gently spread it out evenly. Place a second pie crust over the filling and seal the edges, crimping them decoratively. Make several small cuts or slits on the top crust with a sharp knife to allow steam to vent during baking. Bake in a preheated oven at 375°F (190°C) for 20-25 minutes, or until the pie crust is beautifully golden brown and the filling is bubbling. Let the pie cool completely on a wire rack before slicing and serving. This allows the filling to fully set, ensuring clean, perfect slices.
Notes
- For comprehensive guidance and best results, please refer to all the detailed tips provided above in the main article.
- This recipe yields approximately 4 cups of homemade raspberry pie filling, which is typically enough to make one standard 9-inch double-crust pie.
- Leftover filling should be stored in an airtight container in the refrigerator and consumed within 5 days for optimal freshness.
- For longer storage, the cooled filling can be frozen in a freezer-safe container for up to 3-4 months. Thaw frozen filling in the refrigerator overnight before use.
Nutrition
An automated tool is used to calculate the nutritional information. As such, I cannot guarantee the accuracy of the nutritional information provided for any recipe on this site.
There you have it – a comprehensive guide to making the most incredible homemade raspberry pie filling. With its bright, natural flavor and perfect, luscious consistency, this filling will undoubtedly become a staple in your kitchen. Say goodbye to artificial flavors, high fructose corn syrup, and questionable ingredients found in canned alternatives, and say hello to fresh, wholesome goodness that elevates every dessert you create. Enjoy the straightforward process, savor the delightful results, and delight your family and friends with your homemade culinary creations!
