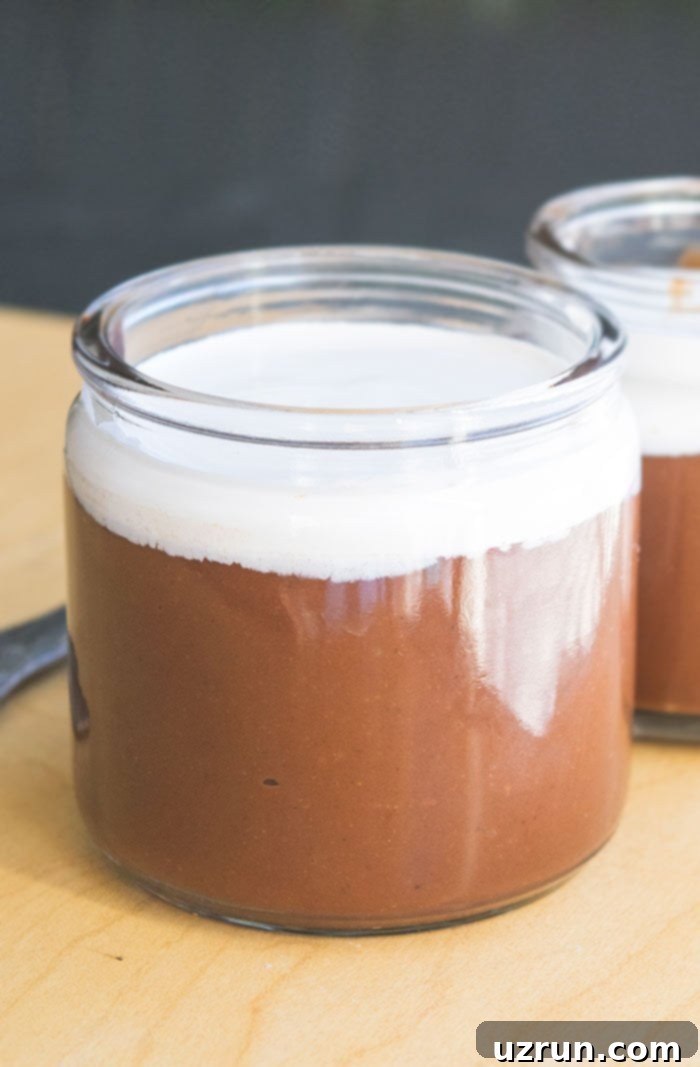
Easy Vegan Chocolate Pudding: Rich, Creamy & Allergy-Friendly (Dairy-Free & Egg-Free)
Discover the ultimate homemade vegan chocolate pudding – a truly rich and creamy dessert that’s completely dairy-free, egg-free, and incredibly easy to make with just a few simple ingredients. This delightful treat is not only perfect for individuals with dairy allergies or those following a vegan lifestyle but also for anyone craving a decadent, guilt-free indulgence. Forget store-bought options; this recipe offers a superior taste and texture that will impress even the most discerning palates.
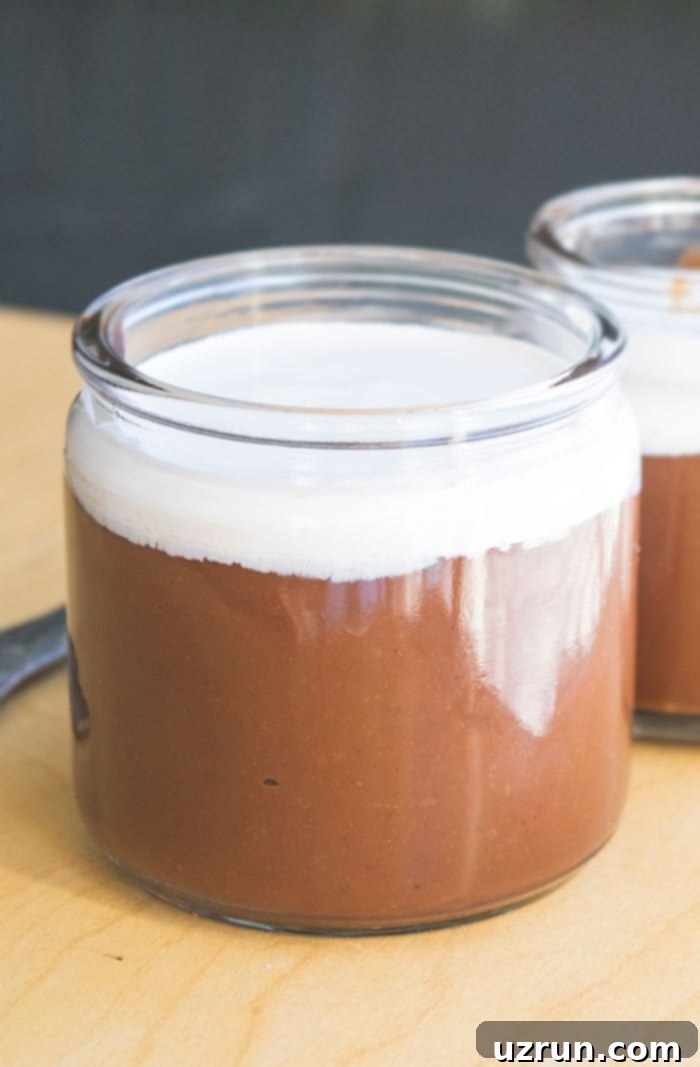
While grocery store puddings offer convenience, nothing compares to the deep, intense chocolate flavor and silky-smooth texture of a homemade version. My recipe stands out for its exceptional richness and creamy consistency, rivaling even popular desserts like Chocolate Chia Seed Pudding and Easy Rice Pudding. What’s even better? It requires minimal prep time and cook time, making it an ideal last-minute dessert or a satisfying snack for any day of the week. This vegan chocolate pudding is a game-changer, proving that delicious desserts can be both healthy and effortless.
Why You’ll Love This Vegan Chocolate Pudding
This isn’t just another pudding recipe; it’s a culinary experience designed to delight. Here’s why this homemade vegan chocolate pudding will become your new favorite:
- Incredibly Creamy & Rich: Achieves a luxuriously smooth and thick texture without any dairy, thanks to the magic of plant-based milk and cornstarch.
- Deep Chocolate Flavor: Uses unsweetened cocoa powder to deliver an intense, authentic chocolate taste that’s not overly sweet.
- Allergy-Friendly: Perfect for those with dairy or egg allergies, making it an inclusive dessert for gatherings.
- Simple Ingredients: Made with everyday pantry staples you likely already have on hand.
- Quick & Easy: Requires minimal cooking time and straightforward steps, ideal for beginners.
- Versatile: Delicious on its own, or as a base for pies, tarts, parfaits, and other creative desserts.
- Customizable: Easily adapt the flavor profile with various extracts or toppings to suit your preference.
Key Ingredients for Dairy-Free Chocolate Pudding
Crafting this luscious vegan chocolate pudding relies on a handful of essential ingredients, each playing a crucial role in achieving its perfect texture and flavor. Understanding their function will help you make the best pudding every time.
- Vegan Milk: The base of our pudding. For a truly vegan version, opt for plant-based milks like almond milk, coconut milk (from a carton, not canned for a lighter taste), soy milk, or even cashew milk. These options provide the necessary liquid without any dairy, contributing to the creamy consistency. Choose full-fat versions of these milks for the richest result.
- Granulated Sugar: Sweetens the pudding to perfection. Granulated sugar dissolves easily and provides the classic sweetness associated with chocolate pudding. Adjust the amount to your personal taste, or explore alternatives if you prefer a less sweet or sugar-free option (see FAQs).
- Unsweetened Cocoa Powder: The star of the show, providing that deep, rich chocolate flavor. It’s crucial to use *unsweetened* cocoa powder, as this allows you to control the sugar content and achieve a more intense chocolate profile. Do not confuse it with hot cocoa mix, which contains sugar and other additives.
- Cornstarch: The thickening agent that transforms the liquid mixture into a thick, spoonable pudding. Cornstarch is a fantastic vegan alternative to eggs, providing a smooth, gelatinous texture when heated. It’s important to dissolve it in a small amount of cold milk first to prevent lumps from forming in your pudding.
- Vanilla Extract: Enhances the chocolate flavor and adds a beautiful aroma. A touch of vanilla extract can round out the flavor profile, making the chocolate taste even more prominent and delicious. Use pure vanilla extract for the best results.
- Vegan Butter (Optional but Recommended): Adding a touch of vegan butter at the end creates an even silkier, richer texture and a glossy finish, mimicking the mouthfeel of traditional dairy-based puddings. It truly elevates the indulgence factor.
How to Make Easy Vegan Chocolate Pudding (Step-by-Step)
Making this vegan chocolate pudding is surprisingly simple. Follow these steps for a perfect, lump-free, and incredibly delicious dessert.
- Combine Dry & Wet Ingredients (Initial): In a non-stick saucepan, combine 2 cups of your chosen vegan milk, granulated sugar, and unsweetened cocoa powder. Whisk these ingredients together until well combined and there are no visible lumps of cocoa powder.
- Heat the Mixture: Place the saucepan over medium heat. Continue to whisk gently as the mixture heats up. You want it to come to a gentle simmer, just until you see small bubbles forming around the edges. Do not let it boil vigorously.
- Prepare Cornstarch Slurry: While the milk mixture is heating, in a separate small bowl, whisk together the remaining 1 cup of vegan milk and the cornstarch until the cornstarch is completely dissolved. This creates a “slurry” which will prevent lumps when added to the hot liquid.
- Thicken the Pudding: Once the milk mixture in the saucepan is simmering, slowly pour the cornstarch slurry into the saucepan. **Crucially, whisk continuously and vigorously** as you pour the slurry. Continue whisking for a few minutes until the pudding starts to visibly thicken. It should coat the back of a spoon and leave a clear trail when you run your finger across it.
- Flavor & Finish: Remove the saucepan from the heat immediately after it thickens to your desired consistency. Stir in the vanilla extract and the vegan butter (if using) until fully incorporated and melted. The butter will add extra richness and gloss.
- Portion & Chill: Pour the hot pudding into individual small dessert bowls, ramekins, or a larger serving dish. For a smooth top and to prevent a skin from forming, you can lightly press a piece of plastic wrap directly onto the surface of the pudding.
- Set & Enjoy: Chill the pudding in the refrigerator for at least 1-2 hours, or until it is completely set and thoroughly cooled. The longer it chills, the firmer it will become. Once chilled, garnish as desired and enjoy your delicious homemade vegan chocolate pudding!
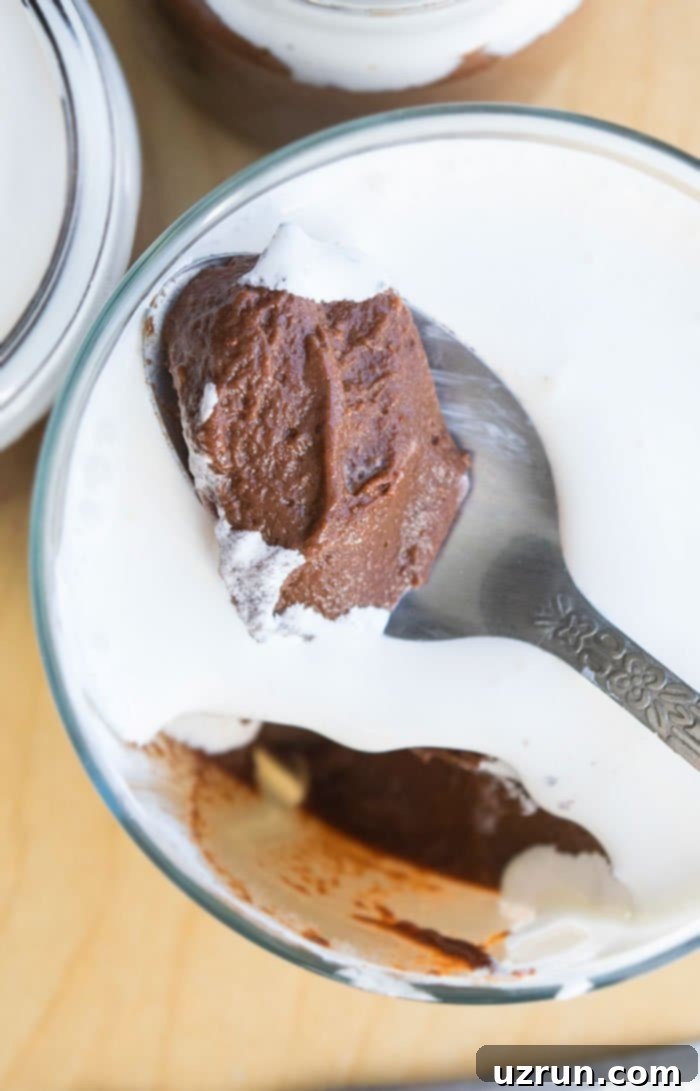
Tips and Techniques for Perfect Vegan Chocolate Pudding
Achieving a perfectly smooth, rich, and creamy vegan chocolate pudding is easy with these insider tips and techniques:
- Use a Nonstick Saucepan: This is a game-changer! A nonstick saucepan will prevent the pudding from sticking to the bottom and burning, making whisking easier and cleanup a breeze.
- Choose the Right Vegan Milk: For the best results, use almond milk, coconut milk (from a carton, not canned for a neutral flavor), soy milk, or cashew milk. Ensure they are the full-fat or original varieties from milk cartons, not the light or reduced-fat versions. Reduced-fat milks will result in a less creamy and thinner pudding.
- Whisk, Whisk, Whisk: After adding the cornstarch mixture, continuous whisking is key! This prevents lumps from forming and ensures even thickening. Don’t stop whisking until the pudding reaches your desired consistency.
- Avoid Over-Boiling: Cook the pudding over medium heat. While it needs to come to a simmer to activate the cornstarch, a rapid, rolling boil can cause it to curdle or burn. Gentle heat and constant stirring are your best friends.
- Lump Rescue Mission: If, despite your best efforts, you end up with a few lumps in your pudding, don’t despair! A hand-held immersion blender used directly in the saucepan will quickly smooth everything out, restoring that silky texture. Alternatively, you can push the pudding through a fine-mesh sieve.
- Preventing a “Skin”: To prevent a film or “skin” from forming on top of your pudding as it cools, immediately after pouring it into serving dishes, gently press a piece of plastic wrap directly onto the surface of the warm pudding. This creates an airtight seal.
- Cooling Process: Allow the pudding to cool slightly at room temperature before transferring it to the refrigerator. This helps in a more even chilling and setting process.
- Taste and Adjust: Always taste your pudding before chilling! If you prefer it sweeter, you can whisk in a little more sugar (powdered sugar dissolves easily) while it’s still warm.
Creative Variations and Serving Suggestions
This basic vegan chocolate pudding recipe is incredibly versatile! Here are some exciting variations and serving ideas to inspire your culinary creativity:
- Coffee Kick: For a delightful mocha flavor, add 1 teaspoon of espresso powder along with the cocoa powder.
- Chocolate Orange Bliss: Stir in 1.5 teaspoons of orange extract (or the zest of one orange) for a vibrant citrus note.
- Mint Chocolate Dream: Add 1.5 teaspoons of mint extract at the same time as the vanilla extract for a refreshing twist.
- Tropical Coconut Indulgence: Incorporate 1.5 teaspoons of coconut extract and top your pudding with toasted shredded coconut for an exotic touch.
- Spiced Chocolate: A pinch of cinnamon, a tiny dash of cayenne pepper (for a subtle kick), or a mix of chai spices can add a sophisticated depth.
- Nut Butter Swirl: Swirl in a tablespoon or two of your favorite nut butter (peanut butter, almond butter) while the pudding is still warm for a nutty, rich variation.
- Pie and Tart Filling: This pudding makes an excellent filling! Pour it into a prepared No Bake Graham Cracker Crust or a No Bake Oreo Pie Crust. You can also use it in a pre-baked Flaky Butter Pie Crust for a more traditional dessert.
- Elegant Garnishes and Decorations: Elevate your pudding with beautiful toppings. Classic options include vegan coconut whipped cream (a must-try!), chocolate shavings or chocolate chips, finely chopped nuts (pecans, walnuts), fresh mint leaves, colorful sprinkles, or even homemade Chocolate Leaves for a truly stunning presentation. Fresh berries like raspberries or sliced strawberries also pair wonderfully.
- Pudding Parfaits: Layer the chilled pudding with vegan whipped cream, crushed cookies, or fresh fruit in tall glasses for an impressive layered dessert.
- Trifle Component: Use this pudding as a layer in a larger vegan trifle with cake pieces, fruit, and more whipped cream.
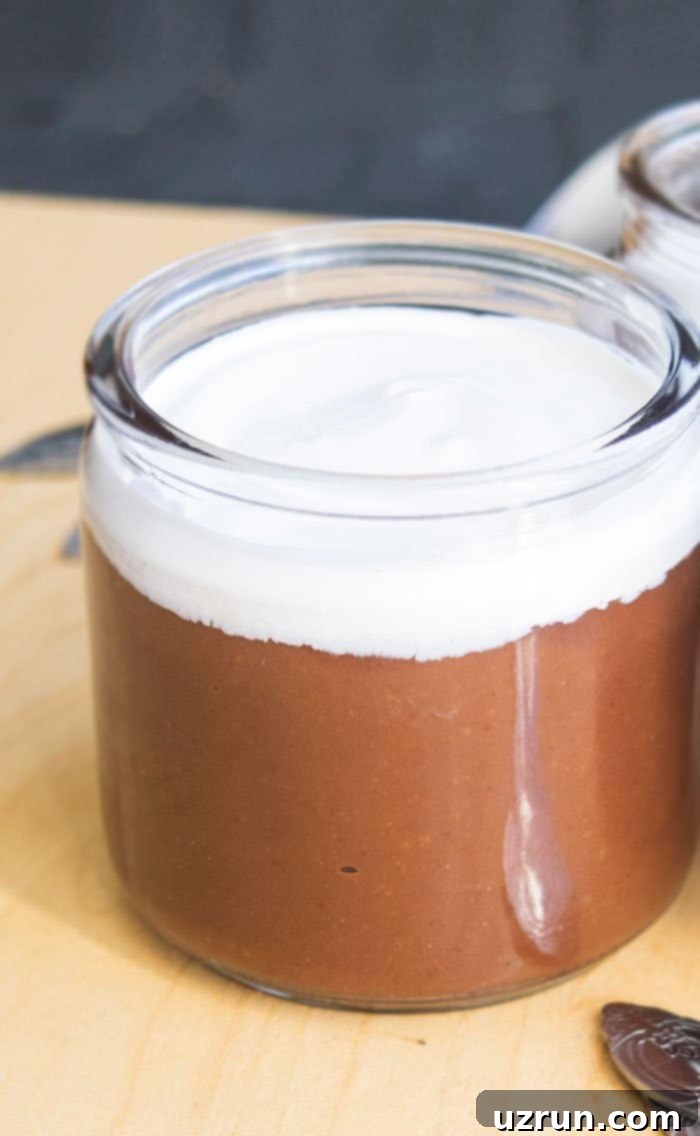
Recipe FAQs: Your Vegan Chocolate Pudding Questions Answered
Absolutely! This recipe specifically uses plant-based milks. Your best choices for a creamy result are unsweetened almond milk, soy milk, coconut milk (from a carton, not canned for a neutral flavor profile), cashew milk, or even a blend of vegan milks. Just ensure you’re using the regular or full-fat versions for optimal creaminess, as light or reduced-fat options can result in a thinner pudding.
There are a few common reasons for a runny pudding:
- Not Enough Cornstarch: Double-check your measurements. Using too little cornstarch will not provide enough thickening power.
- Insufficient Cooking Time/Temperature: The pudding needs to reach a gentle simmer and be whisked for a few minutes after adding the cornstarch slurry to properly activate the cornstarch. If it didn’t get hot enough or wasn’t cooked long enough, it won’t thicken.
- Not Chilled Long Enough: Pudding needs time in the refrigerator to fully set and firm up. Ensure it’s chilled for at least 1-2 hours, or even longer for a firmer consistency.
Lumpy or grainy pudding usually indicates that the cornstarch wasn’t mixed in properly. To avoid this, always create a “slurry” by dissolving the cornstarch in a small amount of cold milk *before* adding it to the hot mixture. More importantly, you must constantly and vigorously whisk the main pudding mixture as you slowly pour in the cornstarch slurry. This ensures the cornstarch blends evenly and smoothly without clumping. If lumps do form, an immersion blender or pushing the pudding through a fine-mesh sieve can usually fix it.
Yes, you can adapt this recipe to be sugar-free! Replace granulated sugar with your preferred sugar substitute, such as erythritol, stevia, or a monk fruit blend. Be sure to check the conversion ratios for your chosen sweetener, as sweetness levels can vary significantly compared to granulated sugar.
Leftover vegan chocolate pudding can be stored in an airtight container in the refrigerator for up to 3-4 days. For best results, press a piece of plastic wrap directly onto the surface of the pudding before sealing the container to prevent a skin from forming and to keep it fresh.
Absolutely! This pudding is actually perfect for making ahead. In fact, it needs at least 1-2 hours of chilling to fully set and for the flavors to meld. You can easily make it a day in advance, which makes it ideal for entertaining or meal prep.
More Delicious Pudding Recipes to Explore
If you loved this vegan chocolate pudding, you might enjoy trying these other comforting and delightful pudding creations from my kitchen:
- Chocolate Pudding Pots (Edible Dirt Cups)
- Classic Homemade Banana Pudding
- Velvety Homemade Vanilla Pudding
- Simple Chia Seed Pudding (4 Ingredients)
Recipe Card
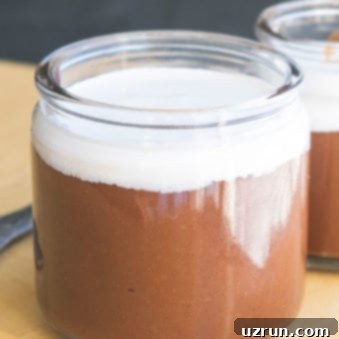
Vegan Chocolate Pudding
Abeer Rizvi
Pin Recipe
Want to Save This Recipe?
Enter your email & I’ll send it to your inbox. Plus, get great new recipes from me every week!
By submitting this form, you consent to receive emails from CakeWhiz
Ingredients
- 3 cups Vegan Milk Almond milk, Coconut milk (from carton), or Soy milk (full-fat recommended)
- ¾ cups Granulated sugar
- ⅓ cup Unsweetened Cocoa powder
- ¼ cup Cornstarch
- 1 tablespoon Vanilla extract
- 2 tablespoons Vegan butter (optional, for extra richness)
Instructions
-
In a non-stick saucepan, add 2 cups of your chosen vegan milk, granulated sugar, and cocoa powder. Whisk thoroughly until well combined and smooth, ensuring no cocoa lumps remain. Cook on medium heat, stirring occasionally, until the mixture begins to gently simmer (small bubbles around the edges).
-
In a separate small bowl, combine the remaining 1 cup of vegan milk with the cornstarch. Whisk vigorously until the cornstarch is completely dissolved, forming a smooth slurry.
-
Slowly pour the cornstarch mixture into the simmering saucepan while continuously whisking. This is crucial to prevent lumps and ensure a silky-smooth pudding. Continue to whisk for a few minutes.
-
Continue cooking and whisking until your pudding significantly thickens. It should become thick enough to coat the back of your whisk or spoon, leaving a clear trail when you run your finger across it. This usually takes 5-7 minutes after adding the cornstarch slurry.
-
Remove the saucepan from the heat. Stir in the vegan butter (if using) and vanilla extract until fully combined and the butter has melted, giving the pudding an extra glossy finish.
-
Immediately pour the warm pudding into 6 small dessert bowls, ramekins, or a single larger serving dish. To prevent a skin from forming, gently press a piece of plastic wrap directly onto the surface of the pudding.
-
Chill in the refrigerator for at least 1-2 hours, or until the pudding is completely set and thoroughly cooled. The longer it chills, the firmer and more decadent it will become.
-
Prior to serving, remove the plastic wrap, and top with vegan whipped cream, chocolate shavings, fresh berries, or other desired garnishes. Enjoy your homemade, creamy vegan chocolate pudding!
Notes
- For comprehensive details and troubleshooting, please read all the tips and techniques provided above.
- Leftovers can be stored in a sealed container with plastic wrap pressed directly on the surface in the fridge for up to 3-4 days for optimal freshness.
Nutrition
An automated tool is used to calculate the nutritional information. As such, I cannot guarantee the accuracy of the nutritional information provided for any recipe on this site. Please consult a qualified nutritionist or dietitian for personalized dietary advice.
