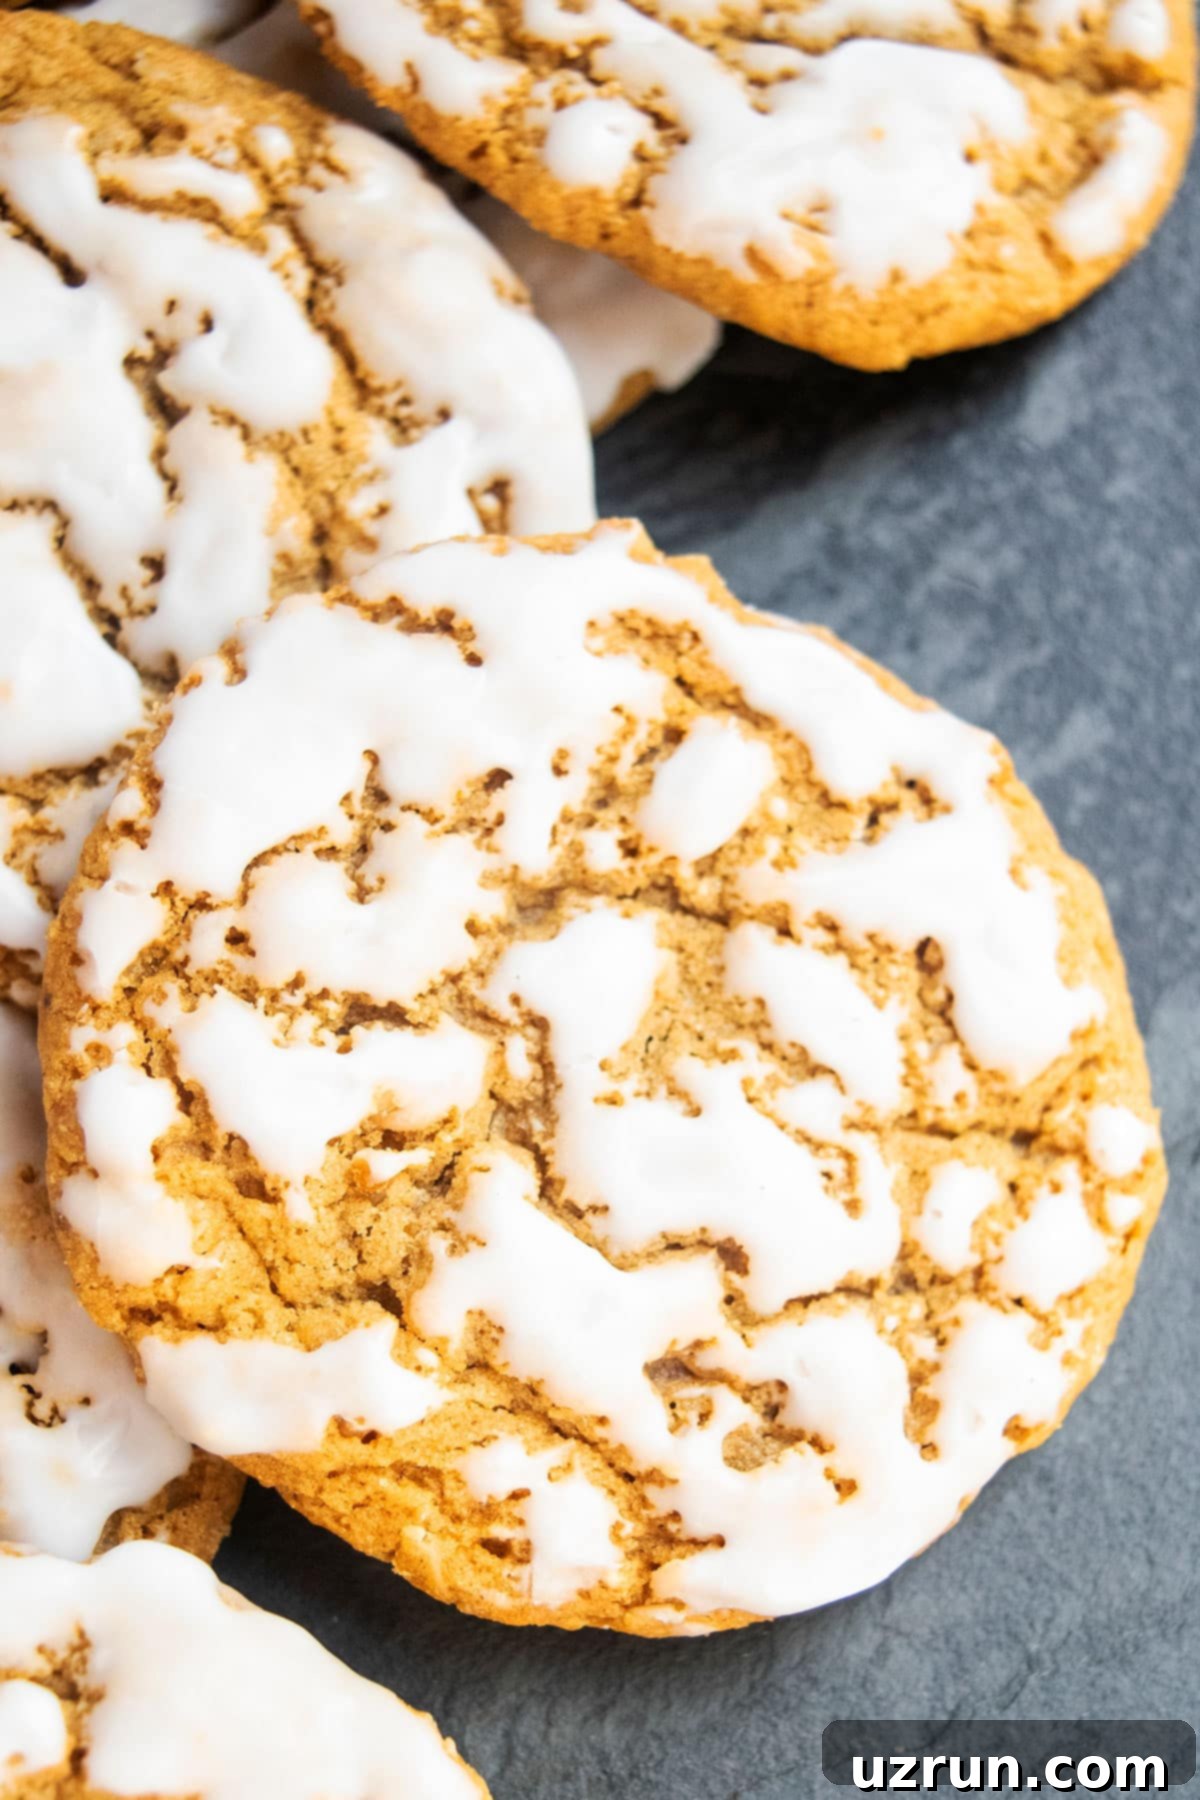
Classic Iced Oatmeal Cookies: Your New Favorite Homemade Recipe
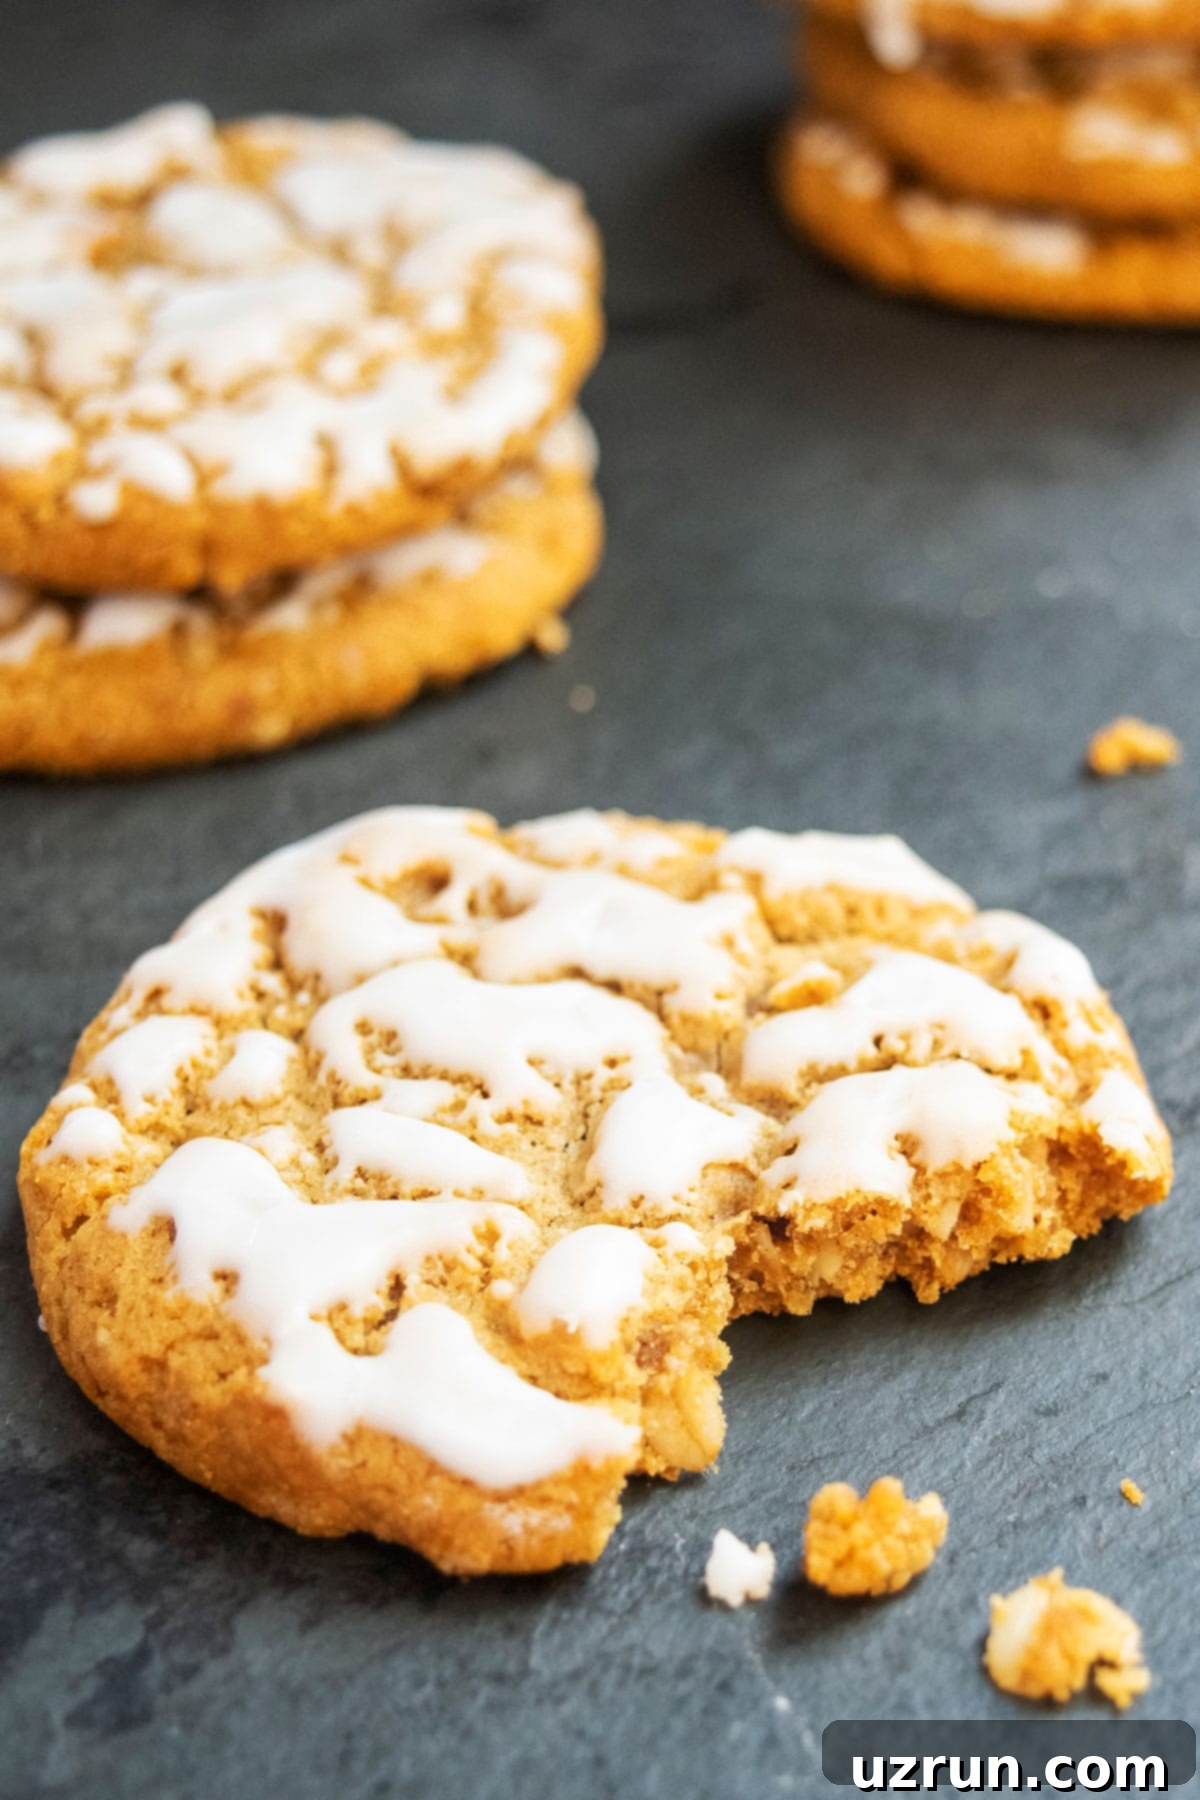
There’s something undeniably comforting and nostalgic about a perfectly baked **iced oatmeal cookie**. This easy, classic recipe delivers homemade goodness with every bite, crafted from simple, wholesome ingredients. Imagine a cookie loaded with the warm, inviting flavors of cinnamon and nutmeg, boasting a wonderfully soft and chewy center complemented by delicately crispy edges. Each cookie is then crowned with a signature old-fashioned, crackly vanilla icing, creating a texture and flavor combination that’s truly irresistible.
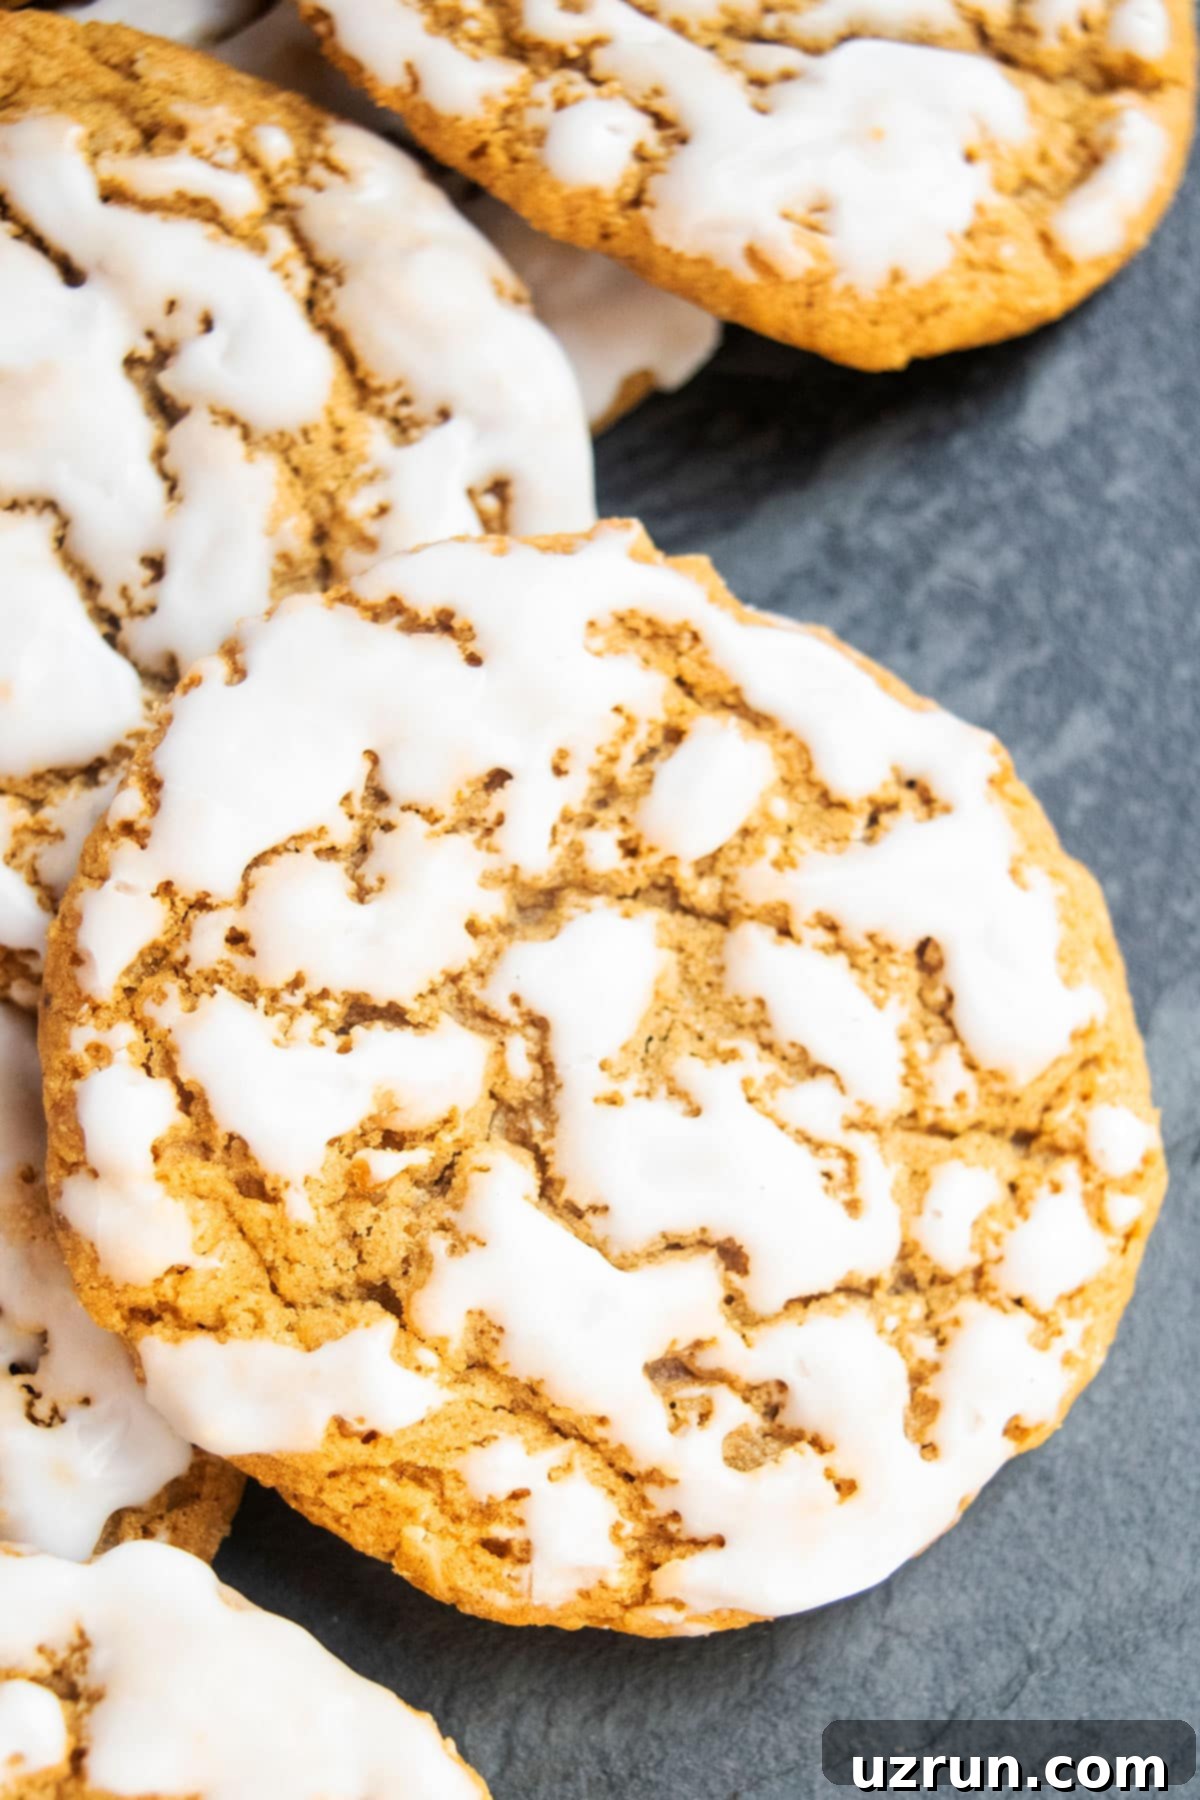
For many, the holiday season, especially Christmas and Thanksgiving, just isn’t complete without a batch (or several!) of these delightful cookies. They are a beloved treat to share with family and friends, sitting perfectly alongside other festive favorites like my Classic Spritz Cookies and Classic Snickerdoodles Cookies. What truly sets these iced oatmeal cookies apart and contributes to their incredible softness and rich, complex flavor are two crucial ingredients: brown sugar and molasses. These not only add depth but also infuse the cookies with significant moisture, ensuring that irresistible chewiness.
My love for incorporating oats into desserts is no secret. You can find this versatile ingredient bringing wonderful texture to recipes like Healthy Breakfast Cookies, Homemade Granola, and even these indulgent Chocolate Oatmeal Bars (Crumb Bars). Oats are fantastic because they add a hearty, satisfying texture without overpowering the primary flavors of your baked goods. In these iced oatmeal cookies, they create that distinct, comforting chew that keeps you reaching for more.
[feast_advanced_jump_to]
Key Ingredients for Perfect Iced Oatmeal Cookies
Crafting the perfect iced oatmeal cookie begins with selecting the right ingredients. Each component plays a vital role in achieving that signature flavor, texture, and crackly icing. Here’s a breakdown of what you’ll need and why:
- Old-fashioned rolled oats: This is arguably the star of the cookie! It’s absolutely crucial to use old-fashioned rolled oats, not quick oats or instant oats. Old-fashioned oats retain their shape better and provide the characteristic chewy texture that is essential for these cookies. Quick oats are too finely processed and will result in a different, less desirable consistency.
- All-purpose flour: No fancy flours needed here. Standard all-purpose flour provides the structural base for our cookies, ensuring they hold their shape while remaining tender.
- Baking powder and baking soda: These are your leavening agents. Baking soda reacts with the acidic molasses and brown sugar to help the cookies spread and become tender, while baking powder contributes to a lighter, slightly airy crumb. Together, they give the cookies their ideal lift and texture.
- Cinnamon and nutmeg: These warm, aromatic spices are what give iced oatmeal cookies their classic, inviting flavor profile. Using them in powdered form ensures even distribution throughout the dough. Feel free to adjust the amounts to your personal preference, or even add a pinch of ground cloves or ginger for a more complex spice blend.
- Unsalted butter: Using unsalted butter allows you to control the overall saltiness of your cookies. It’s essential for creaming with the sugars, creating a light and fluffy base that contributes to the cookie’s tender texture. Ensure it’s at room temperature for optimal creaming.
- Brown sugar and granulated sugar: The combination of both sugars is key! Brown sugar (preferably light brown) adds moisture, a caramel-like depth of flavor, and contributes significantly to the chewy texture. Granulated sugar, on the other hand, helps with the crispness around the edges and overall sweetness.
- Large eggs: Eggs act as a binder, helping to hold the dough together, and contribute to the cookie’s moisture and richness. Always use large eggs at room temperature, as they emulsify more easily with the other ingredients, creating a smoother dough.
- Molasses: This ingredient is a game-changer for classic iced oatmeal cookies. It provides that unmistakable, slightly earthy, and deep caramel-like flavor, a beautiful dark color, and is vital for the signature chewy texture. Don’t skip it if you want authentic flavor!
- Vanilla extract: A touch of pure vanilla extract enhances all the other flavors in the cookie, adding a sweet, aromatic warmth that complements the spices perfectly.
- Simple vanilla icing: This crackly glaze is made with just three ingredients: powdered sugar for sweetness and structure, milk (or cream) for thinning, and vanilla extract for flavor. It creates that iconic slightly crisp, sweet topping that makes these cookies truly special.
Delicious Variations to Elevate Your Iced Oatmeal Cookies
While the classic iced oatmeal cookie is perfect on its own, there are countless ways to customize this recipe and add your own unique twist. Get creative and make these cookies truly your own!
- Raisin version: For a traditional touch, simply stir in ¾ cup of plump raisins into the cookie dough. The chewy raisins add a burst of fruity sweetness that complements the warm spices beautifully. For extra flavor, you can soak the raisins in a little rum or warm water for 15 minutes before adding them.
- Make ice cream sandwiches: Transform your cookies into an even more decadent treat by making ice cream sandwiches. Simply scoop your favorite vanilla (or even cinnamon or maple walnut) ice cream between two cooled cookies. Press gently, then freeze for at least 30 minutes for a firm, delightful dessert.
- Add in chocolate chips: Who can resist chocolate? Integrate ¾ to 1 cup of chocolate chips into your dough. Milk chocolate chips will yield a sweeter, creamier bite, while semi-sweet or dark chocolate chips offer a nice contrast to the spice. For something different, try white chocolate, peanut butter chips, or even toffee bits for an added crunch and buttery flavor.
- Add sprinkles on top: Before the frosting completely sets, scatter some colorful sprinkles over the iced cookies. This is a fantastic way to add a fun texture and a festive pop of color, making them perfect for birthday parties or especially during the holiday season.
- Sprinkle coconut flakes: For an exotic twist, sprinkle toasted or plain coconut flakes on top of the wet icing. You can use unsweetened flakes for a more subtle coconut flavor or sweetened flakes for extra sweetness and chewiness, depending on your personal preference.
- Cookie sandwiches with various fillings: These sturdy yet soft cookies are ideal for sandwiching! Beyond ice cream, you can fill them with almost any frosting or jam. Imagine them with rich Chocolate Ganache Frosting, light and airy Homemade Whipped Cream, or a fruity Strawberry Jam. Cream cheese frosting or even peanut butter frosting would also be amazing choices.
- Drizzle it on: Instead of, or in addition to, the classic vanilla icing, try drizzling other sweet sauces over your cooled cookies. Homemade Caramel Sauce, Easy Chocolate Ganache, Nutella Syrup, or melted white chocolate can add another layer of flavor and visual appeal.
- Dip in chocolate: For an elegant touch, dip half of each cooled cookie in melted dark, milk, or white chocolate. Place them on parchment paper until the chocolate sets. This creates a beautiful presentation and a delightful textural contrast.
- Add chopped nuts: Stir in ½ cup of finely chopped pecans, walnuts, or almonds into the dough for added crunch and nutty flavor.
- Citrus zest: For a brighter profile, add 1-2 teaspoons of orange or lemon zest to the cookie dough along with the wet ingredients. It adds a subtle freshness that beautifully complements the warm spices.
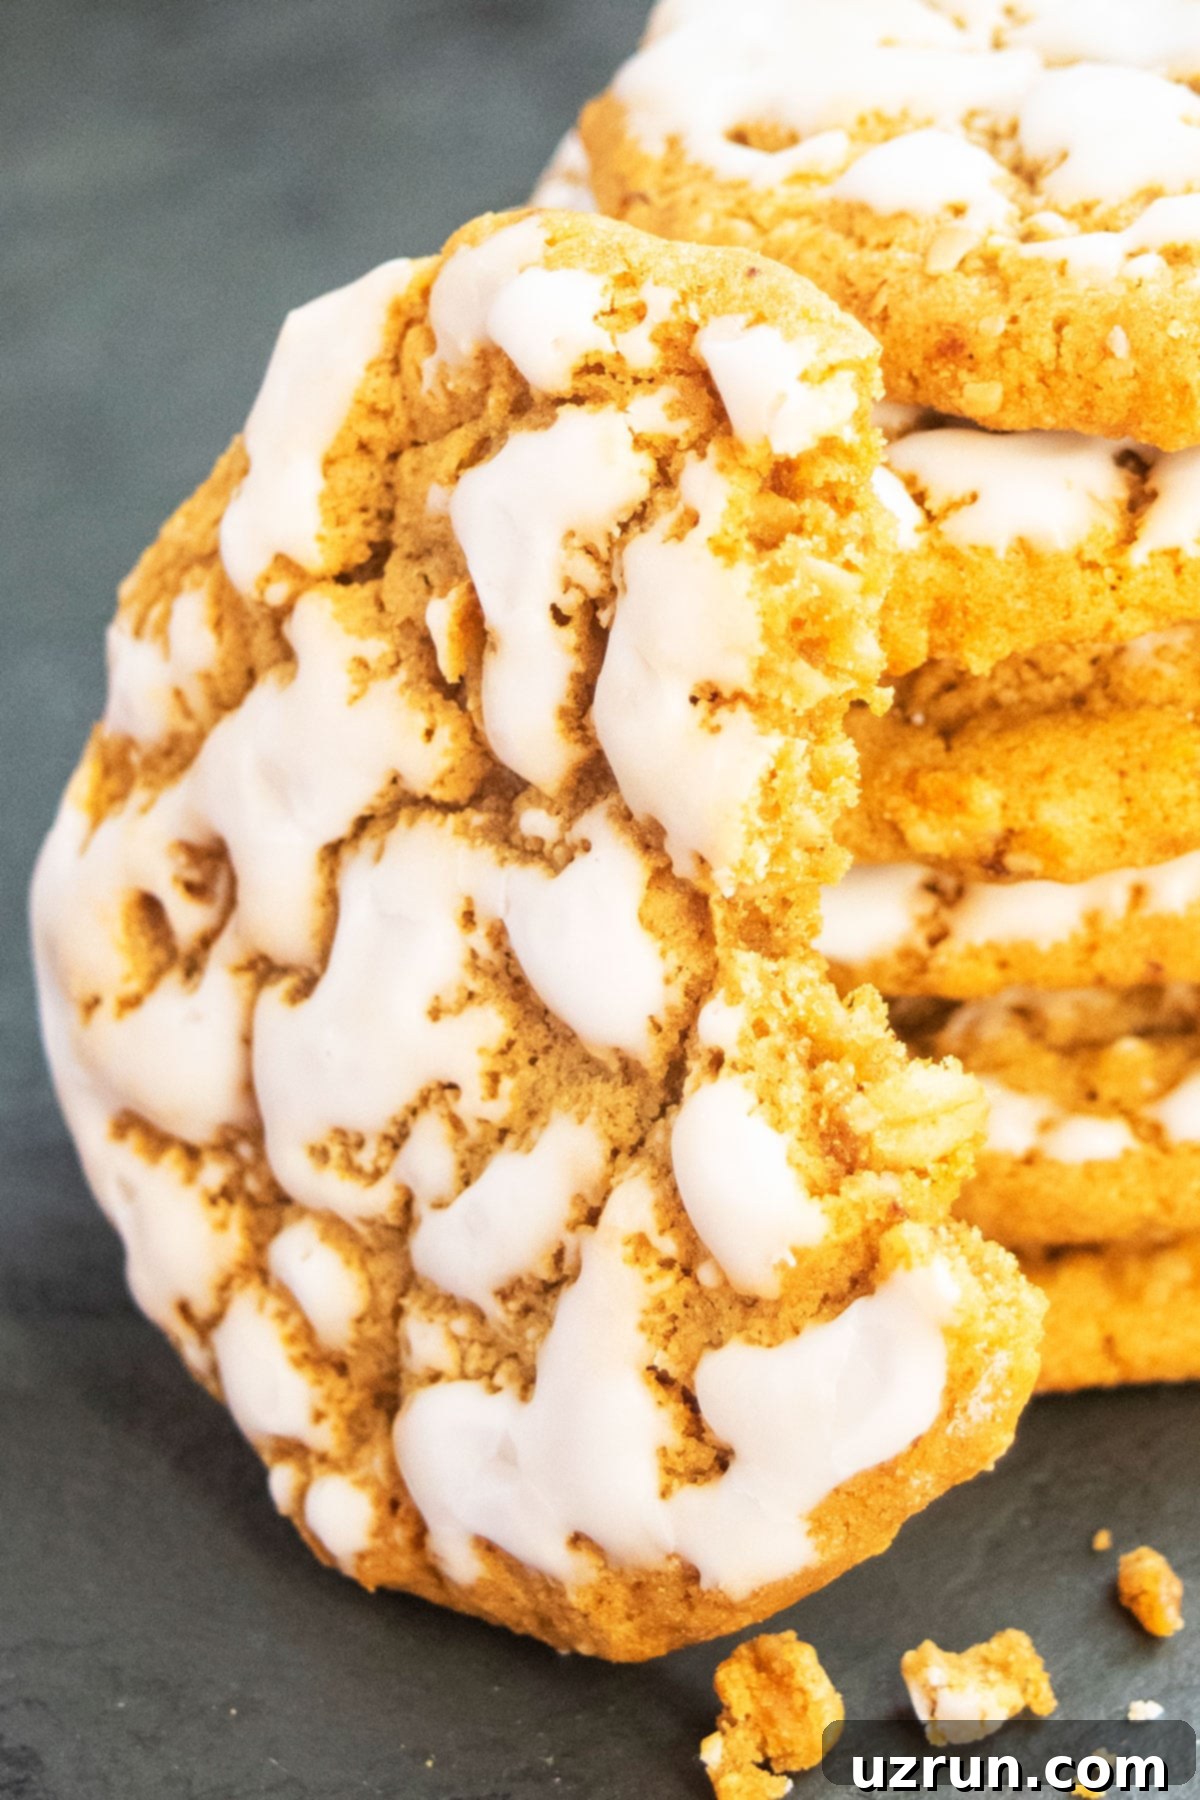
How to Make Homemade Iced Oatmeal Cookies: A Step-by-Step Guide
Making these delightful iced oatmeal cookies is a straightforward process, but a few key steps ensure perfection. Follow these instructions for cookies with the ideal texture and taste:
- Pulse oats: Begin by adding your old-fashioned rolled oats to a food processor. Pulse them a few times until you achieve a roughly chopped, crumbly mixture. The goal is to break them down slightly, not to turn them into a fine oat flour. This crucial step creates that distinct chewy texture.
- Whisk together dry ingredients: In a medium bowl, combine the pulsed oats with the all-purpose flour, baking powder, baking soda, cinnamon powder, and nutmeg powder. Whisk everything together thoroughly to ensure the leavening agents and spices are evenly distributed throughout the dry mixture. Set this aside.
- Prepare wet batter: In a large mixing bowl (or the bowl of a stand mixer), cream together the room-temperature unsalted butter, brown sugar, and granulated sugar until the mixture is light, fluffy, and pale in color. This creaming process incorporates air, which is essential for the cookies’ texture.
- Add remaining wet ingredients: Beat in the large room-temperature eggs, rich molasses, and pure vanilla extract into the creamed butter and sugar mixture. Continue mixing until everything is smooth and well combined, scraping down the sides of the bowl as needed.
- Combine wet and dry batters: Gradually add the reserved dry oat and flour mixture into the wet ingredients. Mix on low speed or by hand until just combined. It’s absolutely vital not to overmix the dough at this stage, as overmixing can develop too much gluten, resulting in tough, dry cookies instead of soft and chewy ones. A few lumps are perfectly fine!
- Chill the dough: Cover the cookie dough tightly with plastic wrap and chill it in the refrigerator for at least 30-40 minutes. This chilling period is essential: it helps prevent the cookies from spreading too much during baking, allows the flavors to meld, and makes the dough much easier to handle and scoop.
- Form and bake: Preheat your oven to 350°F (175°C). Line a baking sheet with parchment paper. Scoop out small portions of the chilled dough and roll them into uniform balls. Place them about 2 inches apart on the prepared baking sheet. For a flatter cookie, you can gently press down on each ball with the palm of your hand. Bake for 10-12 minutes, or until the edges are lightly golden brown and firm, but the centers still appear slightly soft and chewy.
- Cool: Once baked, remove the cookies from the oven and let them cool on the baking sheets for 5-10 minutes. This allows them to set up further and prevents them from breaking when transferred. Then, carefully move them to a wire rack to cool completely at room temperature.
- Ice cookies: While the cookies are cooling, prepare the icing. In a small bowl, whisk together the powdered sugar, milk (start with 2 tablespoons and add more drop by drop if needed), and vanilla extract until you have a thick, smooth, and creamy glaze. The consistency is key – it should be thick enough to cling to the cookies but still pourable.
- Finish and enjoy: Once the cookies are completely cool, dip only the tops of each cookie lightly into the bowl of vanilla icing, allowing any excess to drip back into the bowl. Place the iced cookies back on the wire rack or a clean baking sheet lined with parchment paper, and let the icing set at room temperature. This can take a few hours, depending on humidity, but a hard-set icing means your cookies will be stackable. Once the icing hardens, dig in and savor these perfectly spiced, chewy delights!
Expert Tips and Techniques for the Best Iced Oatmeal Cookies
Achieving bakery-quality iced oatmeal cookies at home is easy with these tried-and-true tips and techniques:
- All ingredients must be at room temperature: This is a golden rule for most baking, especially cookies. Room temperature butter creams smoothly with sugar, incorporating air for a lighter texture. Room temperature eggs and milk blend more evenly into the batter, preventing curdling and ensuring a homogenous, smooth dough. This makes for a better emulsion and a more consistent cookie.
- You must chill the dough: Do not skip this step! Chilling the dough for at least 30-40 minutes (or even longer) is critical. It solidifies the butter, which prevents the cookies from spreading too much in the oven, helping them maintain their shape and thickness. Additionally, it allows the flavors (especially the spices) to meld and deepen, resulting in a more flavorful cookie.
- Don’t overmix cookie dough: Once you add the dry ingredients to the wet, mix only until just combined. Overmixing develops the gluten in the flour, leading to tough, dense, and less tender cookies. It’s perfectly okay if you see a few small streaks of flour – they will disappear during baking.
- Adjust spices to your preference: This recipe uses a classic blend of cinnamon and nutmeg, but you are the chef! Feel free to increase or decrease the amounts based on your taste. You could also experiment with other warm spices like a pinch of ground ginger, cloves, or even an autumnal pumpkin pie spice blend for a seasonal twist.
- Use old-fashioned rolled oats: As mentioned in the ingredients, this is crucial. Old-fashioned oats provide the ideal chewy texture and heartiness. Quick oats or instant oats are too finely cut and will result in a softer, less textured cookie that doesn’t have the same satisfying bite. They are not interchangeable for this recipe.
- Oats must be pulsed in a food processor: This step is non-negotiable for achieving the right consistency. Pulsing the oats slightly creates smaller, rougher pieces that integrate better into the dough, contributing to that signature chewy and compact cookie structure without making it dense. Remember, pulse just a few times until they are crumbly, not until they resemble oat flour.
- Measure ingredients properly: Baking is often called a science, and for good reason. Precision in measurements is key to consistent results. Always use proper measuring cups and spoons, and for dry ingredients like flour, spoon it into the measuring cup and level it off with a straight edge rather than scooping directly from the bag.
- Use unsalted butter: This allows you to have complete control over the salt content in your cookies. If you only have salted butter, omit the added salt from the recipe. Also, do not substitute butter with oil, as butter provides essential flavor and structure that oil cannot replicate, dramatically altering the cookie’s texture.
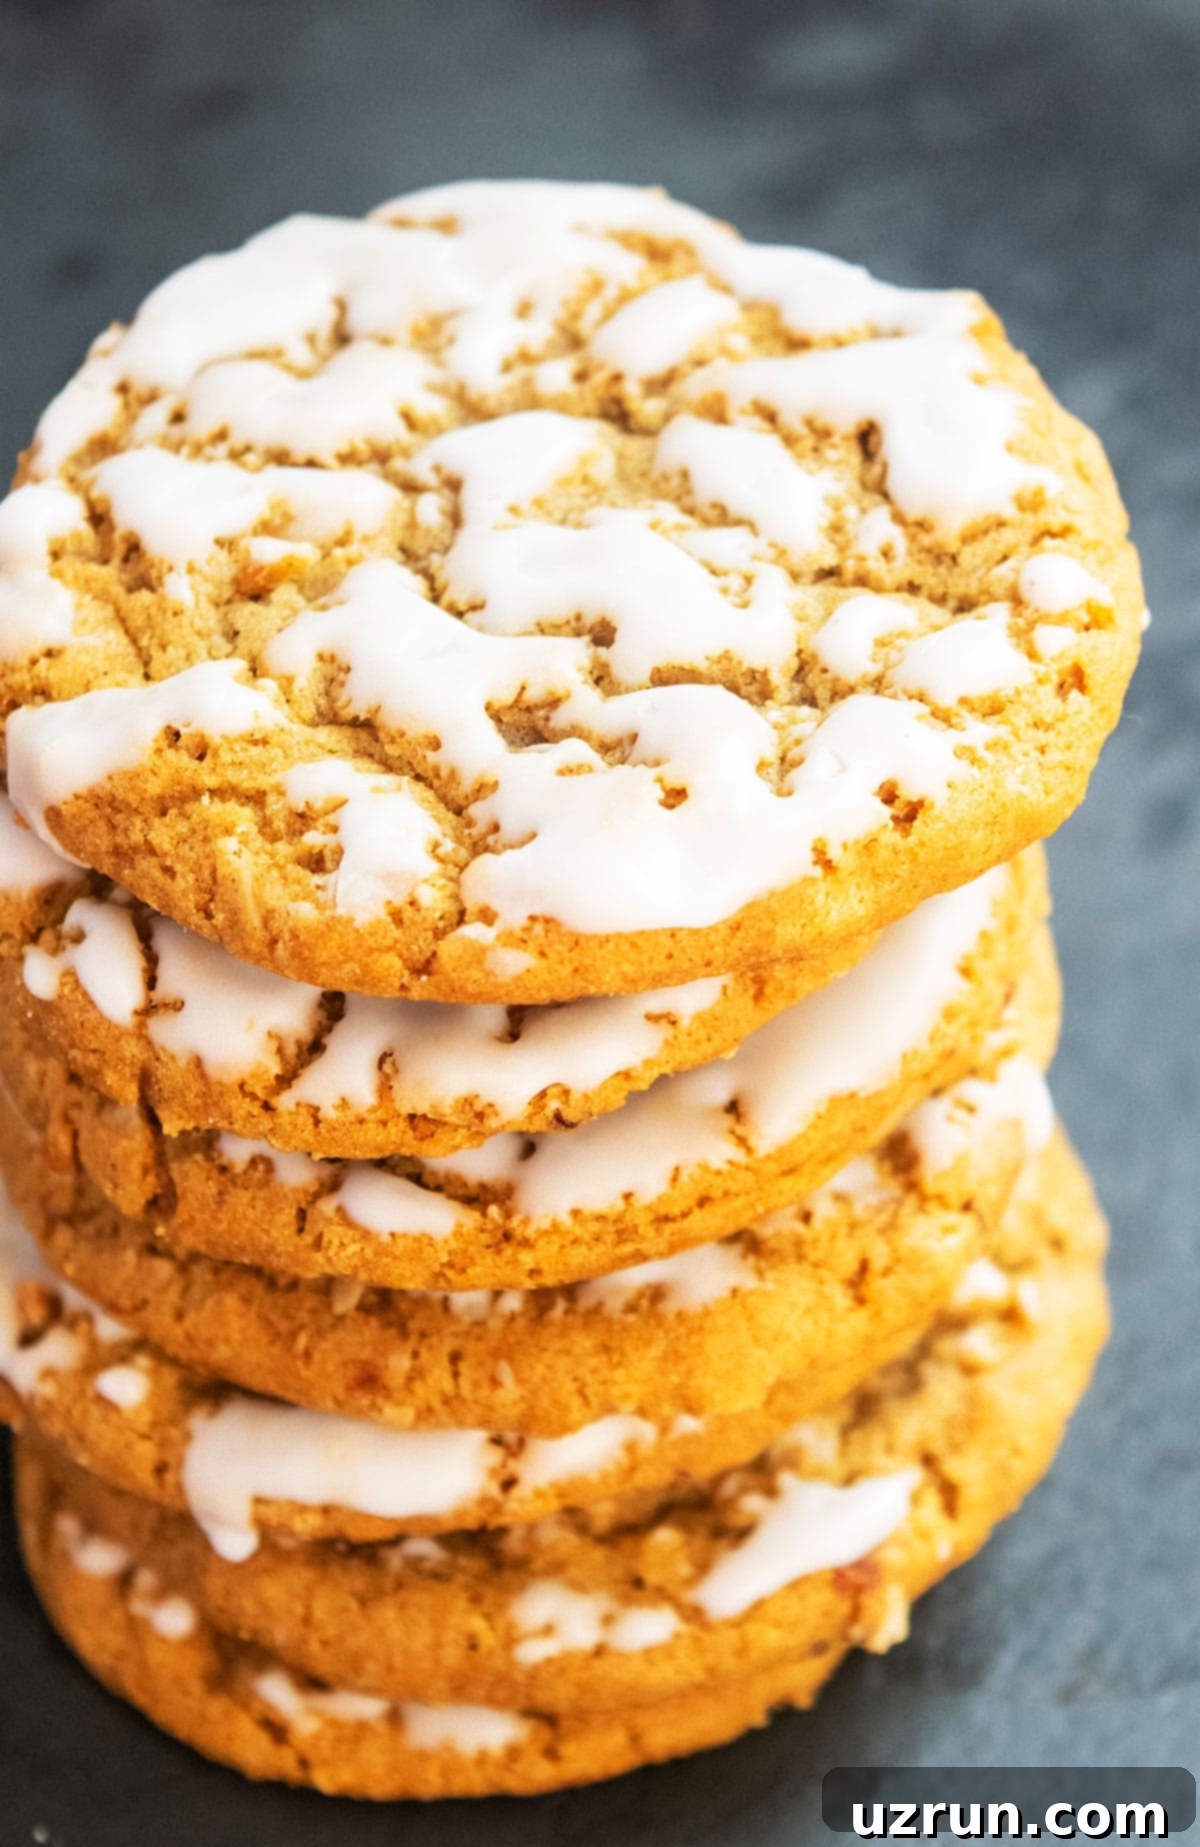
- How to get that perfect crackled icing appearance: The secret lies in the icing consistency. It needs to be thick enough to coat but still fluid enough to self-level slightly. It should be like a thick glaze, not a thin runny wash, nor a paste. When dipping, gently dip only the top surface of the cooled cookie into the icing, then quickly tap off any excess. Avoid dunking the entire cookie. The quick setting of this thick glaze creates the classic crackled finish.
- Don’t skip the icing: While the cookies are delicious plain, the crackly vanilla icing truly elevates them, both in terms of visual appeal and flavor. It adds a lovely contrasting sweetness and texture that completes the classic iced oatmeal cookie experience.
- Molasses substitute: Molasses is my first choice for its unique flavor and chewiness. If you absolutely can’t find it, dark corn syrup or maple syrup could be used as a last resort, but they will impart a slightly different flavor and texture. Maple syrup would be my second choice for its complementary flavor profile.
- They taste even better the next day: Patience is a virtue! After baking, the flavors in these cookies, especially the spices, intensify beautifully overnight. The icing also has ample time to fully set and create that perfect crackly shell. The texture becomes even more ideal – soft, wonderfully chewy, and perfectly firm.
- Use a cookie scoop: For uniformly sized cookies, which ensures even baking, use a cookie scoop. A 1.5-inch or 2-inch scoop works perfectly for this recipe.
- Parchment paper is your friend: Always line your baking sheets with parchment paper or a silicone baking mat. This prevents sticking, promotes even browning, and makes cleanup a breeze.
Recipe FAQs: Your Questions Answered
The icing for these oatmeal cookies is a simple, yet delicious, sugar cookie glaze. Unlike royal icing, this recipe contains no egg whites or meringue powder. It’s a straightforward blend of powdered sugar, milk (or heavy cream for a richer result), and vanilla extract, whisked together until it reaches a thick, smooth, and creamy consistency. It dries to a firm, slightly crackly finish that adds both sweetness and a delightful texture to the cookies.
Yes, absolutely! The beauty of this particular icing is that it dries hard at room temperature, much like a good sugar cookie glaze. This firm finish allows the cookies to be easily stacked without sticking together or smudging the icing, making them perfect for gifting, transporting, or simply storing neatly. The drying time can vary depending on the humidity levels in your environment, but typically takes a few hours.
Icing consistency is paramount for that perfect crackled look and proper adhesion. If your icing is too thin, it will simply drip off the cookies, leaving a very light and uneven coating. To thicken it, gradually whisk in more powdered sugar, one tablespoon at a time, until you reach the desired consistency. Conversely, if the icing is too thick and almost glue-like, it might be clumpy, difficult to spread, and won’t properly coat the cookies. To thin it, add milk (or heavy cream) a quarter-teaspoon at a time, mixing well after each addition, until it’s thick but still smooth and easily dippable.
While this recipe isn’t specifically formulated as gluten-free, you can often adapt it. Ensure you use certified gluten-free old-fashioned rolled oats and substitute the all-purpose flour with a high-quality 1:1 gluten-free baking flour blend that contains xanthan gum. Keep in mind that the texture might vary slightly, but many bakers have great success with such substitutions.
Excessive spreading is a common issue! There are several potential culprits: not chilling the dough long enough (or at all), using butter that was too soft or melted, not measuring your flour accurately (too little flour), or an oven temperature that is too low. Ensure your butter is at perfect room temperature (soft but not melted), always chill your dough, and double-check your oven temperature with an oven thermometer for accuracy.
Storage and Make-Ahead Tips for Your Iced Oatmeal Cookies
These iced oatmeal cookies are fantastic for making ahead and storing, which makes them perfect for busy holidays or when you just want a sweet treat on hand. Here’s how to best store them to maintain their freshness and flavor:
- Make ahead: You can bake these cookies 2-3 days in advance of when you plan to serve them. Since the icing dries hard, they are incredibly durable and stackable, making them ideal for shipping during the Christmas holidays or packaging as gifts.
- Room temperature: Once the icing has fully set (which can take a few hours), store the iced cookies in an airtight container or a cookie jar at room temperature for up to 2-3 days. Stacking them is perfectly fine after the icing is firm.
- Refrigerate: For slightly longer storage, place the iced cookies in a sealed, airtight container and refrigerate them for 3-5 days. The cooler temperature will help maintain their freshness, though the texture may become a bit firmer. Let them come to room temperature before serving for the best experience.
- Freeze cookie dough: This is an excellent make-ahead option! Form the cookie dough into balls, then place them on a baking sheet and freeze until solid. Once frozen, transfer the dough balls to a freezer-safe bag or airtight container for up to 1 month. When you’re ready to bake, simply place the frozen dough balls on a parchment-lined baking sheet and bake as directed, adding a few extra minutes (2-4 minutes) to the baking time since they are frozen. Then, ice them once cooled.
- Freeze baked cookies: You can also freeze baked cookies without the icing. Allow the baked cookies to cool completely, then place them in a single layer on a baking sheet and freeze until solid. Transfer the frozen cookies to a freezer-safe bag or airtight container, separating layers with parchment paper, and freeze for up to 1 month. Thaw them at room temperature, then prepare and apply the icing when you’re ready to enjoy them.
More Classic Cookie Recipes to Love
If you’re a fan of classic homemade cookies, you’ll definitely want to check out these other tried-and-true recipes:
- Chocolate Spritz Cookies
- Chocolate Thumbprint Cookies
- Easy Sugar Cookies Recipe (Soft and Chewy)
- Best Shortbread Cookies (3 Ingredients)
- Easy Gingerbread Cookies (With Cake Mix)
Recipe

Iced Oatmeal Cookies
Abeer Rizvi
Pin Recipe
Want to Save This Recipe?
Enter your email & I’ll send it to your inbox. Plus, get great new recipes from me every week!
By submitting this form, you consent to receive emails from CakeWhiz
Ingredients
- 2 cups Old fashioned rolled oats Essential for chewy texture, do not use quick oats
- 2 cups All-purpose flour Standard all-purpose flour works best
- 1 teaspoon Baking powder For a soft lift
- 1 teaspoon Baking soda Reacts with molasses for tender cookies
- 2 teaspoon Cinnamon powder For classic warm spice flavor
- ½ teaspoon Nutmeg powder Complements the cinnamon beautifully
- 1 cup Unsalted Butter At room temperature for proper creaming
- 1 cup Light brown sugar Adds moisture and chewiness
- ½ cup Granulated sugar Contributes to crispy edges
- 2 Large eggs At room temperature, for binding and moisture
- 1 tablespoon Molasses Adds classic flavor, color, and chewiness
- 2 teaspoon Vanilla extract Enhances all other flavors
For the Classic Vanilla Icing
- 2 cups Powdered sugar Sifted for a smooth icing
- 2-2.5 tablespoon Milk Whole or 2%, or heavy cream for a richer icing. Adjust for desired thickness.
- ¼ teaspoon Vanilla extract Use clear extract to prevent any discoloration in the white icing, if preferred
Instructions
-
In a food processor, add the old-fashioned rolled oats and pulse them a few times until you achieve a rough and crumbly texture. It’s crucial that this is NOT a smooth oat flour; we want some texture from the oats for our cookies.
-
In a medium bowl, whisk together the pulsed oats, all-purpose flour, baking powder, baking soda, cinnamon powder, and nutmeg powder until well combined. Set this dry mixture aside.
-
In a large bowl (or a stand mixer), cream together the room-temperature unsalted butter, light brown sugar, and granulated sugar. Beat until the mixture is light, fluffy, and pale, which usually takes 2-3 minutes. This incorporates air and creates a tender cookie base.
-
Add the large room-temperature eggs one at a time, mixing well after each addition. Then, stir in the molasses and vanilla extract. Continue mixing until the wet ingredients are thoroughly combined and smooth.
-
Gradually add the prepared flour and oat mixture to the wet batter. Mix on low speed (or by hand with a spatula) until the ingredients are just combined. Be careful not to over-mix the dough, as this can lead to tough cookies. A few flour streaks are acceptable.
-
Cover the cookie dough tightly with plastic wrap and chill it in the refrigerator for at least 30-40 minutes. This step is essential as it prevents the cookies from spreading too much during baking and allows the flavors to develop.
-
Preheat your oven to 350°F (175°C). Line a cookie tray with parchment paper. Scoop out small, uniform portions of the chilled dough and roll them into smooth balls.
-
Place the dough balls about 2 inches apart on the prepared baking sheet. If you prefer flatter cookies with crispier edges, you can gently flatten each ball slightly with the palm of your hand before baking.
-
Bake for 10-12 minutes. The cookies are ready when their edges are lightly golden brown and firm, but their centers still appear slightly soft. This ensures a wonderfully chewy cookie.
-
Remove the cookies from the oven and let them cool on the baking trays for about 5-10 minutes. This allows them to finish cooking slightly and firm up before you transfer them, preventing breakage. Afterward, move them to a wire rack to cool completely to room temperature.
-
While the cookies are cooling, prepare the icing. In a small bowl, combine the powdered sugar, milk (start with 2 tablespoons and add more very gradually, drop by drop, if needed), and vanilla extract. Whisk until you achieve a thick, smooth, and creamy glaze. The icing consistency is very important here: it should be thick enough to coat the cookies but not so thin that it drips off entirely, nor so thick that it’s clumpy and won’t stick.
-
Once the cookies are completely cooled, gently dip only the top surface of each cookie into the bowl of icing. Allow any excess icing to drip back into the bowl for a clean finish. Place the iced cookies on a clean wire rack or a tray lined with parchment paper, and let the icing set at room temperature. This setting process can take a few hours, depending on the humidity, but it’s worth the wait as it allows the icing to harden and become perfectly crackly and stackable. Enjoy your delicious homemade iced oatmeal cookies!
Notes
- Make sure your butter is unsalted to ensure you have control over the overall saltiness of your cookies. If using salted butter, omit any additional salt in the recipe.
- For optimal results and smooth mixing, all cold ingredients (butter, eggs, milk) must be at room temperature before you begin.
- Always line your baking tray with parchment paper or a silicone baking mat to prevent the cookies from sticking and to ensure even baking.
- Both brown sugar and granulated sugar are essential for this recipe; they each contribute unique qualities to the cookie’s flavor and texture and cannot be replaced with one another.
- Do not skip chilling the dough in the refrigerator. This step is crucial for preventing the cookies from spreading excessively during baking and helps them maintain their lovely shape and chewy interior.
- For even more detailed guidance and creative ideas, please refer to the additional tips and delicious variations discussed above in the article.
- Leftover iced oatmeal cookies can be stored in an airtight container at room temperature for up to 2-3 days, or in the fridge for up to 3-5 days.
- Once the icing has fully set and hardened, the cookies can be stored in a cookie jar at room temperature for up to 3 days, maintaining their stackable quality. For longer storage, a sealed container in the fridge for 3-4 days is ideal.
Nutrition
An automated tool is used to calculate the nutritional information. As such, I cannot guarantee the accuracy of the nutritional information provided for any recipe on this site.
