The Best White Chocolate Peppermint Cookies: A Festive & Easy Homemade Recipe
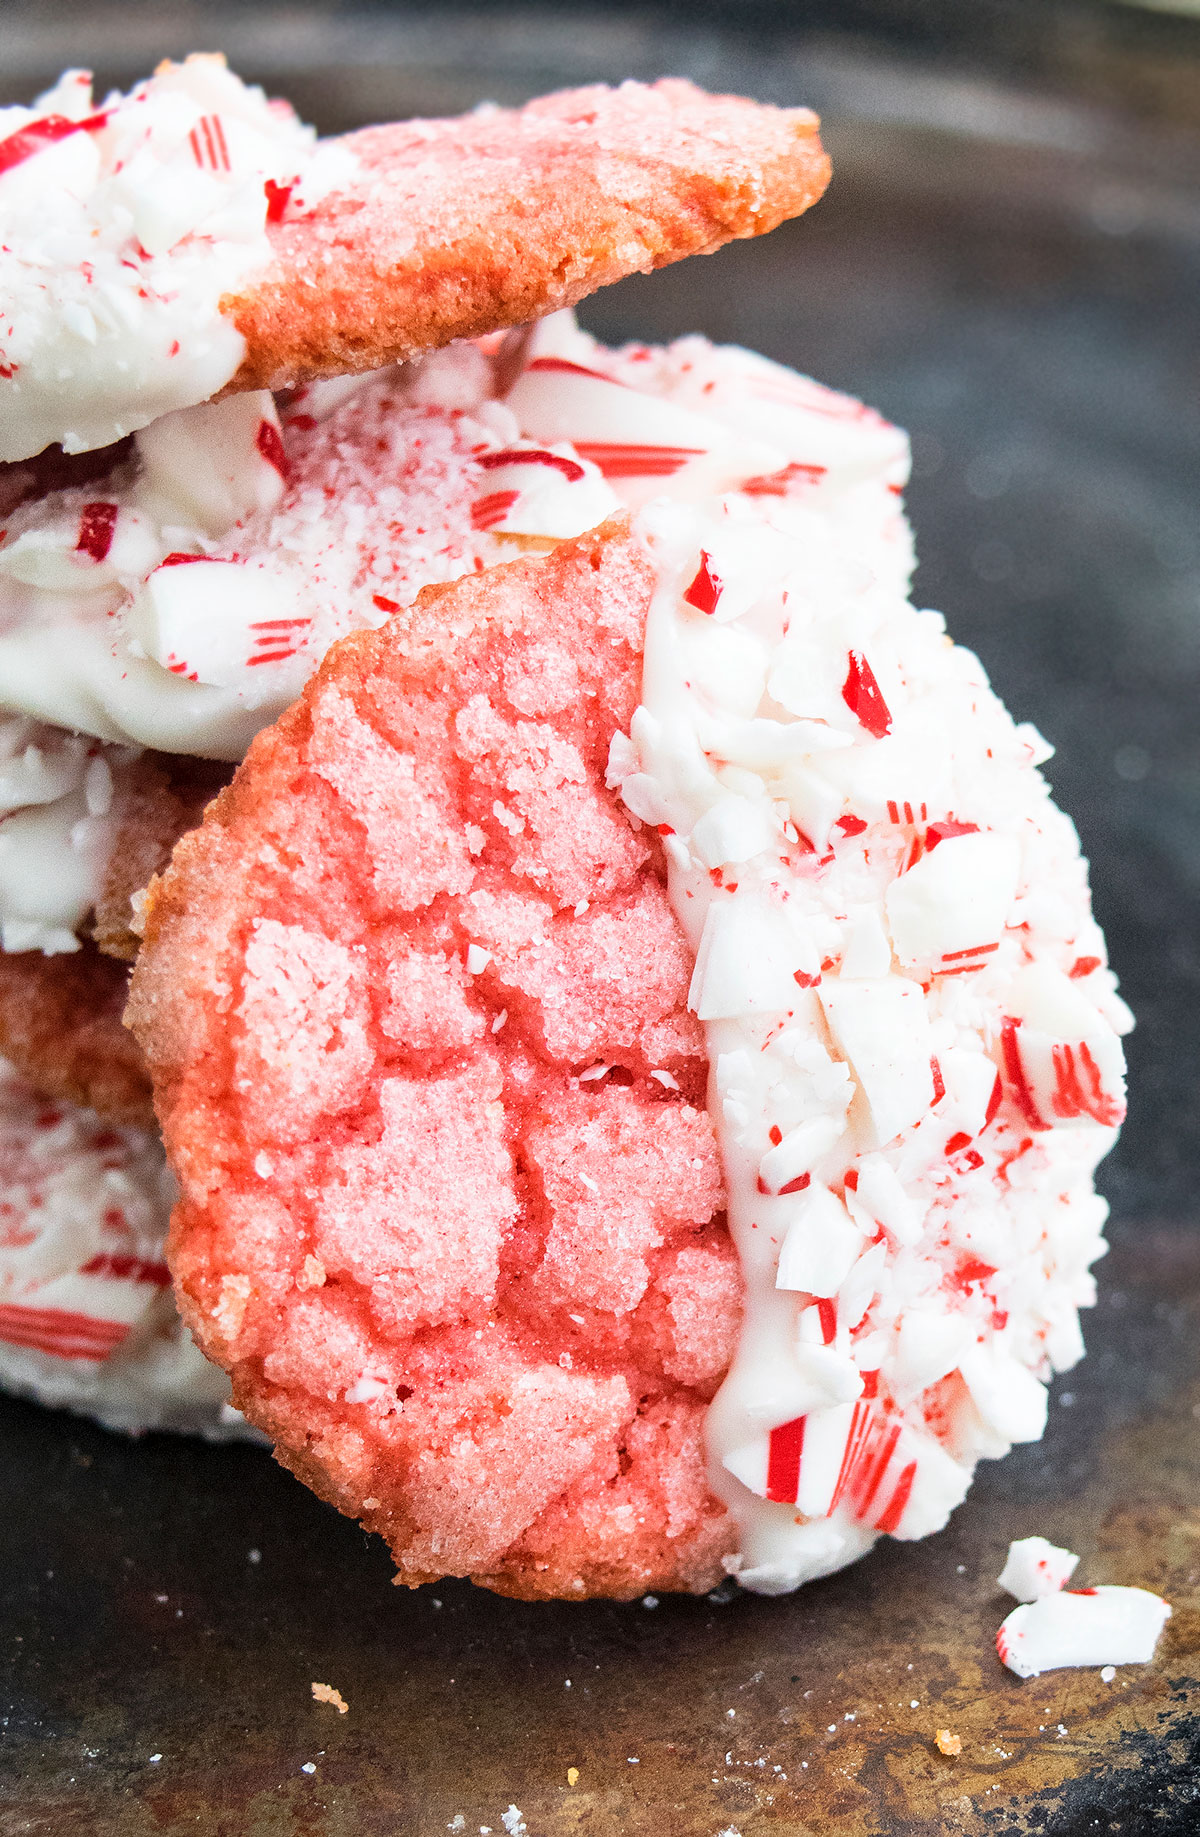
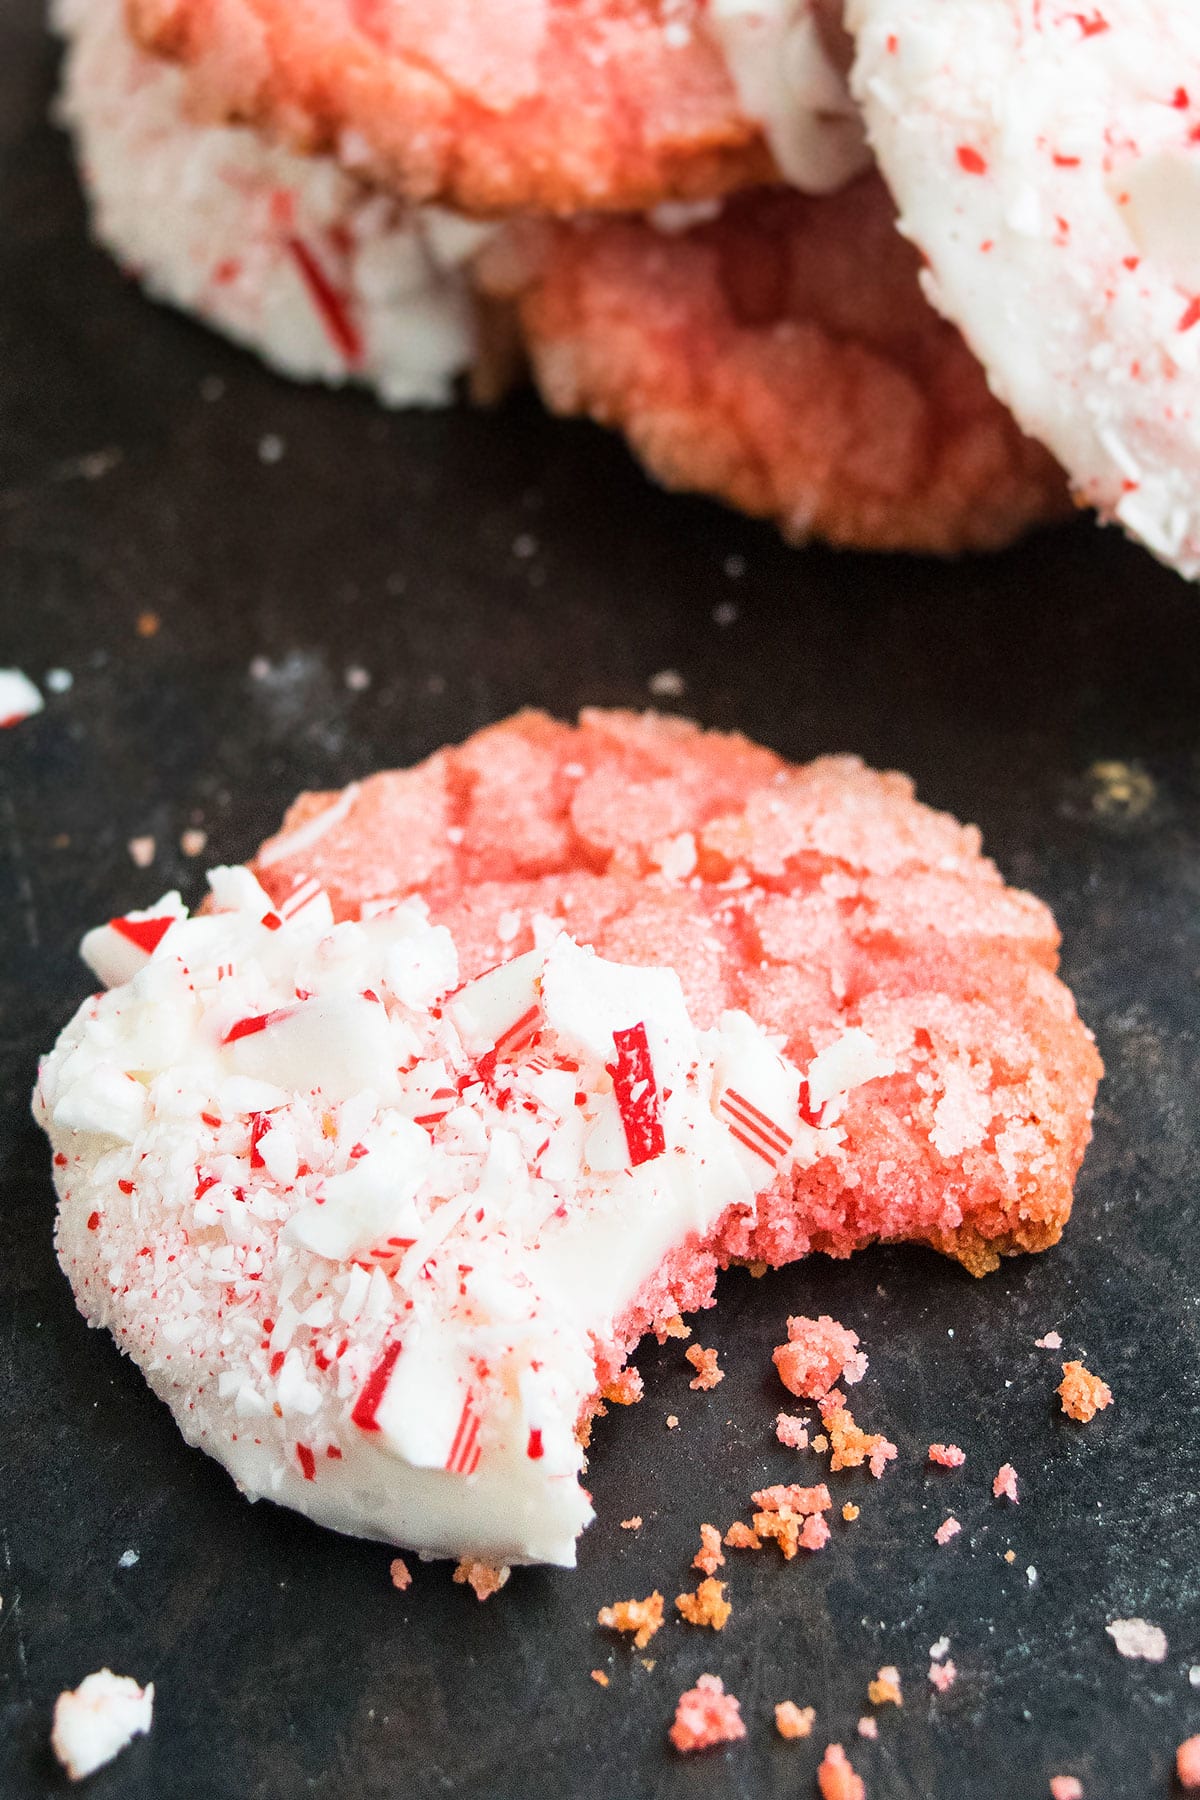
There’s nothing quite like the magic of baking during the holiday season, and these delightful **White Chocolate Peppermint Cookies** are designed to capture that festive spirit in every bite. This quick and easy recipe, crafted from scratch with simple, wholesome ingredients, promises a truly sensational treat. Imagine sinking your teeth into a cookie that’s wonderfully crispy and crackly on the outside, yet delightfully soft and chewy on the inside. That perfect contrast of textures, combined with the classic holiday flavors of sweet white chocolate and cool, refreshing peppermint, makes them an instant favorite.

Last Christmas, these cookies were an absolute showstopper, receiving rave reviews and requests to be made annually. Their rich, buttery base and the signature crispy, crackly tops, much like our beloved Crackle Cookies (Crinkle Sugar Cookies), make them truly irresistible. This time of year is all about embracing festive flavors, and peppermint reigns supreme. If you adore this refreshing minty flavor, you’ll also love our Peppermint Cake (Candy Cane Cake), a comforting Peppermint White Chocolate Mocha, and our decadent Peppermint Filled Cookies (Stuffed). All these treats are perfect for getting you into the ultimate holiday spirit. These White Chocolate Peppermint Cookies are also fantastic for holiday cookie exchanges and make a beautiful and delicious addition to any Christmas Cookie Box.
Table of contents
- Key Ingredients for the Best White Chocolate Peppermint Cookies
- Delicious Variations to Try
- How to Make Easy White Chocolate Peppermint Cookies from Scratch
- Expert Tips and Techniques for Perfect Peppermint Cookies
- White Chocolate Peppermint Cookie FAQs
- Storage and Make-Ahead Instructions
- More Irresistible Christmas Cookie Recipes
Key Ingredients for the Best White Chocolate Peppermint Cookies
Crafting these delicious **white chocolate peppermint cookies** requires a handful of simple, high-quality ingredients. Each plays a crucial role in achieving the perfect texture and flavor:
- Unsalted Butter: Always opt for unsalted butter at room temperature. This allows you to control the salt content in your cookies and ensures it creams beautifully with sugar, creating a light and airy base for the dough.
- Granulated Sugar: You’ll need this in two forms: for the main cookie dough batter, contributing to sweetness and spread, and for rolling the cookie dough balls, which helps create that signature crispy, crackly exterior.
- Egg Yolks: This is a secret weapon for chewy cookies! Using only egg yolks (instead of whole eggs) adds richness and moisture without introducing too much liquid, preventing a sticky dough and ensuring that delightful chewiness.
- Peppermint Extract: Essential for that signature holiday flavor. Be sure to use peppermint extract, not peppermint oil, as extracts are water-based and blend more easily into the dough, providing a balanced flavor.
- Pink Gel Coloring: While optional, a touch of pink gel coloring gives these cookies a lovely, subtle festive hue, making them even more visually appealing for the holidays.
- All-Purpose Flour: The structural backbone of your cookies. All-purpose flour is readily available and provides the right balance for a tender yet sturdy cookie.
- Baking Soda: A critical leavening agent that helps the cookies rise slightly and contributes to the crackly top. It reacts with the acidic cream of tartar to achieve this effect.
- Cream of Tartar: Don’t skip this! Cream of tartar is vital for stabilizing the dough and, when combined with baking soda, is key to developing those desirable crispy edges and distinctive crackled appearance.
- White Chocolate: For dipping your cooled cookies. Ensure it’s good quality white chocolate and fully melted and smooth for a seamless, glossy coating.
- Crushed Candy Canes: The final festive touch! Crushed candy canes provide both a burst of refreshing peppermint flavor and a beautiful, sparkling decoration.
Delicious Variations to Try
These **white chocolate peppermint cookies** are incredibly versatile. Feel free to get creative with these delicious variations:
Make Cookie Sandwiches: Elevate your cookies by turning them into decadent sandwiches. Simply pipe a generous dollop of my Best Cream Cheese Frosting between two cooled cookies for an extra creamy and rich treat.
Drizzle Instead of Dip: For a lighter touch, forgo dipping the entire cookie. Instead, melt the white chocolate and use a fork or a piping bag with a fine tip to elegantly drizzle it over the cooled cookies. This still adds the white chocolate flavor without the full coating.
Frost the Top of the Cookies: If you prefer a more traditional frosted cookie, spread a layer of luscious Sugar Cookie Frosting on top of each cooled cookie. Then, liberally sprinkle with crushed candy canes for a vibrant and flavorful finish.
Use a Simple Glaze: For a quick and easy topping, prepare a batch of Powdered Sugar Glaze (Vanilla Cake Glaze) and spoon a thin, even layer over each cookie. While it doesn’t offer the same crunch as candy canes, it adds a lovely sweetness and sheen.
Dark Chocolate Dip: For those who prefer a deeper, more intense chocolate flavor, swap the white chocolate for melted dark chocolate. The contrast between rich dark chocolate and bright peppermint is absolutely divine.
Turn These into Chocolate Chip Cookies: Incorporate more chocolate directly into the dough! Stir in 1 cup of white chocolate chips or classic milk chocolate chips during the last stage of mixing. For an extra decadent twist, you can even add dark chocolate chips or chunks.
Oreo Version: For a delightful crunch and extra flavor, roughly chop 1 cup of Oreo cookies and gently fold them into the cookie dough before shaping. The classic chocolate and cream of Oreos pairs wonderfully with the peppermint.
How to Make Easy White Chocolate Peppermint Cookies from Scratch
Creating these **easy white chocolate peppermint cookies** is a straightforward and rewarding process. Follow these simple steps for perfectly baked holiday treats:
- Cream Together Butter and Sugar: In a large mixing bowl, begin by creaming together the softened unsalted butter and granulated sugar. Beat them with an electric mixer until the mixture becomes light, pale, and fluffy, typically taking 2-3 minutes. This step incorporates air, contributing to the cookie’s tender texture.
- Incorporate Wet Ingredients: Add the egg yolks, peppermint extract, and a few drops of pink gel coloring (if using) to the creamed butter and sugar. Mix thoroughly until all these wet ingredients are fully combined and the mixture is smooth and evenly colored.
- Whisk Dry Ingredients Separately: In a separate, medium-sized bowl, whisk together the all-purpose flour, baking soda, and cream of tartar. Whisking ensures these dry ingredients are well distributed before adding them to the wet mixture, preventing pockets of leavening agents.
- Combine Wet and Dry Mixtures: Carefully add the dry flour mixture into the wet butter mixture. Mix on low speed, just until the ingredients are combined and a soft, cohesive dough forms. Be careful not to overmix, as this can lead to tough cookies.
- Scoop and Shape Dough Balls: Using a cookie scoop or your hands, scoop out small, uniform portions of the dough. Roll them gently between your palms to form smooth, round balls. Consistency in size helps ensure even baking.
- Roll in Granulated Sugar: Roll each dough ball generously in granulated sugar, ensuring it’s completely coated. This sugar coating is crucial for creating that beautiful crackly exterior during baking. Place the coated dough balls onto a baking tray lined with parchment paper, leaving enough space between them for spreading.
- Bake to Perfection: Preheat your oven to 350°F (175°C). Bake the cookies for approximately 15 minutes, or until their edges appear firm and lightly golden, but the centers still look slightly soft. Overbaking will result in dry cookies, so keep an eye on them.
- Cool Completely Before Decorating: Once baked, remove the cookies from the oven and let them cool on the baking sheet for a few minutes before transferring them to a wire rack to cool completely. This is a critical step; if the cookies are warm, the melted white chocolate will not set properly.
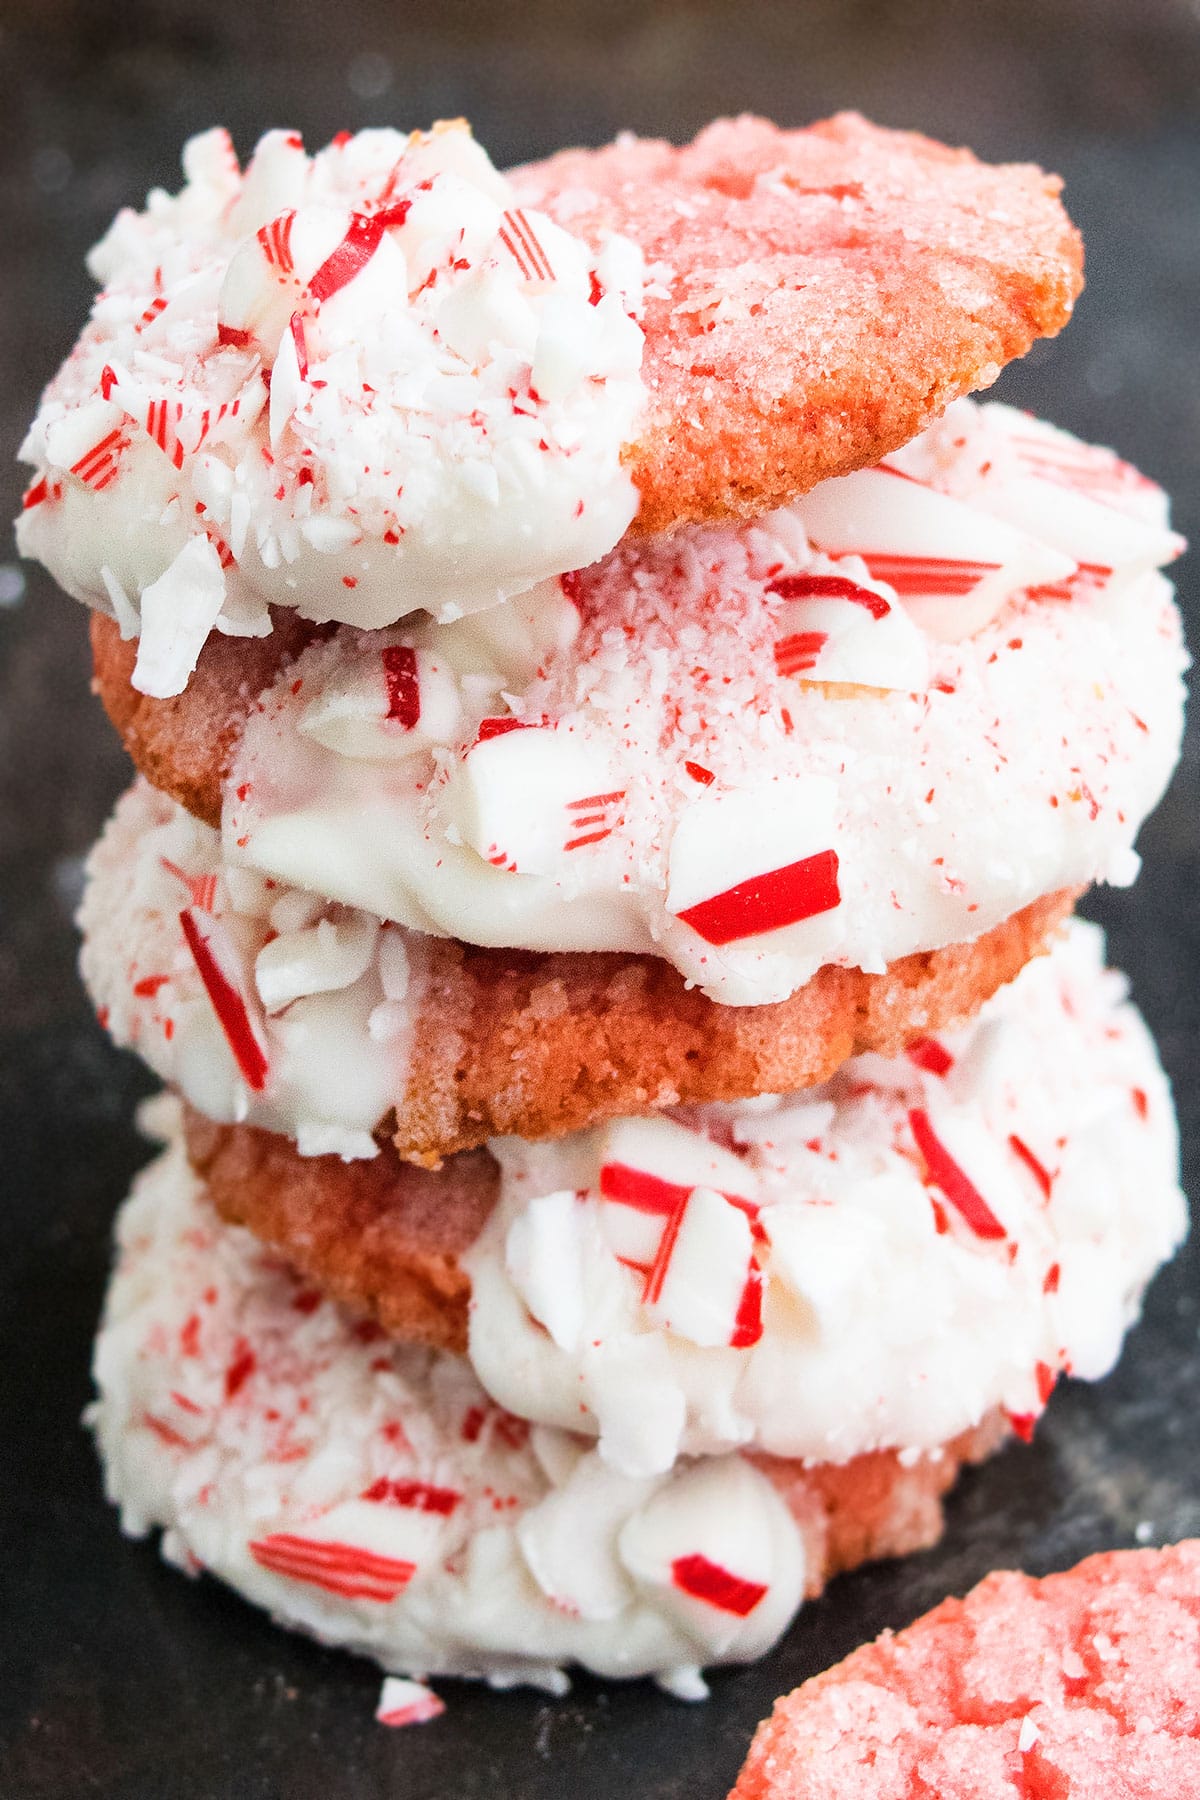
- Dip in White Chocolate and Decorate: Once the cookies are entirely cool, melt the white chocolate until smooth. Dip each cookie halfway into the melted white chocolate, allowing any excess to drip off. Place the dipped cookies back on the parchment-lined tray. Immediately sprinkle a generous amount of crushed candy canes on the white chocolate before it sets. Allow the chocolate to set completely (this takes about 15-20 minutes at room temperature, or quicker in the fridge). Now, your festive cookies are ready to enjoy!

Expert Tips and Techniques for Perfect Peppermint Cookies
Achieving perfectly crackly, chewy, and flavorful **white chocolate peppermint cookies** is all about a few key tips and techniques:
- Baking Soda vs. Baking Powder: Do not replace baking soda with baking powder in this recipe. Baking soda, especially when paired with cream of tartar, creates the specific chemical reaction needed for those desirable crackly tops and contributes to the unique chewiness of these cookies.
- Cream of Tartar is Essential: Seriously, don’t omit cream of tartar! This ingredient is crucial for the distinct crackly effect and contributes to the cookies’ texture and slight tang. It reacts with the baking soda to produce carbon dioxide, which creates the bubbles that lead to the cracks.
- Egg Yolks Over Whole Eggs: Stick to using only egg yolks. Whole eggs introduce more liquid, which can make the dough too sticky and alter the texture significantly, resulting in a less chewy cookie. Yolks provide richness and moisture without excess water.
- Room Temperature Ingredients: Ensure all your ingredients, especially butter and egg yolks, are at room temperature. This allows them to blend together smoothly and evenly, creating a uniform dough and preventing lumps or a curdled appearance. Cold ingredients won’t emulsify properly.
- No Chilling Required: Unlike many cookie recipes that demand chilling, this dough does not require it. You can mix, roll, and bake these **peppermint cookies** immediately, saving you precious time, especially during busy holiday preparations.
- Avoid Over-baking: Keep a close eye on your cookies while they’re in the oven. Over-baking will cause the edges to become too dark brown and lead to a dry, hard cookie rather than a soft, chewy one. Look for firm edges and slightly soft centers.
- Cool Completely Before Decorating: Patience is a virtue when it comes to decorating! Make sure the cookies have cooled down completely before dipping them in melted white chocolate. If the cookies are even slightly warm, the chocolate will melt, smear, and become a messy disaster.
- Use Unsalted Butter: Opt for unsalted butter so you can control the salt level in your recipe. Different brands of salted butter have varying amounts of sodium, and using them might make your cookies too salty. You can always add a pinch of salt if desired.
White Chocolate Peppermint Cookie FAQs
The primary secret to keeping these **white chocolate peppermint cookies** moist is to avoid over-baking them. Baking for too long will dry out all the moisture, leaving you with a hard cookie. Additionally, ensure you measure your flour accurately; too much flour can also lead to a dry, dense texture. Baking just until the edges are firm and the centers are slightly soft is key.
Cookies often turn out flat if the dough is too wet or warm. This can happen if your butter was too soft or melted, or if there’s an imbalance in your wet-to-dry ingredient ratio. If your dough feels overly sticky or soft, it’s a good idea to chill it in the refrigerator for 30-40 minutes until it firms up. This helps prevent excessive spreading during baking, resulting in cookies with better structure.

Storage and Make-Ahead Instructions
These delicious **white chocolate peppermint cookies** are perfect for preparing in advance or storing leftovers. Here’s how to keep them fresh:
- Make Ahead: You can prepare these cookies up to 3 days in advance. Once baked and cooled, store them in an airtight container at room temperature or in the refrigerator. The flavors will deepen beautifully, making them ready to serve whenever you need a festive treat.
- Room Temperature Storage: Store any leftover baked and decorated cookies in a sealed cookie jar or airtight container at room temperature for up to 3 days. Ensure they are kept away from direct sunlight or heat to maintain their quality.
- Refrigerate: For slightly longer storage, you can keep the cookies in an airtight container in the refrigerator for up to 3 days. If you’ve already dipped them in white chocolate, you might find the chocolate becomes quite firm. For the best texture, allow them to sit out at room temperature for a few hours before serving, or consider adding the melted chocolate and candy canes shortly before serving.
- Freezing Dough or Baked Cookies:
- Freezing Dough: You can prepare the cookie dough balls, roll them in sugar, and then freeze them on a baking sheet until solid. Once frozen, transfer them to a freezer-safe bag or container for up to 1-2 months. When ready to bake, thaw the dough balls slightly (about 15-20 minutes) and bake as directed, then dip in melted chocolate.
- Freezing Baked Cookies: You can also freeze the cookies after they have been baked and cooled, but before dipping them in chocolate. Arrange them in a single layer in an airtight freezer-safe container, separated by parchment paper, for up to 1 month. When you’re ready to enjoy them, thaw the cookies at room temperature and then proceed with dipping them in melted white chocolate and crushed candy canes. This prevents the chocolate coating from becoming chalky or dull during freezing.
More Irresistible Christmas Cookie Recipes
If you’re still in the mood for festive baking, explore these other delightful Christmas cookie recipes:
- Fresh Cranberry Cookies (White Chocolate, Orange, Oatmeal)
- Christmas Pinwheel Cookies
- Best Christmas Cookies (Classic and Unique)
- How to Make Gingerbread House
- Easy Gingersnap Cookies (Cut Outs)
- Christmas Tree Cookies
- Church Window Cookies
Recipe

Easy White Chocolate Peppermint Cookies
Abeer Rizvi
Pin Recipe
Want to Save This Recipe?
Enter your email & I’ll send it to your inbox. Plus, get great new recipes from me every week!
By submitting this form, you consent to receive emails from CakeWhiz
Ingredients
- 1 cup Butter Unsalted, Room temperature
- 1¼ cups Granulated sugar
- 3 Egg yolks Large
- 1 teaspoon Peppermint extract
- Pink gel coloring (Optional, for festive color)
- 2½ cups All-purpose flour
- 1 teaspoon Baking soda
- ½ teaspoon Cream of tartar
- 1 cup Granulated sugar For rolling cookie dough balls
- 1 cup White chocolate Melted, for dipping
- ½ cup Candy canes Crushed, for topping
Instructions
-
In a mixing bowl, cream together the softened unsalted butter and 1¼ cups of granulated sugar until the mixture is light, pale, and fluffy, about 2-3 minutes.
-
Add the large egg yolks, peppermint extract, and a few drops of pink gel coloring (if desired). Mix until thoroughly combined and smooth.
-
In a separate bowl, whisk together the all-purpose flour, baking soda, and cream of tartar to ensure they are well distributed.
-
Gradually add this dry mixture into the wet mixture. Mix on low speed just until the ingredients are combined and a soft, cohesive cookie dough forms. Avoid overmixing.
-
Scoop out small, uniform portions of the dough and roll them into smooth balls. Roll each ball generously in the remaining 1 cup of granulated sugar, ensuring it’s completely coated. Place the coated dough balls on a cookie tray lined with parchment paper, leaving adequate space between them.
-
Bake in a preheated oven at 350 degrees F (175°C) for approximately 15 minutes, or until the edges are firm and lightly golden, and the centers still appear slightly soft.
-
Remove the cookies from the oven and allow them to cool down completely on a wire rack before proceeding to the next step.
-
Once fully cooled, melt the white chocolate until smooth. Dip each cookie halfway into the melted white chocolate and place it back on a cookie tray lined with wax paper or parchment paper.
-
Immediately toss or sprinkle some crushed candy canes on top of the melted white chocolate on each cookie. Allow the white chocolate to set completely (this typically takes about 15-20 minutes at room temperature). Serve and enjoy your festive White Chocolate Peppermint Cookies!
Notes
- Always allow cookies to cool fully before dipping them in melted chocolate to ensure a smooth, non-messy finish.
- Do not omit cream of tartar; it is essential for creating the distinctive crackly effect and chewy texture of these cookies.
- There is no need to chill this particular cookie dough before baking, making it a quick and convenient recipe.
- For more detailed insights on variations, storage, and troubleshooting, refer to the comprehensive tips and techniques sections above.
- Store leftover cookies in an airtight container at room temperature for up to 3 days to maintain their freshness.
Nutrition
An automated tool is used to calculate the nutritional information. As such, I cannot guarantee the accuracy of the nutritional information provided for any recipe on this site.
