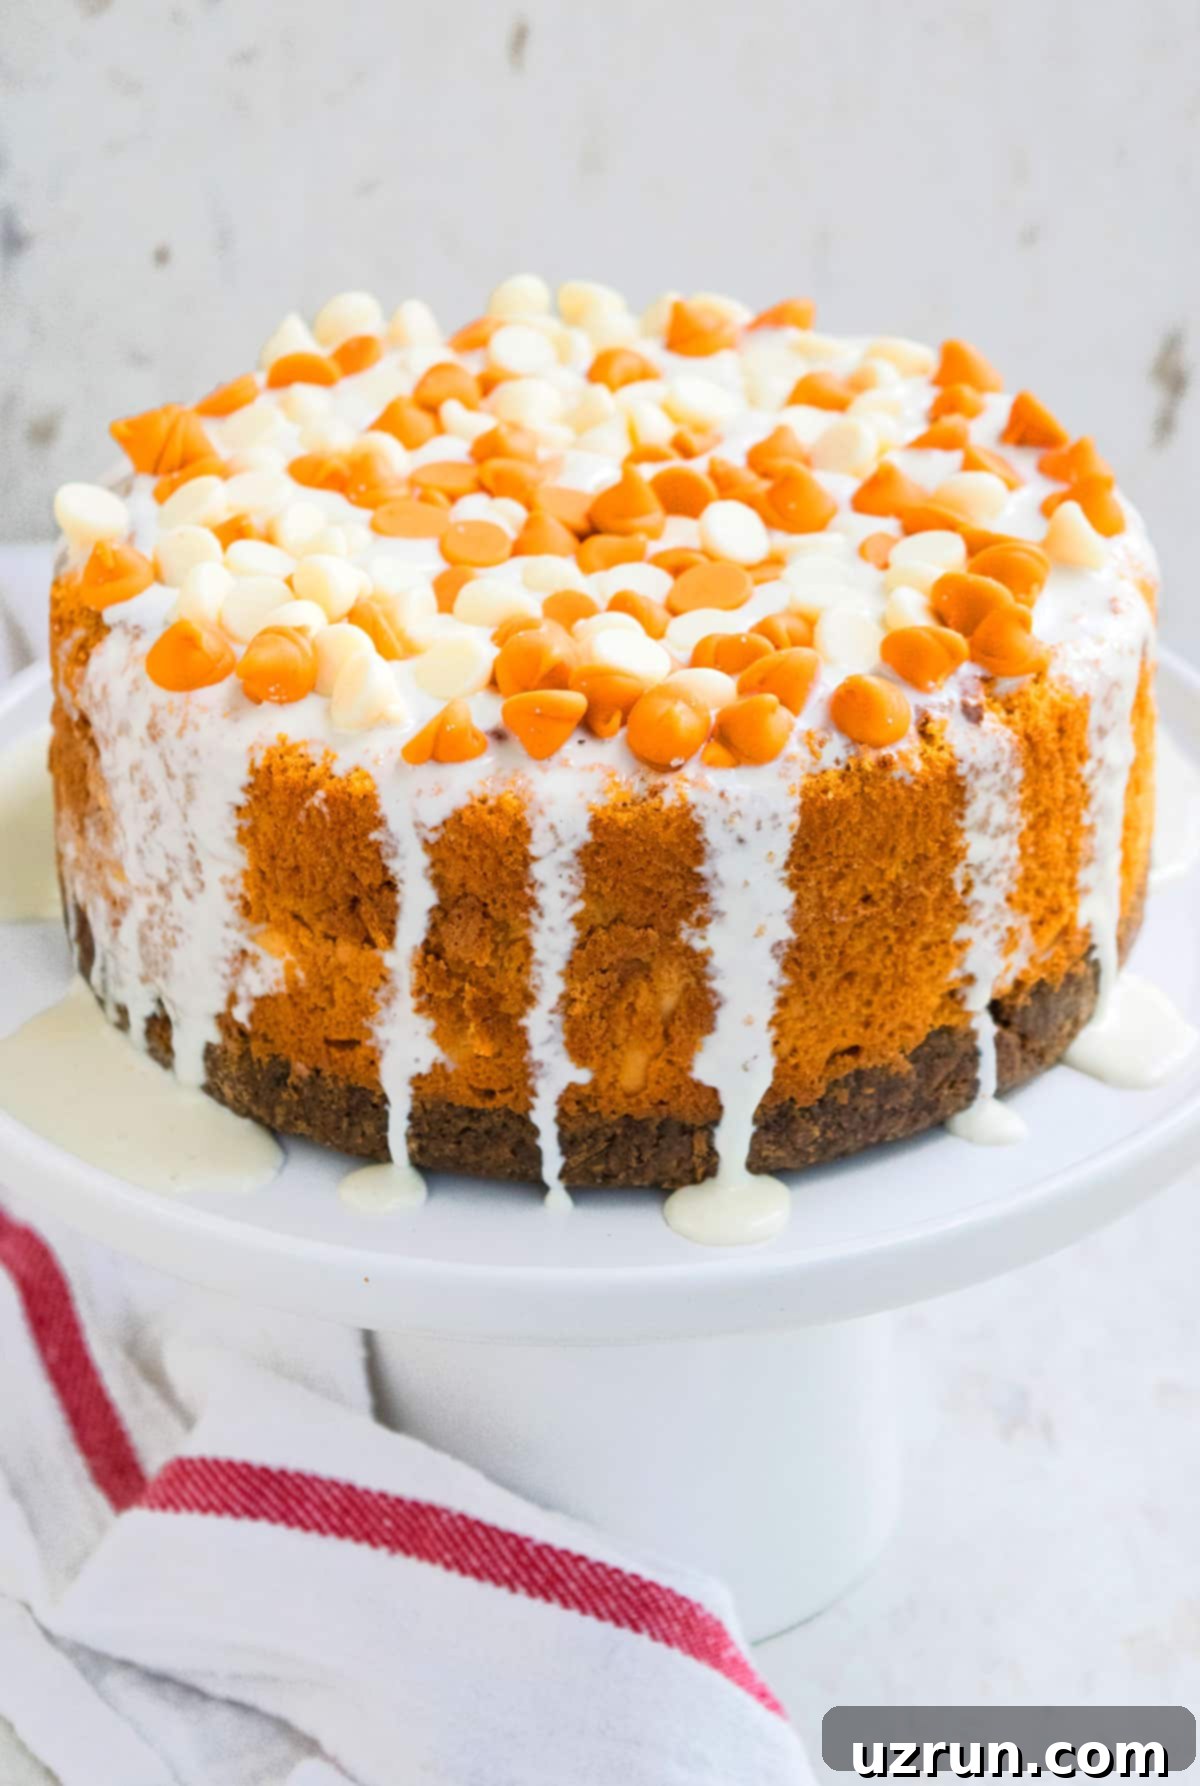
Irresistible Spiced Pumpkin Cheesecake with Gingersnap Crust: Your Ultimate Fall Dessert
Prepare to fall in love with this incredibly rich, creamy, and easy spiced pumpkin cheesecake. Featuring a perfectly spiced gingersnap cookie crust, this homemade dessert is crafted from scratch using simple, wholesome ingredients. It’s elegantly crowned with a luscious white chocolate ganache, making every bite a celebration of autumn flavors. This recipe delivers a luxurious cheesecake experience that’s surprisingly straightforward to create.
*Thank you, Vital Proteins, for sponsoring today’s post, enabling me to share this delightful recipe with all of you. As always, all opinions expressed are entirely my own.*
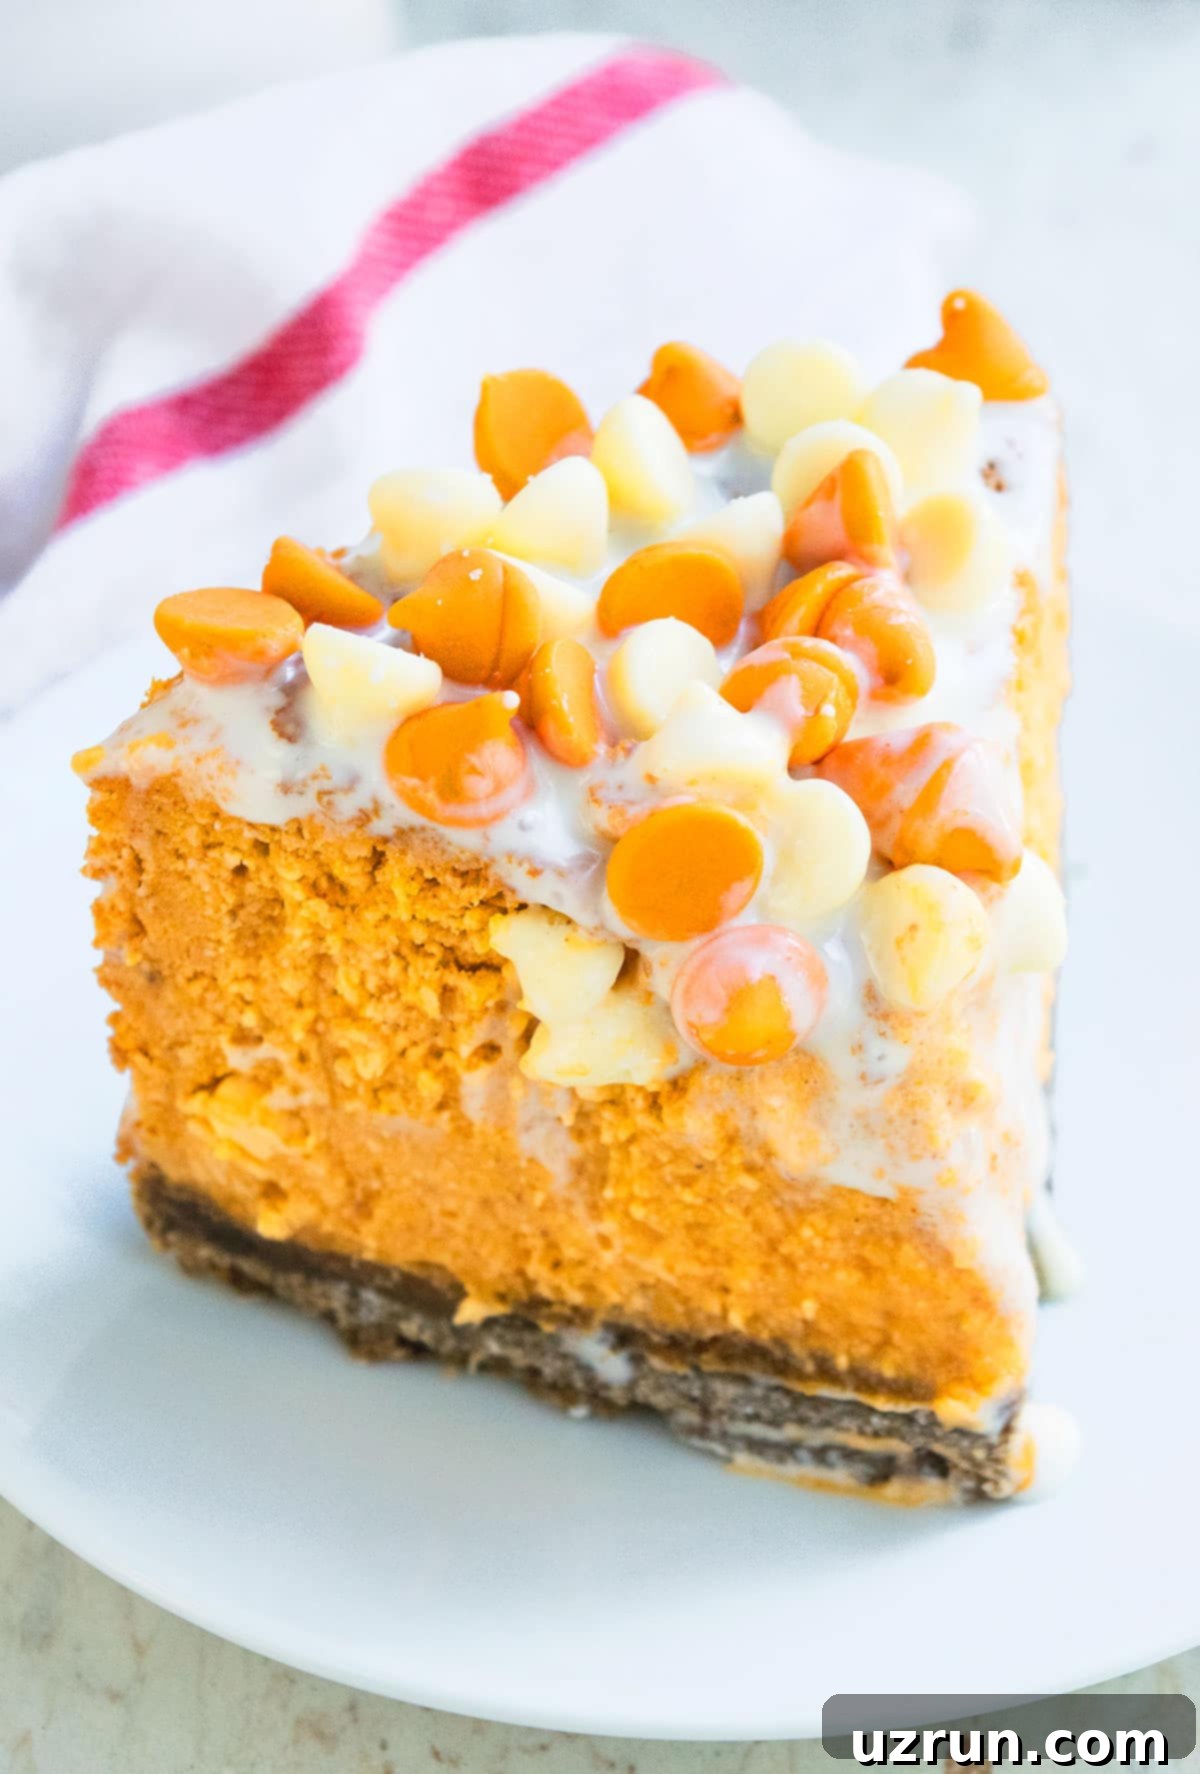
This exquisite pumpkin cheesecake is made with authentic pumpkin puree, not the pre-mixed pie filling, ensuring a genuine and vibrant pumpkin flavor. Its beautiful orange hue makes it an ideal dessert for festive occasions like Thanksgiving gatherings or even a spooky Halloween celebration. If you consider yourself a cheesecake enthusiast, you absolutely must explore some of my other popular cheesecake recipes, including this classic New York Cheesecake (No Water Bath), the decadent Nutella Cheesecake (No Bake), the festive Eggnog Cheesecake (No Bake), and the refreshing Peach Cheesecake (No Bake). Each offers a unique and delightful experience!
Creating a truly memorable pumpkin cheesecake starts with understanding the role of each ingredient. From the spicy crunch of the crust to the smooth creaminess of the filling, every component plays a vital part in achieving perfection. Let’s dive into the essential elements that make this recipe a standout.
Key Ingredients for the Perfect Pumpkin Cheesecake
- Gingersnap Cookies: These are the secret to an extraordinary crust. Unlike traditional graham crackers, gingersnap cookies infuse the base with a warm, spicy aroma and flavor that perfectly complements the pumpkin. Their distinctive ginger and cinnamon notes elevate the entire cheesecake experience, offering a delightful crunch and depth of flavor.
- Unsalted Butter: Essential for binding the cookie crumbs and creating a rich crust. Using unsalted butter allows you to control the overall saltiness of the dessert, ensuring a balanced flavor profile. Melted butter ensures an even distribution and a perfectly set crust.
- Sugar (Granulated & Brown): A combination of both granulated and brown sugar provides balanced sweetness and a subtle molasses undertone. Brown sugar adds moisture and a richer, caramel-like flavor that enhances the pumpkin and spice notes in the cheesecake filling.
- Full-Fat Cream Cheese: This is non-negotiable for achieving that signature rich, dense, and ultra-creamy cheesecake texture. Full-fat cream cheese provides the necessary body and velvety mouthfeel that lighter versions simply cannot replicate. Ensure it’s at room temperature for a lump-free batter.
- Real Pumpkin Puree: The heart of our cheesecake! It’s crucial to use 100% pure pumpkin puree, not pumpkin pie filling, which often contains added sugars and spices that can throw off the recipe’s balance. Using pure pumpkin allows you to control the spices and sweetness precisely.
- Full-Fat Sour Cream: Another key player in achieving ultimate creaminess. Sour cream adds a subtle tang that beautifully balances the sweetness of the pumpkin and cream cheese. Its acidity also contributes to a smoother, more tender cheesecake texture. Like cream cheese, ensure it’s at room temperature.
- Pumpkin Pie Spice & Vanilla Extract: These aromatics are indispensable. Pumpkin pie spice provides that iconic blend of cinnamon, nutmeg, ginger, and cloves, imbuing the cheesecake with its signature fall flavor. Vanilla extract, a classic enhancer, rounds out the flavors and adds a comforting warmth.
- Large Eggs: Eggs act as the primary binder, providing structure and richness to the pumpkin mixture. They are crucial for setting the cheesecake to the perfect consistency. Ensure they are large and at room temperature for seamless incorporation into the batter.
- High-Quality White Chocolate: Used to create the luxurious ganache topping. Opting for a high-quality white chocolate will result in a smoother, more flavorful ganache that melts beautifully and adds a delicate sweetness, contrasting wonderfully with the spiced pumpkin.
Creative Variations for Your Holiday Cheesecake
While this spiced pumpkin cheesecake is perfect as is, it’s also incredibly versatile! Feel free to customize it with these delightful variations to suit your taste or occasion:
- Elevate the Gingersnap Crust with Nuts: For an added layer of texture and a subtle nutty flavor, consider incorporating finely chopped pecans or walnuts into your gingersnap crust mixture. Toasting the nuts lightly before adding them will intensify their flavor.
- Explore Alternative Crust Flavors: If gingersnap isn’t your preferred base, you have many options. A classic Graham Cracker Crust offers a milder, buttery foundation. For a rich, chocolatey contrast, try an Oreo Pie Crust. Feeling adventurous? A pretzel crust provides an exciting sweet and salty flavor combination that pairs surprisingly well with pumpkin.
- Experiment with Different Cheesecake Toppings: Beyond white chocolate ganache, the topping possibilities are endless. Drizzle with a cloud-like Chantilly Cream (Creme Chantilly), a rich and buttery Caramel Frosting, or a comforting Maple Frosting for an extra touch of autumnal sweetness.
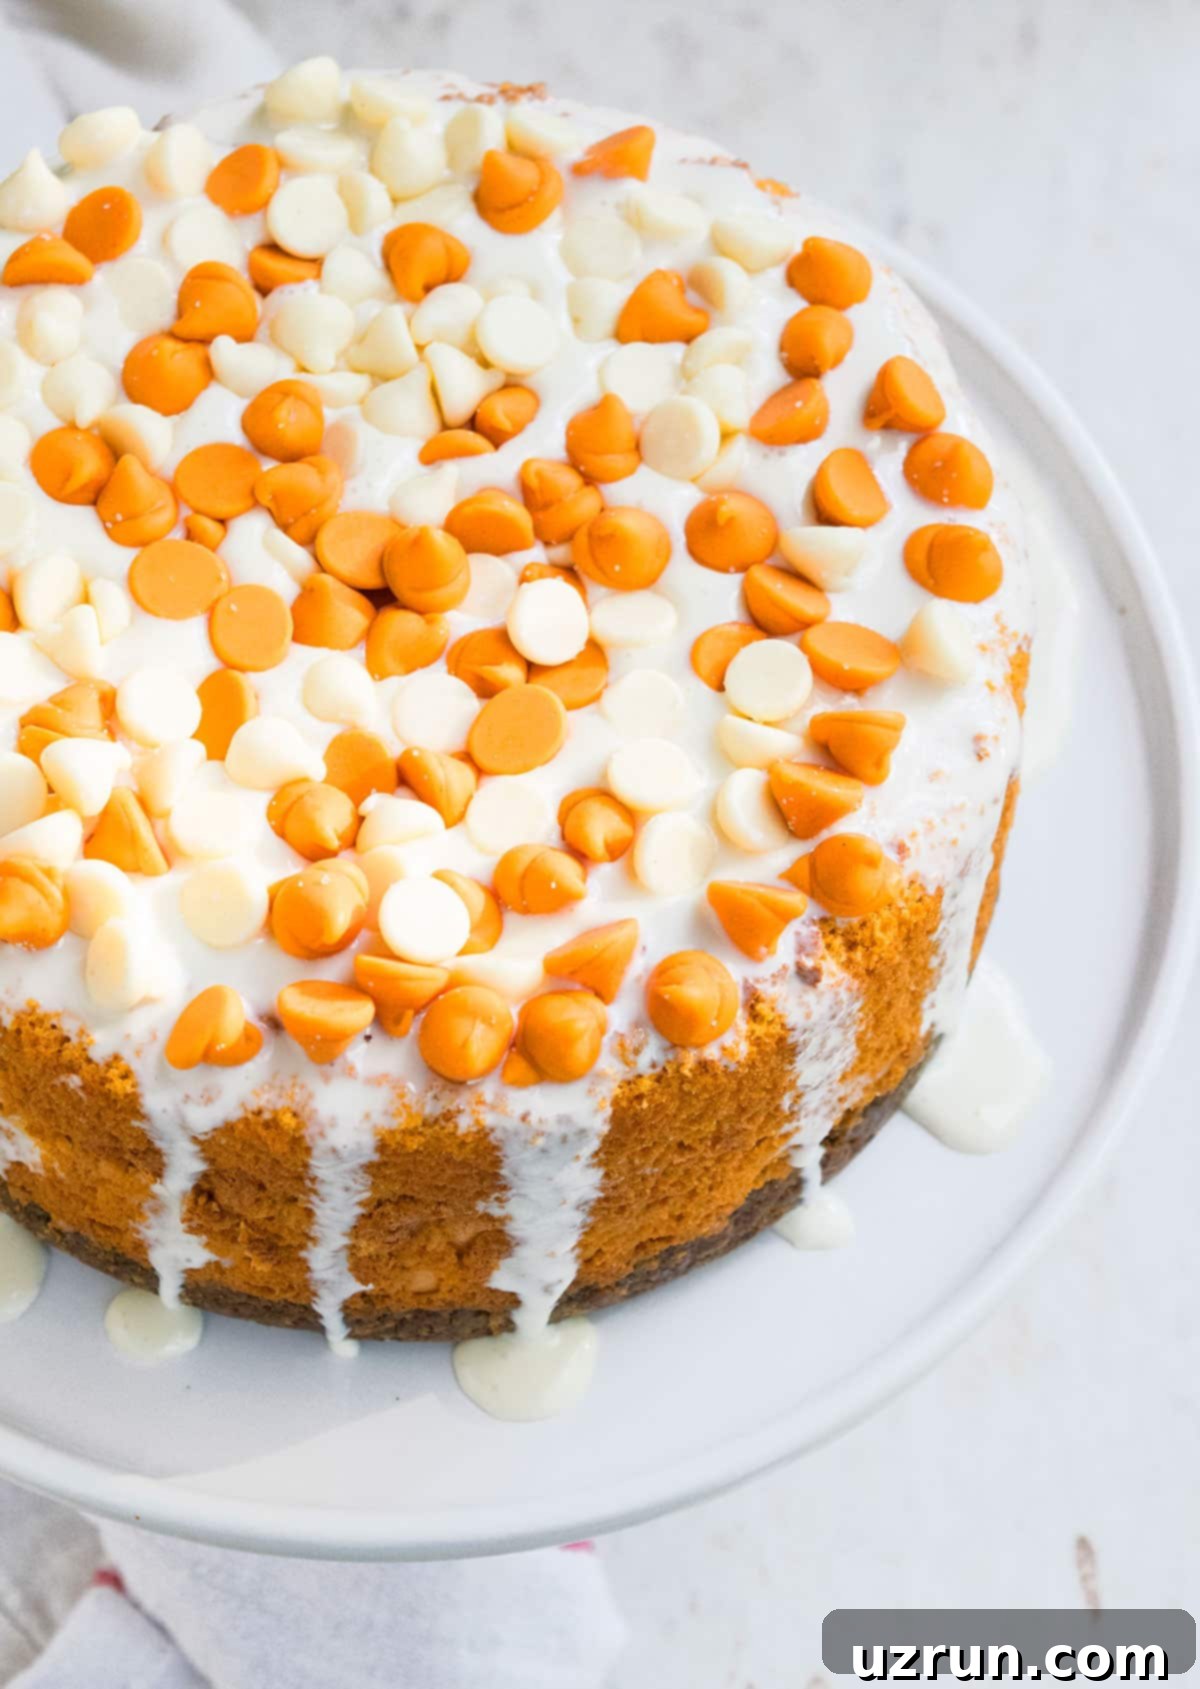
- Get Creative with Cheesecake Decorations: I typically adorn this cheesecake with a mix of various chocolate chips and white chocolate chips, but don’t limit yourself! Consider decorating with elegant shredded chocolate, crunchy chopped nuts, delicate shredded coconut, or an assortment of seasonal candies. For a truly show-stopping dessert, add handcrafted embellishments like delicate Royal Icing Flowers (Sugar Flowers), vibrant Fondant Flowers, or beautifully piped Buttercream Flowers (With Russian Piping Tips).
- Adapt to Mini Cheesecakes or Cheesecake Bars: This versatile recipe can easily be scaled down for individual servings or transformed into convenient bars. The batter and baking times will remain largely the same; only the baking pans will differ (e.g., muffin tins for mini cheesecakes, a square baking pan for bars). Adjust baking time as needed for smaller portions.
Crafting the Perfect Pumpkin Cheesecake: A Step-by-Step Guide
Making this easy pumpkin cheesecake from scratch is a rewarding process that yields incredible results. Follow these simple steps for a dessert that will impress everyone:
- Prepare the Gingersnap Crust: Begin by finely grinding your gingersnap cookies into crumbs. In a mixing bowl, combine these crumbs with melted unsalted butter and a touch of granulated sugar. Press this mixture firmly into the bottom of a springform pan to form a compact crust. Bake it briefly to set, then allow it to cool, forming a sturdy and flavorful foundation.
- Whip Up the Creamy Filling: In a large mixing bowl, beat softened full-fat cream cheese with brown sugar until light, fluffy, and completely smooth. In a separate bowl, whisk together the large eggs, cooled pumpkin puree (after cooking to remove excess moisture), full-fat sour cream, all-purpose flour, pumpkin pie spice, vanilla extract, and optional orange food coloring until just combined. Gently fold the pumpkin mixture into the cream cheese mixture, mixing on low speed until everything is thoroughly incorporated without overmixing.
- Bake to Perfection: Carefully pour the prepared cheesecake batter over your cooled gingersnap crust in the springform pan. Bake in a preheated oven at the specified temperature until the edges are set, but the center still has a slight, delicate wobble. This indicates it’s perfectly cooked without being over-baked.
- Cool Gradually in the Oven: Once baked, turn off the oven but leave the cheesecake inside with the oven door partially open (propped with a wooden spoon). This crucial step allows the cheesecake to cool down slowly and evenly, preventing drastic temperature changes that can lead to cracking.
- Chill Overnight for Optimal Setting: After gradually cooling in the oven and then on the countertop, cover the cheesecake with foil and transfer it to the refrigerator. It needs to chill thoroughly, ideally overnight or for at least 4-5 hours. This chilling period is essential for the cheesecake to fully set, firm up, and allow its flavors to deepen and meld beautifully.
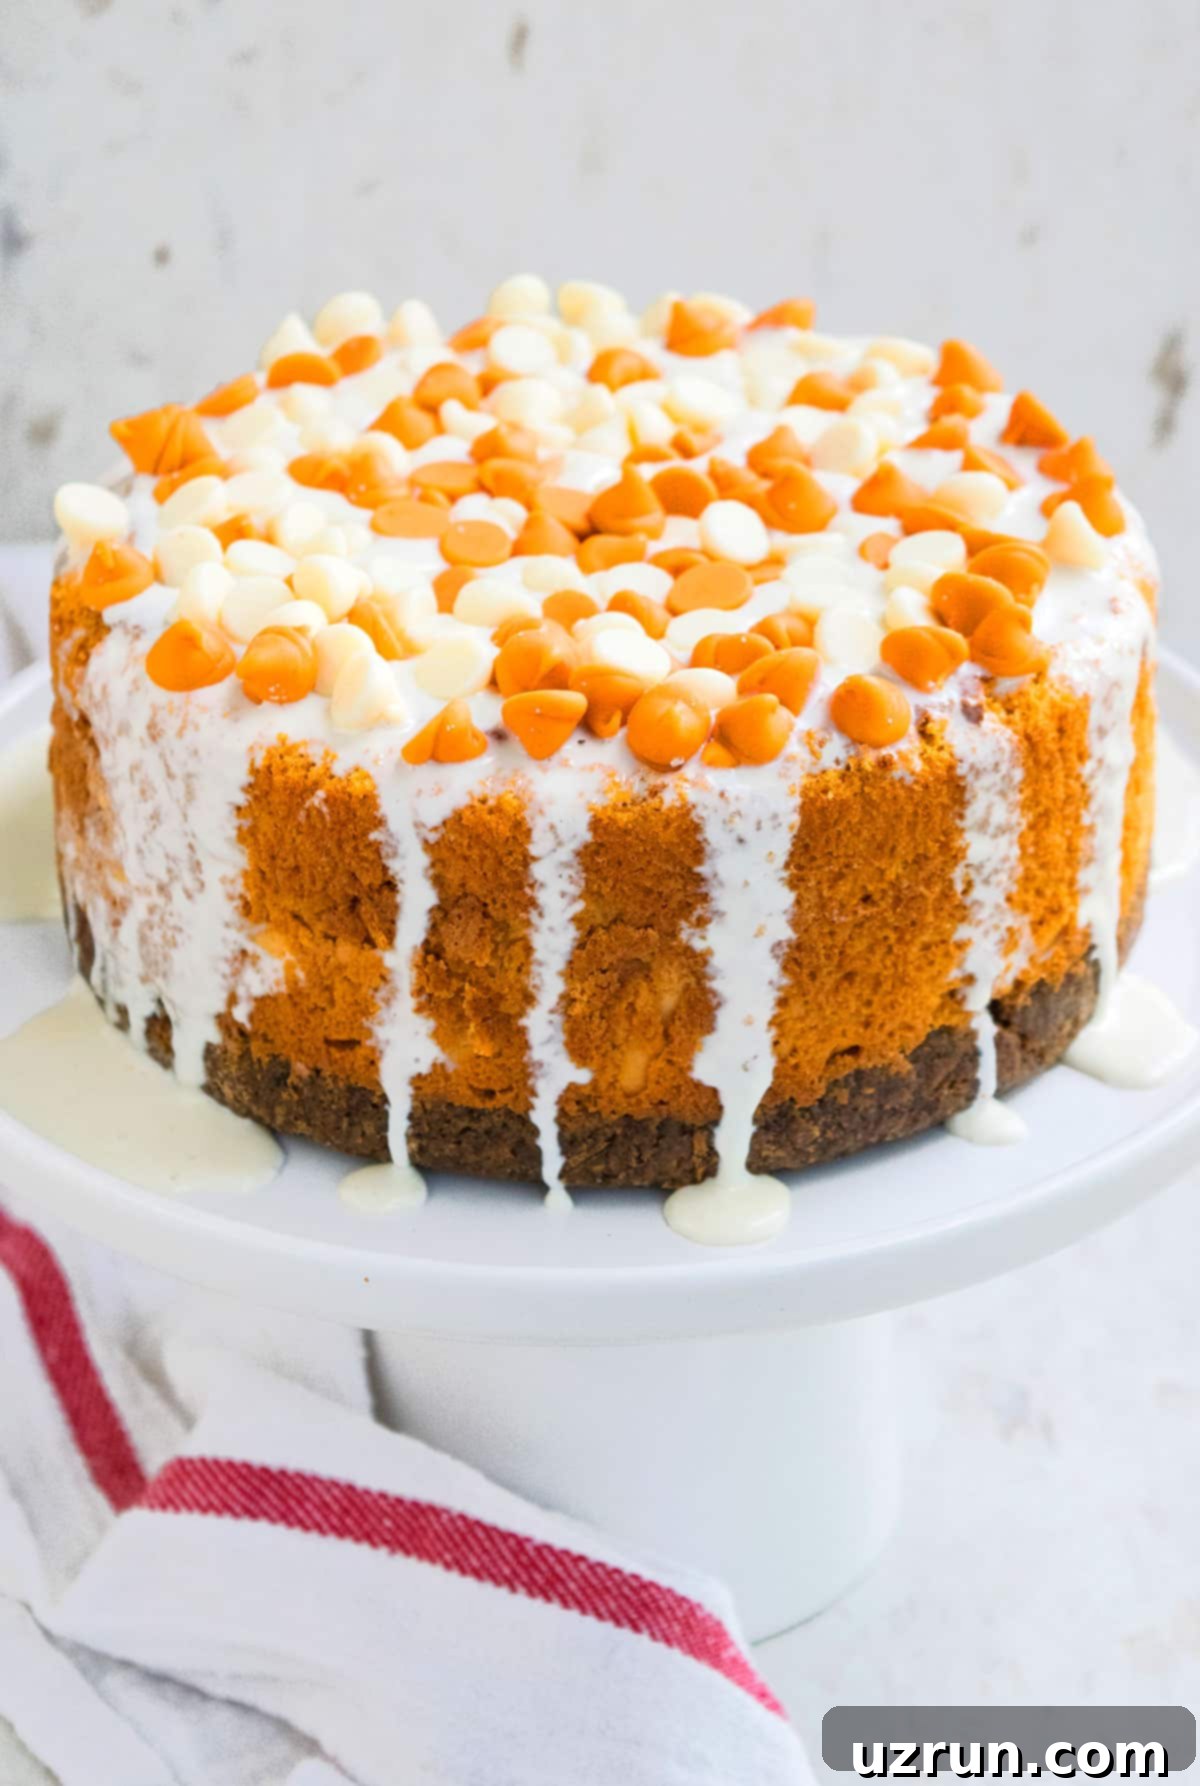
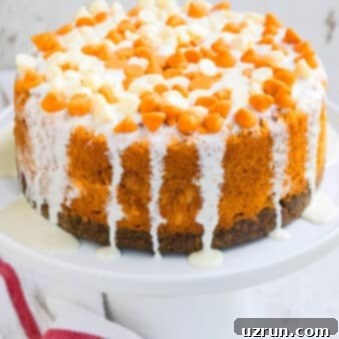
- Add Decadent Toppings and Decorations: Just before serving, prepare your white chocolate ganache and drizzle it generously over the chilled cheesecake, letting some cascade down the sides. Finish by scattering a medley of chocolate chips, seasonal candies, or your chosen decorations on top for a visually appealing and delicious final touch.
Expert Tips and Techniques for Cheesecake Success
Achieving a flawless, crack-free, and sumptuously creamy pumpkin cheesecake is easier than you think with these expert tips:
- Ensure All Ingredients are at Room Temperature: This is paramount! Room temperature cream cheese, eggs, and sour cream blend together much more smoothly and evenly, preventing lumps and ensuring a consistently creamy batter. Cold ingredients can lead to a lumpy texture and may require overmixing, which can introduce too much air.
- Verify Your Oven Temperature Accuracy: An accurately calibrated oven is vital. An oven that runs too hot can over-bake the cheesecake, resulting in a dry texture and cracks. Conversely, an oven that’s too cool can lead to an under-baked, soggy, or unset cheesecake. Consider using an oven thermometer for precision.
- Adhere Strictly to the Recipe: Resist the urge to make improvisations on your first attempt. This recipe has been meticulously tested multiple times by myself and my mother to ensure perfect results. Following it closely guarantees the best outcome.
- Garnish and Decorate Only When Fully Chilled: Patience is key! Apply any toppings or decorations only after the cheesecake has completely cooled and firmed up in the refrigerator for several hours or overnight. Attempting to decorate a warm or semi-set cheesecake can lead to melting ganache, sliding decorations, or an overall messy appearance.
- Do Not Skip Cooking the Pumpkin Puree: This step is crucial for achieving the perfect cheesecake consistency. Cooking the pumpkin puree on the stovetop for about 10 minutes allows excess moisture to evaporate, preventing a watery or soupy cheesecake filling. A drier puree ensures a dense, flavorful, and perfectly set dessert.
- Allow Gradual Cooling in the Oven (Partially Open): This technique is a crack-prevention superstar. After baking, turning off the oven and leaving the cheesecake inside with the door ajar allows it to cool down slowly and gently. This gradual temperature change minimizes the chances of the cheesecake cracking due to sudden contraction. It continues to set without overbaking.
- When to Remove Cheesecake from Springform Pan: Only remove the outer rim of the springform pan once the cheesecake is completely chilled and firm, typically after an overnight stay in the fridge or at least 4 hours. Before unlatching the pan, gently slide a thin, sharp knife around the inner edge of the cake to ensure it doesn’t stick.
- A Springform Pan is Essential: Unlike regular cake pans, a springform pan is specifically designed for cheesecakes. Its removable sides allow for easy extraction without damaging the delicate structure of the cheesecake. My sister and I learned the hard way years ago that a basic round cake pan will cause the cheesecake to stick, making proper removal nearly impossible.
Troubleshooting: Why Did My Cheesecake Crack? How to Prevent This
Cheesecake cracks can be frustrating, but they are often preventable. Here’s why they occur and how you can avoid them:
- Overmixing the Batter: Whipping the batter on high speed or mixing it for too long incorporates excessive air. This air causes the cheesecake to rise too much during baking, and then, as it cools, it collapses and cracks. Mix only until just combined, preferably on low speed.
- Rapid Temperature Changes: A common culprit! Sudden shifts in temperature, such as removing the cheesecake directly from a hot oven to a cool countertop, can cause the outer edges to cool and contract faster than the center, leading to cracks. Always follow the gradual cooling method in the oven as described in the instructions.
- Lack of Moisture/Humidity (Water Bath): Many bakers utilize a water bath (bain-marie) to create a humid environment in the oven, which promotes even baking and prevents cracks. While this specific recipe is designed to work beautifully without a water bath, ensuring your oven isn’t too dry can help. If you’re consistently getting cracks, even with the gradual cooling method, you might consider trying a water bath for future cheesecakes. This involves wrapping the outside of your springform pan in foil and placing it in a larger tray with hot water before baking.
- Incorrect Oven Temperature: As mentioned earlier, an oven that runs too hot or is improperly calibrated will cook the top and edges of the cheesecake too quickly compared to the interior. This uneven cooking will lead to cracking. Use an oven thermometer to ensure accuracy.
- Overbaking: Baking the cheesecake for too long can dry it out, making it prone to cracking as it cools. Always look for that slight jiggle in the center as an indicator that it’s done, as described in the FAQ section.
Recipe FAQs
Lumps typically occur because your cream cheese or other dairy ingredients were not at room temperature, or the mixture was not properly combined. Ensure all dairy is softened to room temperature before beginning, and use a hand-held mixer or stand mixer to thoroughly beat the cream cheese and sugar until perfectly smooth before adding other ingredients.
To check for doneness, gently jiggle the pan in the oven. You are looking for a slight wobble or “jiggle” in the very center of the cheesecake, while the outer edges appear set. It should look almost fully set, except for a small circle (about 2-3 inches in diameter) in the middle. This means it’s ready to be removed from the oven. The residual heat will continue to cook and set this center as it cools, resulting in a perfectly creamy texture.
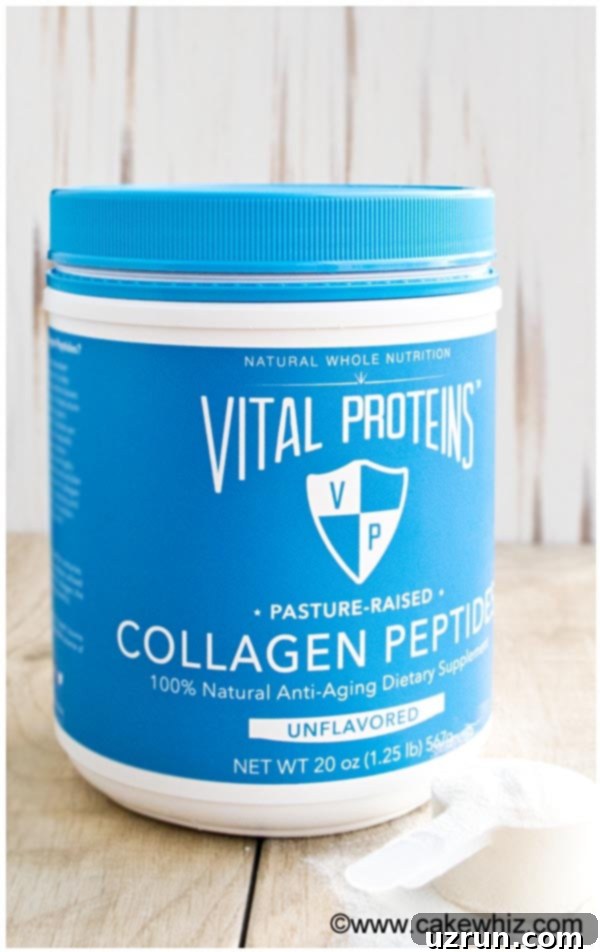
As a bonus, I incorporated Vital Proteins collagen peptides into the gingersnap crust for this recipe. It’s a fantastic way to add beneficial health properties to your dessert without altering the taste or texture in any way. You genuinely won’t detect it, making it an excellent, sneaky nutritional boost!
Storage and Make-Ahead Tips
Proper storage ensures your pumpkin cheesecake remains fresh and delicious:
- Refrigerate: Store any leftover cheesecake in an airtight container in the refrigerator for up to 3 days. This prevents it from drying out and absorbing other fridge odors.
- Freeze: To enjoy this cheesecake later, allow it to cool completely to room temperature after baking. Then, wrap it tightly in several layers of plastic wrap, followed by a layer of aluminum foil, or place it in a sealed freezer-safe container. It can be frozen for up to 1 month. When you’re ready to indulge, thaw the cheesecake in the refrigerator overnight, or at room temperature for a few hours. Once thawed, prepare and drizzle the white chocolate ganache and top with your favorite chocolate chips or other decorations.
- Can you make cheesecake ahead of time? Absolutely, and it’s highly recommended! Cheesecakes actually benefit from being made at least 24 hours in advance. This extended chilling period allows the flavors to fully develop and meld, and ensures the cheesecake sets properly, resulting in a firmer, more stable, and ultimately more delicious dessert.
More Irresistible Pumpkin Desserts
If you’re a fan of pumpkin, you’ll love these other easy and delicious recipes:
- Pumpkin Chocolate Chip Cookies (Made with Cake Mix)
- Easy Pumpkin Brownies (Using Brownie Mix)
- Decadent Pumpkin Fudge (With a Gingersnap Crust)
- Moist Pumpkin Bars (Topped with Cream Cheese Frosting)
- Simple Pumpkin Cake (Made with Cake Mix)
Recipe
Spiced Pumpkin Cheesecake with Gingersnap Crust
Abeer Rizvi
Pin Recipe
Want to Save This Recipe?
Enter your email & I’ll send it to your inbox. Plus, get great new recipes from me every week!
By submitting this form, you consent to receive emails from CakeWhiz
Ingredients
Gingersnap Crust
- 1½ cups Gingersnap cookie crumbs Finely ground
- ½ cup Vital Proteins collagen peptides Optional, for added benefits
- 6 tablespoon Unsalted Butter Melted
- 2 tablespoon Granulated sugar
Pumpkin Cheesecake Filling
- 3 packages Cream cheese 8 ounces each, full-fat, softened to room temperature
- 1½ cups Brown sugar
- 1 can Pumpkin puree 15 oz. can, 100% pure (not pie filling), cooked and cooled
- ¼ cup Full-fat Sour cream Softened to room temperature
- 2 tablespoon All-purpose flour
- 1 tablespoon Pumpkin pie spice
- 1 teaspoon Vanilla extract
- 4 Large Eggs At room temperature
- Orange food coloring Optional, for a vibrant color
White Chocolate Ganache
- 1 cup High-quality White chocolate Chopped or chips
- ¼ cup Heavy cream
Instructions
Gingersnap Crust
-
In a mixing bowl, combine the finely ground gingersnap cookie crumbs, optional Vital Proteins collagen peptides, melted unsalted butter, and granulated sugar. Mix until you achieve a moist and crumbly mixture.
-
Lightly spray a 9-inch springform pan with cooking oil. Transfer the cookie crumb mixture into the prepared pan and spread it out evenly across the bottom.
-
Use the flat bottom of a drinking glass or measuring cup to firmly pack down the cookie crust. This ensures a sturdy and cohesive base for your cheesecake.
-
Bake the crust in a preheated oven at 350 degrees F (175°C) for 8 minutes. Remove from the oven and allow it to cool completely on a wire rack to set.
Pumpkin Cheesecake Filling
-
In a small non-stick saucepan, add the pumpkin puree. Cook on medium heat for approximately 10 minutes, stirring occasionally, until a significant amount of the water has evaporated and the puree thickens. This step is crucial for preventing a watery cheesecake. Remove from heat and let it cool completely. To speed up cooling, you can place it in the freezer for a few minutes.
-
In a large mixing bowl, combine the softened cream cheese and brown sugar. Beat with an electric mixer on medium speed until the mixture is light, fluffy, and completely smooth with no lumps. Scrape down the sides of the bowl as needed.
-
In a separate mixing bowl, whisk together the large eggs, cooled pumpkin puree, full-fat sour cream, all-purpose flour, pumpkin pie spice, vanilla extract, and a few drops of optional orange food coloring (if desired, for a more vibrant hue). Mix gently until just combined.
-
Pour the pumpkin mixture into the cream cheese mixture. Mix on low speed, just until everything is thoroughly combined. Be careful not to overmix, as this can incorporate too much air and lead to cracks.
-
Carefully pour the prepared cheesecake batter over the cooled gingersnap crust in the springform pan. Bake at 350 degrees F (175°C) for 1 hour, or until the edges are set and the center has a slight jiggle. After baking, turn off the oven and prop the oven door slightly open with a wooden spoon. Leave the cheesecake in the cooling oven for 45 minutes; it will continue to cook and set gently.
-
After 45 minutes, remove the cheesecake from the oven and allow it to cool completely to room temperature on a wire rack. Once fully cooled, cover it tightly with foil or plastic wrap and chill in the refrigerator for at least 4-5 hours, or ideally overnight, to allow it to set completely and for the flavors to deepen.
White Chocolate Ganache
-
In a small non-stick saucepan, combine the chopped white chocolate (or white chocolate chips) and heavy cream. Heat on low to medium heat, stirring constantly, until the white chocolate is completely melted and the mixture is smooth and glossy. Alternatively, you can melt them together in a microwave-safe bowl in 30-second intervals, stirring in between.
-
Remove the ganache from the heat and let it cool down slightly until it thickens to a drizzling consistency.
Assembling and Serving
-
Prior to serving, run a thin, sharp knife around the inner edge of the chilled cheesecake to loosen it from the pan. Then, gently release and remove the outer rim of the springform pan.
-
Pour the cooled white chocolate ganache evenly over the top of the cheesecake, allowing some to beautifully drip down the sides. For a final flourish, scatter a generous amount of white chocolate chips and pumpkin-flavored chocolate chips (or other desired decorations) on top. Slice and serve!
Notes
- Baking Time is Key: Do not be tempted to change the oven temperature or shorten the baking time. Yes, it truly needs to bake for the full duration specified to set properly without cracking.
- Storing Leftovers: Any leftover cheesecake should be stored promptly in a sealed, airtight container in the refrigerator for up to 3 days to maintain its freshness and creamy texture.
- Thicker Crust Option: For those who adore a more substantial base, simply double the gingersnap cookie crust recipe. This will yield a deliciously thick and crunchy crust, as featured in some of my preparations.
- Plan Ahead for Best Results: Making your cheesecake at least 24 hours in advance is highly recommended. This crucial resting period allows the cheesecake to cool down thoroughly, firm up beautifully, and ensures the flavors deepen and meld, resulting in a more exquisite taste and texture.
- Refer to Additional Tips: For further guidance on preventing cracks, lump-free batter, and ideal cooling techniques, please refer to the “Tips and Techniques” and “Why did my cheesecake crack?” sections above.
Nutrition
An automated tool is used to calculate the nutritional information. As such, I cannot guarantee the accuracy of the nutritional information provided for any recipe on this site.
