Irresistible No-Bake Oreo Truffles: The Easiest 3-Ingredient Dessert for Any Occasion
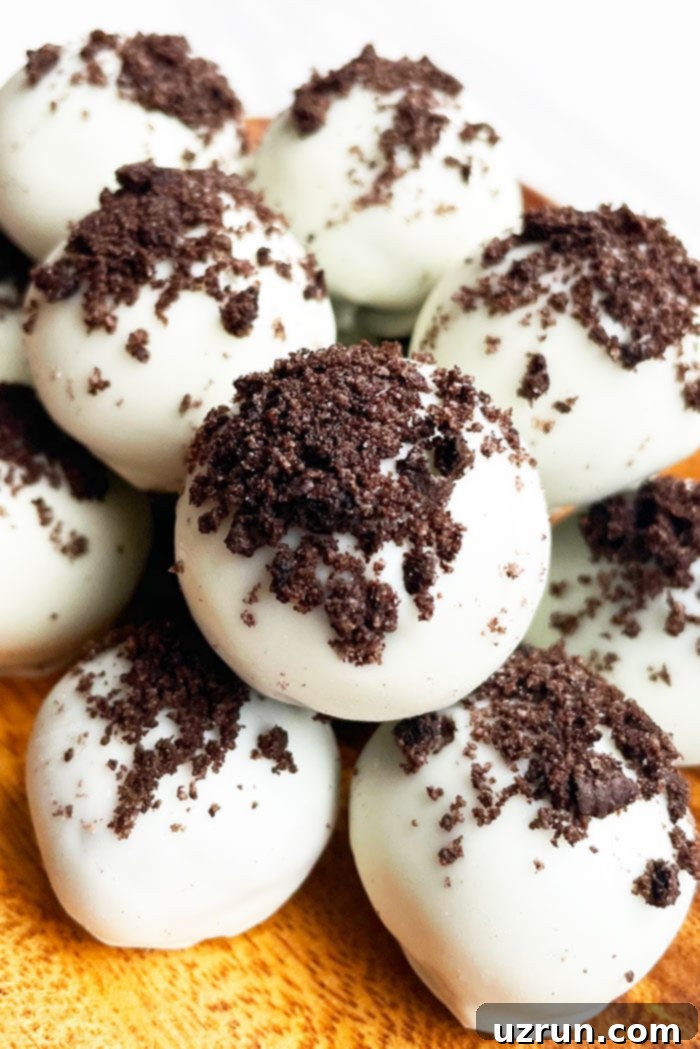
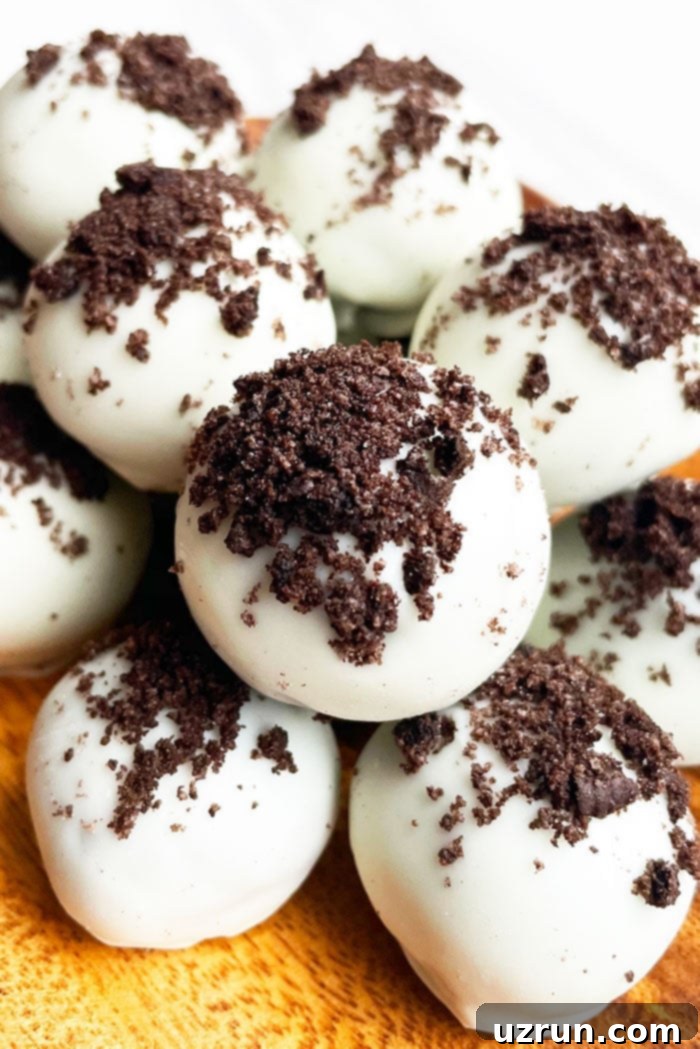
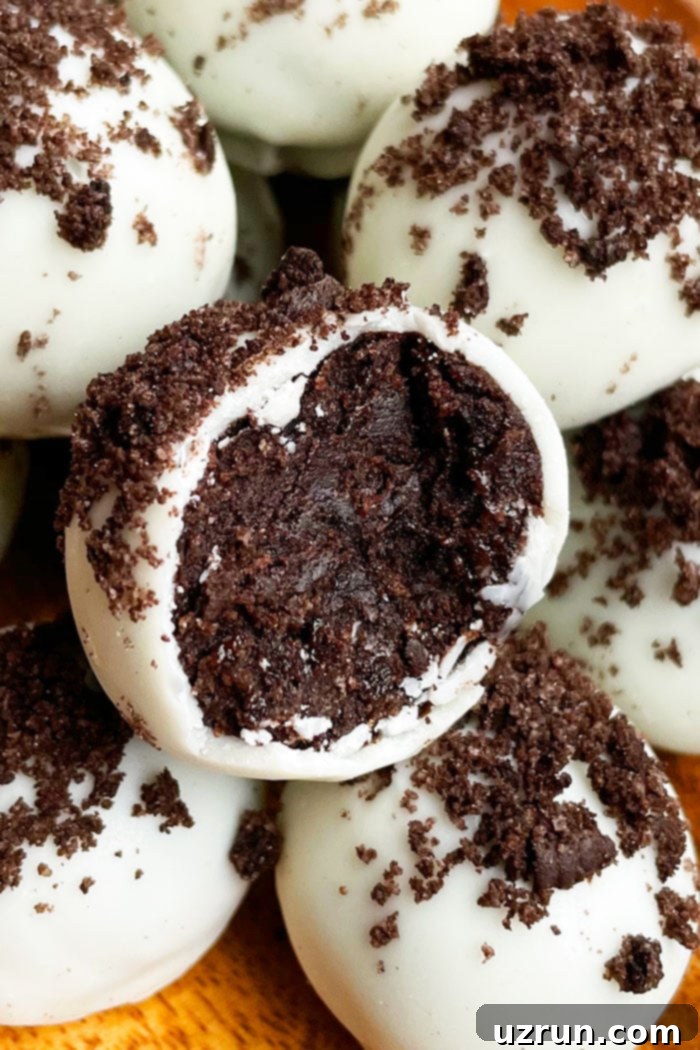
Prepare to be amazed by these incredibly quick and easy **no-bake Oreo truffles**! This homemade recipe, requiring just three simple ingredients, transforms classic Oreo cookies into rich, fudgy, and utterly delightful **Oreo balls**. Each bite offers an ooey-gooey texture loaded with the familiar crunch of Oreo cookies, the tangy creaminess of cream cheese, all enveloped in a perfectly set white chocolate coating. They’re an absolute game-changer for anyone craving a simple yet impressive dessert.
Truffles are truly a gift to the world of desserts! Their sweet taste and satisfying texture are a pure delight, and the best part is how incredibly easy they are to make at home. You’ll barely need to plan ahead to whip up a batch of these heavenly treats. If you’re an avid Oreo lover, these truffles are a must-try. For more ways to enjoy your favorite cookie, be sure to explore these other fantastic desserts: Fudgy Oreo Brownies, a luscious Cookies and Cream Cake (Oreo Cake), and a super simple No Bake Oreo Pie. Each offers a unique way to savor the iconic cookie flavor.
How to Make No-Bake Oreo Truffles from Scratch: A Simple Guide
Making these delightful Oreo truffles is surprisingly straightforward, requiring minimal effort and no baking whatsoever. Follow these simple steps to create perfect, bite-sized treats every time:
- Crush Oreos: Start by crushing your favorite Oreos into fine, consistent crumbs. This is the foundation of your truffle dough, ensuring a smooth texture.
- Mix in Cream Cheese: Add softened cream cheese to the Oreo crumbs and mix until a sticky, uniform dough forms. This binds everything together beautifully.
- Scoop and Roll: Take small portions of the mixture and roll them between your palms to form perfectly round, bite-sized balls. Consistency in size helps with even chilling and dipping.
- Chill Balls: Place the rolled Oreo balls in the freezer for about 20 minutes. This step is crucial for firming them up, making them easier to dip and preventing cracks.
- Dip in Melted Chocolate: Once chilled, dip each ball into your chosen melted chocolate, ensuring a full and even coating.
- Let Chocolate Set: Allow the chocolate coating to set at room temperature until firm. You can sprinkle additional crushed Oreos or other toppings while the chocolate is still wet.
Why Do My Oreo Balls Crack? The Secret to Smooth Truffles
It’s a common frustration when your beautiful **Oreo balls crack** after dipping them in chocolate. This usually happens due to a significant temperature difference between the truffle dough and the melted chocolate. If the dough balls are too cold – for instance, straight from a deep freeze – and you dip them into very hot melted chocolate, the sudden warmth causes the cold center to expand rapidly. This quick expansion creates stress on the outer chocolate shell, leading to unsightly cracks.
The best way to prevent this is by ensuring your dough balls are firm but not excessively cold. Aim for a chilled, but not rock-hard, consistency. Similarly, your melted chocolate should be warm and fluid enough for dipping, but not scorching hot. Think of it like tempering chocolate; temperature control is absolutely key here. Allowing the chilled balls to sit at room temperature for just 5-10 minutes before dipping can make a huge difference, letting them slightly warm up without losing their firmness.
How to Crush Oreos to Perfection for Truffles
Achieving the perfect crumb texture is essential for your **no-bake Oreo truffles**. You need finely crushed Oreos to ensure the mixture binds smoothly with the cream cheese and creates a uniform, fudgy dough. There are two primary methods for crushing your Oreos into fine crumbs, each with its own advantages:
- The Ziploc Bag and Rolling Pin Method: This is a simple, no-fuss approach that doesn’t require any special equipment. Place the Oreo cookies in a sturdy Ziploc bag, making sure to remove as much air as possible before sealing it. Then, use a rolling pin, a meat mallet, or even the bottom of a heavy pan to crush the cookies. Apply even pressure and continue until you achieve fine, consistent crumbs. This method can be a bit more labor-intensive but works perfectly if you don’t have a food processor.
- The Food Processor Method: This is by far the quickest and easiest method, and it’s what I personally prefer and recommend. Simply place the whole Oreo cookies (cream filling included!) into your food processor. Pulse the cookies a few times until they break down into fine, uniform crumbs. The beauty of this method is that you can often add your softened cream cheese directly into the food processor after crushing the Oreos and pulse again until the mixture is perfectly combined, saving you an extra bowl and more cleanup. This yields a wonderfully smooth and consistent truffle dough with minimal effort.
Whichever method you choose, remember that consistency is key. Avoid leaving large chunks of Oreos, as these can make your truffles crumbly and difficult to roll.
Do Oreo Balls/Oreo Truffles Have to Be Refrigerated?
Yes, absolutely! It is crucial to refrigerate your **Oreo balls** and **Oreo truffles**. The primary reason for this is the presence of cream cheese, a dairy product that requires refrigeration to maintain its freshness and prevent spoilage. Leaving truffles with cream cheese at room temperature for extended periods can lead to the cream cheese going bad, which is a food safety concern.
Beyond food safety, refrigeration also plays a vital role in maintaining the structure and texture of your truffles. Keeping them chilled ensures they retain their perfectly rolled shape and a firm, dense consistency. At room temperature, especially in warmer environments, the cream cheese can soften significantly, causing the truffles to become overly soft, gooey, and potentially lose their shape. For optimal taste, texture, and safety, always store your Oreo truffles in the refrigerator.
Creative Variations for Oreo Cookie Balls / Cheesecake Balls / Truffle Balls
While the classic **Oreo truffle** is undeniably delicious, these treats are incredibly versatile, offering endless possibilities for customization. Don’t be afraid to get creative and experiment with different flavors and textures to make them uniquely yours. Here are some fantastic variations to inspire your next batch of **Oreo cookie balls**:
- Try a Flavored Cream Cheese: Infuse your truffles with exciting new tastes by using flavored cream cheese. Beyond the classic, you can find varieties like honey, cinnamon, or pumpkin spice during certain seasons. Mixed berry or strawberry cream cheese can add a fruity tang, while seasonal flavors like mint or peppermint (especially around Christmas) can create a festive twist.
- Substitute the Cream Cheese for Other Fillings: Believe it or not, cream cheese isn’t your only option for binding these truffles! For a different flavor profile and texture, consider these yummy alternatives:
- Biscoff Spread: For a delightful caramel-spice flavor.
- Peanut Butter: A classic pairing with chocolate for a rich, nutty truffle.
- Nutella: For an irresistible chocolate-hazelnut combination.
- Sweetened Condensed Milk: While not a direct substitute for cream cheese, a small amount can help bind if you’re looking for a richer, sweeter, and dairy-free-friendly (if using vegan Oreos/chocolate) option.
- Different Frostings: Any thick, creamy frosting can work wonders! Try any of these excellent choices for a unique flavor and texture:
- Easy Mint Frosting
- Caramel Frosting (3 Ingredient)
- Peanut Butter Frosting (4 Ingredient)
- Marshmallow Frosting Recipe
- Strawberry Buttercream Frosting
- Use Different Coatings: While white chocolate offers a beautiful contrast and classic flavor, don’t limit yourself!
- Semisweet or Dark Chocolate: For a richer, more intense chocolate flavor.
- Milk Chocolate: A sweeter, creamier option that’s always a crowd-pleaser.
- Almond Bark or Candy Melts: These melt smoothly and are easy to work with, available in various colors to match any theme.
- Peppermint Bark: For a festive, minty crunch.
- Cocoa Powder or Powdered Sugar: For a simpler, elegant dusting (though less protective of the truffle).
- Try Other Truffle Toppings: The possibilities for decoration are endless! Add visual appeal and extra flavor with these ideas:
- Various sprinkles (rainbow, chocolate, holiday-themed)
- Finely chopped nuts (pecans, walnuts, almonds, pistachios)
- Mini chocolate chips or chocolate shavings
- Chopped up candies (M&Ms, toffee bits, mini Reese’s pieces)
- Chopped up dried fruit (cranberries, apricots)
- Crushed peppermint sticks or candy canes (especially for holidays)
- Crushed freeze-dried fruit (strawberries, raspberries) for a tart and colorful touch
- Crushed pretzels for a salty-sweet crunch
- A dusting of cinnamon or sparkling sugar
- Shredded coconut for a tropical twist
- Use Golden Oreos: Swap out the classic chocolate Oreo for the Golden version. This creates a visually lighter truffle with a delicious vanilla flavor, offering a different taste and color profile.
- Try Mix-ins in the Batter: Incorporate small additions directly into your Oreo and cream cheese mixture for an extra layer of flavor and texture:
- Mini chocolate chips
- Finely crushed nuts
- Tiny chopped up candy bars
- Mini candies (like M&Ms)
Expert Tips and Techniques for Perfect Oreo Truffles
Achieving perfectly smooth, uniform, and delicious **Oreo truffles** is easy when you know a few key tricks. These tips and techniques will help you avoid common pitfalls and ensure your no-bake treats are a resounding success:
- Use Full-Fat Cream Cheese: For the best results, always opt for full-fat cream cheese. It not only adds a richer, more luxurious taste but also contributes to a superior, creamier overall texture for your truffles. Low-fat versions can sometimes lead to a slightly drier or less stable mixture.
- Avoid Double-Stuffed Cookies: While tempting, it’s best to stick to original Oreos (or their regular-stuffed counterparts). Double-stuffed cookies contain too much filling, which can make your truffle mixture excessively wet and sticky, difficult to roll, and prone to cracking.
- Why is My Mixture Wet and Sticky? How to Fix It?: If your **Oreo truffle mixture** is too wet and sticky, it’s likely due to one of two reasons:
- Double-Stuffed Oreos: As mentioned, the extra cream in double-stuffed cookies can make the mixture too soft.
- Too Much Cream Cheese: Incorrectly measuring your cream cheese can also lead to a sticky consistency.
The Fix: Always use regular Oreos and ensure you measure your ingredients precisely. If your mixture is still too sticky, you can try adding a few more finely crushed Oreos (without the cream) to absorb excess moisture, or a tablespoon or two of powdered sugar, mixing until the desired consistency is reached.
- Why is My Mixture Dry? How to Fix It?: Conversely, if your truffle mixture is too dry, it can be crumbly and won’t hold together well. This often happens if:
- Coarsely Crushed Oreos: If the Oreo crumbs aren’t fine enough, they won’t bind properly with the cream cheese. Ensure your Oreos are crushed to a very fine powder.
- Not Enough Cream Cheese: An insufficient amount of cream cheese can also lead to a dry, unworkable mixture.
The Fix: Ensure your cookies are crushed very fine and the cream cheese is thoroughly mixed in. If the mixture is still too dry, add a very small amount of softened cream cheese, a teaspoon of milk, or even a tiny splash of water (start with 1/2 teaspoon) at a time, mixing well after each addition, until the dough comes together. Be careful not to add too much!
- Use Disposable Gloves: When rolling your truffle balls, wearing disposable gloves can be a lifesaver. Your hands will stay cleaner, and more importantly, it helps prevent the heat from your hands from melting the chocolate in the Oreos and making the mixture overly sticky.
- Use a Small Ice Cream Scoop or Measuring Spoon: To ensure all your truffles are uniform in size and appearance, use a small ice cream scoop (like a cookie scoop) or a measuring tablespoon to portion out the dough. This makes for a more professional-looking and evenly portioned treat.
- Work in Small Batches in Hot Weather: If you’re making truffles on a warm day, the mixture can soften quickly. To combat this, work in small batches, keeping the remaining truffle mixture refrigerated while you roll and dip. This keeps everything firm and manageable.
- Melt Chocolate Correctly: For smooth dipping, melt your chocolate gently. Use a double boiler or microwave on 30-second intervals, stirring thoroughly after each, until smooth. Avoid overheating, which can cause the chocolate to seize or burn.
- Tap Off Excess Chocolate: After dipping each truffle, gently tap the fork against the side of the bowl to allow any excess chocolate to drip off. This ensures a thin, even coating and prevents a thick “foot” of chocolate at the base.
Storage and Make-Ahead Instructions for Oreo Truffles
Proper storage is essential to keep your **no-bake Oreo truffles** fresh, firm, and delicious. Since they contain cream cheese, adhering to these guidelines will ensure both quality and food safety.
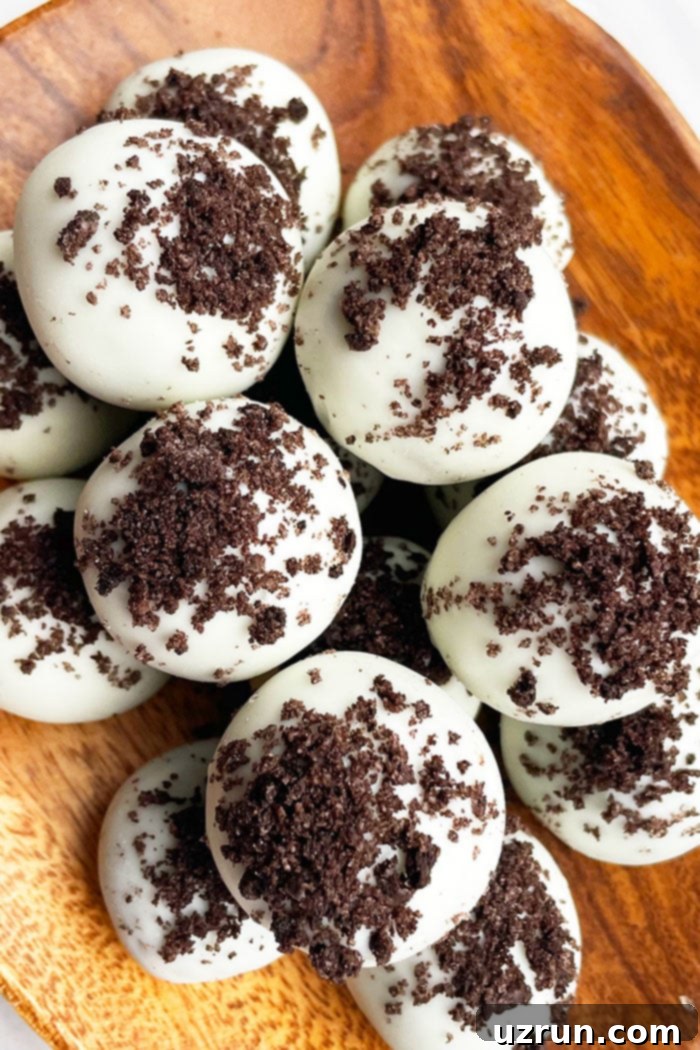
- Refrigerator: Store your finished Oreo truffles in an airtight container in the refrigerator for up to 3 days. Placing a piece of parchment paper between layers can prevent them from sticking together. This keeps the cream cheese fresh and maintains the truffle’s firm texture.
- Freezer: For longer storage, Oreo truffles freeze beautifully. Place them in a single layer on a parchment-lined baking sheet and freeze until solid. Once firm, transfer them to an airtight freezer-safe container or a heavy-duty freezer bag. They can be stored in the freezer for up to 1 month. When you’re ready to enjoy, simply thaw them in the refrigerator for a few hours or overnight before serving.
- Room Temperature: Storing Oreo truffles at room temperature is generally not recommended due to the cream cheese content. The cream cheese can spoil if left out for too long, and the truffles will also lose their firm texture, becoming soft and potentially messy. While they can sit out for a short period (1-2 hours) for serving at a party, they should be returned to refrigeration promptly.
- Make-Ahead Instructions: These truffles are fantastic for making in advance, which makes them perfect for parties, holidays, or meal prepping your sweet cravings. You can prepare them 2-3 days ahead of time and store them in an airtight container in the refrigerator. This allows the flavors to meld even further, sometimes making them taste even better!
More Delightful Candy and Truffle Recipes to Try
If you’ve enjoyed making these easy **Oreo truffles**, you’re in for a treat! The world of homemade candies and truffles is vast and wonderfully delicious. Explore these other fantastic recipes that are perfect for gifting, parties, or simply satisfying your sweet tooth:
- Crockpot Candy (Chocolate Peanut Clusters): An incredibly simple way to make delicious chocolate and peanut clusters with minimal effort.
- Jelly Marshmallow Candy (Pinwheels): A colorful and fun no-bake treat that’s as pretty as it is tasty.
- Chocolate Mint Truffles: A refreshing and decadent combination of rich chocolate and cool mint.
- Red Velvet Truffles: Indulge in the iconic flavor of red velvet cake, transformed into a delightful truffle.
- Chocolate Chip Cookie Dough Truffles (Eggless): All the joy of eating raw cookie dough, safely and deliciously.
- Rocky Road Fudge: A classic fudge recipe packed with marshmallows, nuts, and chocolatey goodness.
Recipe

Easy Oreo Truffles (Oreo Balls)
Abeer Rizvi
Pin Recipe
Want to Save This Recipe?
Enter your email & I’ll send it to your inbox. Plus, get great new recipes from me every week!
By submitting this form, you consent to receive emails from CakeWhiz
Ingredients
- 36 Oreos Original and not double stuffed, approximately one standard package.
- 1 package Cream cheese Full fat, 8 oz package, softened to room temperature.
- 2-3 cups Melted chocolate White chocolate chips or candy melts recommended for best coating. Can also use semisweet or dark chocolate.
- ¼ cup Additional Oreos Crushed, for topping and garnish (optional).
Instructions
-
Add the 36 Oreos to a food processor and pulse until they are transformed into fine, consistent crumbs. Alternatively, place them in a Ziploc bag and crush with a rolling pin.
-
Add the softened cream cheese to the Oreo crumbs (in the food processor or a mixing bowl) and pulse or mix until thoroughly combined and a thick, uniform dough forms.
-
Using a small ice cream scoop or a measuring tablespoon, scoop out small portions of the mixture. Roll each portion between your palms to form smooth, small balls of equal size.
-
Arrange the rolled Oreo balls on a cookie tray or baking sheet lined with wax paper or parchment paper.
-
Chill the balls in the freezer for approximately 20 minutes. This step is crucial for firming them up, which prevents cracking during the dipping process.
-
While the balls are chilling, gently melt your chosen chocolate in a microwave-safe bowl (in 30-second intervals, stirring) or over a double boiler. Ensure it’s smooth and fluid, but not too hot.
-
Remove the chilled balls from the freezer. Using a fork or a dipping tool, dip each ball into the melted chocolate, allowing any excess to drip off before carefully placing it back on the parchment-lined cookie tray.
-
Optional: While the chocolate coating is still wet, immediately toss or sprinkle some of the additional crushed Oreos or your preferred toppings on top for extra decoration and flavor.
-
Allow the chocolate to set completely. This can take 15-20 minutes at room temperature, or you can speed it up by placing them back in the refrigerator for 5-10 minutes. Once set, enjoy your delightful no-bake Oreo truffles!
Notes
- For best results and troubleshooting tips, be sure to read all the detailed advice provided in the sections above.
- Leftovers can be stored in a sealed airtight container in the fridge for up to 3 days, or frozen for longer enjoyment.
Nutrition
An automated tool is used to calculate the nutritional information. As such, I cannot guarantee the accuracy of the nutritional information provided for any recipe on this site.
