Effortlessly Delicious: The Ultimate Easy Microwave Oreo Fudge (Cookies and Cream) Recipe
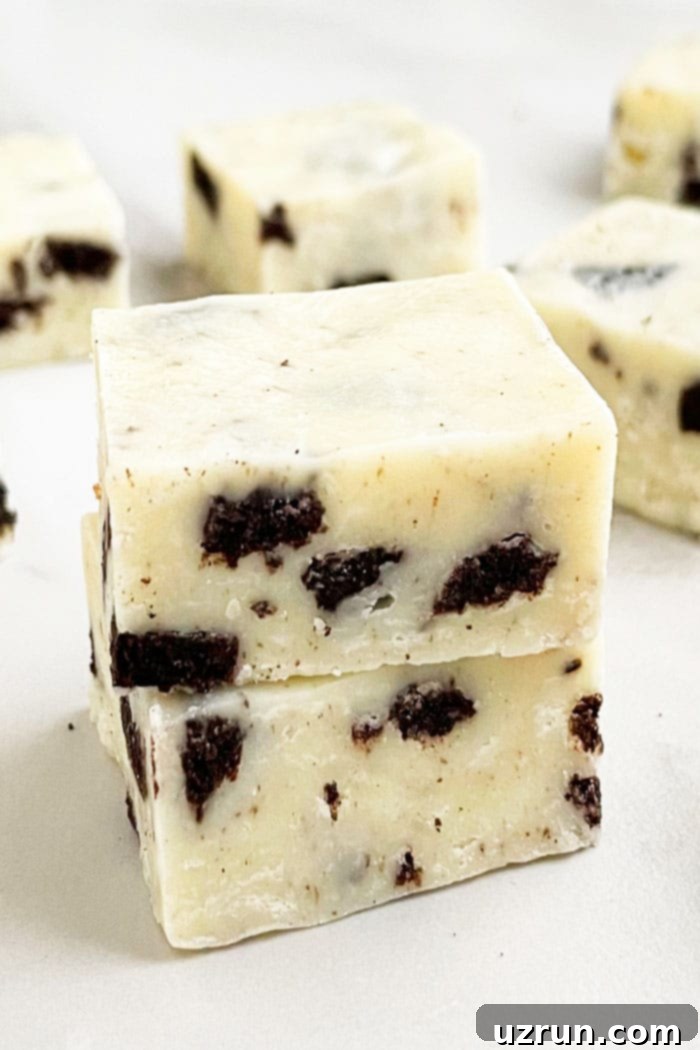
Prepare to fall in love with the simplest, most decadent dessert you’ll ever make: our Easy Oreo Fudge recipe. This homemade delight is crafted with just a few simple ingredients and comes together in mere minutes using your microwave. Imagine a rich, incredibly creamy fudge base, generously studded with chunks of everyone’s favorite sandwich cookie – Oreos! It’s the quintessential cookies and cream experience, elevated into a delightful, melt-in-your-mouth fudge that’s perfect for any occasion.
This recipe isn’t just easy; it’s a game-changer for anyone craving a quick, satisfying sweet treat without the fuss of baking. Whether you’re whipping up a batch for an impromptu movie night, preparing a stunning dessert for a gathering, or crafting thoughtful edible gifts, this Oreo fudge is guaranteed to impress. Its vibrant contrast of white fudge and dark Oreo crumbs is visually appealing, and its irresistible flavor makes it a universal crowd-pleaser. We confess, Oreos are practically an obsession in our household, and with countless varieties available, we know we’re not alone! If you share our passion for these iconic cookies, be sure to explore more delightful ways to enjoy them: try these amazing Oreo Truffles {Oreo Balls}, decadent Chocolate Covered Oreos {Dipped Oreos}, or a refreshing Refrigerator Cake {Chocolate Oreo Icebox Cake}. But for now, let’s dive into the world of this incredibly simple and utterly delicious Oreo fudge!
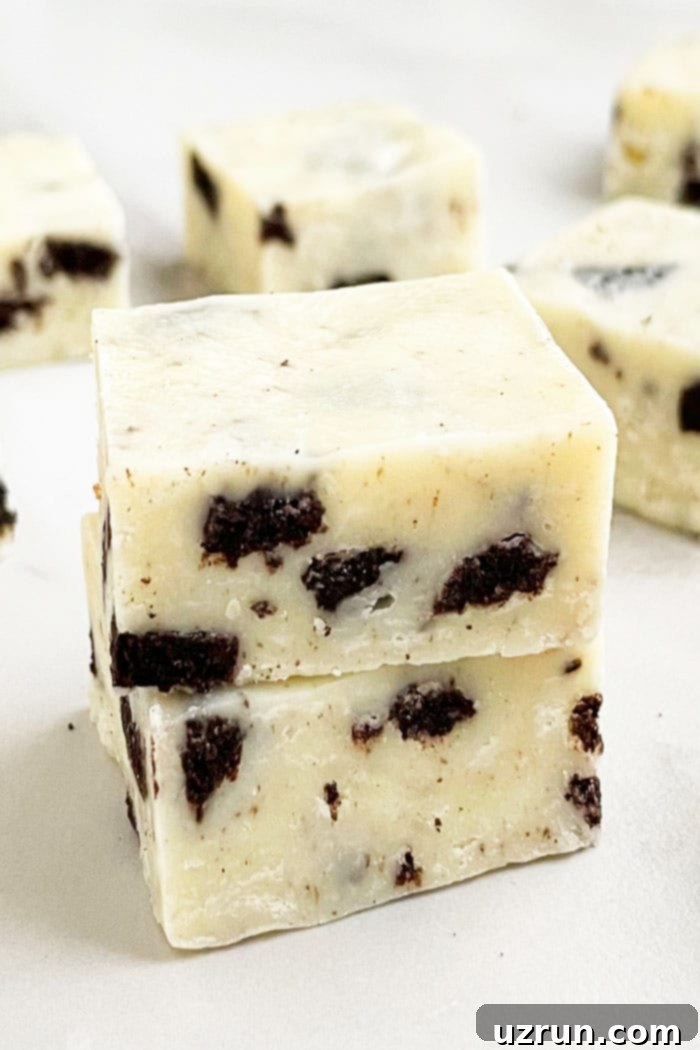
Table of Contents
- How To Make Easy Oreo Fudge Recipe From Scratch in Microwave?
- Why Is My Fudge Grainy, Chunky, and Crumbly?
- Why Didn’t My Fudge Set?
- How To Melt Chocolate In Microwave?
- Creative Variations For White Chocolate Oreo Fudge
- Essential Tips And Techniques For Perfect Cookies And Cream Fudge
- Storage of Homemade Fudge
- More Easy Fudge Recipes To Try
How To Make Easy Oreo Fudge Recipe From Scratch in Microwave?
Making this incredibly simple Oreo fudge is a breeze. The entire process takes just a few steps and minimal hands-on time, making it the perfect last-minute dessert or a fun activity with kids. Here’s a quick overview:
- Microwave Ingredients: Begin by combining white chocolate chips, sweetened condensed milk, and butter in a microwave-safe bowl. Heat this mixture in short intervals, stirring frequently, until everything is beautifully melted and smooth. This creates the creamy base of your fudge.
- Mix in Oreos: Once your fudge base is perfectly smooth, it’s time for the star ingredient – roughly chopped Oreo cookies! Gently fold them into the warm mixture, ensuring they are evenly distributed. The contrast of the soft fudge and crunchy cookie pieces is what makes this dessert so delightful.
- Spread Mixture: Pour the luscious Oreo fudge mixture into a prepared pan (lined with wax or parchment paper for easy removal). Use a spatula to spread it evenly from edge to edge, creating a consistent thickness.
- Chill Until Firm: This is arguably the hardest part – waiting! Place your pan in the refrigerator and allow the fudge to chill for several hours, or until it is completely firm and set. Patience is key here for perfect slices.
- Cut and Serve: Once fully chilled, lift the fudge out of the pan using the overhang of the lining paper. Place it on a cutting board and use a sharp knife to cut it into small, uniform pieces. Now, it’s time to enjoy your irresistible homemade Oreo fudge!
For detailed measurements and specific instructions, refer to the recipe card below.
Why Is My Fudge Grainy, Chunky, and Crumbly? Troubleshooting Common Fudge Issues
Achieving that perfectly smooth, melt-in-your-mouth fudge texture is the goal, but sometimes issues arise. If your homemade Oreo fudge turns out grainy, chunky, or crumbly, it typically points to one of two main problems:
- Insufficient Heating: The most common reason for grainy fudge is that the chocolate and other ingredients weren’t heated enough to fully melt and combine. The sugar crystals in the condensed milk and chocolate need to dissolve completely to create a smooth consistency. If your fudge looks grainy, continue heating it in the microwave for additional 15-30 second intervals, stirring vigorously after each, until it becomes completely smooth and uniform.
- Overheated/Burnt Chocolate: On the flip side, sometimes the chocolate can overheat, especially in a microwave. This can cause the chocolate to seize or burn, resulting in tiny, hard, burnt bits that make the fudge chunky and crumbly. Unfortunately, if your chocolate has burnt, there’s no way to salvage the mixture. The best course of action is to discard it and start fresh, being extra careful with heating intervals and stirring. Remember, low and slow is always better when melting chocolate.
Why Didn’t My Fudge Set?
A soft, unset fudge can be disappointing, but it’s usually an easy fix or a learning opportunity for next time. Here are the primary reasons why your Oreo fudge might not have set properly:
- Incorrect Ingredient Ratio: The precise balance between chocolate chips and sweetened condensed milk is crucial for the fudge to set correctly. If there’s too much condensed milk relative to the chocolate, the mixture will remain too soft. It’s essential to measure accurately – don’t eyeball quantities, especially for the condensed milk. Always use a full 14 oz can as specified.
- Insufficient Chilling Time: Fudge requires adequate time in the refrigerator to firm up. While it might feel partially set after an hour, it often needs several hours (typically 3-4 hours, or even overnight) to reach its optimal firm texture for cutting. If your fudge feels soft, simply leave it to chill longer in the fridge. Avoid the temptation to put it in the freezer for a quick set, as this can sometimes affect the texture (though a short stint is okay if truly pressed for time, but a slow chill is best).
How To Melt Chocolate In Microwave? (And Stovetop Method)
Melting chocolate is a fundamental step for this fudge, and doing it correctly ensures a smooth, glossy base. Here are the best methods:
- Microwave Method (Recommended for this recipe):
- Place your white chocolate chips (or any chocolate) in a deep, heat-safe, microwaveable bowl.
- Heat the chocolate on high for 30-second intervals.
- After each interval, remove the bowl and stir the chocolate thoroughly with a rubber spatula, even if it doesn’t look like it’s melting much yet. This distributes the heat and prevents burning.
- Continue this process, stirring between each interval, until the chocolate is mostly melted and smooth. The residual heat will continue to melt any small lumps as you stir. Stop heating as soon as it’s smooth; over-microwaving can cause it to seize or burn.
- Double Boiler Method (Stovetop Option):
- Fill a saucepan with about 1-2 inches of water and bring it to a gentle simmer over medium heat.
- Place a heat-safe bowl (preferably glass or stainless steel) over the saucepan, ensuring the bottom of the bowl does not touch the simmering water.
- Add your chocolate chips to the bowl. The steam from the simmering water will gently and indirectly heat the chocolate.
- Stir the chocolate continuously with a spatula until it is completely smooth and melted. This method provides more control and reduces the risk of burning, though it takes a little longer.
Creative Variations For White Chocolate Oreo Fudge
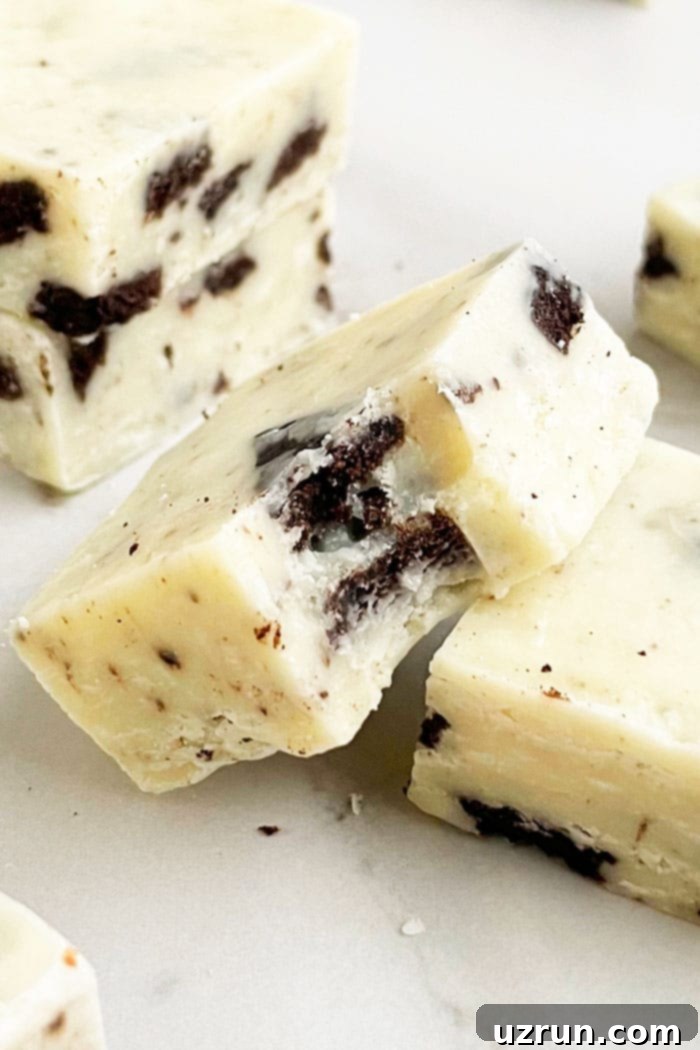
While classic Oreo fudge is phenomenal on its own, it’s also a fantastic canvas for creative customizations. Here are some ideas to make your white chocolate Oreo fudge truly unique:
- Add Nuts: Introduce a delightful crunch and nutty flavor by stirring in a half cup of chopped walnuts, peanuts, pecans, cashews, or almonds along with the Oreos.
- Try Other Cookies: Don’t limit yourself to just Oreos! Experiment with other crushed cookies like Milanos, chocolate chip cookies, Nutter Butters for a peanut butter twist, butter cookies, sugar cookies, or Biscoff for a spiced note.
- Mix in Sprinkles: For a festive touch, especially during holidays or birthdays, fold in some colorful seasonal store-bought sprinkles or even these Homemade Sprinkles. Add them after the fudge has cooled slightly to prevent color bleeding.
- Use Semisweet Chocolate Chips: For a richer, less sweet fudge, substitute the white chocolate chips with semisweet chocolate chips. You could even do a blend of both!
- Mix in Chopped Candy Bars: Take your fudge to the next level by folding in chopped pieces of your favorite candy bars such as Twix, Snickers, Kit Kat, or Milky Ways. Be mindful of the fudge mixture’s temperature – if it’s too hot, the chocolate from the candy bars will melt. Aim for a slightly cooled but still pourable mixture.
- Swirl White and Milk Chocolate: For a visually stunning marbled effect, prepare two separate batches of fudge (one white chocolate, one milk chocolate) and gently swirl them together in the pan before chilling.
- Add Extracts: Enhance the flavor profile with a teaspoon of your favorite extract. Mint extract pairs wonderfully with Oreos for a “mint cookies and cream” fudge, caramel extract adds richness, or simply boost the vanilla flavor with extra vanilla extract.
- Add Peanut Butter Chips: For peanut butter lovers, stir in half a cup of peanut butter chips along with the Oreos. Do not melt them with the white chocolate, as this would alter the base consistency significantly.
- Add Chopped Pretzels: For a delightful sweet and salty combination, mix in half a cup of roughly chopped pretzels. This adds a fantastic savory crunch that balances the sweetness of the fudge.
- Add Mini Marshmallows: For a softer, chewier texture and a touch of classic rocky road inspiration, fold in mini marshmallows along with the Oreos. Make sure the fudge isn’t too hot, so they don’t completely melt.
Essential Tips And Techniques For Perfect Cookies And Cream Fudge
Achieving perfectly smooth, firm, and delicious cookies and cream fudge every time is easy with these expert tips:
- Use Unsalted Butter: Opt for unsalted butter in your fudge. This gives you control over the overall saltiness of the dessert, preventing it from becoming overly savory or cloying.
- Sweetened Condensed Milk is Key: This ingredient is non-negotiable for microwave fudge. It provides the necessary sugar and moisture for the fudge to set correctly and achieve its signature creamy texture. Do NOT substitute it with evaporated milk, heavy cream, or coffee creamers; these will not yield the correct consistency, and your fudge will likely not set.
- Accurate Measurements Matter: Fudge making is a bit like baking in that precision is important. Ensure you measure all ingredients accurately, especially the condensed milk and chocolate chips, to maintain the correct ratio for setting.
- Don’t Cut Until Fully Set: Resist the urge to cut into your fudge before it has completely firmed up in the refrigerator. Attempting to slice soft fudge will result in an unappetizing, gooey mess and uneven pieces. Patience will be rewarded with neat, perfect squares.
- A Razor-Sharp Knife is Your Friend: For clean, professional-looking slices, use a very sharp knife. A dull knife will drag through the fudge, causing it to tear and crumble. For extra clean cuts, you can slightly warm your knife under hot water and wipe it dry between slices.
- Stovetop Option: While this recipe focuses on the microwave, you can absolutely make it in a saucepan on the stovetop. Use a heavy-bottomed, nonstick saucepan and heat the ingredients over low to medium-low heat, stirring constantly, until smooth. This prevents burning and sticking.
- Choosing the Right Pan Size: An 8 or 9-inch square pan is ideal for this recipe. An 8-inch pan will yield thicker, more substantial fudge pieces, while a 9-inch pan will produce slightly thinner pieces. Both work perfectly, just choose based on your preference for fudge thickness.
- Always Line Your Pan: To ensure easy removal and prevent sticking, always line your pan with wax paper or parchment paper. Make sure to leave an overhang on the sides – this acts as “handles” to lift the entire block of fudge out once it’s set.
- Packaging for Gifts: If you’re making this fudge as a gift, presentation counts! This post, 9 Easy Ways To Package Edible Gifts, offers numerous creative options and ideas. You can create beautiful fudge boxes, similar to Christmas Cookie Boxes {Homemade Gifts}, but filled with an assortment of homemade candies instead.
Storage of Homemade Fudge
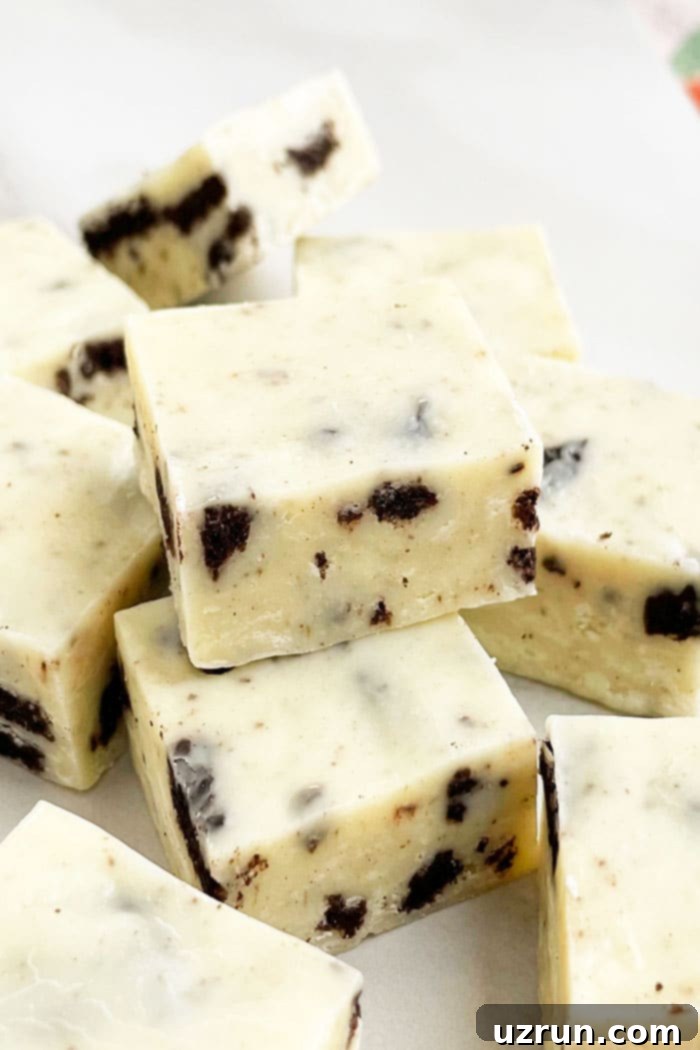
Proper storage ensures your delicious Oreo fudge stays fresh and delightful for as long as possible:
- Refrigerate: For optimal freshness and texture, store the fudge in an airtight container in the refrigerator for up to 3 days. If stacking layers, place a sheet of wax paper between them to prevent sticking.
- Freeze: Fudge freezes beautifully! To freeze, wrap the entire block of fudge or individual pieces tightly in plastic wrap, then double-wrap in aluminum foil or place in an airtight, freezer-safe container. This prevents freezer burn. It can be stored in the freezer for up to 1-2 months. When ready to enjoy, thaw the fudge in the refrigerator overnight or at room temperature for a few hours before serving.
More Easy Fudge Recipes To Try
If you loved this Oreo fudge, you’ll be thrilled to discover how many other easy fudge recipes there are to explore! Fudge is a versatile and quick dessert that can satisfy any craving. Here are some more of our favorites:
- How To Make Chocolate Fudge {3 Ingredients}
- Lemon Fudge {2 Ingredients}
- Easy Pumpkin Fudge Recipe {With Gingersnap Crust}
- Peanut Butter Fudge Recipe (3 Ingredients)
- Rocky Road Fudge
Recipe
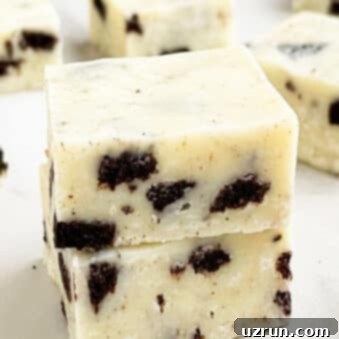
Oreo Fudge (Cookies and Cream Fudge)
Abeer Rizvi
Pin Recipe
Want to Save This Recipe?
Enter your email & I’ll send it to your inbox. Plus, get great new recipes from me every week!
By submitting this form, you consent to receive emails from CakeWhiz
Ingredients
- 4 cups White chocolate chips
- 1 can Sweetened condensed milk 14 oz. can
- ¼ cup Butter Unsalted, Cut into small cubes
- 15 Oreo cookies Roughly chopped
Instructions
-
In a deep heat-safe bowl, add white chocolate chips, condensed milk, butter and heat in microwave until chocolate is melted and mixture is smooth. Make sure to mix with a spatula every 30 seconds to prevent the chocolate from burning.
-
If the mixture looks chunky, continue heating and stirring until it becomes smooth.
-
Mix in chopped Oreos.
-
Spread mixture evenly in an 8 or 9 inch square pan, lined with wax paper.
-
Chill in fridge for 3 hours or until fudge is firm.
-
Use a sharp knife to cut small pieces. Enjoy.
Video
Notes
- Read all my tips above.
- Leftovers can be stored in a sealed container in the fridge for up to 3 days.
Nutrition
An automated tool is used to calculate the nutritional information. As such, I cannot guarantee the accuracy of the nutritional information provided for any recipe on this site.
