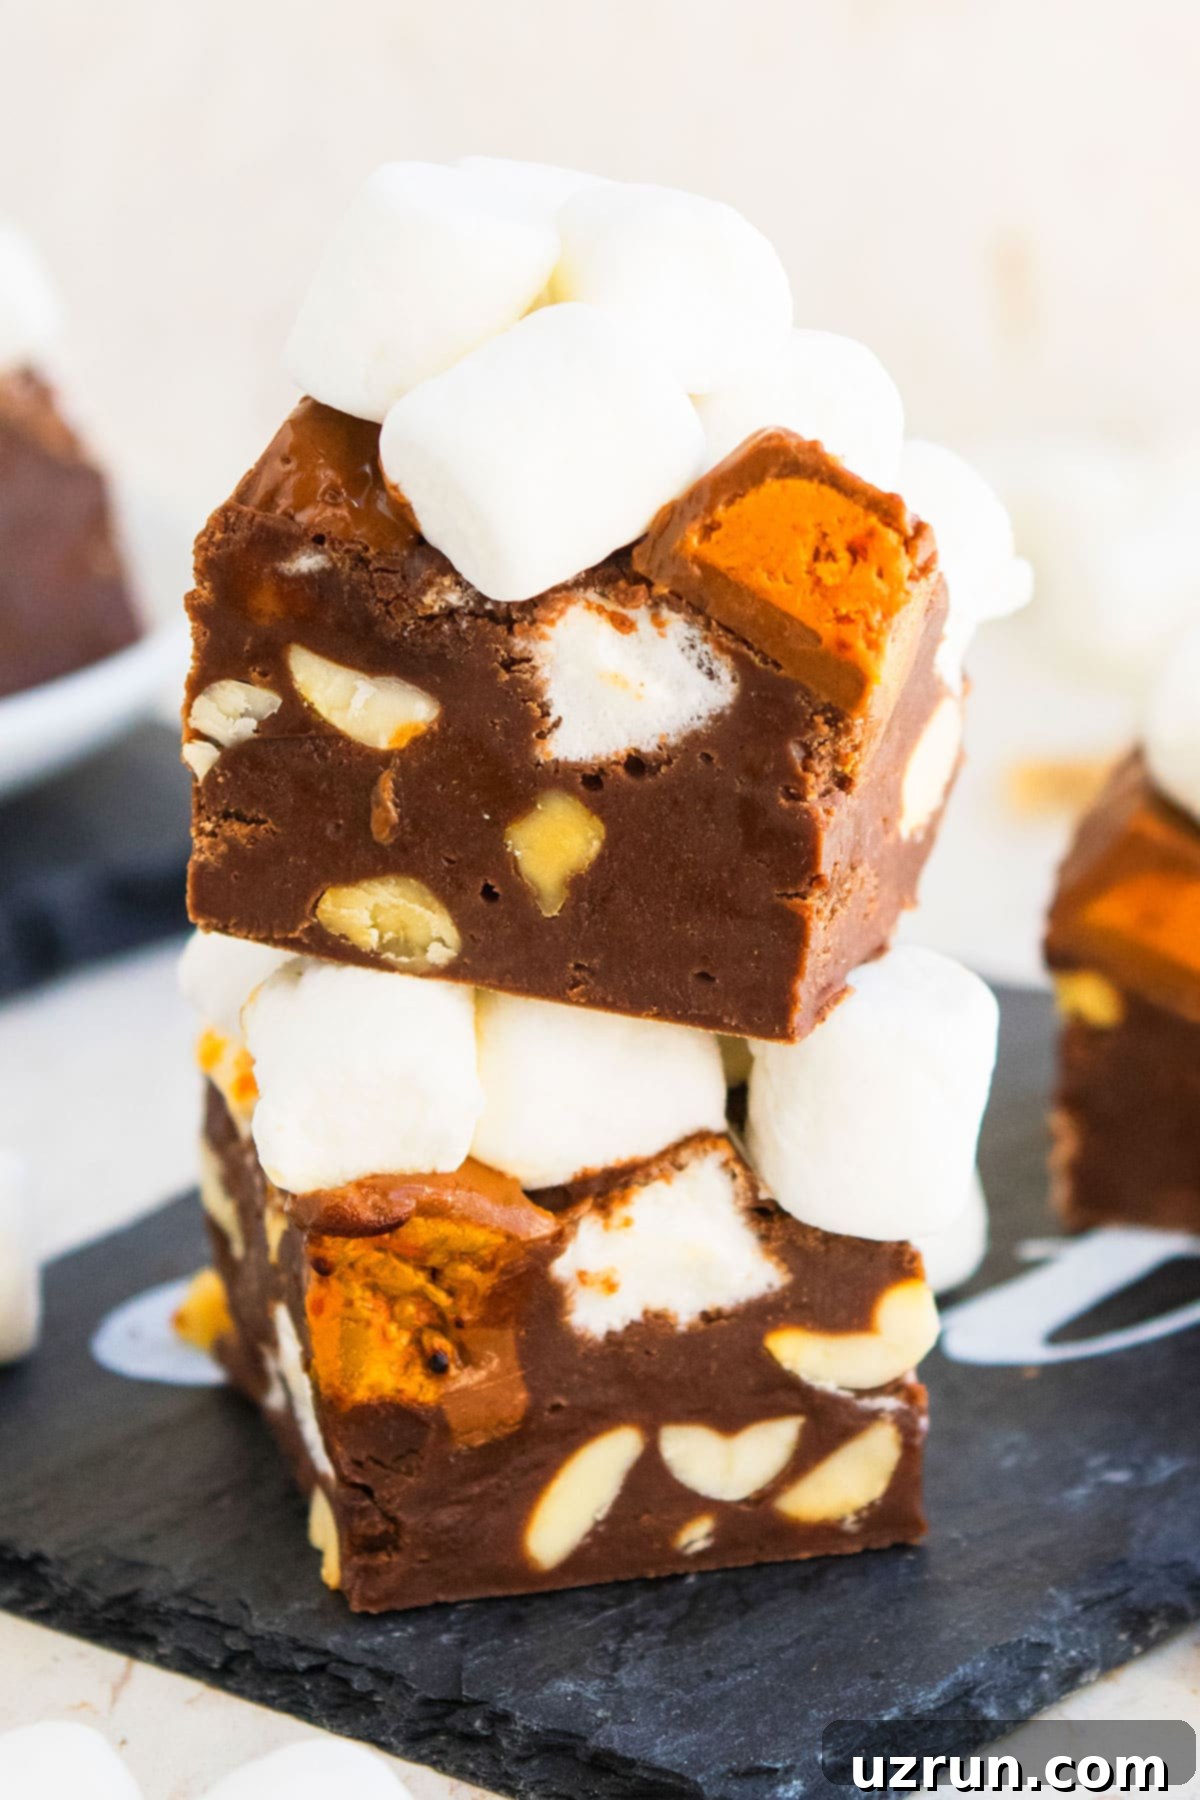
Decadent No-Bake Rocky Road Fudge: Your Ultimate Easy Homemade Treat
Prepare to delight your taste buds with this incredibly easy, no-bake rocky road fudge recipe. Crafted right in your own kitchen with just a few simple ingredients, this homemade treat is rich, wonderfully creamy, and generously packed with luscious chocolate chips, your favorite roasted nuts, and fluffy marshmallows. It’s the perfect sweet indulgence for any occasion, especially as a thoughtful homemade gift during the festive Christmas holidays or for a cozy family gathering.
*A special thank you to Nestle for sponsoring today’s post, allowing me to share this delightful recipe with all of you. As always, all opinions and culinary explorations are entirely my own.*
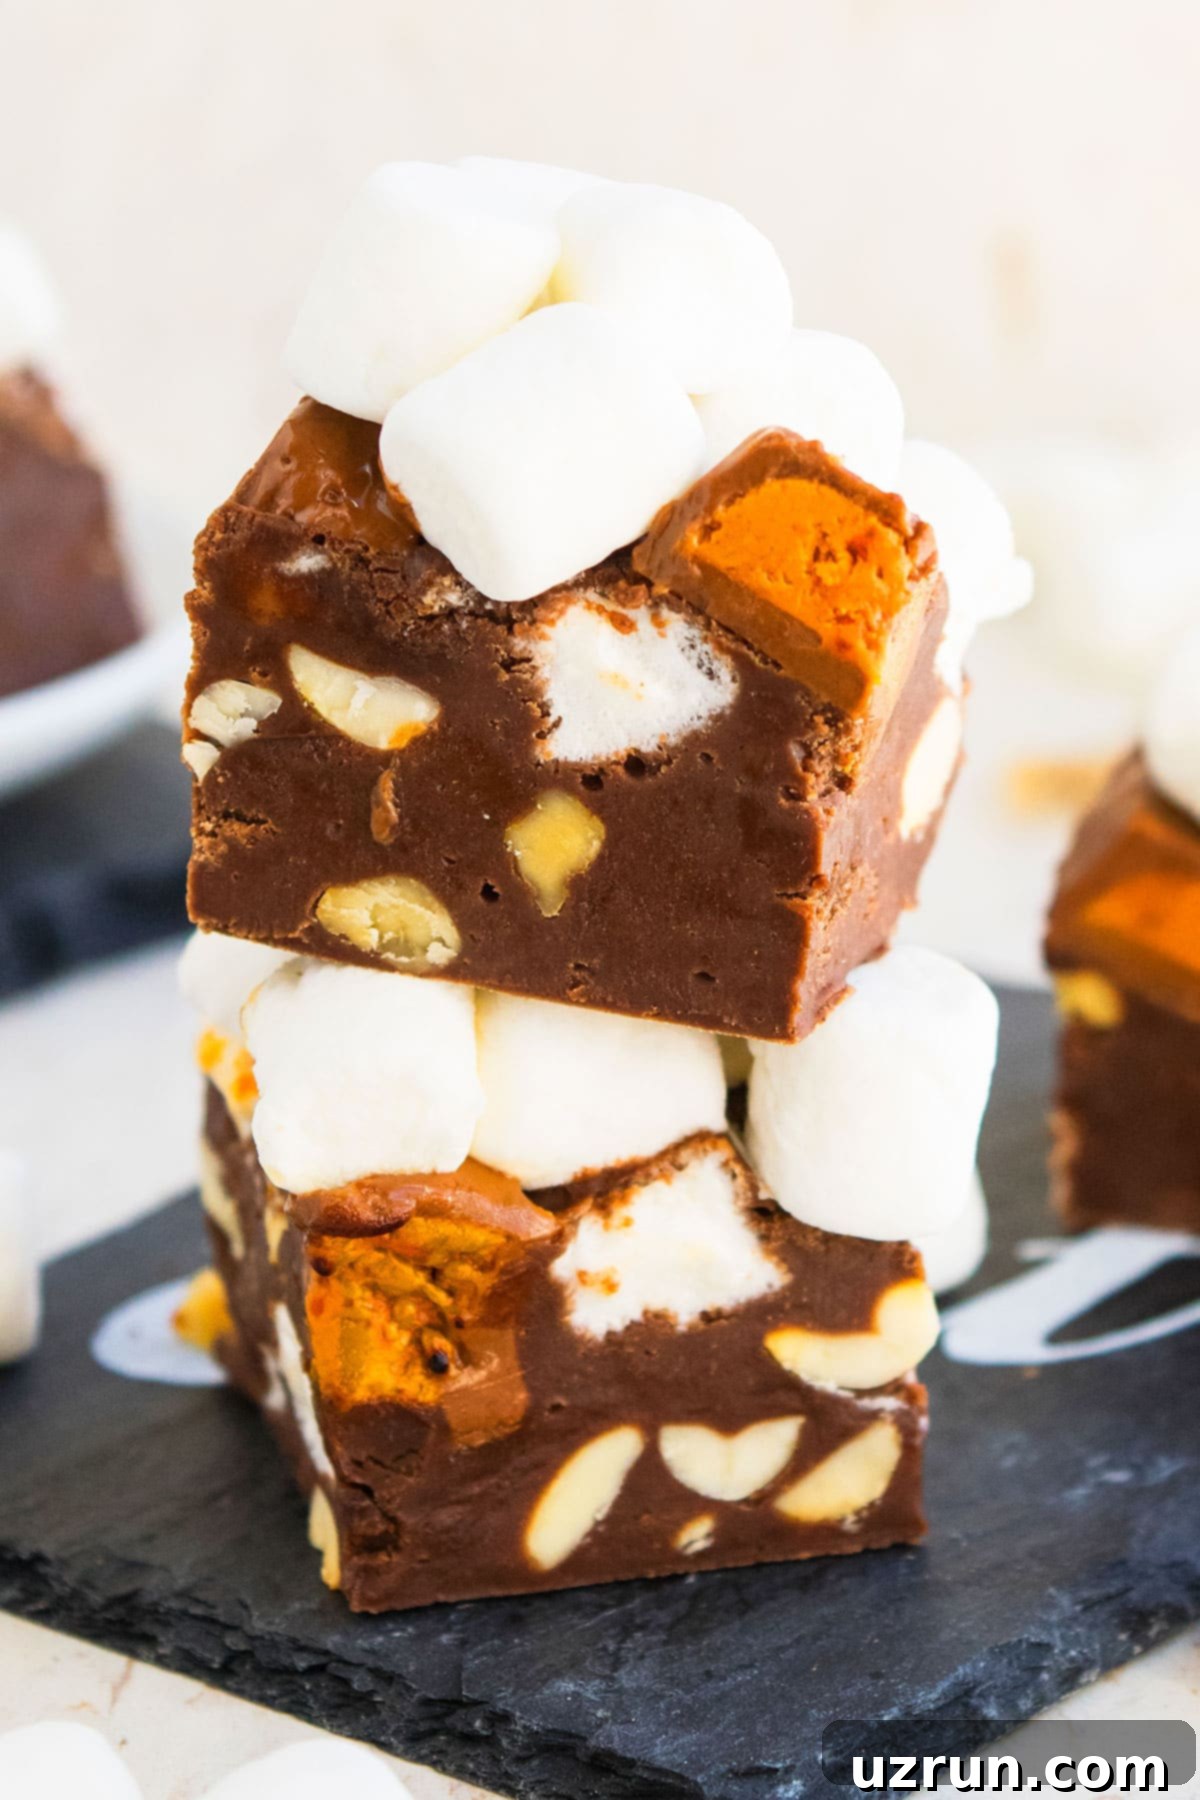
The holiday season always inspires me to explore and develop new candy recipes that are both delicious and easy to prepare. It’s quite surprising that this simple rocky road fudge recipe hasn’t been a staple on my blog until now, given its incredibly creamy and decadent profile, much like our popular Condensed Milk Fudge (Cranberry and Pistachio) and festive Christmas Fudge (Candy Cane or Peppermint). I’ve always been a huge fan of the rocky road flavor, whether it’s in a thick milkshake or a scoop of ice cream, but I truly believe its unique combination of textures and flavors shines brightest in candy form. This no-bake fudge delivers that classic rocky road experience with minimal effort, making it an ideal choice for busy bakers and sweet tooths alike.
The beauty of this easy no-bake fudge recipe lies in its simplicity. You don’t need a candy thermometer, complex techniques, or hours of stirring over a hot stove. Just a microwave, a bowl, and a few key ingredients are all it takes to create a luxurious, shareable dessert that tastes like it came from a gourmet candy shop. Whether you’re making it for a party, a potluck, or simply to satisfy a craving, this rocky road fudge is sure to impress with its rich chocolate base, delightful crunch from the nuts, and the chewiness of the marshmallows.
[feast_advanced_jump_to]
Key Ingredients for Perfect Rocky Road Fudge
Crafting the perfect batch of rocky road fudge starts with understanding the role of each essential ingredient. Here’s a closer look at what you’ll need to create this indulgent, no-bake delight:
- Chocolate chips: For a balanced and rich flavor, I highly recommend using a combination of both milk and semisweet chocolate chips. The milk chocolate adds a creamy sweetness, while the semisweet provides a deeper cocoa note, preventing the fudge from being overly sugary. You can also experiment with dark chocolate for a more intense flavor, or even white chocolate for a different twist, though it will alter the classic rocky road taste.
- Sweetened condensed milk: This is the secret to our super creamy, no-bake fudge! It’s crucial to use sweetened condensed milk, not evaporated milk. Sweetened condensed milk is thick and sugary, providing the necessary body and sweetness for the fudge to set properly without cooking. Evaporated milk is much thinner and unsweetened, and will not yield the same firm, creamy texture.
- Roasted nuts: The “rocky” in rocky road gets its satisfying crunch from nuts. Using roasted nuts is key here, as roasting significantly enhances their flavor and aroma, adding a deeper, more complex nutty profile to the fudge. You can use a single type of nut or a delightful mixture of different kinds, such as walnuts, pecans, almonds, or peanuts. Make sure they are roughly chopped to ensure an even distribution throughout the fudge.
- Marshmallows: These soft, chewy pillows are essential for the classic rocky road texture. Mini marshmallows are the ideal choice here because they disperse evenly throughout the fudge and provide that signature soft bite without creating large, awkward pockets. Larger marshmallows won’t melt or integrate as nicely and can make the fudge difficult to cut.
- Butterfinger peanut butter cups: While optional, these make a fantastic topping and add an extra layer of flavor and crunch that perfectly complements the chocolate. The combination of crispy Butterfinger bits and creamy peanut butter cups introduces a delightful salty-sweet element. If you can’t find mini Butterfinger peanut butter cups, a chopped Butterfinger candy bar works just as well, or you can opt for other chopped chocolate bars or peanut butter cups.
Creative Variations to Customize Your Rocky Road Fudge
One of the best things about this rocky road fudge recipe is how versatile it is! You can easily customize it with different add-ins and toppings to suit your taste or match any holiday theme. Here are some exciting variations to get your creativity flowing:
- Add peanut butter: For a delightful nutty twist, incorporate peanut butter directly into the fudge mixture. You can do this by adding in a handful of peanut butter chips along with the chocolate, or by swirling ribbons of creamy peanut butter on top of the fudge before it chills. This also works wonderfully with other nut butters like almond butter, or even a unique spread like Biscoff cookie butter for a caramelized biscuit flavor.
- Instead of using mini marshmallows: If you prefer a smoother, more uniform marshmallow texture, swirl in some marshmallow creme (also known as marshmallow fluff) after melting the chocolate and condensed milk. This will give your fudge a slightly different, more airy consistency.
- For extra chocolatey flavor: Elevate the cocoa intensity by adding a tablespoon or two of unsweetened cocoa powder when you’re microwaving the chocolate chips and condensed milk. This deepens the chocolate flavor, giving your fudge a more sophisticated, rich taste.
- Toss on some sprinkles: Before chilling the fudge, generously sprinkle your favorite colorful sprinkles over the top. This adds a fun, festive touch and a hint of extra texture. You can even color-coordinate the sprinkles with different holidays or special events – think red and green for Christmas, pastels for Easter, or orange and black for Halloween.
- Try other add-ins: Get adventurous with your mix-ins! Beyond the classic nuts and marshmallows, consider adding dried cranberries or cherries for a fruity tang, various chopped candy bars (like Snickers, Twix, or M&M’s) for extra chewiness and flavor, crunchy pretzel pieces for a salty contrast, small chocolate candies, or even crumbled cookies (like Oreos or chocolate chip cookies) for added texture and taste.
- Drizzle on top: Once your fudge is set and cut, you can add an elegant finish with a flavorful drizzle. Options include a sweet Powdered Sugar Glaze, a rich Homemade Caramel Sauce, decadent Nutella Syrup, or a glossy, cooled Easy Chocolate Ganache. These drizzles not only enhance the flavor but also make your fudge look extra special.
- Add extracts: A few drops of flavoring extracts can significantly boost the overall taste profile. Classic vanilla extract adds warmth, caramel extract enhances the sweet notes, or almond extract can give a subtle, sophisticated nutty aroma, especially if you’re using almonds in your fudge.
- Try with a graham cracker or Oreo crust: For an extra layer of deliciousness and an impressive presentation, build your rocky road fudge over a crunchy crust. Combine 2 cups of crushed graham crackers or Oreo cookies with ½ cup of melted butter. Press this mixture firmly into the bottom of your prepared pan. Then, add the fudge mixture on top and proceed with the chilling instructions. This adds a fantastic textural contrast.
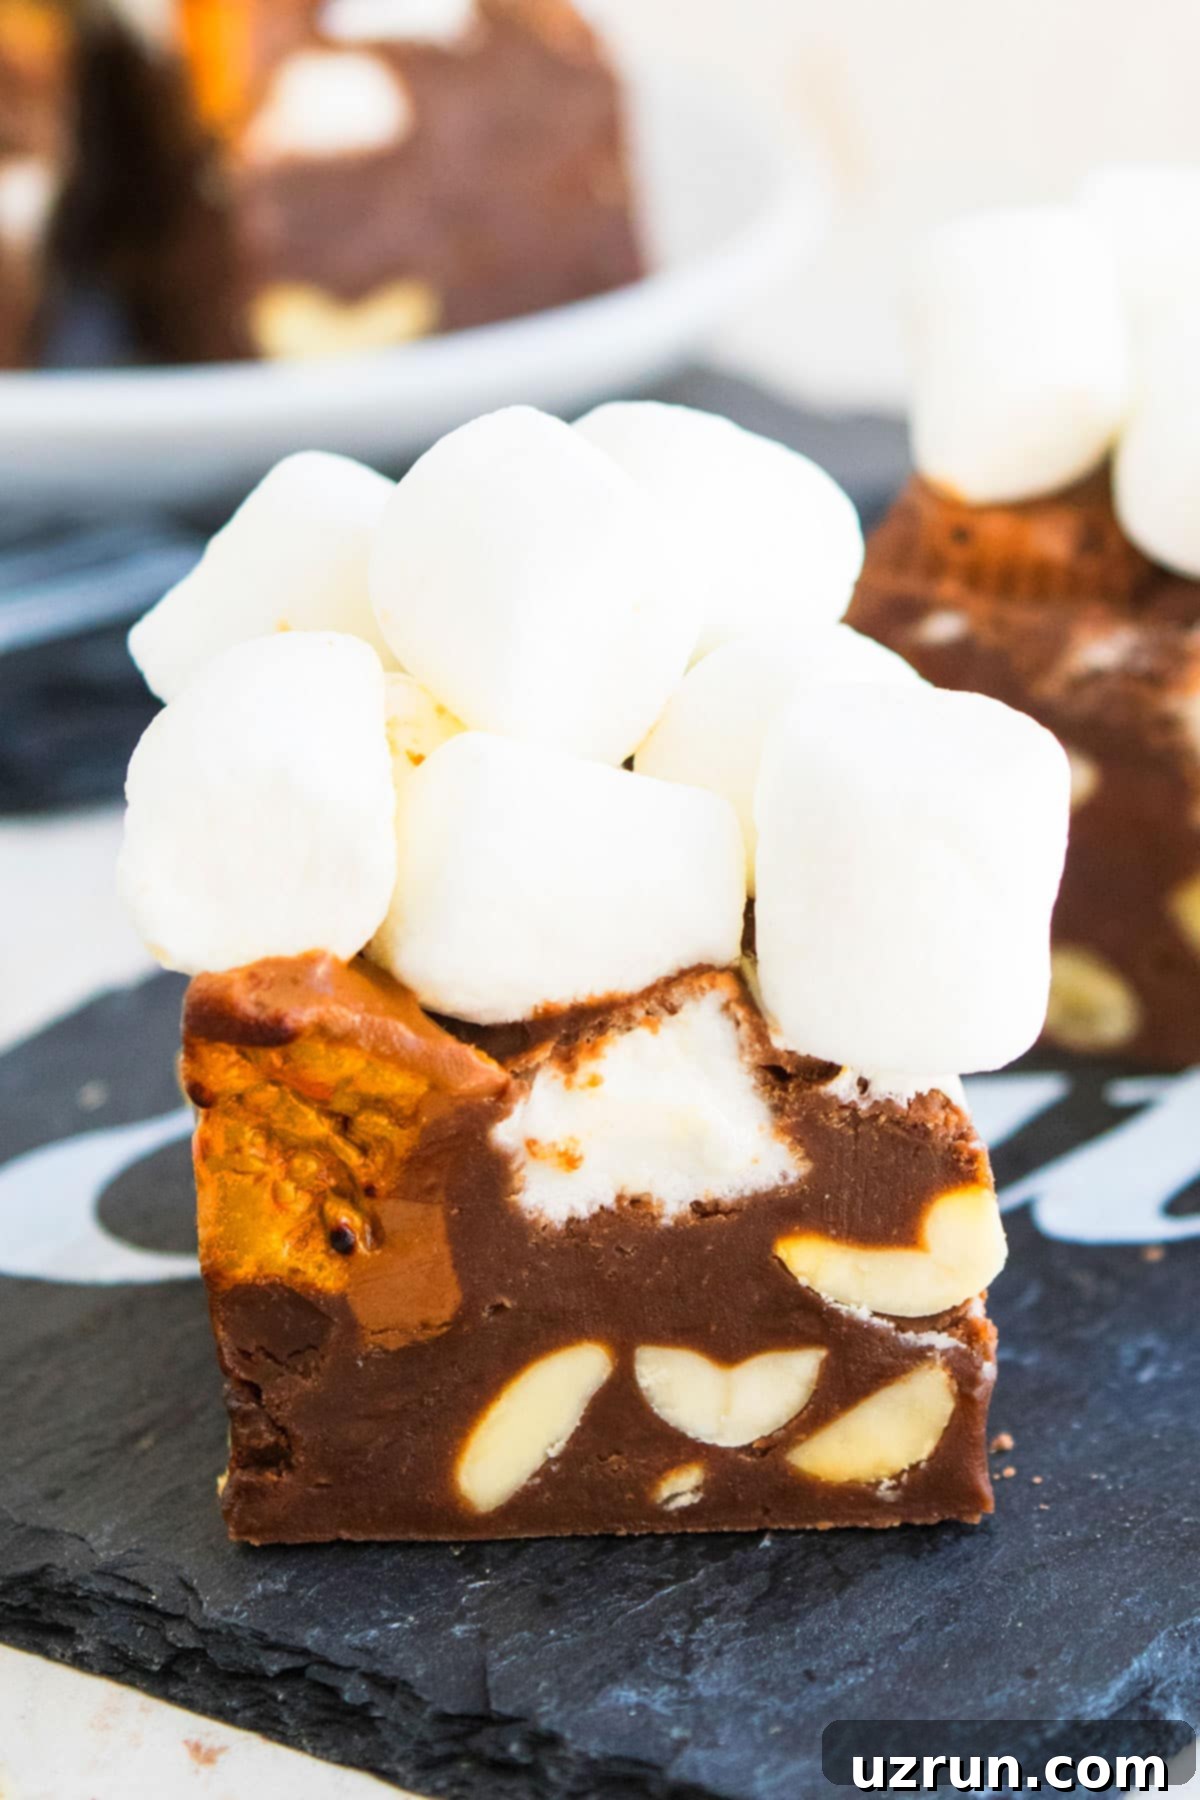
How to Make Easy Rocky Road Fudge from Scratch (Step-by-Step Guide)
Creating this delicious no-bake rocky road fudge is incredibly simple, making it a perfect recipe for beginners or anyone short on time. The process involves just a few straightforward steps, primarily melting, mixing, and chilling. Here’s a detailed guide on how to make this classic candy from scratch:
At its core, most classic, old-fashioned rocky road fudge recipes combine rich melted chocolate, creamy sweetened condensed milk, crunchy roasted nuts, and soft mini marshmallows. These simple ingredients come together to form a decadent, textural treat. You simply mix all these ingredients, spread the mixture into a prepared pan, and let it chill for a few hours until firm. Once set, you can easily cut it into perfect square pieces ready for serving or gifting.

1. Heat ingredients in microwave: Combine your chosen chocolate chips (e.g., a mix of semisweet and milk chocolate) and the sweetened condensed milk in a large, microwave-safe mixing bowl. Heat in the microwave in 30-second intervals, stirring thoroughly after each interval. This prevents the chocolate from burning and ensures even melting. Continue until the mixture is completely smooth and glossy.
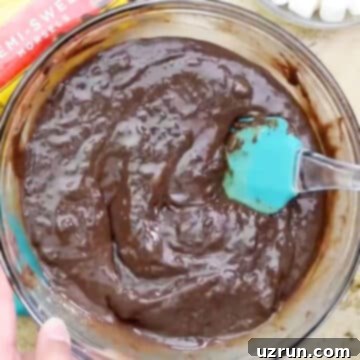
2. Mix: Once the chocolate and condensed milk are fully melted, continue to stir until the mixture is silky smooth and entirely lump-free. This creates the creamy base for your fudge. Make sure to scrape down the sides of the bowl to incorporate everything evenly.
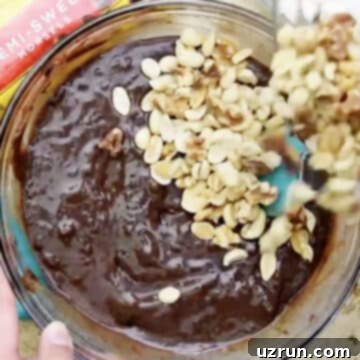
3. Add in the roasted nuts: Gently fold in the roughly chopped roasted nuts into the chocolate mixture. Stir just until they are evenly distributed. Avoid overmixing, which can cause the nuts to clump together.
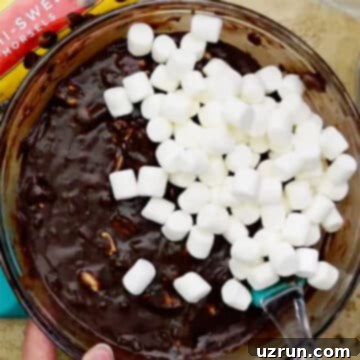
4. Toss in mini marshmallows: Carefully fold in the mini marshmallows. Work quickly but gently to ensure they are coated in the chocolate mixture without melting too much. The goal is to keep them intact for that classic chewy texture.
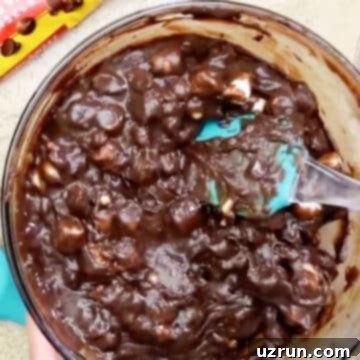
5. Completely cover all add-ins with the chocolate mixture: Ensure that all the nuts and marshmallows are thoroughly coated with the rich chocolate mixture. This helps them adhere together and creates a cohesive, beautiful fudge.
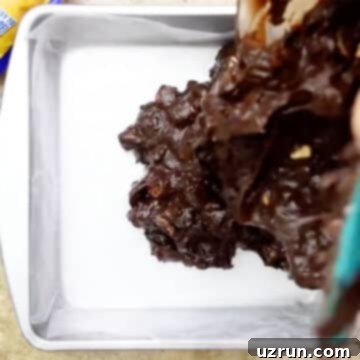
6. Spread mixture into a lined pan: Line a square pan (a 7×7 or 8×8 inch pan works well) with parchment paper, leaving an overhang on the sides. This will make it easy to lift the set fudge out later. Pour the fudge mixture into the prepared pan and spread it evenly using a spatula or the back of a spoon. Press gently to ensure a smooth top.
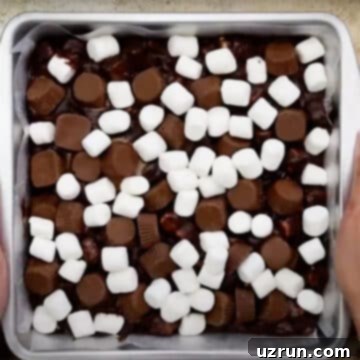
7. Add toppings: This is where you can get creative! Sprinkle additional mini marshmallows and mini Butterfinger peanut butter cups (or your chosen toppings) over the top of the fudge. Gently press them into the fudge mixture with your fingers to ensure they adhere as the fudge sets. This creates a beautiful and inviting top layer.
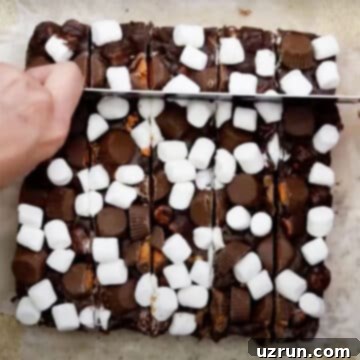
8. Chill until firm: Cover the pan loosely with plastic wrap and transfer it to the refrigerator. Chill the fudge overnight, or for a minimum of 6 hours, until it is completely firm. Patience is key here; rushing the chilling process will result in soft, unset fudge. Once firm, lift the fudge out of the pan using the parchment paper overhang, place it on a cutting board, and slice it into desired square pieces using a sharp knife.
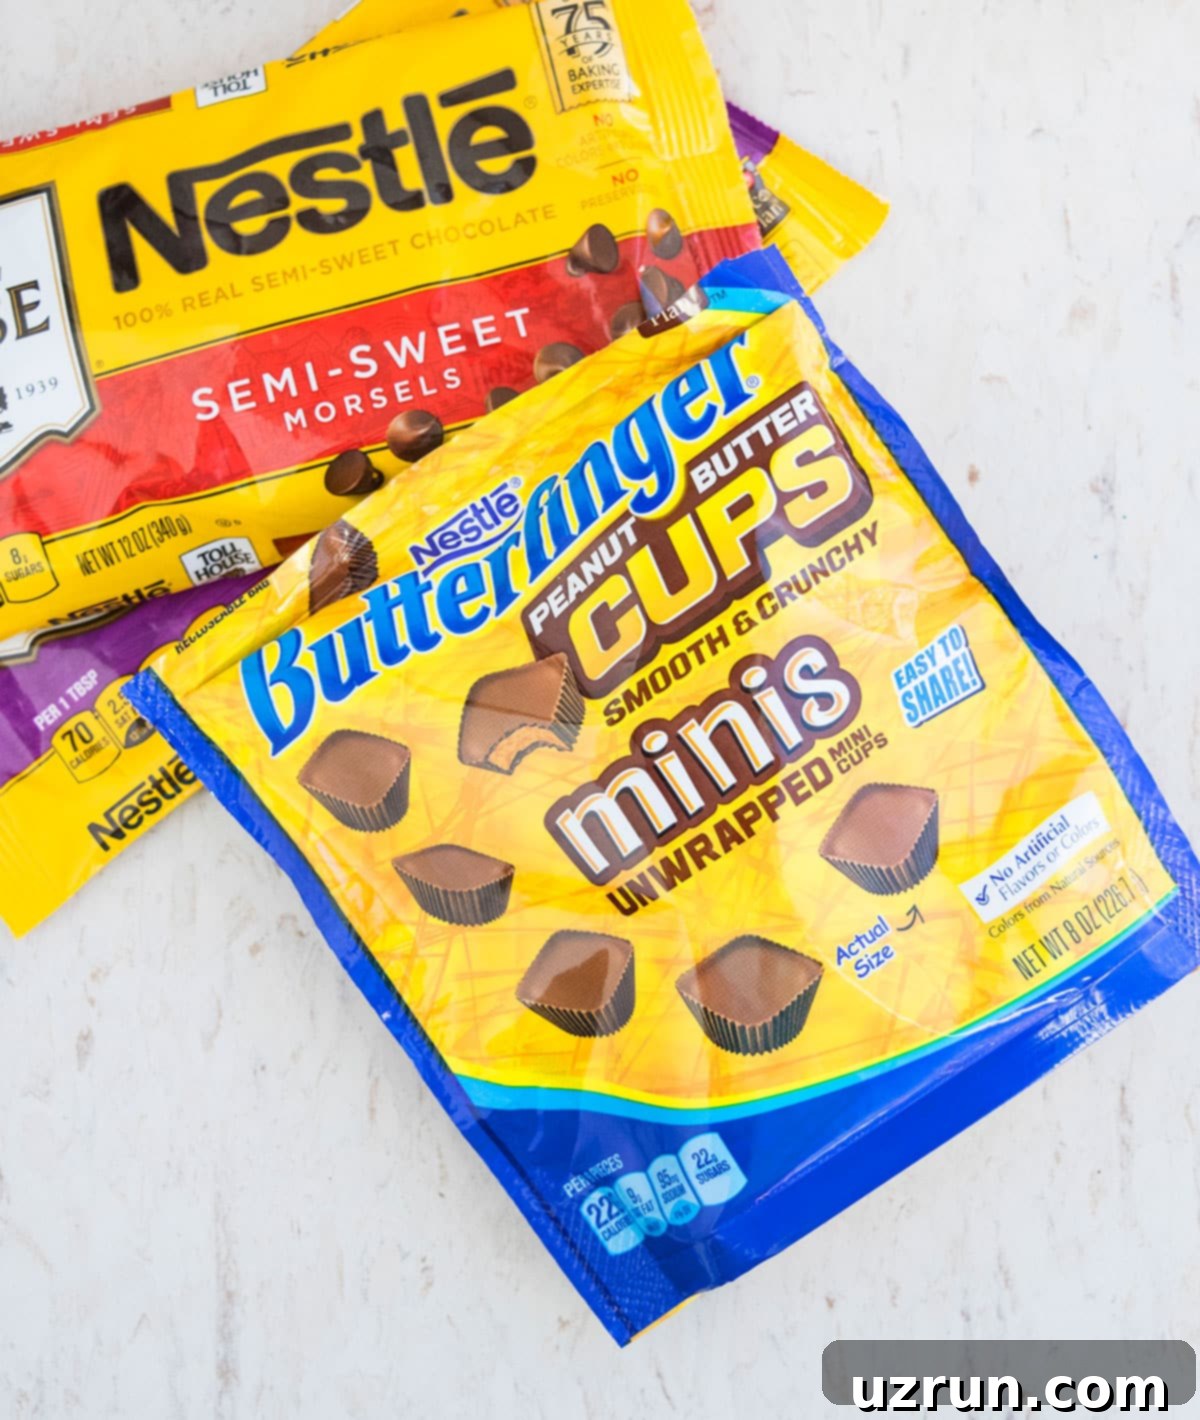
For today’s delightful rocky road fudge recipe, I utilized Nestle Toll House Morsels, known for their consistent quality and delicious flavor. I also incorporated Nestle Fun Size Butterfinger peanut butter cups, which add a fantastic crunch and a unique sweet-and-salty element to the top of the fudge. I’ve been a loyal user of Nestle products in my baking and desserts for as long as I can remember because they consistently deliver high quality and reliable results, which is why I wholeheartedly recommend them. Plus, I managed to pick up all my ingredients at Dollar General, where I found some great coupons that helped me save a bit of money. A win-win for delicious homemade treats!
Expert Tips and Techniques for the Best Rocky Road Fudge
Achieving perfectly creamy and delicious rocky road fudge is simple when you follow a few key tips and techniques. These insights will help you avoid common pitfalls and ensure your homemade treat is a resounding success every time:
- Do not replace sweetened condensed milk with evaporated milk: This is perhaps the most critical tip. Sweetened condensed milk is thick and sugary, acting as a binding agent and providing the fudge’s characteristic sweetness and creamy texture. Evaporated milk, on the other hand, is much thinner and unsweetened, and substituting it will result in a runny, unset, and flavorless mess. Always double-check your labels!
- You can use a combination of different types of chocolate: While my recipe calls for a mix of semisweet and milk chocolate for a balanced flavor, feel free to experiment. You could use all semisweet for a deeper, less sweet fudge, or even a blend with some dark chocolate for an intense cocoa hit. However, it’s generally best to avoid using white chocolate in the main base, as its flavor profile is quite different and will alter the traditional rocky road taste significantly.
- Be sure to use roasted nuts: The “nutty” flavor of nuts is significantly enhanced through roasting. If you’re using raw nuts, take a few minutes to toast them lightly in a dry skillet over medium heat or spread them on a baking sheet and roast them in a preheated oven at 350°F (175°C) for 5-10 minutes, stirring occasionally, until fragrant. This simple step elevates the overall flavor of your fudge.
- You can use salted or unsalted nuts: The choice between salted and unsalted nuts depends on your preference. If you prefer a classic sweet-only dessert, unsalted nuts are perfect. However, if you enjoy a delightful sweet and salty flavor combination – which truly makes the flavors pop in rocky road – salted nuts would be a much better choice. The saltiness balances the richness of the chocolate beautifully.
- Use your choice of nuts: Don’t limit yourself to just one type of nut! This recipe is wonderfully adaptable. Popular choices include walnuts, pecans, almonds, and peanuts. You can use a single type if you have a favorite, or create a unique blend by combining two or more for a more complex flavor and texture. Ensure they are roughly chopped so they integrate well into the fudge.
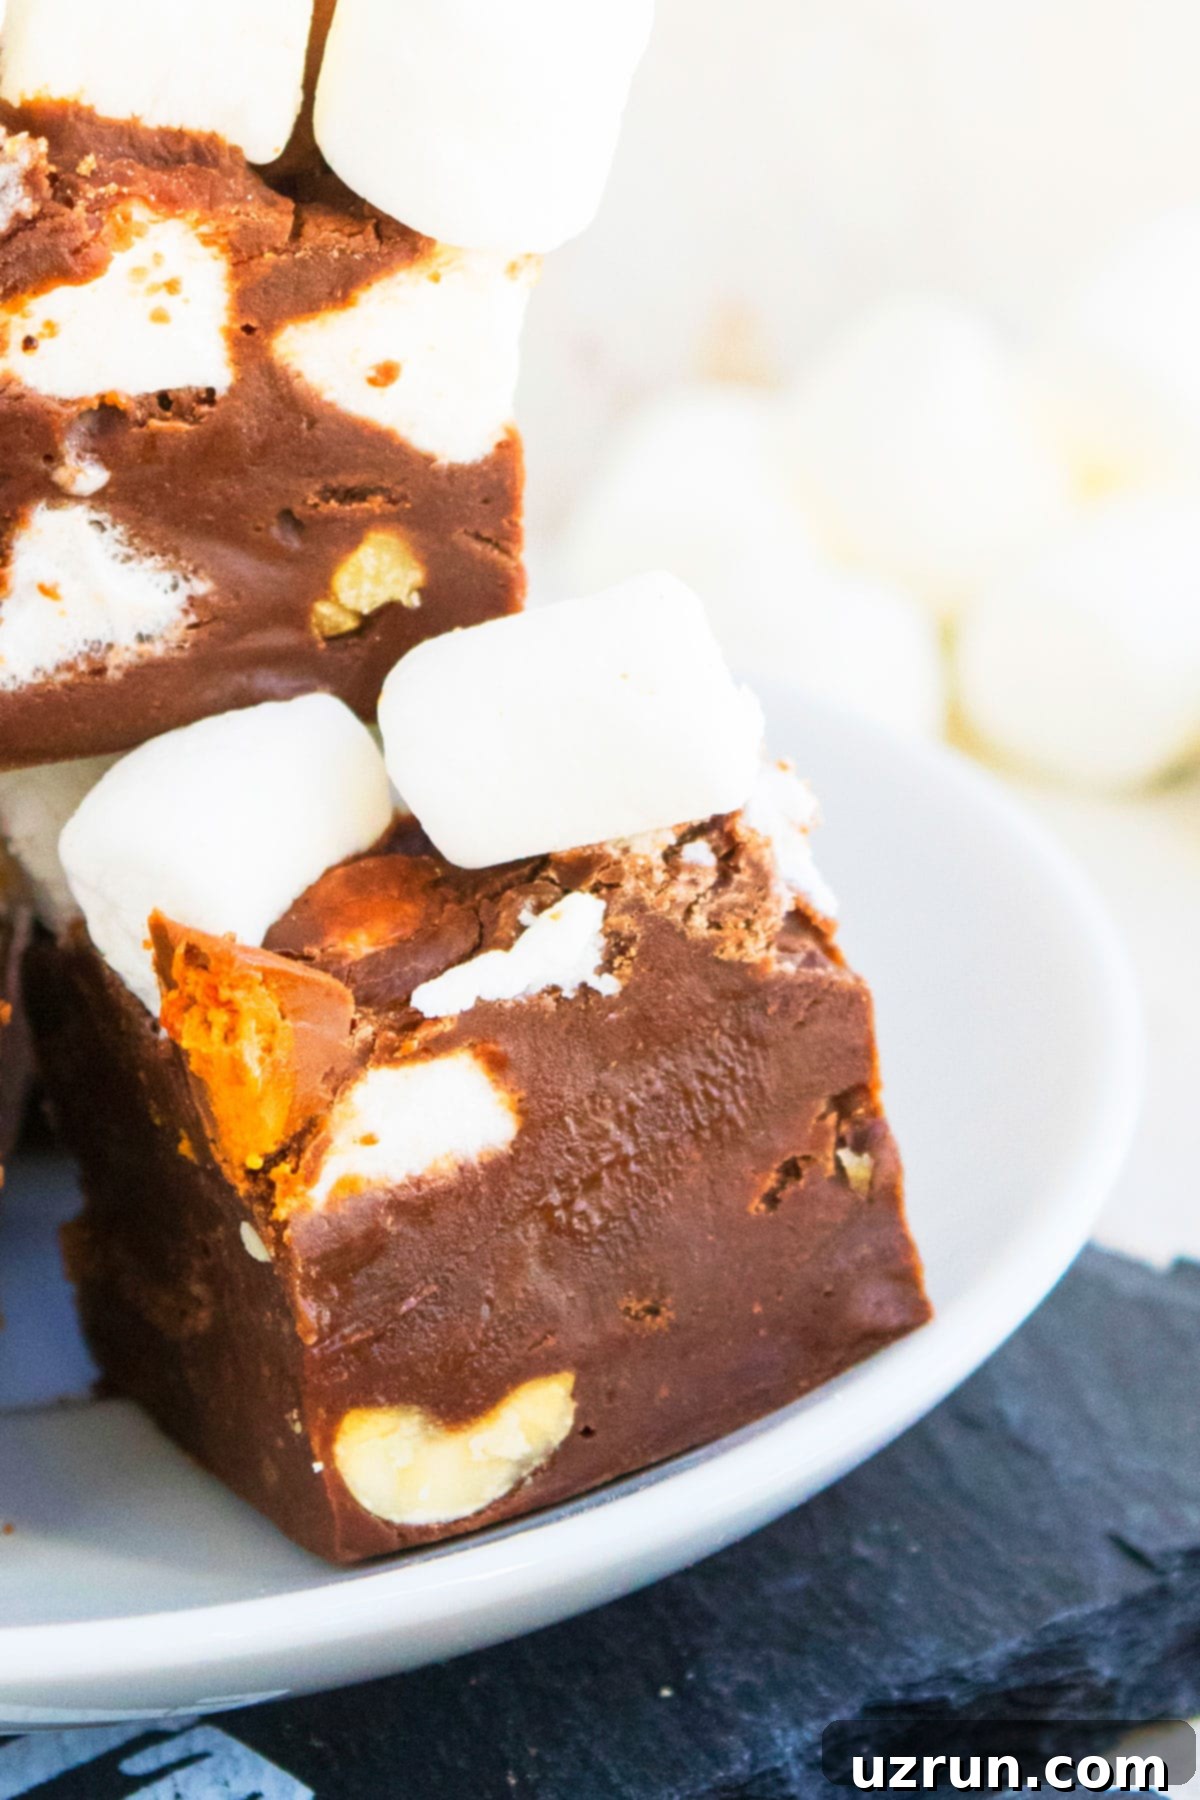
- After you allow it to chill, let it sit at room temperature for 15 minutes before cutting: Removing the fudge from the refrigerator and letting it sit at room temperature for about 10-15 minutes will slightly soften it, making it much easier to cut into clean, crisp pieces. Additionally, for the cleanest cuts, use a large, sharp knife. For even sharper edges, you can run your knife under hot water, wipe it dry, and then make each cut.
- Don’t replace the mini marshmallows with large ones: Mini marshmallows are specifically chosen for their size and how they integrate into the fudge. Larger marshmallows will be too big and awkward, making the fudge difficult to cut and eat. They also don’t disperse as evenly, leading to large pockets rather than consistent chewiness throughout the fudge.
Rocky Road Fudge Recipe FAQs
Here are answers to some common questions about making and enjoying rocky road fudge:
Rocky road flavor is a classic combination that typically features a rich chocolate base, crunchy nuts (most commonly almonds and peanuts, but also walnuts or pecans), and soft, chewy mini marshmallows or marshmallow fluff/creme. It’s beloved for its delightful contrast in textures and harmonious blend of sweet and nutty flavors. It’s a very popular ice cream flavor, too, but it truly shines in this easy candy form.
If your fudge didn’t set, the most common reason is insufficient chilling time. Fudge needs at least 6 hours, or preferably overnight, in the refrigerator to become firm. Another possibility is that sweetened condensed milk was accidentally replaced with evaporated milk, which is too thin to allow the fudge to firm up. Ensure you used the correct ingredients and simply put it back in the refrigerator for more time to allow it to firm up completely.
Absolutely! This rocky road fudge recipe is incredibly versatile. Feel free to get creative and experiment with different chopped candies like M&M’s, crushed cookies such as Oreos or shortbread, or various dried fruits like cranberries, cherries, or even candied orange peel. The key is to choose ingredients that complement chocolate and add interesting textures. Mix and match to discover your favorite combinations!
Yes, you can! If you prefer not to use a microwave, combine the chocolate chips and sweetened condensed milk in a double boiler over simmering water (or a heatproof bowl set over a saucepan of simmering water, ensuring the bowl doesn’t touch the water). Stir continuously until the mixture is completely smooth and melted. Then proceed with adding nuts and marshmallows as per the recipe instructions.
For perfectly clean and neat slices of rocky road fudge, first ensure the fudge is thoroughly chilled and firm. Remove it from the fridge and let it sit at room temperature for 10-15 minutes to take off the chill. Use a large, sharp knife. For each cut, you can warm the knife by running it under hot water, wiping it dry, and then slicing. Clean the knife after every few cuts to prevent sticky edges.
Storage Tips for Rocky Road Fudge
This easy rocky road fudge is not only simple to make but also stores beautifully, making it an excellent make-ahead treat. Proper storage ensures your fudge stays fresh, creamy, and delicious for longer. Here’s how to store your homemade rocky road fudge:
- Make ahead: This fudge is an ideal dessert to prepare in advance, especially for busy holiday seasons or when entertaining. You can make it up to a week before you plan to serve it. Simply follow the storage instructions below for refrigeration or freezing.
- Room temperature: If you plan to enjoy the fudge within a few days, you can store it in an airtight container at room temperature for 3-5 days. Ensure it’s kept in a cool, dry place away from direct sunlight or heat, as chocolate can melt.
- Refrigerate: For longer freshness, store your rocky road fudge in a sealed, airtight container in the refrigerator for up to 1 week. The cold temperature helps maintain its firm texture and prevents it from becoming too soft, especially in warmer climates.
- Freeze: To extend the life of your fudge even further, it freezes wonderfully. Wrap individual pieces tightly in plastic wrap, then place them in a freezer-safe sealed container or heavy-duty freezer bag. It can be stored in the freezer for up to 1 month. When you’re ready to enjoy it, thaw the fudge in the refrigerator overnight before serving. This gradual thawing helps maintain its creamy texture.
More Easy Homemade Candy Recipes You’ll Love
If you enjoyed making this simple rocky road fudge, you’ll be thrilled to discover more delicious and easy homemade candy recipes. These treats are perfect for gifting, parties, or simply satisfying your sweet tooth:
- Fantasy Fudge (With Marshmallow Creme)
- Chocolate Crunch Bars
- White Chocolate Fudge (2 Ingredients)
- Chocolate Chip Cookie Dough Bars
- Peanut Butter Chocolate Bark
Recipe
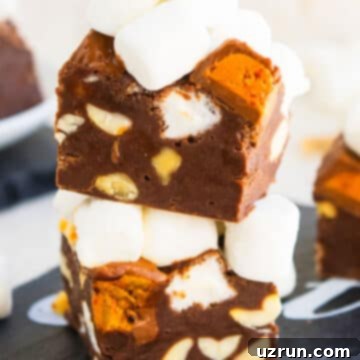
Easy No-Bake Rocky Road Fudge (Condensed Milk)
Abeer Rizvi
Pin Recipe
Want to Save This Recipe?
Enter your email & I’ll send it to your inbox. Plus, get great new recipes from me every week!
By submitting this form, you consent to receive emails from CakeWhiz
Ingredients
- 3 cups Chocolate chips I used a combination of semisweet and milk chocolate for the best flavor balance.
- 1 cup Sweetened condensed milk Crucially, this is NOT the same as evaporated milk; ensure you use sweetened condensed milk for proper setting.
- ¾ cup Roasted nuts Roughly chopped; I used a delightful combination of walnuts, pecans, and peanuts for varied crunch and flavor.
- 1 cup Marshmallows Mini marshmallows are essential for even distribution and classic chewy texture.
- 1 cup Mini Butterfinger peanut butter cups For a delicious, crunchy topping. If unavailable, chop a regular Butterfinger bar.
- ¼ cup Additional marshmallows For extra topping and visual appeal, Optional.
Instructions
-
In a large, microwave-safe mixing bowl, combine the chocolate chips and sweetened condensed milk. Heat in the microwave on high. Make sure to stir well every 30 seconds to prevent the chocolate from burning and to ensure it melts evenly into a smooth, glossy consistency.
-
Once the chocolate mixture is perfectly smooth, stir in the roughly chopped roasted nuts until they are evenly distributed throughout the rich chocolate base.
-
Next, gently fold in the mini marshmallows. Stir just enough to coat them without melting them too much, preserving their soft chewiness.
-
Prepare a square pan (a 7×7 inch or 8×8 inch pan works best) by lining it with parchment paper, allowing some overhang on the sides for easy removal. Spread the fudge mixture evenly into the prepared pan using a spatula.
-
Top the fudge with additional mini marshmallows and the mini Butterfinger peanut butter cups (or your chosen toppings). Gently press them into the fudge slightly with your fingers to ensure they adhere.
-
Cover the pan loosely with plastic wrap and chill it in the refrigerator overnight, or for a minimum of 6 hours, until the fudge is completely firm and set. This is crucial for achieving the correct texture.
-
Once firm, use the parchment paper overhang to lift the fudge out of the pan onto a cutting board. Allow it to sit at room temperature for about 10-15 minutes, then use a sharp knife to cut it into small square pieces. Enjoy your decadent homemade rocky road fudge!
Video
Notes
- If you can’t find mini Butterfinger cups, you can easily chop up a standard Butterfinger candy bar and use that in this recipe for the same delicious crunch.
- Unleash your creativity and mix in other nuts, different chopped candies, or even dried fruits to customize your fudge.
- Remember, sweetened condensed milk cannot be replaced with evaporated milk; they are not the same and will yield vastly different results.
- For a delightful pop of color, consider tossing some festive sprinkles over the top of the fudge before chilling it.
- Always use roasted nuts for the best and most pronounced nutty flavor profile in your rocky road fudge.
- For a fantastic sweet and salty flavor combination that enhances the chocolate, opt for salted nuts.
- Refer to the additional tips and variations mentioned in the article above for more guidance and ideas.
- Store any leftover rocky road fudge in a sealed, airtight container in the fridge for up to 1 week to maintain its freshness and texture.
Nutrition
An automated tool is used to calculate the nutritional information. As such, I cannot guarantee the accuracy of the nutritional information provided for any recipe on this site.
