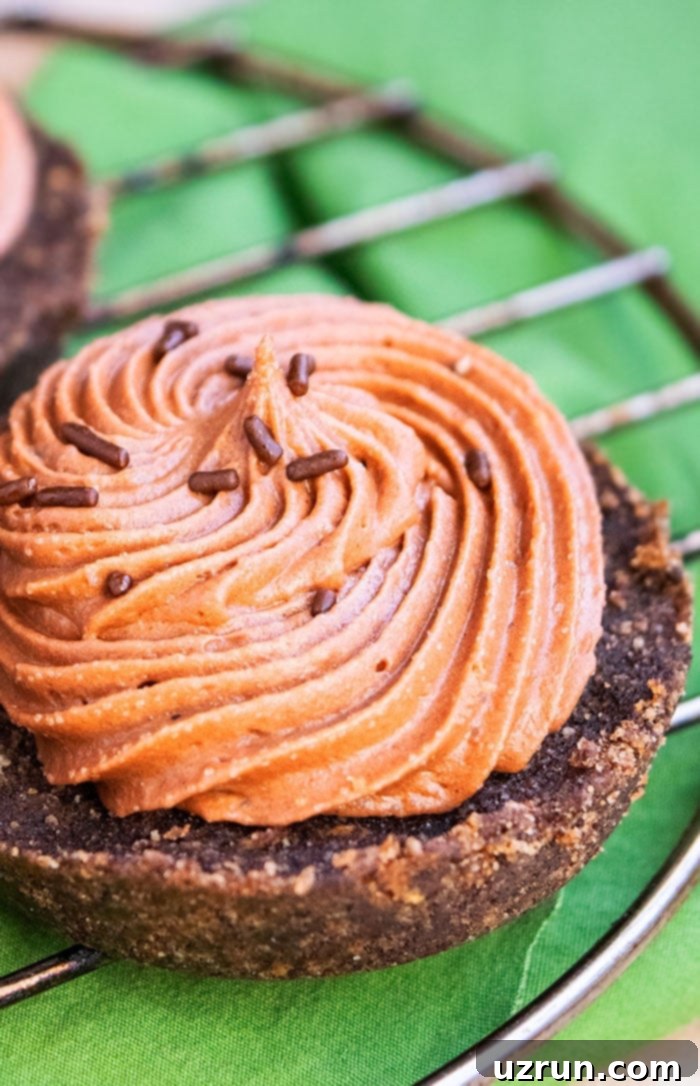
Irresistible No-Bake Nutella Cheesecake with Oreo Crust: The Easiest Recipe Ever!
Indulge in the ultimate dessert dream with our incredible No-Bake Nutella Cheesecake! This recipe is the epitome of quick, easy, and utterly delicious. Crafted with simple, readily available ingredients, it features a rich, velvety Nutella filling that’s so creamy and mousse-like, it practically melts in your mouth. All of this decadence rests upon a perfectly crunchy, chocolatey Oreo crust, making it an absolute showstopper without ever needing to turn on your oven.
Nutella holds a special place in my heart – I confess, I often enjoy it straight from the jar with a spoon! While it’s fantastic as a spread, dip, or even a filling in various baked goods like cakes, cupcakes, and cookies, I genuinely believe its true calling is in this extraordinary cheesecake. It’s simply unparalleled in its ability to transform a simple treat into something truly special.
This particular recipe is a perennial favorite among my family and friends, always topping their request list. Despite its gourmet appearance and luxurious taste, it’s surprisingly quick to prepare, requiring minimal effort. It’s the perfect make-ahead dessert for parties or gatherings, and even little ones can join in the fun of creating these delightful treats, especially when assembling the crusts or adding sprinkles.
It’s important to note that this is a true no-bake sensation, distinguishing it from Nutella swirl or traditional baked cheesecakes that involve oven time. Our focus here is on effortless indulgence, making it ideal for busy schedules or warm days when you crave a decadent dessert without heating your kitchen. Prepare to be amazed by how such a simple process yields such spectacular results!
More Irresistible Nutella Desserts You’ll Love
- 3 Ingredient Nutella Brownies (Super Fudgy)
- Nutella Cookies
- Nutella Syrup (2 Ingredients)
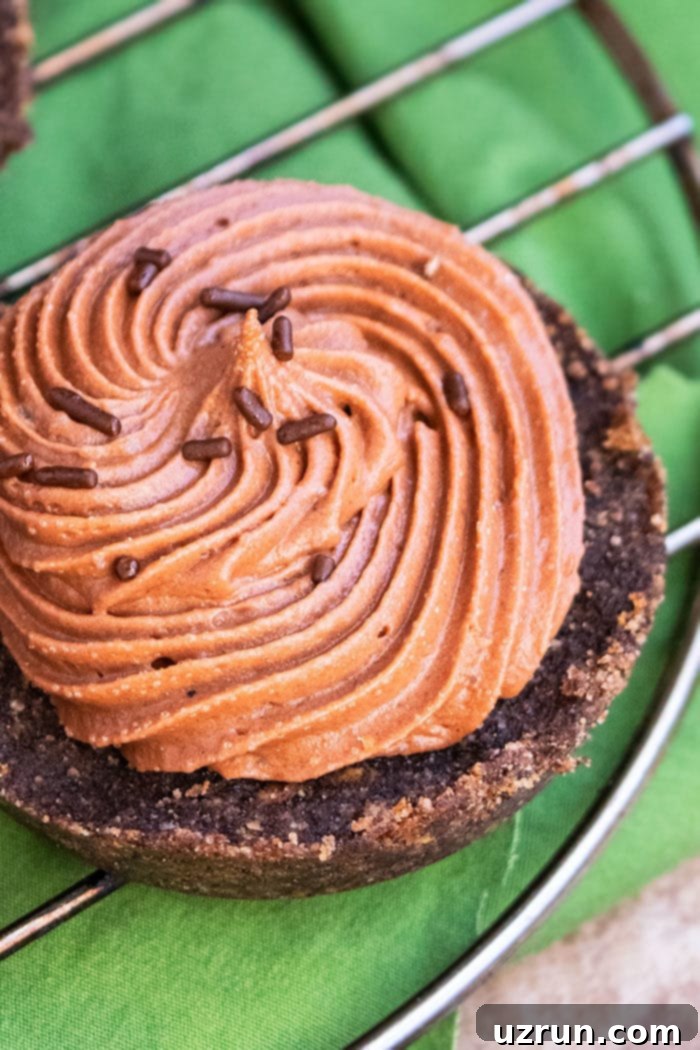
Why This No-Bake Nutella Cheesecake is a Must-Try
There are countless reasons why this particular no-bake Nutella cheesecake recipe has become a beloved classic. Here are just a few:
- Effortless Preparation: Say goodbye to complicated baking techniques! This recipe requires no oven time, no water baths, and no cracking issues. It comes together quickly with minimal fuss, making it perfect for novice bakers or anyone short on time.
- Decadent Flavor: The star of the show is undeniably the rich, creamy, and intensely chocolate-hazelnut filling. Every bite is a luxurious experience, boasting a perfect balance of sweetness and that unmistakable Nutella goodness.
- Crunchy Oreo Crust: The classic chocolate cookie crust provides a delightful textural contrast to the smooth, mousse-like filling. It’s easy to make and incredibly satisfying.
- Make-Ahead Friendly: This dessert is a dream for entertaining! You can prepare it a day or two in advance, allowing the flavors to meld beautifully and giving you one less thing to worry about on party day.
- Kid-Friendly Fun: The simple, hands-on steps mean that even children can get involved in the preparation. From crushing Oreos to adding sprinkles, it’s a fun activity for the whole family.
- Versatile Servings: Whether you prefer individual mini cheesecakes, a large showstopping dessert, or convenient bars, this recipe is incredibly adaptable to suit any occasion.
- Simple Ingredients: You won’t need a pantry full of exotic items. All the ingredients are readily available at any grocery store, making this a spontaneous dessert option.
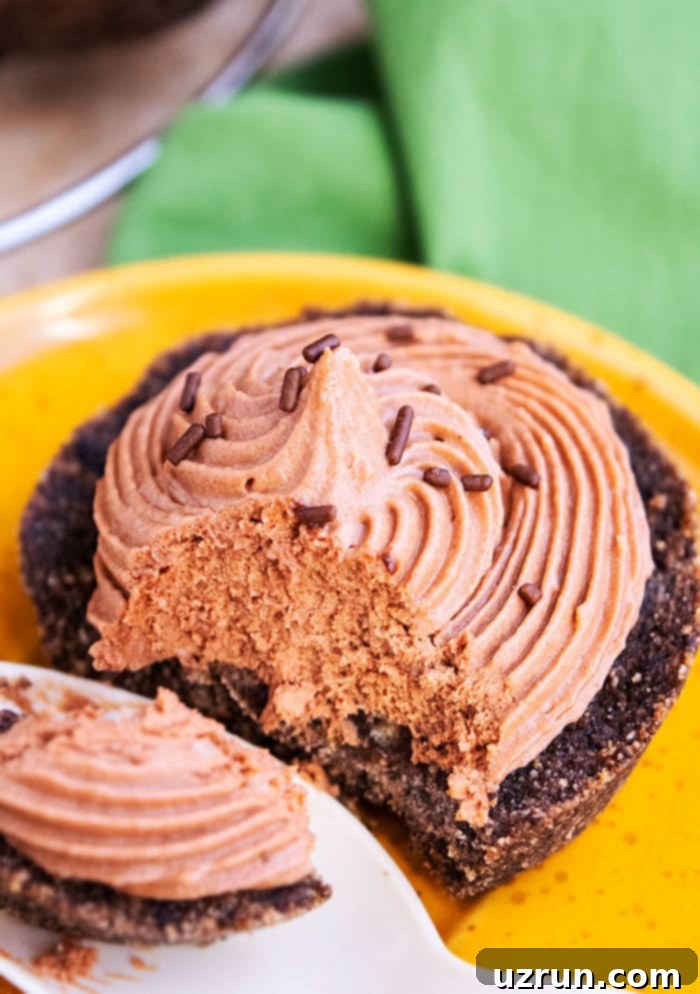
How to Make the Best No-Bake Nutella Cheesecake: A Step-by-Step Guide
Creating these delightful no-bake Nutella cheesecakes is surprisingly straightforward. Follow these steps for perfect results every time:
- Prepare the Oreo Crust: Begin by preparing your Oreo pie crust mixture. For individual servings, spoon this mixture evenly into the 12 cavities of a lightly greased muffin or cupcake pan. If you’re making a larger cheesecake, press it into your chosen pan (e.g., a 9-inch springform).
- Compact the Crust: Use your fingers or the bottom of a shot glass to firmly press the Oreo mixture down. The more tightly packed it is, the more stable your crust will be, especially when you remove it from the pan. This step is crucial for preventing crumbly crusts.
- Chill the Crust: Transfer the pan with the pressed crusts to the freezer for about 15 minutes. This chilling period allows the crust to firm up quickly, making it easier to handle and ensuring it holds its shape.
- Mix the Cheesecake Filling: While the crust is chilling, prepare the decadent Nutella filling. In a large bowl, combine the softened cream cheese, ¾ cup of Nutella, powdered sugar, and cocoa powder. Beat these ingredients together with an electric mixer until the mixture is completely smooth and free of any lumps.
- Fold in Whipped Cream: Gently fold in the whipped cream (or Cool Whip) until the filling is light, airy, and creamy. Be careful not to overmix, as this can deflate the whipped cream and affect the texture. The goal is a mousse-like consistency.
- Remove Crusts from Pan: Take the chilled muffin pan from the freezer. Carefully invert it onto a sheet of wax paper or parchment paper. Gently tap the pan until each mini crust releases. Place them upright.
- Pipe the Filling: Attach a star tip to a piping bag and fill it with the creamy Nutella cheesecake mixture. Neatly pipe the filling onto the top of each individual Oreo crust, creating an attractive swirl or mound.
- Decorate: Generously sprinkle chocolate sprinkles over the piped cheesecake filling. You can also get creative with other toppings like chopped nuts, chocolate shavings, or a drizzle of warm Nutella.
- Final Chill: Transfer the decorated cheesecakes to the refrigerator and chill for at least 2 hours. This extended chilling time is essential for the filling to firm up completely and achieve the perfect cheesecake texture.
- Serve and Enjoy: Once thoroughly chilled, your mini no-bake Nutella cheesecakes are ready to be served! Prepare for rave reviews from everyone who tries them.
Creative Variations for Your No-Bake Nutella Cheesecake
While the classic recipe is divine, this no-bake Nutella cheesecake is incredibly versatile. Don’t hesitate to experiment with these delicious variations:
- Make a Large Cheesecake: Instead of individual portions, you can easily adapt this recipe for a single, impressive dessert. Spread the cookie crust mixture evenly in a 9-inch round springform pan. Once the crust has chilled and firmed up, pour and spread the entire cheesecake mixture on top. Chill the large cheesecake for at least 4-6 hours, or preferably overnight, to allow it to set perfectly. Slice and serve for a stunning centerpiece!
- Cheesecake Bars or Bites: For easy-to-serve portions perfect for potlucks or parties, spread the cookie crust mixture in an 8×8 inch or 9×13 inch rectangular pan. Layer the creamy Nutella cheesecake filling on top. Chill thoroughly until set, then cut into small squares for bite-sized treats or larger bars.
- Cheesecake Dip: If you’re looking for a fun, interactive dessert, omit the crust entirely! Simply prepare the creamy Nutella cheesecake mixture and serve it in a decorative bowl. Surround it with an assortment of dippers like extra Oreo cookies, graham cracker sticks, pretzel rods, fresh fruit (strawberries, banana slices), or vanilla wafers. It’s a fantastic crowd-pleaser.
- Mini Cheesecake Jars: For elegant, individual desserts that are easy to transport, layer the crushed Oreo crust and the Nutella cheesecake filling in small mason jars or clear dessert glasses. This creates beautiful parfaits that guests can easily grab and enjoy.
- Add a Fruity Twist: While Nutella shines on its own, a layer of sliced bananas or fresh raspberries layered on top or mixed into the filling can add a delightful fruity contrast.
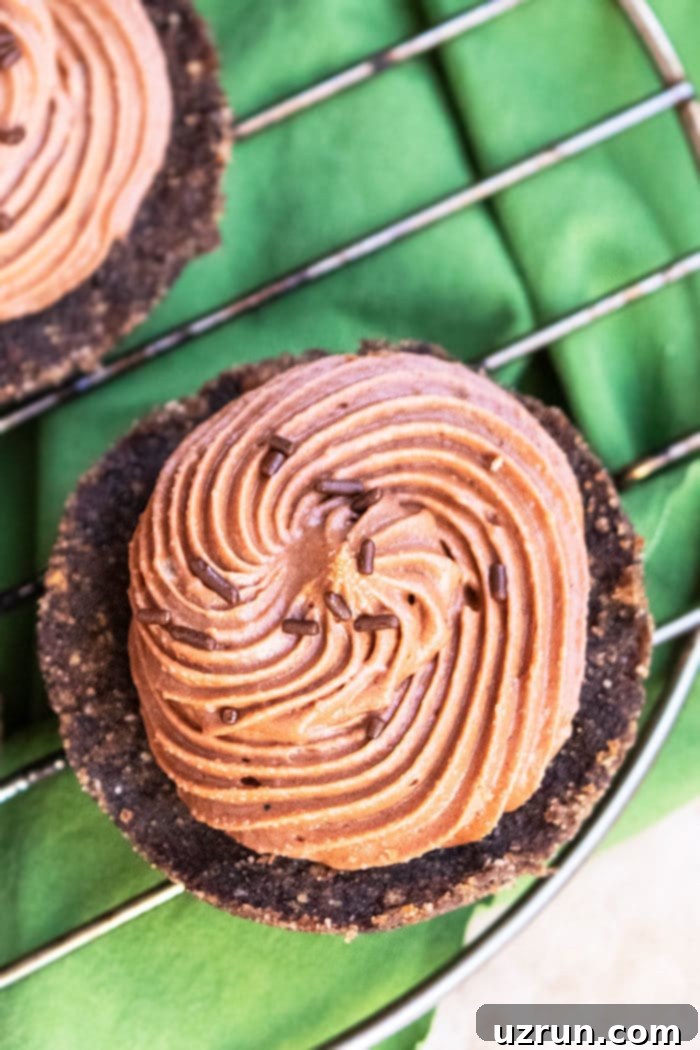
Expert Tips and Techniques for No-Fail Nutella Cheesecakes
Achieving the perfect no-bake Nutella cheesecake is simple when you follow a few key tips and techniques:
- Room Temperature Ingredients are Key: Ensure your cream cheese is completely softened to room temperature. This is vital for a smooth, lump-free filling. If it’s too cold, it will be difficult to mix evenly with the other ingredients, leading to a grainy or lumpy texture. Take it out of the fridge at least an hour before you start.
- Can I use whipped cream instead of Cool Whip? Yes, absolutely! If you prefer a homemade touch, make Homemade Whipped Cream. Whip heavy cream until stiff peaks form, then gently fold it into the Nutella filling. Ensure it’s very firm to provide the necessary structure for the cheesecake.
- What to do if filling is too thin to pipe? Don’t fret if your cheesecake mixture seems a bit too soft. Simply chill the cheesecake mixture in the fridge for an additional 20-30 minutes. This will allow it to firm up a bit, making it much easier to pipe or spread without losing its shape.
- Add creative cheesecake toppings: While chocolate sprinkles are a classic choice, feel free to get creative! You can also use other types or colors of sprinkles, chopped nuts (especially toasted hazelnuts to complement the Nutella), shredded chocolate, delicate chocolate curls, chopped up candy bars (like Ferrero Rocher for an extra hazelnut kick!), a dollop of fresh whipped cream, or even a luscious drizzle of Dulce De Leche. A light drizzle of chocolate ganache or warm Nutella is also incredibly delicious, or you can even try this Nutella Syrup for an extra boost of flavor.
- Try a different crust: While the Oreo crust is undeniably delicious for a Nutella cheesecake, don’t hesitate to experiment! Instead of making an Oreo Nutella cheesecake, you could opt for a classic Graham Cracker crust, a vanilla wafer crust, or even a crushed shortbread cookie crust. Each will offer a slightly different flavor and texture profile that pairs wonderfully with Nutella.
- Measure Properly, Especially Nutella: This is particularly important for the Nutella. The recipe calls for ¾ cup, NOT 1 cup. Adding a whole cup will make the mixture considerably thinner, and you’ll then have to try to fix it by adding more powdered sugar to thicken it. This will obviously change the flavor profile and make the filling excessively sweet, losing the perfect balance. Stick to the precise measurement for optimal results.
- Firmly Pack the Crust: When pressing the Oreo crust into your pan (whether a muffin pan or springform), ensure it is packed down very tightly. A compact crust is less likely to crumble when you serve it and will provide a sturdy base for your creamy filling.
- Easy Removal for Mini Cheesecakes: After the initial chilling of the mini crusts, gently invert the muffin pan onto a sheet of wax paper or parchment paper. A few firm taps on the bottom of the pan should help the individual crusts release easily without breaking.
- Storage: Store any leftover no-bake Nutella cheesecakes in a sealed airtight container in the fridge for up to 3 days. They are best enjoyed within this timeframe.
- Freezing (Optional): For longer storage, you can freeze these cheesecakes. Place individual cheesecakes on a baking sheet and freeze until solid, then transfer them to an airtight freezer-safe container. They will keep for 1-2 months. Thaw in the refrigerator before serving.
Explore More No-Bake Cheesecake Delights
If you’ve fallen in love with the ease and deliciousness of this no-bake Nutella cheesecake, you’re in for a treat! There’s a whole world of no-bake cheesecakes to explore, perfect for any season or craving. These recipes offer similar simplicity and fantastic flavor, proving that you don’t always need an oven to create an extraordinary dessert. Here are some more favorites to add to your repertoire:
- Eggnog Cheesecake (No Bake) – A festive and creamy delight for the holidays!
- Strawberry Cheesecake Cupcakes (No Bake) – Bursting with fresh fruit flavor, perfect for spring and summer.
- No Bake Peach Cheesecake – A refreshing and light option, highlighting sweet peaches.
- No Bake Coffee Cheesecake – For coffee lovers, a rich and aromatic dessert.
Each of these recipes brings its unique twist to the no-bake cheesecake concept, ensuring there’s always something new and exciting to try without the hassle of baking.
Recipe
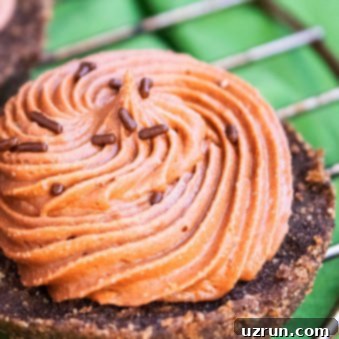
Mini No Bake Nutella Cheesecake
Abeer Rizvi
Pin Recipe
Want to Save This Recipe?
Enter your email & I’ll send it to your inbox. Plus, get great new recipes from me every week!
By submitting this form, you consent to receive emails from CakeWhiz
Ingredients
- 1 batch Oreo pie crust
- 1 box Cream cheese Full fat, 8 oz. package
- ¾ cup Nutella
- ½ cup Powdered sugar
- 1 tablespoon Cocoa powder
- 1 container Cool Whip 8 oz. tub
- 2 tablespoon Chocolate sprinkles For decoration
Instructions
-
Prepare the Oreo pie crust mixture and spoon it into 12 cavities of a lightly greased muffin pan or cupcake pan.
-
Press it down with your fingers or the base of a shot glass. The more packed down it is, the more secure it will be, when you remove it from the pan.
-
Chill tray in the freezer for 15 minutes or until crust has firmed up.
-
While the Oreo crust is chilling, prepare the filling by mixing together cream cheese, Nutella, powdered sugar, cocoa powder in a large bowl until smooth.
-
Fold in the whipped cream until smooth and creamy.
-
Attach the star tip to a piping bag and fill it with this cheesecake mixture.
-
Remove pan from freezer. Gently tun it over to a sheet of wax paper or parchment paper and tap the pan until the mini crusts come out.
-
Pipe the cheesecake filling on top of each mini Oreo crust.
-
Sprinkle chocolate sprinkles.
-
Chill in the fridge for at least 2 hours so that it firms up even further. Enjoy!
Notes
- Remember to read all the detailed tips above for the best results!
- In the pictures, you will notice that I used a combination of graham cracker crumbs and Oreo crumbs, but you can certainly just use Oreo crumbs for a purely chocolatey crust.
- If you prefer a really thick and robust crust, consider making 2 batches of my Oreo crust recipe.
- Leftovers can be stored in a sealed airtight container in the fridge for up to 3 days, maintaining their freshness and flavor.
Nutrition
An automated tool is used to calculate the nutritional information. As such, I cannot guarantee the accuracy of the nutritional information provided for any recipe on this site.
Until next time, enjoy your no-baking adventures and delight in these heavenly Nutella treats!
