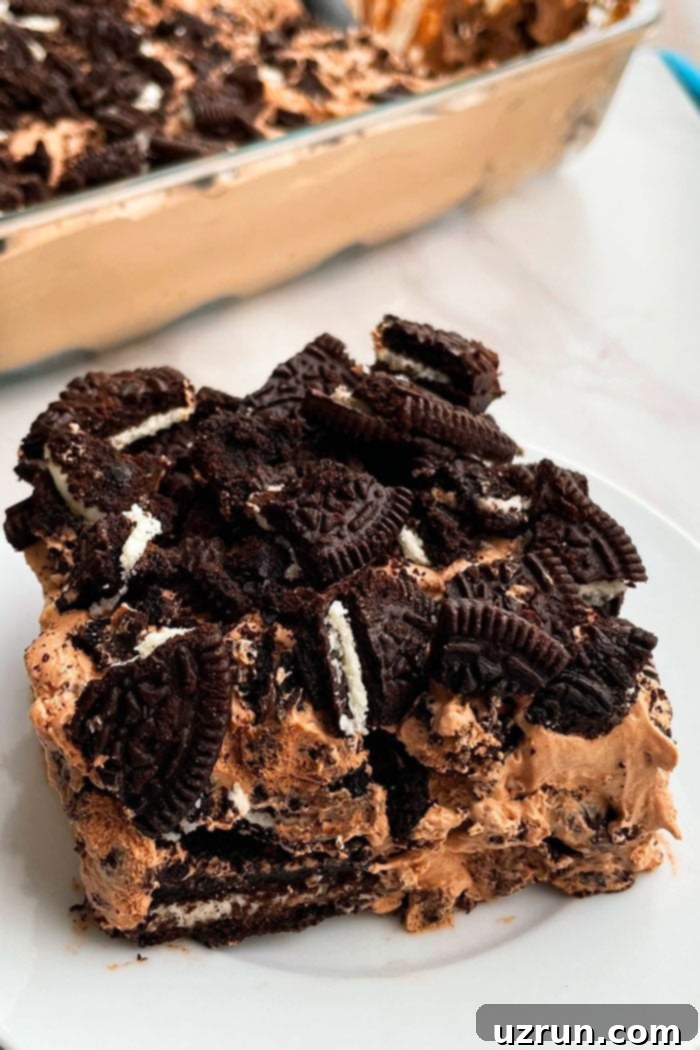
Easy No-Bake Oreo Chocolate Icebox Cake: The Ultimate Refrigerator Dessert Recipe
Prepare to delight your taste buds with this incredibly easy, old-fashioned, no-bake refrigerator cake, often affectionately known as an Oreo chocolate icebox cake. This homemade dessert is crafted with just a few simple ingredients: luscious layers of crushed Oreos, velvety chocolate pudding, and airy Cool Whip. It’s the perfect treat for anyone craving a rich, chocolatey dessert without ever having to turn on the oven.
This delightful creation is a true game-changer, especially for those in the family who aren’t particularly fond of traditional baked cakes. We all know that one person who prefers something different from the classic birthday cake, and for them, this no-bake wonder will do the trick – and then some! In fact, it’s so irresistibly good that your guests won’t even miss a traditional cake. If you’re looking for a fruity twist for the warmer months, our Strawberry Icebox Cake {No Bake} offers a equally delicious and refreshing summer alternative.
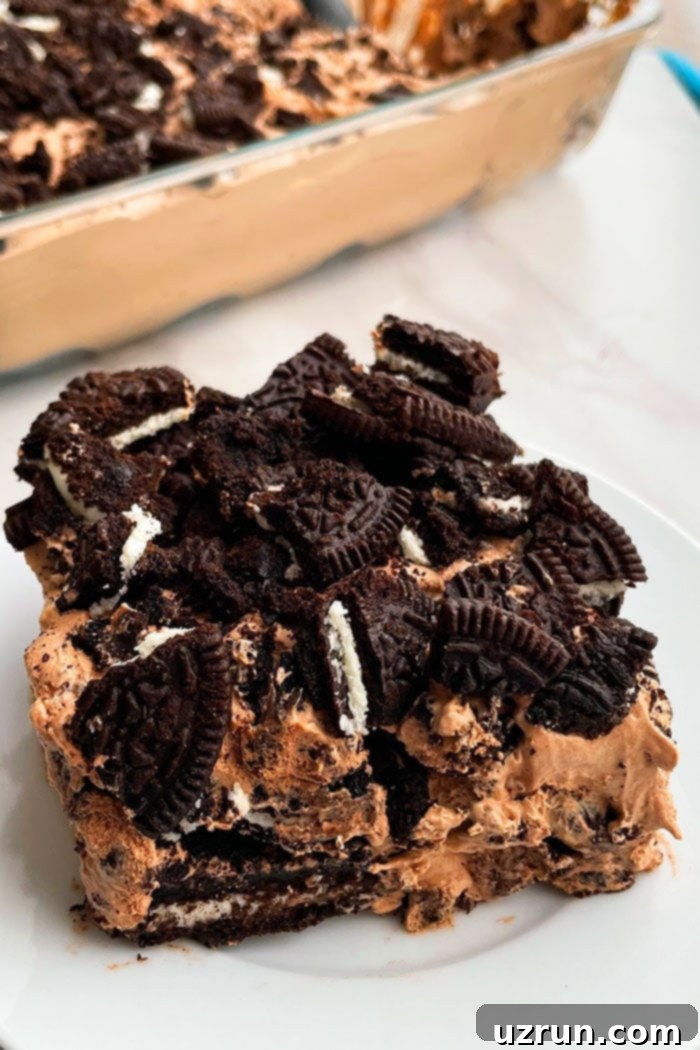
What is an Icebox Cake?
An icebox cake, also known as a refrigerator cake, is a type of no-bake dessert typically made by layering cookies or wafers with whipped cream or pudding, then chilling it in the refrigerator until the cookies soften and the layers meld together. The “icebox” refers to the old term for a refrigerator, highlighting the dessert’s reliance on cold to set and transform its simple components into a cohesive, delicious treat. These cakes are celebrated for their ease of preparation, minimal cooking required, and wonderfully creamy texture that results from the cookies absorbing moisture from the filling.
Why You’ll Love This No-Bake Oreo Chocolate Icebox Cake
- Effortlessly Easy: No baking, no complex techniques, just simple layering and chilling. Perfect for beginners or busy individuals.
- Quick Prep Time: You can assemble this delicious dessert in just about 10 minutes, making it ideal for last-minute gatherings or when you need a speedy dessert.
- Crowd-Pleaser: The classic combination of Oreos and chocolate pudding is universally loved, making this cake a guaranteed hit at parties, potlucks, and family dinners.
- Make-Ahead Marvel: This cake actually tastes better after chilling overnight, making it a fantastic make-ahead option that saves you time on the day of your event.
- Cool & Refreshing: As a chilled dessert, it’s particularly wonderful during hot summer months or anytime you want a light, refreshing treat.
- Highly Customizable: As you’ll see below, there are countless ways to customize this basic recipe with different toppings and flavor variations to suit any preference.
How To Make Refrigerator Cake From Scratch?
Creating this delicious no-bake cake is surprisingly straightforward. Here’s a quick overview of the simple steps:
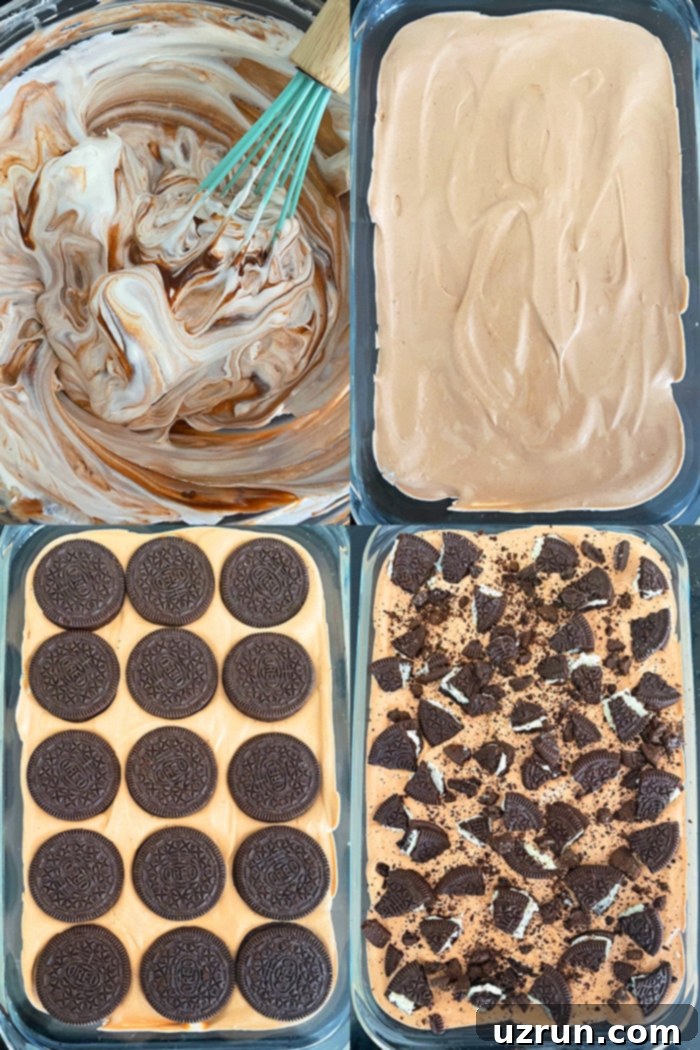
- Prepare the Chocolate Filling: In a large bowl, whisk together the instant chocolate pudding mix with cold milk until it thickens. Then, gently fold in the Cool Whip for a light and airy texture.
- Assemble the Layers: Line the bottom of your chosen pan with a single layer of Oreos. Spoon half of the prepared chocolate-Cool Whip filling evenly over the cookies.
- Repeat and Layer: Add another layer of Oreos on top of the filling, followed by the remaining half of the chocolate mixture.
- Add Toppings (Optional but Recommended!): Sprinkle roughly chopped Oreos or other desired toppings over the top layer.
- Chill to Perfection: Cover the pan and refrigerate for at least 6-8 hours, or preferably overnight, allowing the cookies to soften and the pudding to set completely.
Key Ingredients for Your Oreo Icebox Cake
This recipe shines because of its simplicity and the magic that happens when these core ingredients come together:
- Instant Chocolate Pudding Mix: Opt for instant pudding for convenience and quick setting. Using a full-fat variety will ensure a richer, creamier texture and better setting.
- Whole Milk: Cold whole milk is crucial. The cold temperature helps the pudding set quickly and properly, while the full-fat content contributes to the desired creamy consistency.
- Cool Whip (or Stabilized Whipped Cream): This adds a light, fluffy element to the filling, balancing the richness of the chocolate pudding. Ensure it’s thawed but still cold. Full-fat Cool Whip yields the best results.
- Oreos: The star of the show! Original Oreos work perfectly, but you can experiment with different flavors or even other types of cookies for unique variations.
- Roughly Chopped Oreos (for topping): These provide a delightful crunch and an extra burst of Oreo flavor right on top.
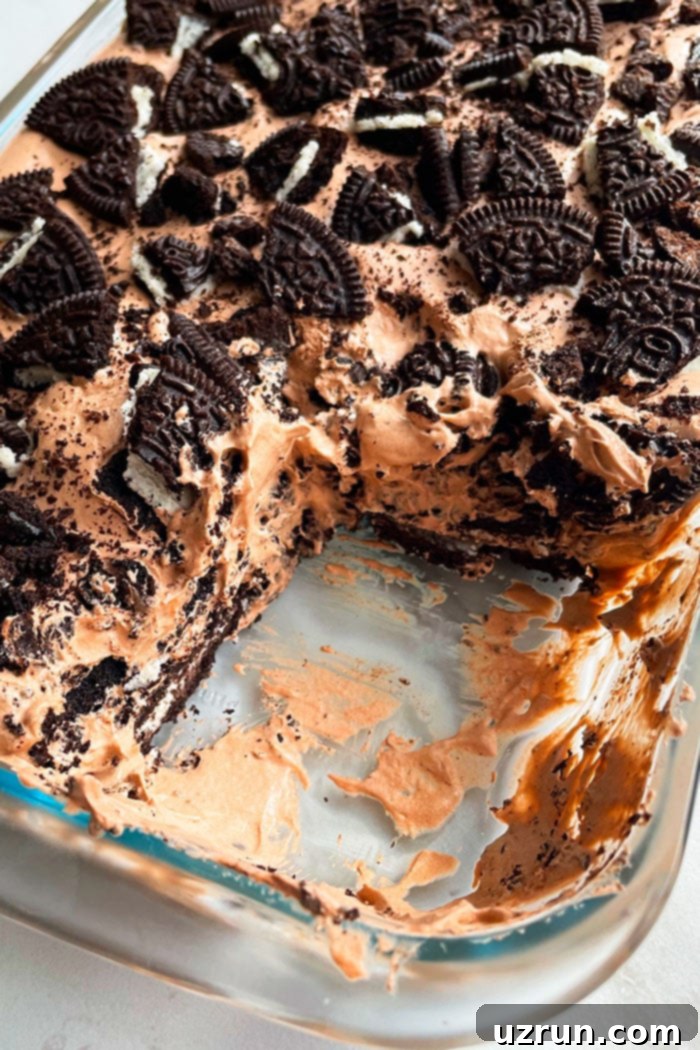
Elevate Your Cake with Delicious Toppings
While delicious on its own, adding toppings can take your Oreo chocolate icebox cake to the next level. Get creative and customize your dessert for any occasion!
Nuts: For added crunch and a touch of savory richness, sprinkle on some chopped nuts. Good options include chopped peanuts, pecans, walnuts, almonds, or cashews. You can even lightly toast them beforehand to enhance their flavor.
Sprinkles: A fantastic way to add a festive touch! Choose colorful sprinkles to match a special occasion like a birthday, holiday, or party theme. Rainbow, chocolate, or even themed sprinkles work wonderfully.
Frostings: Transform your icebox cake into a more decadent dessert by adding a layer of frosting on top. Consider rich Caramel Frosting, creamy Peanut Butter Frosting, or a glossy Chocolate Ganache Frosting. They would all be utterly delicious atop this chocolatey base.
Candies: For a burst of extra sweetness and texture, add small candies. Think M&Ms, Reese’s Pieces, chopped Hershey bars, Baby Ruth, 100 Grand, Milky Way, Andes Candies, or any other chocolate bar or candy you prefer. Roughly chop them for easier eating.
Pretzels: If you love the sweet and salty combination, crushed pretzels are a must-try topping. Their crisp texture provides a delightful contrast to the creamy cake.
Dulce de Leche: Drizzle this rich, caramelized milk sauce for an extra layer of sweetness and a hint of butterscotch flavor that pairs beautifully with chocolate. Try making this homemade Dulce De Leche for the ultimate treat.
Jams: For a fruity complement to the chocolate, a layer or swirl of jam can be surprisingly delicious. A homemade Strawberry Jam or raspberry jam would add a lovely tang and freshness.
Nut Butters: Warm up some peanut butter, almond butter, sunflower butter, or Nutella slightly, then drizzle it generously over the top of the cake. This adds a rich, nutty flavor. You can also try this simple 2-ingredient Nutella Syrup.
Chocolate Drizzle or Shavings: A simple chocolate drizzle or elegant chocolate shavings can add a sophisticated touch and an extra layer of chocolatey goodness.
Extra Whipped Cream: A final dollop of fresh whipped cream or Cool Whip before serving is always a welcome addition, making the dessert feel even more luxurious.
How Long Does No-Bake Cake Need To Be Chilled?
The chilling time is crucial for an icebox cake, as it allows the cookies to soften and the pudding layers to set into a cohesive, sliceable dessert. This isn’t a dessert you can make and serve immediately, so planning ahead is key!
Refrigerator Time: For the best results, chill your no-bake Oreo chocolate icebox cake for at least 6-8 hours. Ideally, I recommend chilling it overnight. This extended time ensures that the Oreos fully absorb moisture from the pudding, transforming from crisp cookies into tender, cake-like layers. It also allows the pudding to firm up properly, making for clean slices.
Freezer Time: If you’re short on time or prefer a firmer, almost frozen dessert consistency, you can freeze the cake. This takes approximately 4 hours to achieve a firm set, but for optimal texture, freezing it overnight is highly recommended. When serving from the freezer, let it thaw for about 20-30 minutes at room temperature before slicing to make it easier to cut and enjoy a slightly softer texture.
Patience during the chilling phase is rewarded with a truly delightful and perfectly textured dessert!
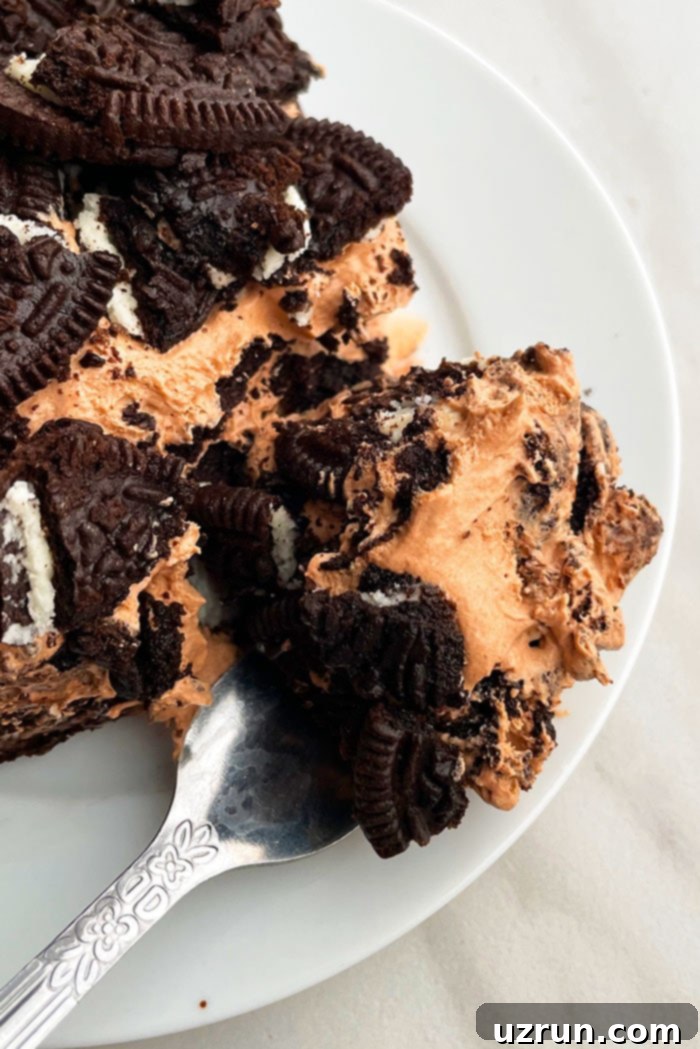
Creative Variations for Your Refrigerator Cake
One of the best things about this no-bake recipe is how incredibly versatile it is! You can easily adapt it to create a variety of flavors and themes:
- Snickers Refrigerator Cake: Elevate your dessert by incorporating chopped Snickers bars, a generous drizzle of homemade Caramel Sauce, and some shaved chocolate on top. This variation offers a delightful mix of peanuts, nougat, caramel, and chocolate.
- Explore Different Pudding Flavors: Don’t limit yourself to chocolate! Experiment with other instant pudding flavors such as vanilla, white chocolate, butterscotch, or even a combination of flavors. Imagine a layer of vanilla and a layer of chocolate pudding!
- S’mores Icebox Cake: Transform this into a campfire-inspired treat by using graham crackers instead of Oreos. Layer with a creamy marshmallow filling (marshmallow cream works well) and top with lightly toasted marshmallows for that authentic s’mores experience.
- Add Fresh Fruit Layers: Introduce a burst of freshness by adding a layer of sliced fresh fruit. Strawberries, raspberries, or even thinly sliced bananas placed under the Oreo layers or between pudding layers pair wonderfully with chocolate.
- Try Other Cookies for Unique Flavors: While Oreos are classic, other cookies can create exciting new profiles. Consider Golden Oreos for a vanilla twist, Nutter Butters for a peanut butter explosion, Biscoff cookies for a spiced caramel note, or classic graham crackers for a more traditional icebox cake base.
- Make it a Frozen Dessert: For a firmer, ice cream-like treat, prepare the cake as usual, then wrap the pan tightly first in plastic saran wrap, followed by aluminum foil. Store it in the freezer overnight. Let it thaw for 20-30 minutes at room temperature before slicing and serving. This creates a refreshing frozen cake perfect for hot days.
- Chocolate Chips Galore: Stir chocolate chips directly into your pudding mixture or sprinkle them generously as a topping. Choose your favorite type: dark, milk, white chocolate, peanut butter, butterscotch, or even mint chocolate chips for a refreshing kick.
- Coffee Kick: Add a tablespoon or two of instant coffee granules to your chocolate pudding mix for a mocha-flavored icebox cake.
Expert Tips And Techniques For a Perfect Oreo Icebox Cake
Achieving the perfect no-bake Oreo chocolate icebox cake is simple with these helpful tips and techniques:
- Freezing Vs. Chilling in Fridge: Both methods work for this cake, but they yield different textures. Chilling in the fridge (6-8 hours or overnight) results in a softer, more cake-like texture as the cookies fully absorb the moisture. Freezing (4 hours or overnight) produces a firmer, almost ice cream-like cake. Choose based on your preference or the weather!
- Homemade Pudding Vs. Store-Bought Puddings: Either can be used. Boxed instant pudding is incredibly convenient and quick, making this a true “easy” recipe. However, if you prefer to make your own, a rich homemade chocolate pudding (like this Vegan Chocolate Pudding, adjusted for non-vegan if desired) can add an extra layer of gourmet flavor. Just ensure it’s cooled completely before mixing with Cool Whip.
- Plan Ahead is Essential: This dessert cannot be served immediately. The chilling time is crucial for the cookies to soften and the pudding to set properly, ensuring a sliceable and delightful texture. I highly recommend making this a minimum of 6-8 hours in advance, or even better, the night before you plan to serve it.
- Serving a Crowd: If you’re hosting a larger gathering, it’s easy to scale this recipe. Simply double the ingredients and use a bigger pan (like a full sheet pan) or prepare two standard 9×13 inch pans.
- Use Cold Milk for Pudding: Always use very cold milk when preparing instant pudding. Cold milk helps the pudding mix dissolve properly and ensures it sets much better and faster than lukewarm or warm milk.
- Opt for Full-Fat Ingredients: For the creamiest texture and proper setting of the filling, it’s necessary to use full-fat instant pudding mix, whole milk, and full-fat Cool Whip. Skim milk or light whipped toppings may result in a thinner, less stable filling.
- Don’t Overmix the Cool Whip: When folding in the Cool Whip, do so gently and only until just combined. Overmixing can deflate the Cool Whip, leading to a less airy filling.
- Even Layers are Key: Try to spread your pudding mixture as evenly as possible over the cookie layers. This ensures that every slice has a consistent texture and flavor profile.
- Crush Oreos for Topping: If using additional crushed Oreos for topping, a food processor makes quick work of it, but placing them in a Ziploc bag and crushing with a rolling pin works just as well.
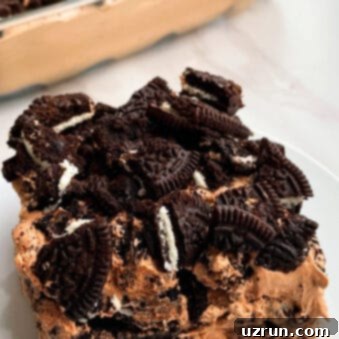
Storage Guidelines for Freshness
Proper storage ensures your no-bake Oreo chocolate icebox cake remains delicious and fresh for as long as possible:
Refrigerator: Any leftovers should be stored in a sealed airtight container in the refrigerator. It will stay fresh and delicious for up to 3 days. After that, the cookies might become too soft, and the texture may start to change.
Freezer: This cake freezes beautifully! To store it in the freezer, first wrap the entire pan tightly with plastic saran wrap, ensuring no air can get in. Then, wrap it again in aluminum foil for an extra layer of protection against freezer burn. It can be frozen for up to 1 month. When you’re ready to enjoy it, transfer the cake from the freezer to the refrigerator for a few hours, or let it thaw for about 30 minutes at room temperature before slicing and serving. This allows it to soften slightly, making it easier to cut and enjoy.
Frequently Asked Questions (FAQs)
Here are some common questions about making an Oreo Chocolate Icebox Cake:
- Can I use homemade whipped cream instead of Cool Whip? Yes, absolutely! If you prefer, you can use homemade whipped cream. For best results, stabilize your whipped cream by adding a little cream cheese, powdered sugar, or gelatin to help it hold its shape and prevent it from weeping over time.
- What if my pudding doesn’t set properly? Ensure you are using instant pudding mix (not cook-and-serve) and very cold whole milk. Also, avoid over-whisking the pudding as it can sometimes prevent it from setting. If it’s still too loose, it might be due to insufficient chilling time or using low-fat ingredients.
- Can I make this recipe gluten-free? Yes, you can! Look for gluten-free sandwich cookies that resemble Oreos. Most instant pudding mixes are naturally gluten-free, but always check the label to be sure.
- How far in advance can I make this cake? This cake is perfect for making ahead. You can prepare it up to 24-48 hours in advance for the best texture and flavor development. The cookies will be perfectly softened, and the flavors well-melded.
- Can I add liquor to this cake? For an adult twist, you could lightly dip the Oreos in a coffee liqueur or a chocolate liqueur before layering, or add a tablespoon of liqueur to the pudding mixture.
More Irresistible Oreo Desserts to Try
If you’re an Oreo fanatic, you’re in luck! There are countless ways to incorporate these beloved cookies into your dessert repertoire. Here are some more fantastic Oreo-inspired treats:
- Emoji Cookies {Emoji Oreos}
- Mini Oreo Bites {No Bake}
- Snowman Cookies {Snowman Oreos}
- No Bake Oreo Pie
- Cookies And Cream Cake {Oreo Cake}
- Oreo Cupcakes {With Cake Mix}
- Fudgy Oreo Brownies
- Easy Chocolate Oreo Cake Recipe
Recipe
Refrigerator Cake (Oreo Chocolate Icebox Cake)
Abeer Rizvi
Pin Recipe
Want to Save This Recipe?
Enter your email & I’ll send it to your inbox. Plus, get great new recipes from me every week!
By submitting this form, you consent to receive emails from CakeWhiz
Ingredients
- 3 boxes Instant chocolate pudding Dry powder, 3.4 oz each, Full fat for best results
- 4 cups Whole milk Must be very cold
- 2 cups Cool Whip Thawed, full fat for creamiest texture
- 2 packages Oreos Standard size, approximately 14.3 oz each
- ½ cup Roughly chopped Oreos For topping or garnish
Instructions
-
In a large mixing bowl, combine the instant pudding mix (dry powder) with the very cold whole milk. Whisk vigorously for about 2 minutes until the mixture is smooth and begins to thicken slightly.
-
Gently fold in the thawed Cool Whip with a spatula until it is just combined and no streaks remain. Be careful not to overmix, as this can deflate the Cool Whip. Set aside.
-
In a 9×13 inch rectangle pan, arrange a single layer of Oreos on the bottom, covering the entire surface as much as possible. You may need to break some cookies to fit.
-
Spoon approximately half of the chocolate-Cool Whip pudding mixture evenly over the first layer of Oreos. Use a spatula to gently spread it to the edges.
-
Create a second layer by arranging more Oreos on top of the pudding mixture. Then, spread the remaining half of the pudding mixture evenly over these Oreos.
-
Sprinkle the roughly chopped Oreos (or any other desired toppings) evenly over the top layer of the cake.
-
Cover the pan tightly with plastic wrap or aluminum foil. Chill the cake in the refrigerator for a minimum of 6-8 hours, or ideally overnight, to allow the cookies to soften and the filling to set completely.
-
For a frozen dessert, wrap the pan first in plastic saran wrap and then in aluminum foil. Store it in the freezer overnight. When ready to serve, let it thaw at room temperature for about 30 minutes before slicing and enjoying the firmer, frozen treat.
Notes
- Be sure to read all the tips and techniques provided above in the main article for best results.
- Leftovers can be stored in a sealed container in the fridge for up to 3 days. For longer storage, freeze as per the instructions above.
- For easier slicing, you can line your pan with parchment paper, leaving an overhang on the sides. This allows you to lift the entire cake out before cutting.
Nutrition
An automated tool is used to calculate the nutritional information. As such, I cannot guarantee the accuracy of the nutritional information provided for any recipe on this site.
