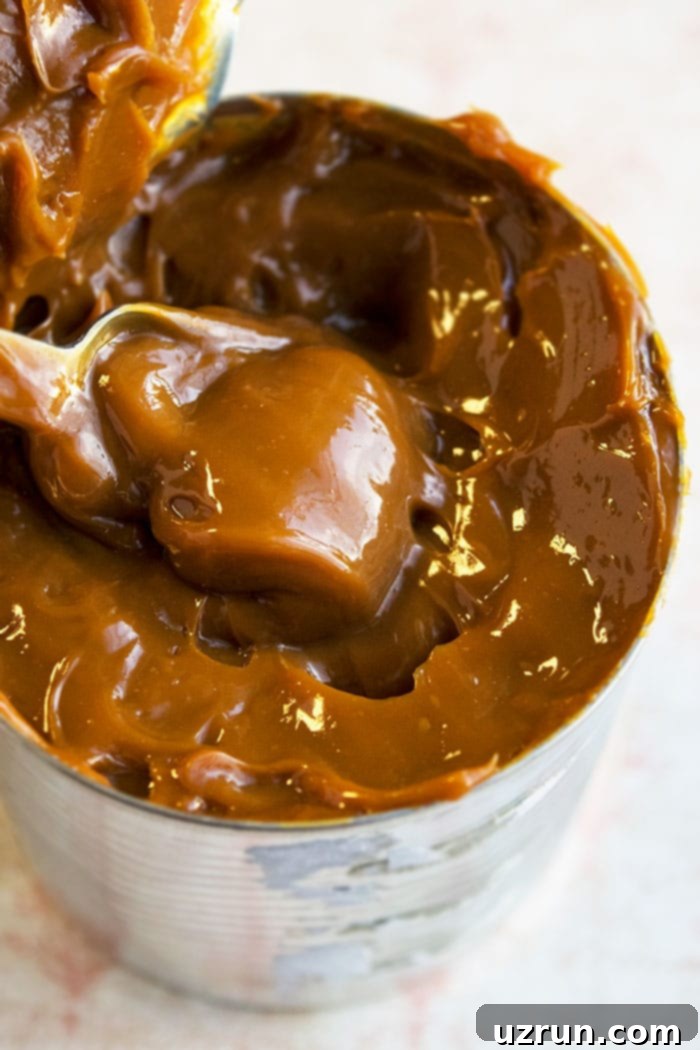
Easy Homemade Dulce de Leche: The Ultimate Guide to Perfect Caramel from Condensed Milk
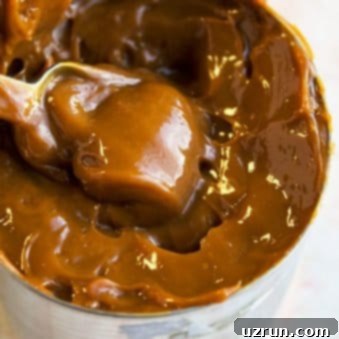
Prepare to elevate your dessert game with this incredibly simple and absolutely delicious Dulce de Leche recipe. Forget complicated caramel-making from scratch; this homemade version requires just one humble ingredient: a can of sweetened condensed milk. The result? A luxuriously smooth, rich, thick, and creamy caramel-flavored delight that’s perfect for drizzling, filling, or simply eating by the spoon. Whether you prefer the classic stovetop method, the hands-off slow cooker, or the consistent heat of the oven, achieving this golden perfection at home has never been easier or safer.
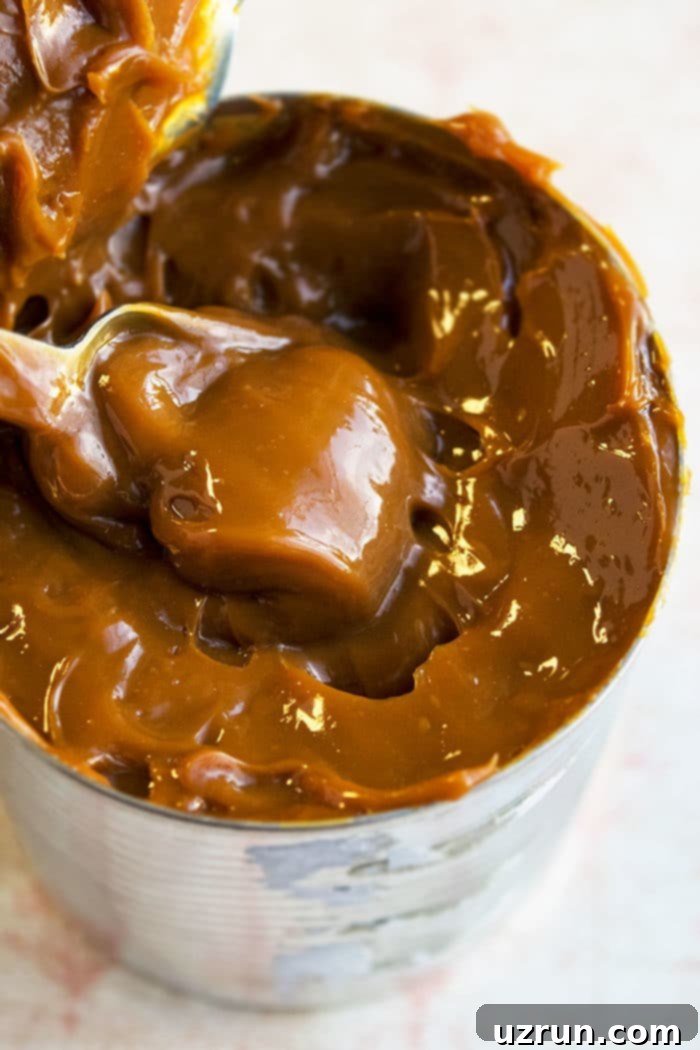
Making caramel from scratch can be a tricky endeavor, often resulting in burnt sugar or crystallizing nightmares that require constant attention and a keen eye. This sweetened condensed milk caramel method bypasses all those potential pitfalls, offering a foolproof way to create a rich, complex flavor with minimal effort. It’s the ultimate homemade hack for anyone craving that deep, caramelized sweetness without the fuss. Just like my popular Crockpot Apple Butter, Homemade Lemon Curd, or Hot Fudge Sauce (Chocolate Fudge Sauce), this recipe makes it incredibly simple to replicate store-bought quality—or even surpass it—right in your own kitchen.
The beauty of homemade Dulce de Leche lies not only in its taste but also in its incredible versatility. Once you master this simple technique, you’ll find yourself reaching for it to transform everything from breakfast pastries to elaborate cakes. It’s a staple in many cuisines, particularly in Latin America, where it’s cherished as a fundamental sweet. Now, let’s dive into how you can effortlessly bring this delightful confection into your home.
Before we jump into the detailed instructions for each cooking method, let’s ensure we have the right components on hand. The success of this recipe hinges on understanding a few key elements, especially when it comes to distinguishing between common dairy products.
[feast_advanced_jump_to]
Key Ingredients for Homemade Dulce de Leche
- Sweetened Condensed Milk: This is the star of our show, and it’s crucial not to confuse it with evaporated milk. Sweetened condensed milk is precisely what its name implies: cow’s milk with a significant amount of sugar added, and then about 60% of its water content removed. This high sugar content is what allows it to caramelize into Dulce de Leche, undergoing a Maillard reaction as the milk solids and sugars transform under heat. For a good batch, you’ll need at least 3 entire cans (14 oz each) to ensure you have enough to enjoy and share. Using multiple cans at once also makes the cooking process more efficient, allowing you to prepare a larger quantity for future use.
- Water: This ingredient plays a critical, yet simple, role: it acts as a heat transfer medium. When cooking cans of sweetened condensed milk, whether on the stovetop or in a slow cooker, the cans must be fully submerged in water. This water bath ensures that the heat is distributed evenly around the cans, preventing the milk from scorching and allowing for a gentle, consistent caramelization process. In the oven method, water is also used to create a bain-marie (water bath) for the dish containing the condensed milk, fulfilling the same purpose of gentle, even heating.
These two ingredients are truly all you need for this magical transformation. The simplicity is astounding, especially considering the rich, complex flavor profile you achieve.
Versatile Variations and Delicious Uses for Dulce de Leche
Once you’ve made your batch of luscious Dulce de Leche, the possibilities are endless! Its rich, sweet, and creamy texture makes it an incredibly versatile ingredient in the kitchen. Here are some of our favorite ways to enjoy it:
- Filling: Dulce de Leche makes an exquisite filling for cakes and cupcakes, adding a moist, rich caramel surprise to every bite. Learn how to expertly fill your baked goods in our How to Make Filled Cupcakes tutorial.
- Drizzle: Transform ordinary desserts into extraordinary treats by drizzling warm Dulce de Leche over cakes, cupcakes, cheesecakes, brownies, or a scoop of vanilla ice cream. It adds an instant gourmet touch.
- Sweetener: Stir a spoonful into your morning coffee, milk, or tea for a sweet, caramel-infused twist. It’s also a fantastic addition to milkshakes, creating a decadent and flavorful beverage.
- Spread: Move over, jam! Spread Dulce de Leche generously over toasts, bagels, warm muffins, or flaky biscuits for a delightful breakfast or snack that’s rich in flavor.
- Topping: Elevate your breakfast or brunch by using it as a topping for pancakes, waffles, or delicate crepes instead of traditional maple syrup. The caramel notes pair perfectly with fluffy batter.
- Dip: Serve it warm at parties with an array of dippables like biscuits, graham crackers, apple slices, or even these amazing Churro Cookies (With Pie Crust) for a crowd-pleasing dessert dip.
- Homemade Gift: Package your homemade Dulce de Leche in charming jars with pretty labels. It makes a thoughtful and delicious homemade gift for family and friends, especially during the Christmas holidays or special occasions.
- Cake Enhancer: Take your favorite cake recipes to the next level. Make my family’s Best Vanilla Cake Recipe (From Scratch) or this Moist Triple Chocolate Cake (From Scratch) and generously drizzle this caramel sauce over them just prior to serving for an unforgettable dessert experience.
- Cheesecake Delight: A classic New York Cheesecake Recipe (No Water Bath) becomes even more luxurious with a swirl of Dulce de Leche. Drizzle it over the top before serving to add a rich, contrasting flavor.
- Ice Cream Swirl: For a custom caramel ice cream, make your favorite homemade vanilla ice cream and gently stir in this Dulce de Leche. Don’t mix it fully; instead, aim for beautiful caramel swirls throughout the ice cream for pockets of intense flavor.
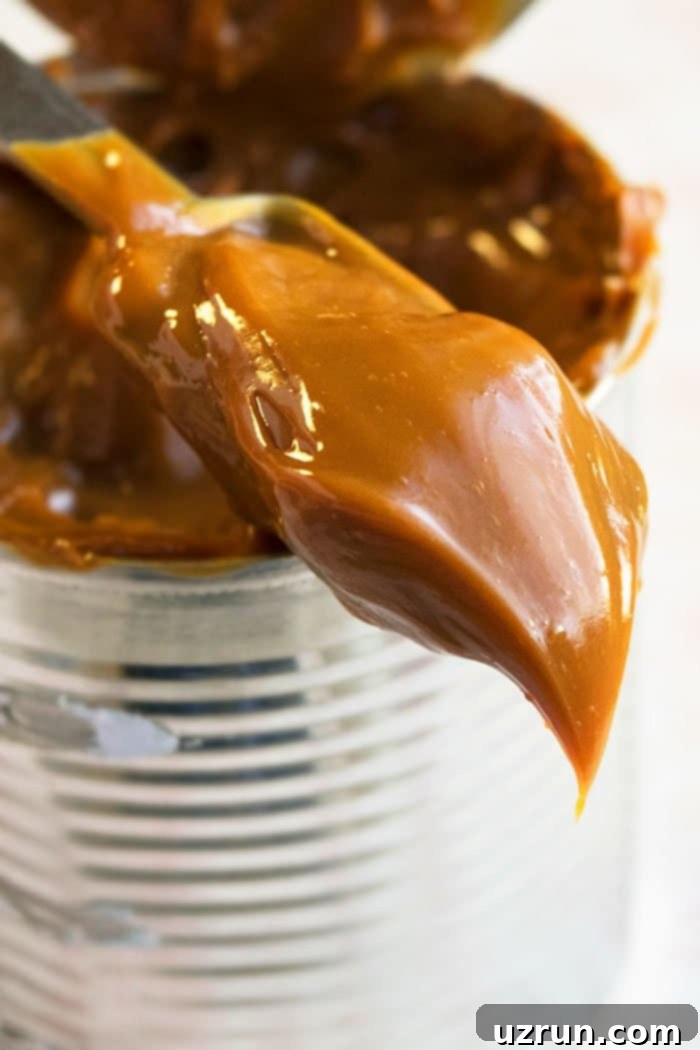
How to Make Easy Homemade Dulce de Leche with Condensed Milk Cans
One of the best things about making Dulce de Leche at home is the flexibility in cooking methods. There are a few different techniques, and each works wonderfully. My personal preference leans towards the stovetop method for its relative speed, but many of my friends swear by the convenience of the crockpot (slow cooker) method. Choose the one that best fits your schedule and kitchen setup!
- Stovetop Method (The Classic & Quickest):
This is arguably the most common and fastest way to achieve rich Dulce de Leche. Start by removing all paper labels from your cans of sweetened condensed milk. Place the cans (14 oz each, use 3 for a generous batch) in a large, heavy-bottomed pot. The key is to select a pot that allows enough space around the cans and is deep enough to fully submerge them. Cover the cans completely with water, ensuring there’s at least an inch or two of water above the top of the cans. Bring the water to a rolling boil over medium-high heat. Once boiling, reduce the heat to low, just enough to maintain a gentle simmer. Cook for 3 hours for a thick, dark caramel color and deep flavor, or for about 2 hours and 15 minutes if you prefer a lighter, golden brown result. Throughout the cooking process, it is absolutely essential to periodically check the water level and add more hot water as needed to keep the cans fully submerged. If the water level drops too low, the cans can overheat and potentially burst, creating a dangerous and messy situation. Once cooked, carefully remove the cans from the hot water using sturdy tongs and allow them to cool down completely on a wire rack before opening. This cooling process is crucial for safety, as explained in our tips section.
- Oven Method (Hands-Off & Consistent):
The oven method offers a hands-off approach that’s great for consistent heating. Preheat your oven to 425 degrees F (220 degrees C). For this method, you’ll typically open the can(s) of sweetened condensed milk beforehand. Pour 1 can of condensed milk (14 oz can) into a 9-inch oven-safe deep dish, such as a pie plate or a glass baking dish. Cover the dish tightly with aluminum foil paper. Place this covered dish into a larger roasting pan. Carefully add enough hot water into the roasting pan to reach halfway up the sides of the dish containing the condensed milk, creating a water bath (bain-marie). Bake for 45 minutes. At this point, carefully check the water level in the roasting pan and add additional hot water if necessary to maintain the halfway mark. Continue baking for another 45 minutes to 1 hour, or until the condensed milk becomes thick, takes on a beautiful brown color, and reaches your desired consistency. Remove the dish from the oven and the water bath, then let it cool down completely before stirring and enjoying. The cooling process will further thicken the Dulce de Leche.
- Crockpot / Slow Cooker Method (The Easiest & Safest):
For the ultimate “set it and forget it” experience, the slow cooker method is your best friend. This method is incredibly safe and requires minimal supervision. Place your cans of sweetened condensed milk (14 oz each, with labels removed) directly into your slow cooker. Just like with the stovetop method, cover the cans completely with hot water until they are fully submerged. Secure the lid on your slow cooker and cook on the LOW setting for 8 hours. If you desire an even darker, thicker, and more intensely caramelized Dulce de Leche, you can extend the cooking time for an additional 2 hours (totaling 10 hours). The beauty of the slow cooker is that water evaporation is minimal, reducing the need for constant monitoring. Once the cooking time is complete, carefully remove the cans from the crockpot using tongs and let them cool down completely on a wire rack before opening. This slow and gentle heating ensures a perfectly consistent caramelization throughout.
Essential Tips and Techniques for Perfect Dulce de Leche
Achieving the perfect homemade Dulce de Leche is easy, but a few key tips will ensure your success and safety:
- Maintain Water Level for Stovetop & Slow Cooker Methods: This is perhaps the most critical safety tip. The cans of condensed milk absolutely need to remain fully submerged in water throughout the entire cooking process. If the water evaporates and the cans are exposed to direct heat, the internal pressure can build up excessively, leading to the cans bursting open. This can create a dangerous situation and a very sticky, difficult-to-clean mess. Keep a close eye on the water and top it up with hot water whenever necessary.
- Use Tongs for Safety: Always use sturdy kitchen tongs to handle the hot cans, both when placing them into the hot water and especially when removing them. The cans will be extremely hot, and direct contact can cause severe burns.
- Allow Cans to Cool Completely Before Opening: Patience is a virtue here! Do not, under any circumstances, attempt to open the cans while they are still hot or even warm. Significant pressure builds up inside the cans during the cooking process. Opening them prematurely can cause the contents to forcefully erupt, leading to painful burns and a huge mess. Allow the cans to cool down to room temperature for several hours before you even think about grabbing the can opener.
- Remove Labels from Cans: While not strictly mandatory for the cooking process itself, I highly recommend removing all paper labels from the cans before submerging them in water. These labels tend to peel off during boiling or simmering and then float around in the water, often disintegrating and creating a pulpy, annoying mess that can be hard to clean up afterwards.
- Adjusting Consistency: Dulce de Leche naturally thickens significantly as it cools.
- If it becomes too thick: After cooling, if your Dulce de Leche is too firm, you can easily soften it. Heat it gently in the microwave for 20-30 seconds, stirring well, until it reaches a pourable consistency. For a slightly thinner, creamier texture, you can also stir in a splash of heavy cream or milk, one teaspoon at a time, until desired consistency is reached.
- If it’s too thin: If, conversely, your Dulce de Leche is too runny after cooling, simply chill it in the fridge for a few hours. The cold temperature will help it firm up and thicken. For a darker, thicker result, you can always cook the cans for an additional 30-60 minutes on the stovetop or in the slow cooker (ensuring water levels are maintained).
- Do NOT Use Evaporated Milk: This is a common mistake! Sweetened condensed milk and evaporated milk are entirely different products. Sweetened condensed milk contains a high amount of added sugar, which is essential for the caramelization process that creates Dulce de Leche. Evaporated milk, on the other hand, is unsweetened and will not caramelize into the same rich, sweet product. It will simply result in cooked, unsweetened milk.
- Avoid Over-Crowding the Pot: When using the stovetop or slow cooker methods, ensure that you don’t over-crowd your pot with too many cans. Over-crowding can prevent even heat distribution, leading to some cans cooking less efficiently or unevenly compared to others. Leave some space between the cans for water to circulate freely.
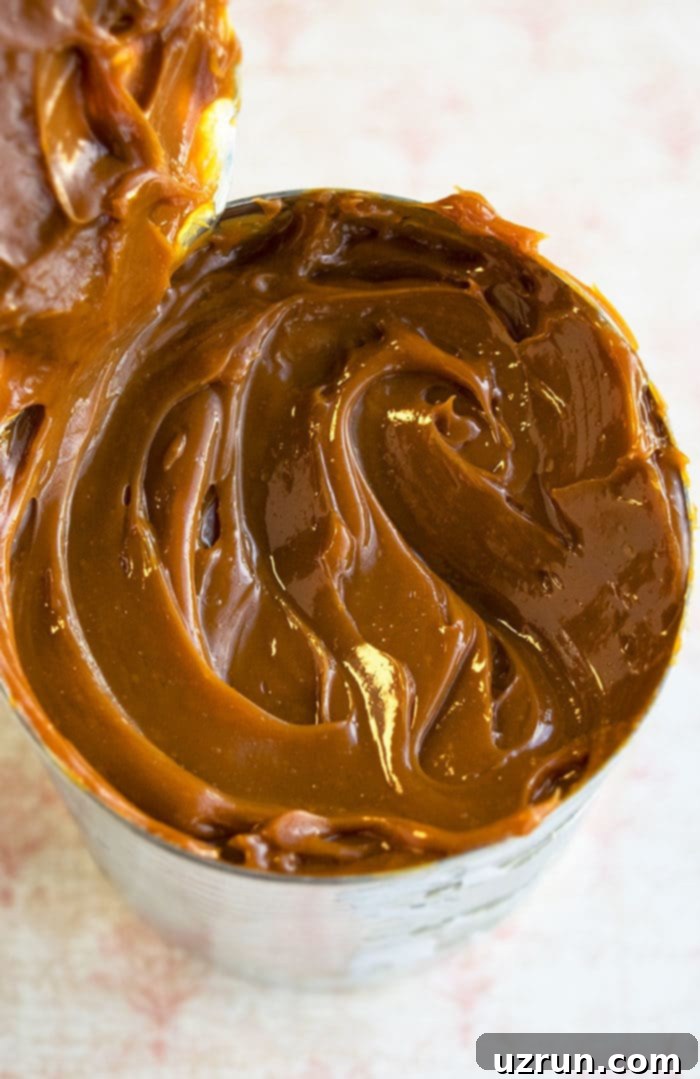
Frequently Asked Questions About Dulce de Leche
Dulce de Leche, when translated from Spanish, literally means “candy of milk,” “candy made of milk,” or simply “milk candy.” It is a traditional South American confection, particularly popular in Argentina, that is essentially milk caramel. Historically, it was made by slowly simmering milk and sugar together until the mixture thickens and caramelizes, developing a rich brown color and complex flavor. In its simplest, modern form, as in this recipe, it’s essentially slow-cooked sweetened condensed milk, where the sugars already present in the milk caramelize and transform under gentle, prolonged heat.
While both Dulce de Leche and traditional caramel share a rich, creamy, sticky consistency and a beautiful brown color, they differ significantly in their ingredients and preparation. Traditional caramel is typically made by heating granulated sugar until it melts and caramelizes, often with the addition of water, then incorporating heavy cream and butter to create a sauce. This process relies on the direct caramelization of sugar. Dulce de Leche, on the other hand, is primarily made from milk and sugar (or sweetened condensed milk, which is already a blend of the two). Its creation involves the Maillard reaction, a complex chemical process between amino acids and reducing sugars in the milk, which gives it a distinct, deeper, and more nuanced flavor profile often described as milky caramel. Dulce de Leche tends to be less intensely sweet than pure sugar caramel and has a characteristic milky undertone.
The cooking time for Dulce de Leche is largely a matter of personal preference and directly impacts its final color, thickness, and depth of flavor. For a beautifully thick, tan, or medium-brown color with a classic caramel flavor, I recommend cooking it for approximately 3 hours using the stovetop method. If you prefer a slightly lighter, golden brown color and a marginally thinner consistency (though still rich!), cooking for about 2 hours and 15 minutes is usually sufficient. The longer you cook it, the darker and thicker it will become, yielding a more intense and complex caramelized taste. Always consider your desired outcome when deciding on the cooking duration.
Storage Guidelines for Homemade Dulce de Leche
Proper storage is key to extending the life of your delicious homemade Dulce de Leche:
- Room Temperature: This is generally not recommended for long-term storage. While unopened, commercially canned Dulce de Leche is shelf-stable, once homemade or opened, storing it at room temperature can lead to crystallization and spoilage due to bacterial growth, especially given its milk content. For best quality and safety, refrigeration is preferred.
- Refrigerate: For optimal freshness and safety, transfer your cooled Dulce de Leche into an airtight, sealed container (a glass jar with a tight lid works perfectly). Store it in the fridge for up to 1 week. If stored correctly, it can often last longer, but 1 week is a good general guideline for peak quality. When ready to use after refrigeration, it might be quite thick. Simply warm it gently in the microwave or a small saucepan over low heat to restore its pourable consistency.
- Freeze: If you’ve made a large batch and want to enjoy it for longer, Dulce de Leche freezes beautifully. Once it has cooled down completely, transfer it into an air-tight, freezer-safe container, leaving a little headspace for expansion. It can be frozen for up to 1 month. To use, thaw it in the refrigerator overnight, then warm gently and stir well to re-emulsify before serving.
- Make Ahead: This recipe is perfect for meal prepping or party planning! You can easily make your Dulce de Leche up to 1 week in advance and store it in the refrigerator. This allows you to have a delicious homemade caramel ready whenever a craving strikes or you need a last-minute dessert component.
More Delicious Frostings and Fillings to Explore
If you love creating homemade delights like Dulce de Leche, you’ll surely enjoy these other simple and versatile frosting and filling recipes:
- Homemade Whipped Cream (Stabilized)
- Sugar Free Frosting
- Homemade Caramel Sauce
- Easy Chocolate Fondue (3 Ingredients)
- Nutella Syrup (2 Ingredients)
Recipe Card
Homemade Dulce De Leche Recipe
Abeer Rizvi
Pin Recipe
Want to Save This Recipe?
Enter your email & I’ll send it to your inbox. Plus, get great new recipes from me every week!
By submitting this form, you consent to receive emails from CakeWhiz
Ingredients
- 3 cans Sweetened condensed milk 14 oz. each
- Water Enough to submerge the cans
Instructions
-
Remove all paper labels from the cans of sweetened condensed milk.
-
Place the prepared cans in a large, heavy-bottomed pot, either right-side up or on their sides. Ensure there is some space between them.
-
Pour water into the pot until the cans are completely submerged, with at least 1-2 inches of water covering the top of the cans.
-
Bring the water to a rolling boil over medium-high heat.
-
Once boiling, reduce the heat to Low to maintain a gentle simmer and cook for 3 hours (for a thick, dark caramel color and deep flavor) or cook for 2 hours and 15 minutes (if you prefer a lighter, golden brown result).
Note: Throughout the cooking process, constantly monitor the water level. The cans must remain fully submerged. Add more hot water as it evaporates to prevent the cans from bursting. -
After cooking, carefully remove the hot cans from the water using sturdy kitchen tongs and transfer them to a wire rack. Allow them to cool down completely to room temperature (this can take several hours). Do not open hot cans!
-
Once completely cool, open the cans and enjoy your homemade Dulce de Leche! Stir well before serving or transferring to an airtight container for storage.
Notes
- Please refer to all the detailed tips and techniques provided above in the main article for best results and safety.
- Leftovers can be stored in a sealed, airtight container in the fridge for up to 1 week. For longer storage, freeze for up to 1 month.
Nutrition
Carbohydrates: 215g
Protein: 31g
Fat: 34g
Saturated Fat: 21g
Cholesterol: 134mg
Sodium: 502mg
Potassium: 1469mg
Sugar: 215g
Vitamin A: 1055IU
Vitamin C: 10.3mg
Calcium: 1125mg
Iron: 0.8mg
An automated tool is used to calculate the nutritional information. As such, I cannot guarantee the accuracy of the nutritional information provided for any recipe on this site.
