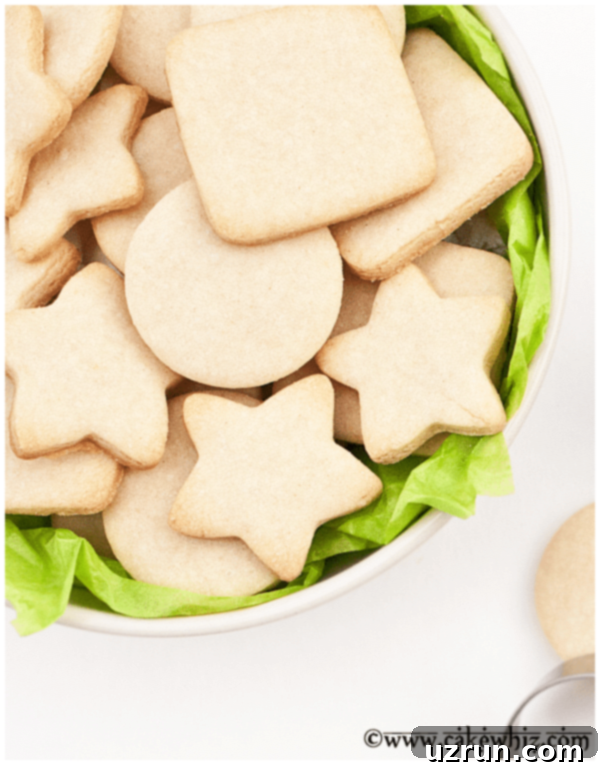
Effortless Small Batch Sugar Cookies: The Ultimate No-Chill Cut-Out Recipe for Perfect Decorating
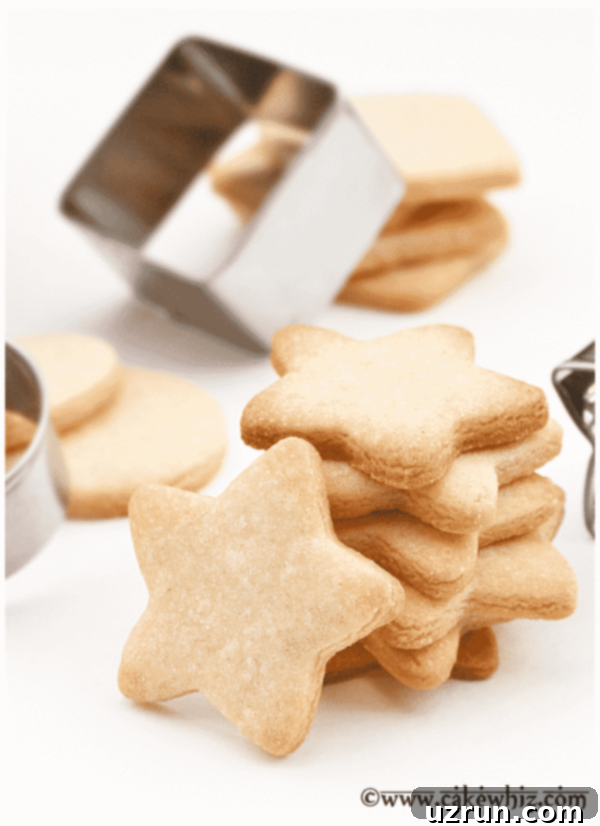
Are you craving delicious homemade sugar cookies but don’t want to bake a massive batch? Look no further! This ultimate small batch sugar cookie recipe is designed for convenience without compromising on flavor or texture. Say goodbye to lengthy chilling times, as this is truly a no-chill sugar cookie recipe that yields perfectly shaped, tender, and incredibly tasty cookies every single time.
Since the early days of this blog, I’ve been refining my approach to small-batch baking. My original tiny batch sugar cookie recipe received wonderful feedback, but I’m always striving for perfection. Through countless experiments and valuable suggestions from readers like you, I’ve developed an updated version that is truly exceptional. This improved recipe creates remarkably chewy sugar cookies that are crisp on the outside and wonderfully soft within – a delightful combination that will have everyone reaching for more.
This recipe has been thoroughly taste-tested and approved in my own home. In fact, my husband devoured an entire batch in just two sittings, which is always a clear sign of a winning recipe! Whether you’re baking for a cozy evening in or a small gathering, this recipe is incredibly flexible. Depending on the size of your chosen cookie cutter, this recipe will yield approximately one dozen perfectly formed cookies. Need more? No problem! It’s effortlessly scalable, allowing you to easily double the ingredients to produce two dozen without any hassle.
It’s important to clarify that this recipe focuses on cut-out sugar cookies, not drop cookies. These are designed to hold their intricate shapes beautifully, making them ideal for any kind of creative decoration, from simple sprinkles to elaborate royal icing designs.
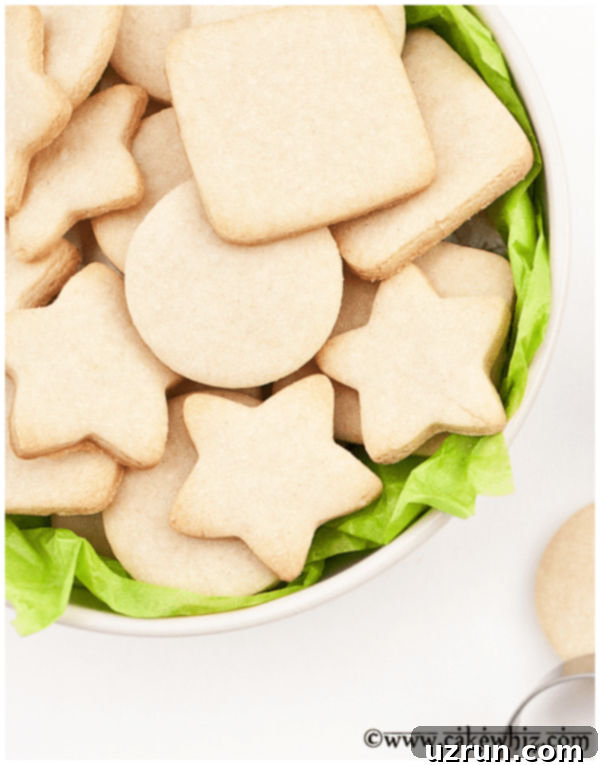
Why this easy sugar cookie recipe stands out as the absolute best:
- No Spreading, Perfect Shapes: One of the most common frustrations with cut-out cookies is them losing their shape in the oven. With this recipe, you can rest assured! These cookies maintain their pristine shapes beautifully during baking, making them absolutely perfect for intricate cookie decorating. Your efforts in cutting out festive shapes will be rewarded with equally festive baked results.
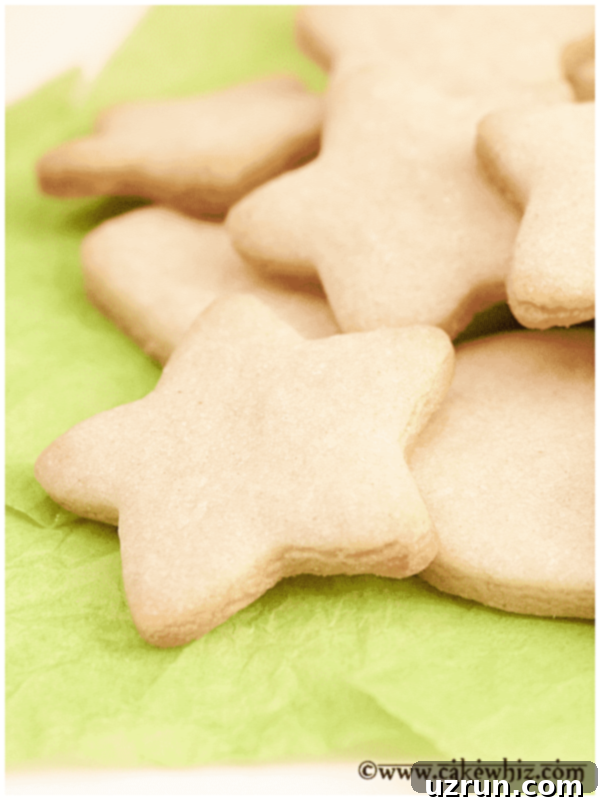
- Crispy Edges, Soft Centers: Forget about rock-hard sugar cookies! Unlike many traditional cut-out recipes that turn brittle shortly after baking, these small batch sugar cookies offer a delightful textural contrast. They emerge from the oven with a pleasant crispness around the edges, yet remain wonderfully soft and slightly chewy on the inside. This makes them much more enjoyable to eat and keeps them fresh for longer.
- Zero Chilling Required: This is a game-changer! No more waiting for hours for the dough to chill before you can even begin baking. This truly is a no-chill sugar cookie dough. Simply combine your ingredients, mix, roll out, cut your shapes, and pop them straight into the oven. It’s ideal for those spontaneous baking urges or when you’re short on time but still want homemade goodness.
- Versatile Flavor Customization: While delicious on their own, these homemade sugar cookies are a fantastic canvas for flavor experimentation. Easily adapt them by incorporating various spices like cinnamon or nutmeg, or different extracts such as almond or lemon. This flexibility allows you to create a unique batch tailored to any season or preference.
- Ideal for Small Cravings: This small batch sugar cookie recipe is specifically designed for when you desire a handful of fresh-baked cookies, not an entire bakery’s worth. It’s perfect for satisfying those sudden sweet cravings, a cozy treat for two, or when you simply don’t want too many tempting cookies lying around.
- Fun with Food Coloring: Elevate your baking experience by adding gel food coloring directly to the cookie dough. This simple step allows you to create vibrant, colorful sugar cookies that are perfect for themed parties, holidays, or just adding a splash of joy to your day. Imagine a tray of rainbow cookies with minimal effort!
How to Make These Easy Small Batch Sugar Cookies from Scratch?
Crafting these delectable homemade sugar cookies is surprisingly straightforward and incredibly rewarding. The beauty of this recipe lies in its simplicity and efficiency, allowing even beginner bakers to achieve professional-looking and tasting results. Here’s a quick overview of the essential steps:
- Cream Butter and Sugar: Begin by creaming together room temperature unsalted butter and granulated sugar until the mixture becomes light, pale, and fluffy. This aeration is crucial for the cookies’ tender texture.
- Incorporate Wet Ingredients: Add the single large egg yolk (just the yolk for richness and chewiness!) and the vanilla extract to the creamed butter and sugar. Continue mixing on medium speed until all ingredients are thoroughly combined and the mixture appears smooth and cohesive. Scrape down the sides of the bowl as needed to ensure even mixing.
- Add Sour Cream: Now, incorporate the full-fat sour cream (or your chosen alternative like Greek yogurt or cream cheese). Mix on low speed until just combined. The sour cream is a star ingredient here; it’s what gives these cookies their incredible moistness and helps them stay soft and chewy for days, preventing them from turning hard like traditional cut-out cookies often do.
- Combine Dry Ingredients: In a separate small bowl, whisk together the all-purpose flour, baking powder, and salt. This ensures the leavening agents and salt are evenly distributed throughout the dry ingredients.
- Mix Dough: Gradually add the dry ingredient mixture to the wet ingredients, mixing on low speed until the dough just begins to come together. The dough will initially look somewhat crumbly or curdled, which is entirely normal for this recipe. Do not be alarmed; this is simply part of the process!
- Form Dough Ball: As the dough continues to mix and starts to come together, you might find it easier to switch from the mixer to your hands. Gently knead the dough within the bowl just until it forms a cohesive, soft ball. Avoid overworking the dough, as too much kneading can develop the gluten and result in tougher cookies.
- Roll and Prepare: Place the ball of dough between two large sheets of wax paper or parchment paper. Using a rolling pin, roll the dough out evenly to a thickness of about ¼ inch. Rolling between paper prevents the dough from sticking to your work surface and rolling pin, eliminating the need for extra flour (which can dry out the cookies).
- Cut Out Shapes: Now for the fun part! Use your favorite cookie cutters to cut out desired shapes from the rolled-out dough. Gather any scraps, gently press them together, and re-roll to cut out more cookies until all the dough is used. Try to get as many cookies as possible from the first roll to maintain the best texture.
- Bake to Perfection: Carefully transfer the cut-out cookies to a baking sheet lined with parchment paper. Preheat your oven to 350°F (175°C). Bake for an initial 6 minutes. Then, rotate the baking tray 180 degrees to ensure even baking and continue to bake for another 3-5 minutes, or until the edges are just barely light golden brown. Keep a close eye on them, as baking times can vary slightly depending on your oven and the thickness of your cookies. They should still be soft in the center when removed from the oven.
- Cool and Serve: Once baked, let the cookies cool on the baking sheet for about 5 minutes before carefully transferring them to a wire rack to cool completely. This helps them set and prevents breakage. Once fully cooled, they are ready to be decorated, shared, or simply enjoyed as is!
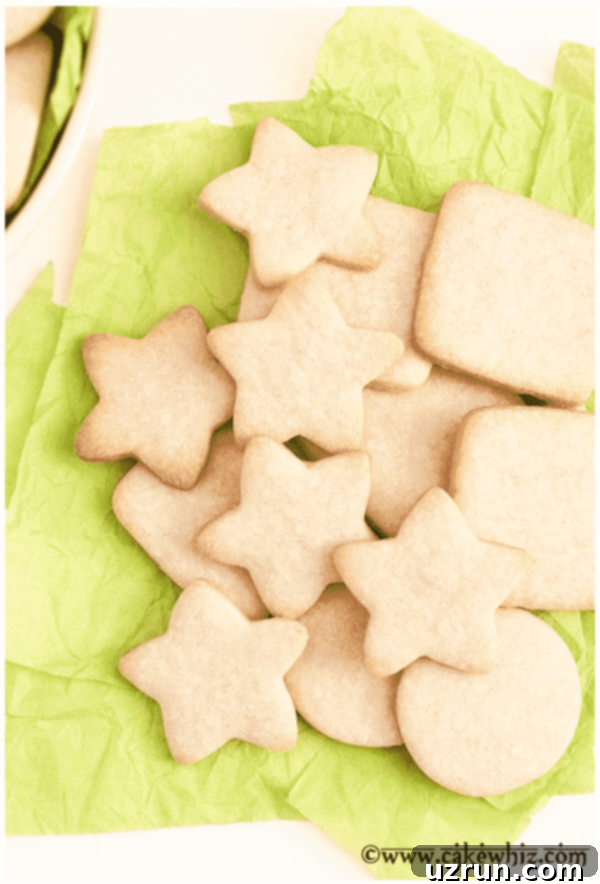
This particular small batch sugar cookie recipe has become a beloved staple among my family and friends, earning its reputation as a frequently requested treat. Its versatility and irresistible taste make it a go-to for countless occasions, ensuring that a plate of these cookies is always met with enthusiasm.
I’ve personally relied on this simple sugar cookie recipe for a myriad of events. They’ve graced the tables of festive birthday parties and elegant tea gatherings, where their charming shapes and delicious taste are always appreciated. Beyond simple serving, I’ve transformed them into adorable party favors for intimate events, delighting guests with a personalized, edible memento. They even make an excellent addition to casual family picnics, offering a homemade touch to outdoor festivities.
The beauty of these cut-out sugar cookies truly shines when it comes to decoration. Their ability to hold shape perfectly provides an ideal canvas for your creative endeavors. You have several fantastic options for frosting:
- Royal Icing: For a polished, professional look and a hard, smooth finish, royal icing is an excellent choice. It allows for intricate designs and creates a beautiful sheen.
- Glace Icing: Similar to royal icing, glace icing also provides a crisp, hard finish. It’s often simpler to prepare and can be easily colored for vibrant results.
- American Buttercream Frosting: If you prefer a softer, creamier texture and a richer flavor, classic American buttercream frosting is a perfect pairing. It’s easy to pipe and offers a delightful contrast to the cookie’s tender chewiness.
No matter your decorating preference, these cookies are designed to be a joy to prepare and even more enjoyable to share.
If you’re captivated by the charm and deliciousness of this small batch of soft sugar cookies recipe, you’ll be thrilled to discover some of my other equally delightful cookie creations:
- Funfetti Sugar Cookies
- Coconut Sugar Cookies
- Crackly Sugar Cookies
- Chocolate Sugar Cookies
- Pinwheel Sugar Cookies
Recipe
Small Batch of Sugar Cookies
Abeer Rizvi
Pin Recipe
Want to Save This Recipe?
Enter your email & I’ll send it to your inbox. Plus, get great new recipes from me every week!
By submitting this form, you consent to receive emails from CakeWhiz
Ingredients
- ¼ cup Butter Unsalted, Room temperature
- ⅓ cup Sugar Granulated
- 1 Egg yolk From large egg
- 1 tablespoon Full fat sour cream OR greek yogurt OR cream cheese
- ½ tablespoon Vanilla extract
- 1 cup All-purpose flour
- ⅛ teaspoon Salt
- ⅛ teaspoon Baking powder
Instructions
-
In a large mixing bowl, using either an electric mixer or a stand mixer with the paddle attachment, cream together the softened unsalted butter and granulated sugar. Beat on medium speed for 2-3 minutes until the mixture is visibly light, pale, and fluffy. This step is crucial as it incorporates air, contributing to the cookies’ delicate texture.
-
Carefully add the single large egg yolk (reserving the egg white for another use if desired) and the vanilla extract to the creamed butter and sugar. Continue mixing on medium speed until all ingredients are thoroughly combined and the mixture appears smooth and cohesive. Scrape down the sides of the bowl as needed to ensure even mixing.
-
Now, incorporate the full-fat sour cream (or your chosen alternative like Greek yogurt or cream cheese) and mix again on low speed until just combined. The sour cream is a star ingredient here; it’s what gives these cookies their incredible moistness and helps them stay soft and chewy for days, preventing them from turning hard like traditional cut-out cookies often do.
-
In a separate small bowl, whisk together the all-purpose flour, baking powder, and salt. This ensures the leavening agents and salt are evenly distributed throughout the dry ingredients.
-
Gradually add the dry ingredient mixture to the wet ingredients, mixing on low speed. The dough will initially look somewhat crumbly or curdled, which is entirely normal for this recipe. Do not be alarmed; this is simply part of the process!
-
As the dough continues to mix and starts to come together, you might find it easier to switch from the mixer to your hands. Gently knead the dough within the bowl just until it forms a cohesive, soft ball. Avoid overworking the dough, as too much kneading can develop the gluten and result in tougher cookies.
-
Place the ball of dough between two large sheets of wax paper or parchment paper. Using a rolling pin, roll the dough out evenly to a thickness of about ¼ inch. Rolling between paper prevents the dough from sticking to your work surface and rolling pin, eliminating the need for extra flour (which can dry out the cookies).
-
Now for the fun part! Use your favorite cookie cutters to cut out desired shapes from the rolled-out dough. Gather any scraps, gently press them together, and re-roll to cut out more cookies until all the dough is used. Try to get as many cookies as possible from the first roll to maintain the best texture.
-
Carefully transfer the cut-out cookies to a baking sheet lined with parchment paper. Preheat your oven to 350°F (175°C). Bake for an initial 6 minutes. Then, rotate the baking tray 180 degrees to ensure even baking and continue to bake for another 3-5 minutes, or until the edges are just barely light golden brown. Keep a close eye on them, as baking times can vary slightly depending on your oven and the thickness of your cookies. They should still be soft in the center when removed from the oven.
-
Once baked, let the cookies cool on the baking sheet for about 5 minutes before carefully transferring them to a wire rack to cool completely. This helps them set and prevents breakage. Once fully cooled, they are ready to be decorated, shared, or simply enjoyed as is!
Video
Chef’s Notes & Flavor Variations
- Egg Yolk Only: A crucial detail for achieving the perfect texture! This recipe calls specifically for one large egg yolk, not the entire egg. The yolk provides richness, tenderness, and chewiness without adding excess moisture that could lead to spreading.
- Orange Zest Sugar Cookies: For a bright, citrusy twist, substitute the vanilla extract with ½ tablespoon of orange extract or orange oil. Additionally, stir in ½ tablespoon of finely grated orange zest for an extra burst of fresh flavor. Feel free to adjust the amount of zest to suit your taste preference.
- Classic Almond Sugar Cookies: To create a delightful almond flavor, use ¼ teaspoon of vanilla extract combined with ½ teaspoon of almond extract. The subtle hint of almond complements the sweetness beautifully.
- Warm Spiced Sugar Cookies: Infuse your cookies with cozy, aromatic spices. Add ½ teaspoon of ground cinnamon powder and ¼ teaspoon of ground nutmeg powder along with the dry ingredients. These are perfect for fall or winter holidays.
- Lemon Zest Sugar Cookies: Similarly, for a zesty lemon flavor, swap vanilla extract for lemon extract and add some fresh lemon zest.
- Chocolate Chip Sugar Cookies: Gently fold in about ¼ cup of mini chocolate chips into the dough before rolling. This adds a wonderful texture and chocolatey goodness.
- Storage Tips: Store baked, undecorated cookies in an airtight container at room temperature for up to 3-5 days. If decorated with royal or glace icing, they can also be stored at room temperature once the icing has fully set.
- Freezing Dough: This dough freezes beautifully! Form it into a disc, wrap it tightly in plastic wrap, then place it in a freezer-safe bag. Freeze for up to 3 months. Thaw in the refrigerator overnight before rolling and baking.
Nutrition
An automated tool is used to calculate the nutritional information. As such, I cannot guarantee the accuracy of the nutritional information provided for any recipe on this site.
Until next time, tata my lovelies!
