Easy Homemade Chocolate Covered Potato Chips: The Ultimate Sweet & Salty Snack Recipe
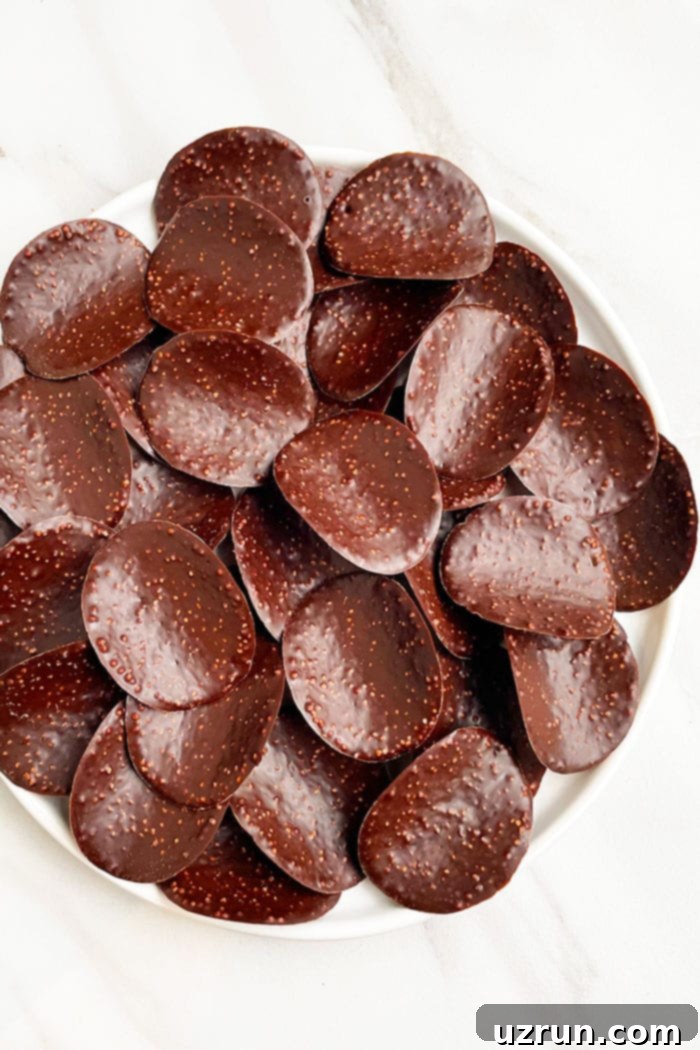
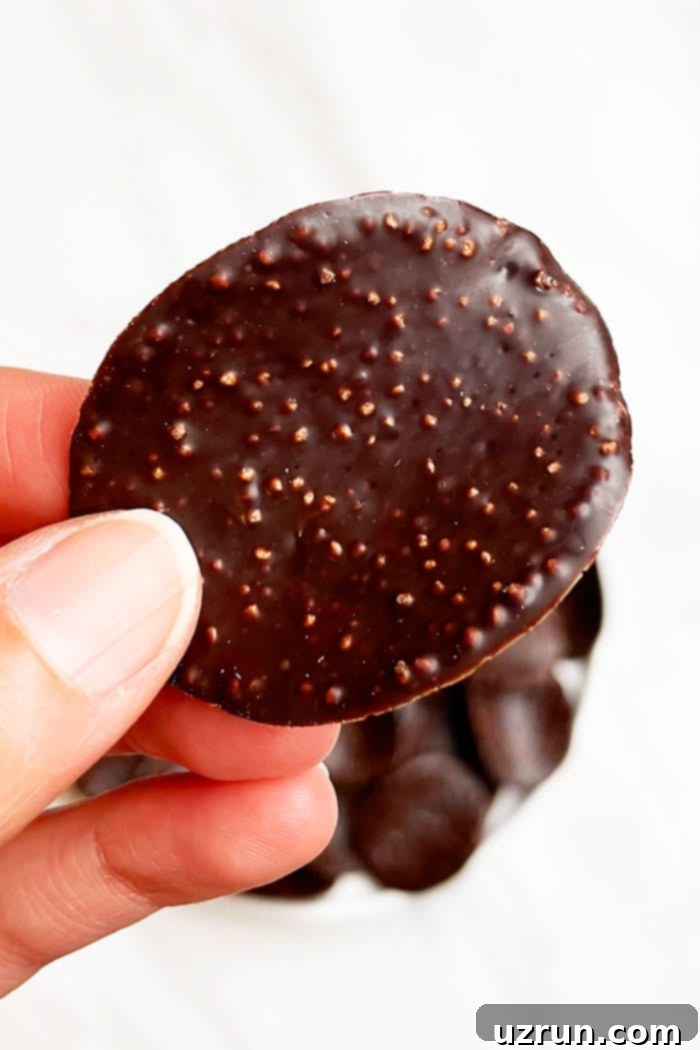
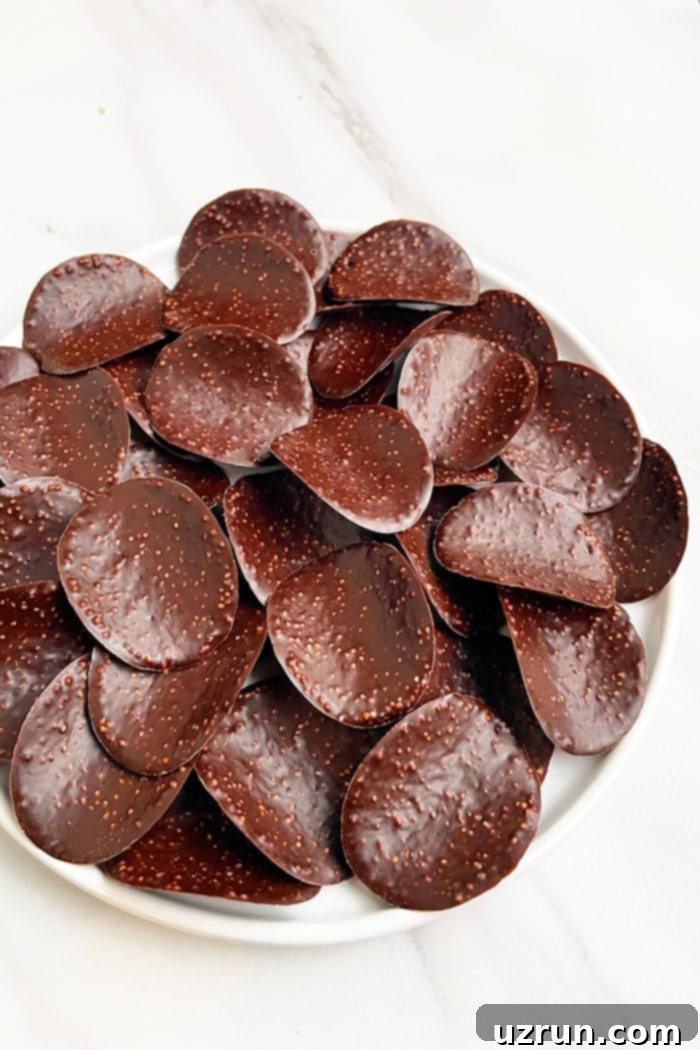
Prepare to tantalize your taste buds with the irresistible combination of sweet and salty: homemade chocolate covered potato chips! This simple, two-ingredient recipe delivers a crispy, crunchy, and utterly addictive snack that’s surprisingly easy to make. Forget fancy desserts; sometimes, the best treats are born from unexpected pairings. With the perfect balance of savory crunch and rich, melting chocolate, these chips are destined to become your new favorite indulgence.

The allure of sweet and salty is a classic for a reason, and these chocolate-dipped potato chips elevate that flavor profile to new heights. The satisfying crispy crunch of a potato chip provides the perfect textural counterpoint to the smooth, luxurious chocolate coating. Beyond a simple personal treat, these delightful confections are incredibly versatile. Package a handful in elegant cellophane bags tied with a pretty ribbon for thoughtful homemade gifts – they’re perfect for teachers, neighbors, or as unique party favors that guests will truly remember. During the holiday season, they also make a fantastic, eye-catching, and much-loved addition to festive grazing boards, offering a delightful surprise among more traditional options.
The Magic of Sweet and Salty: Why It Works
There’s a scientific reason why our brains crave the sweet and salty combination. The salt enhances the sweetness, making the chocolate taste even richer and more profound, while the sugar mellows the sharp edge of the salt. This creates a complex flavor experience that is incredibly satisfying and keeps you reaching for more. When you combine this taste sensation with the contrasting textures of a crisp potato chip and smooth, melting chocolate, you create a truly unforgettable snack. It’s a symphony of flavors and textures that dance on your palate, offering a moment of pure culinary bliss with every bite.
How to Make Chocolate Covered Potato Chips: A Simple Step-by-Step Guide
Creating these delightful chocolate-covered potato chips is surprisingly straightforward, requiring minimal effort for maximum reward. Follow these easy steps to craft your perfect batch:
- Melt Your Chocolate: Begin by melting your chosen chocolate until it is completely smooth and free of any lumps. You can achieve this using a double boiler over simmering water (ensuring no water gets into the chocolate, which can cause it to seize) or by carefully heating it in the microwave. If using a microwave, heat in 30-second intervals, stirring thoroughly after each interval, until the chocolate is fully melted and silky. Patience is key here to prevent burning or seizing.
- Dip Each Chip with Care: Once your chocolate is perfectly melted, take a clean potato chip and gently submerge it into the melted chocolate. A fork is an excellent tool for this, allowing the excess chocolate to drip off easily. Ensure each chip is fully coated or dipped to your desired level, whether that’s a full dip or a playful half-dip.
- Remove Excess Chocolate Gently: After dipping, lightly tap the fork holding the chip against the side of the bowl. This crucial step helps remove any extra chocolate, preventing thick, uneven coatings and ensuring a neat, appealing finish. A thinner, even coat allows the chip’s crunch to shine through more effectively.
- Allow Chocolate to Set: Carefully transfer each chocolate-covered chip onto a cookie tray that has been lined with parchment paper or wax paper. This non-stick surface is vital for easy removal later. Allow the chocolate to set and harden at room temperature for the best results. Depending on your environment, this could take anywhere from 30 minutes to a couple of hours. If you’re in a hurry or your kitchen is warm, you can briefly place them in the refrigerator, but be mindful of potential condensation.
- Remove Chips and Enjoy: Once the chocolate is completely firm, gently peel each chip from the wax paper. They should come off cleanly without sticking. Now, they’re ready to be enjoyed!
Creative Variations to Elevate Your Chocolate Covered Chips
While the classic chocolate-covered potato chip is perfect as is, there are endless ways to customize and enhance this simple treat. Don’t be afraid to experiment and discover your own favorite combinations!
- Experiment with Chip Varieties: Don’t limit yourself to just plain, smooth potato chips. Ruffled or wavy chips offer an even greater textural contrast and hold more chocolate, creating a bolder bite. For a healthier twist, consider using sweet potato chips or root vegetable chips, choosing those with a mild, earthy flavor that won’t overpower the chocolate. You could even try pretzel sticks or veggie straws for a different shape and crunch.
- Exciting Topping Options: Before the chocolate fully sets, sprinkle on a variety of toppings to add extra flavor, texture, and visual appeal. Some popular choices include finely chopped nuts like almonds, pistachios, or peanuts; crushed candy bars (such as Skor or Heath bars for toffee bits); colorful sprinkles for a festive touch; shredded or desiccated coconut for a tropical twist; finely chopped dried fruits like cranberries or apricots; or even savory bacon bits for a truly unique sweet-and-savory explosion. A delicate drizzle of caramel or peanut butter over the set chocolate also adds another layer of indulgence.
- Scale Up Your Batch: Planning a party or need more gifts? This recipe is incredibly adaptable. Simply double or triple the ingredients to make a bigger batch. Just ensure you have enough melted chocolate and plenty of space on your lined cookie trays for setting.
- Explore Other Chocolate Types: While semisweet chocolate is a classic choice, feel free to switch things up. White chocolate offers a creamier, sweeter profile, while dark chocolate provides a more intense, sophisticated bitterness that pairs beautifully with the saltiness of the chips. You can also use milk chocolate for a milder, sweeter flavor. For a fun twist, try flavored chocolates like mint or even chili chocolate!
- Toffee Bits: A Recommended Addition: While listed as optional, finely chopped toffee bits stirred into the melted chocolate add an extra layer of caramelized sweetness and a delightful chewy crunch. It’s a small addition that makes a big impact on the overall flavor and texture.
- Halfway Dip for Visual Appeal and Balance: Instead of fully coating each chip, try dipping them halfway. This not only creates a visually appealing contrast between the bare chip and the chocolate but also allows more of the potato chip’s natural flavor to come through, offering a different balance of sweet and salty in each bite.
Essential Tips and Techniques for Perfect Results
To ensure your chocolate covered potato chips turn out perfectly every time, keep these expert tips and techniques in mind:
- Mastering Chocolate Melting: Whether you’re using a double boiler or a microwave, precision is key. For a double boiler, use a heatproof bowl over a pot of simmering water, ensuring the bowl does not touch the water. Stir continuously until smooth. For the microwave, heat in short 30-second bursts, stirring vigorously after each, until just melted. Overheating or introducing water can cause chocolate to seize, becoming thick and unusable.
- Selecting the Right Potato Chips: The type of potato chip significantly impacts the final product. I find classic Lay’s potato chips or original Pringles work wonderfully due to their sturdy nature and consistent shape. Look for chips that are not too thin (which can break easily) and have a balanced salt level, as this is crucial for the sweet and salty dynamic.
- Prioritize Whole Chips for Presentation: For the most visually appealing results, meticulously sort through your bag of chips and select only the whole, unbroken ones. While broken pieces taste just as good, whole chips are easier to dip and present beautifully, especially if you’re gifting them.
- Tap Off Excess Chocolate Thoroughly: This step cannot be stressed enough. Tapping the fork gently against the side of your bowl after dipping ensures a thin, even coat of chocolate. Too much chocolate can make the chip soggy and messy, detracting from the crisp texture and neat appearance.
- Always Line Your Pan: To prevent sticking and make for effortless removal, it is absolutely essential to line your cookie tray with either wax paper or parchment paper. This creates a non-stick surface, ensuring your beautifully coated chips lift off easily once set, without any sticky residue.
- Work Quickly and Efficiently: Melted chocolate can start to set fairly rapidly, especially in cooler environments. Work swiftly but carefully when dipping your chips to ensure all pieces are coated evenly before the chocolate becomes too thick to work with.
- Optimal Setting Conditions: While they can set at room temperature, placing your lined tray in a cool room or even briefly in the refrigerator (for about 10-15 minutes) can speed up the hardening process. However, avoid leaving them in the fridge for too long, as excess condensation can affect the chocolate’s sheen.

Storage of Chocolate Covered Potato Chips
Proper storage is key to maintaining the crispness of your chips and the integrity of the chocolate coating.
- Room Temperature: These delightful treats can be stored in an airtight container or a covered box at room temperature for up to 1 week. Ensure they are kept in a cool, dry place away from direct sunlight and humidity to prevent the chocolate from melting or blooming.
- Refrigerate: For a firmer chocolate coating, or if your home is particularly warm, you can store them in a sealed, airtight container in the refrigerator for up to 1 week. Be aware that moving them from the cold fridge to warmer air might cause slight condensation on the chocolate, but this typically resolves quickly.
- Freeze: I generally do not recommend freezing chocolate-covered potato chips for long-term storage, as the thawing process often makes the chips soggy and unappetizing due to moisture absorption. However, if you enjoy eating them frozen as a crunchy, chilly treat, they can be stored in the freezer for up to 1 month in an airtight container. Just be prepared for a textural change upon thawing.
Beyond the Snack: Using Crushed Chocolate Chips in Desserts
Don’t let any broken or leftover chocolate-covered chips go to waste! These sweet and salty morsels are fantastic when crushed and used as a topping or an ingredient in other desserts. Their unique texture and flavor profile can elevate a variety of sweets. Sprinkle them over a decadent chocolate cake for added crunch and a touch of savory, or use them to garnish cupcakes, ice cream sundaes, or even parfaits. They add a lovely, rustic decoration with that signature sweet and salty flavor and satisfying crunch that is sure to impress.
More Chocolate Covered Desserts to Love
- Chocolate Covered Graham Crackers {No Bake}
- Chocolate Covered Oreos {Dipped Oreos}
- Frozen Chocolate Covered Bananas
- Chocolate Covered Raspberries
- Chocolate Covered Pretzels
- Chocolate Covered Strawberries
- Chocolate Covered Blueberries
- Chocolate Covered Cherries
More Irresistible No-Bake Chocolate Desserts
- No Bake Chocolate Tart {Tartlet}
- Chocolate Rum Balls
- Refrigerator Cake {Chocolate Oreo Icebox Cake}
- Easy Chocolate Cream Pie {No Bake}
Recipe Card: Chocolate Covered Potato Chips

Chocolate Covered Potato Chips
Abeer Rizvi
Pin Recipe
Want to Save This Recipe?
Enter your email & I’ll send it to your inbox. Plus, get great new recipes from me every week!
By submitting this form, you consent to receive emails from CakeWhiz
Ingredients
- 4 cups Semisweet chocolate Melted (or your preferred type like milk or dark chocolate)
- 1-2 tablespoons Toffee bits Finely chopped, Optional (or other desired toppings)
- 5-6 cups Potato chips Sort out the whole ones from the bag and don’t use broken chips. Classic Lay’s or Pringles are great choices.
Instructions
-
Melt your chocolate in a double boiler over simmering water or carefully in the microwave (using 30-second intervals, stirring in between) until it is completely smooth and lump-free.
-
Optional step: If using, mix in some finely chopped toffee bits or other desired toppings into the melted chocolate.
-
Using a fork, carefully dip each potato chip into the bowl of melted chocolate, ensuring it’s coated to your preference.
-
Gently tap the fork against the side of the bowl to remove any excess chocolate, aiming for a neat and even coating.
-
Place each chocolate-covered chip onto a cookie tray lined with parchment paper or wax paper, leaving a little space between each chip.
-
Allow the chocolate to fully set and harden at room temperature (or briefly in the refrigerator if you’re in a hurry).
-
Once set, gently remove the chips from the wax paper. Your delicious chocolate covered potato chips are now ready to be enjoyed!
Notes
- For more detailed advice on melting chocolate, choosing chips, and creative variations, please refer to the sections above.
- Store leftovers in an airtight container at room temperature or in the refrigerator for up to 1 week to maintain freshness. Freezing is not recommended as it can make the chips soggy upon thawing.
Nutrition
An automated tool is used to calculate the nutritional information. As such, I cannot guarantee the accuracy of the nutritional information provided for any recipe on this site.
