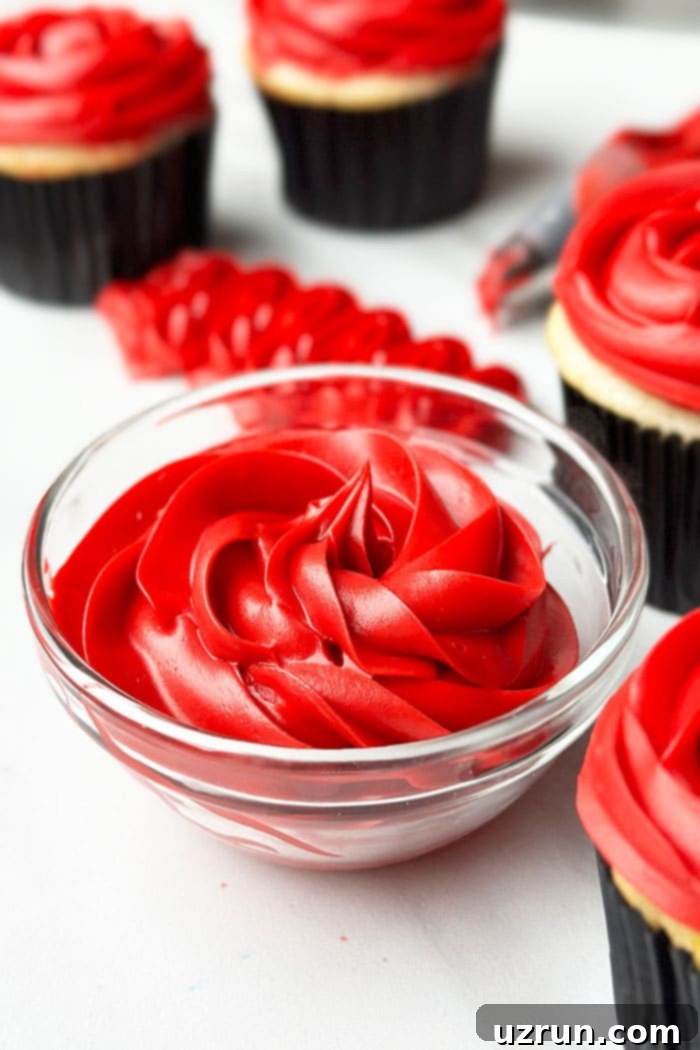
Achieve a Stunning, Deep Red Frosting: Your Ultimate Guide to Homemade, Never-Pink Icing
Craving a truly vibrant, deep red frosting for your festive bakes? You’re not alone! Many bakers struggle to achieve that perfect, show-stopping crimson hue, often ending up with a disappointing pink. But what if we told you there’s a foolproof method to create a rich, creamy, and undeniably red velvet-style icing that’s ideal for piping and decorating? This comprehensive guide will walk you through an easy homemade recipe, sharing all the secrets to a brilliant, non-pink red frosting every time.
Creating a vivid red frosting can feel like a culinary quest, requiring a lot of experimentation with food coloring and endless stirring. The challenge often lies in finding the right balance to avoid that common pale pink outcome or, worse, a bitter aftertaste from too much dye. We’ve done all the guesswork for you. Just follow this tried-and-tested recipe, and you’ll consistently achieve that coveted deep red color, making pink frosting a thing of the past.
This recipe is incredibly versatile and perfect for any occasion where a bold splash of color is needed. Imagine it gracing your Best Red Velvet Cake, transforming Best Red Velvet Cupcakes, or adding a festive touch to Valentine’s Day treats. It’s also fantastic for Mother’s Day desserts, Christmas cookies, or even a fun fire engine-themed birthday party for kids. Get ready to impress with your perfectly colored creations!
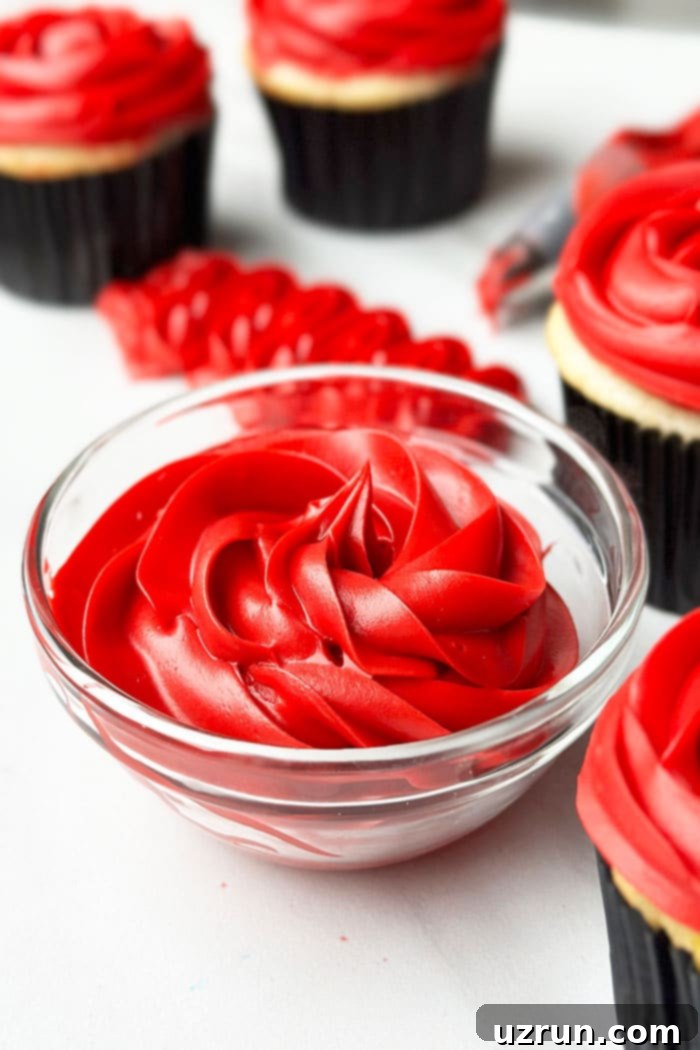
Table of Contents
- How to Make Homemade Red Frosting That’s Not Pink From Scratch?
- Key Ingredients For Easy Red Velvet Frosting
- Why Does My Frosting Taste Bad And Bitter? How to Fix This?
- Bright And Vibrant Icing Food Coloring Options
- The Microwave Color Intensification Method
- The Black Gel Coloring Secret
- Troubleshooting: Why Is My Frosting Still Pink?
- Essential Tips And Techniques For Perfect Red Buttercream Icing
- Storage and Make-Ahead Instructions
- More Cake Decorating Inspiration
How to Make Homemade Red Frosting That’s Not Pink From Scratch?
Creating this stunning red frosting involves a few simple steps, but it’s the combination of ingredients and a clever color activation technique that truly sets it apart. Forget the days of adding endless drops of food coloring; this method ensures a rich, deep red every time.
- Prepare the Base: Begin by combining room temperature butter and shortening in a large mixing bowl. Beat these together until the mixture is light, fluffy, and perfectly smooth. This forms the essential creamy foundation of your buttercream.
- Add Flavor: Stir in a high-quality vanilla extract. This not only enhances the overall taste but also helps to mask any potential bitterness from the food coloring.
- Incorporate Sweetness: Gradually add powdered sugar, about ½ cup at a time, mixing well after each addition. This prevents a sugar cloud in your kitchen and allows you to control the consistency and sweetness level.
- Achieve Desired Consistency: Slowly pour in heavy cream (or milk), one tablespoon at a time, while continuing to mix. Adjust until your frosting reaches a smooth, workable consistency suitable for piping or spreading.
- Initial Red Coloring: Now for the color! Add a generous amount of red gel food coloring (approximately 3 deep squirts is a good starting point for the full batch). Mix thoroughly until the color is evenly distributed. At this stage, it will likely appear as a dark pink or muted red. Don’t worry, the magic is yet to come!
- Activate the Color (Microwave Method): Spoon about ½ cup of this frosting into a separate microwave-safe bowl. Add an additional squirt of red gel coloring to this smaller portion, mixing it in.
- Heat for Brilliance: Microwave this smaller, more intensely colored portion for about 15 seconds, or until it becomes runny. The heat miraculously brightens and deepens the red hue. Stir it well with a spoon to ensure an even, vibrant red.
- Combine and Chill: Pour this bright, runny red frosting back into your main bowl of frosting. Mix thoroughly until the intensified red color is evenly blended throughout the entire batch.
- Crucial Chilling Phase: Cover the bowl tightly and refrigerate the frosting for at least 3-5 days. This extended chilling period is vital for the red color to fully develop and deepen, transforming from a potential pink to that truly rich crimson.
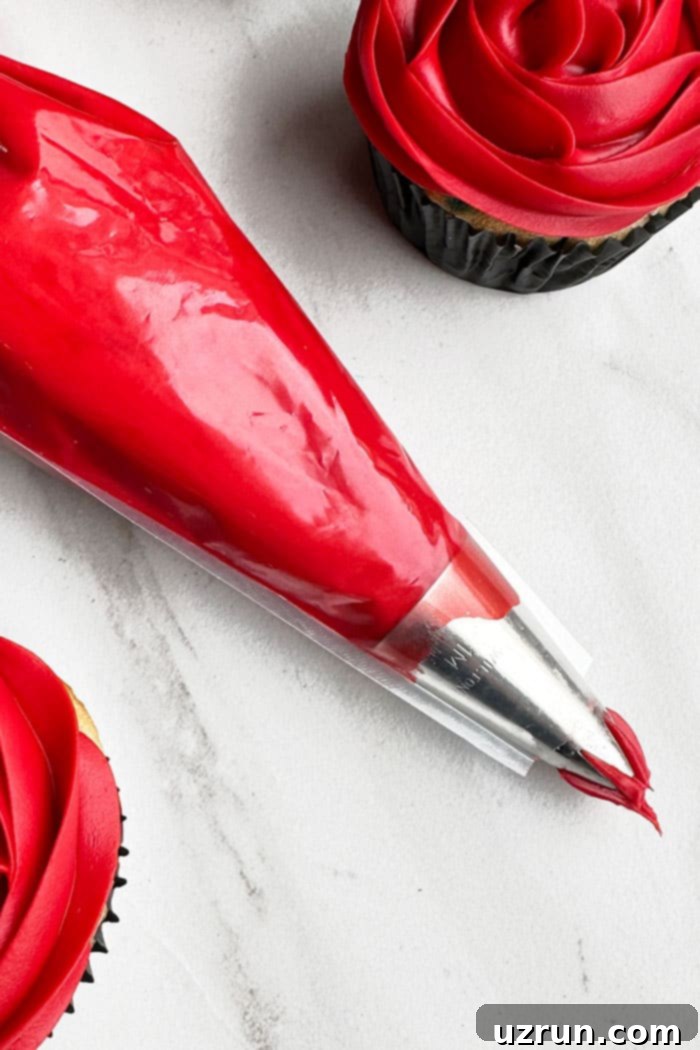
- Ready to Use: When you’re ready to decorate, remove the frosting from the fridge and allow it to come to room temperature. This will restore its pipeable consistency. Give it a quick whip with your mixer if needed to make it fluffy again, then transfer to a piping bag and enjoy your perfectly red creations!
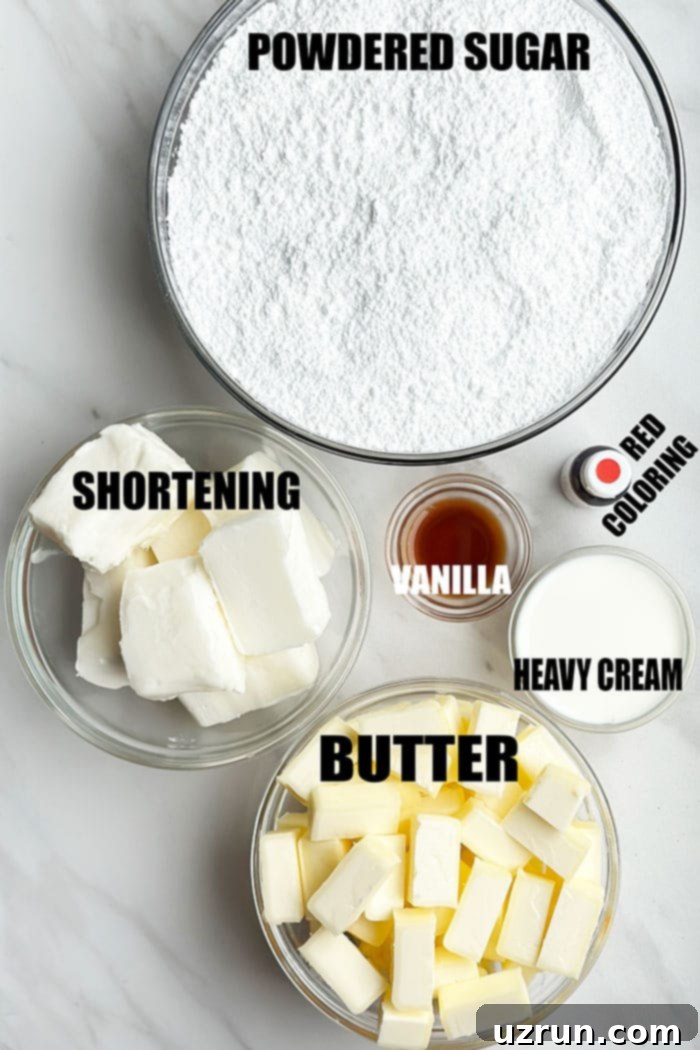
Key Ingredients For Easy Red Velvet Frosting
The secret to a perfect red frosting lies in a few high-quality, carefully chosen ingredients. Each plays a crucial role in achieving the desired taste, texture, and, of course, that stunning deep red color.
- Unsalted Butter: Always opt for unsalted butter, softened to room temperature. Butter provides incredible flavor and richness, making your frosting truly decadent. Using unsalted butter gives you control over the final saltiness of the frosting. If your butter is too cold, it won’t cream properly, leading to a lumpy frosting. If it’s melted, the frosting will likely separate and be greasy.
- Vegetable Shortening: A crucial ingredient for stability and structure. Shortening helps the frosting hold its shape, especially important for intricate piping, and makes it more resilient to warmer temperatures. It also contributes to a smoother, less greasy mouthfeel than using all butter.
- Powdered Sugar (Confectioners’ Sugar): This is the primary sweetener and thickener. Its fine texture dissolves smoothly, ensuring a silky, lump-free frosting. Measure accurately for the best consistency.
- Red Gel Food Coloring: The star of the show for color. Gel food coloring is highly concentrated, meaning you need less of it compared to liquid dyes, which helps avoid altering the frosting’s consistency. We’ll discuss specific brand recommendations shortly!
- Heavy Cream (or Milk): Adds a beautiful richness and creaminess while also helping to thin the frosting to a pipeable consistency. Start with a smaller amount and add more gradually until your desired texture is achieved. Whole milk can be used as an alternative, but heavy cream offers a superior rich flavor and mouthfeel.
- Vanilla Extract: High-quality pure vanilla extract is essential. It provides depth of flavor and, importantly, helps to mask any potential metallic aftertaste that can sometimes occur with large amounts of red food coloring.
Why Does My Frosting Taste Bad And Bitter? How to Fix This?
It’s a common complaint: red (and black) food colorings, especially when used in large quantities, can impart an unpleasant metallic, bitter, or chemical aftertaste. This happens because these specific dyes are typically made with more intense chemical compounds compared to other colors. When concentrated, their taste becomes noticeable.
Fortunately, there are several effective strategies to combat this:
- Increase Extract Amount: One of the simplest fixes is to slightly increase the amount of vanilla extract or other complementary flavors (like almond extract or even a touch of orange zest). The strong, pleasant aroma and taste of good quality extracts can effectively mask the bitterness of the dye.
- Use High-Quality Extracts: Invest in a pure, high-quality vanilla extract. Cheaper imitations often lack the robust flavor needed to counteract the dye’s taste. Clear vanilla extract is also an option if you’re concerned about affecting the color, though pure vanilla is usually strong enough.
- Consider “No-Taste” Dyes: Some brands, like Chefmaster, offer “no-taste red” food coloring. While these are often an improvement, some sensitive palates might still detect a subtle aftertaste, though significantly milder than regular red gels. They are definitely worth trying if you’re particularly sensitive.
- Flavor Boosters: Incorporate other natural flavor enhancers. A tiny pinch of cream of tartar can subtly brighten flavors, or a dash of finely grated citrus zest (lemon or orange, depending on your desired profile) can add a fresh counterpoint.
- Combine Coloring Methods: As detailed below, using a combination of coloring agents can reduce the reliance on a single, high-concentration dye. For example, using strawberry powder for some of the red color and flavor can significantly diminish the need for as much artificial red gel.
Bright And Vibrant Icing Food Coloring Options
Choosing the right food coloring is paramount for achieving a truly vibrant, deep red without compromising the frosting’s consistency or flavor. Not all red food colorings are created equal!
- Strawberry Powder: This is an excellent natural option that provides both a lovely red hue and a delicious berry flavor. It’s a great way to introduce color while masking any artificial tastes from gel dyes. However, it usually won’t achieve a super deep, dark red on its own and can slightly alter the texture if too much is added.
- Beet Powder: Another natural alternative. While it imparts a red color, I personally find it can leave a subtle, earthy aftertaste that isn’t ideal for all desserts. Experiment cautiously if you choose this option.
- Red Powdered Food Coloring: Powdered dyes are concentrated and don’t add liquid, which is a plus. However, you often need a substantial quantity to achieve a rich red, and sometimes it can be harder to fully dissolve, potentially leading to tiny specks of color in your frosting if not mixed meticulously.
- Liquid Food Coloring: Generally, I advise against liquid food coloring for deep hues. It’s very diluted, meaning you’ll need to add a lot to get a true red. This excess liquid can significantly thin out your frosting, requiring you to add more powdered sugar or cornstarch to correct the consistency, which can lead to an overly sweet or dense frosting.
- Red Gel Coloring (Highly Recommended): This is my absolute preferred choice. Gel colors are highly concentrated, vibrant, and don’t significantly impact frosting consistency. My top recommendation is the Americolor brand (specifically “Super Red” or “Red Red”). It’s much more intense and provides a truer red compared to many other brands, like Wilton, which often leans pink. Always start with a generous squirt and add more incrementally.
- Natural Food Colorings (e.g., from fruits/vegetables): While appealing for health reasons, natural dyes made without artificial compounds rarely achieve a true, deep red. They tend to produce muted or brownish-red tones. For a vibrant, bold red, artificial gel dyes are usually necessary.
- Combination Approach (Best Practice): For the ultimate results, consider using a combination. For example, starting with strawberry powder for a base color and flavor, then intensifying it with red gel food coloring. The strawberry flavor will help mask any artificial taste from the gel, and the initial natural color means you might need slightly less gel overall. This layering of color and flavor is a professional trick for achieving complex, delicious results.
The Microwave Color Intensification Method
This technique is a game-changer for achieving a deep, vibrant red frosting that typically only develops after several days of chilling. By using the microwave, you can accelerate and intensify the color right before your eyes. Here’s a deeper look into this surprisingly effective method:
The science behind this trick is fascinating. Heating a small portion of the heavily dyed frosting in the microwave causes the food coloring molecules to react, intensifying their pigment. It’s almost like a mini-cooking process for the dye itself, making it more potent and vibrant. This method allows you to see the true potential of the red color and adjust it before combining it with the rest of your frosting.
To execute this, carefully spoon out about ½ cup of your initially pinkish-red frosting into a separate, microwave-safe bowl. Add an extra squirt or two of your preferred red gel coloring to this smaller portion, ensuring it’s quite concentrated. Microwave for approximately 15 seconds. Keep a close eye on it; you want it to become noticeably runny, but not boiling. As soon as it’s runny, remove it and stir vigorously with a spoon. You’ll observe that this small batch of frosting has transformed into a remarkably bright and intense red.
This runny, super-red frosting is then carefully added back into the original, larger bowl of frosting. Mix everything thoroughly until the vibrant red is evenly distributed. While this process does temporarily thin out the frosting, it’s easily remedied. The heat activates the color, but to restore the frosting’s pipeable consistency, chilling is essential. After the color has been intensified, cover and refrigerate the entire batch for at least 3-5 days. This not only allows the activated color to fully set and deepen further, but also re-firms the frosting to a perfect working consistency.
The Black Gel Coloring Secret
This technique might sound counter-intuitive, but adding a minuscule amount of black gel food coloring can remarkably deepen and enrich a red frosting, transforming it from a bright or pinkish red into a sophisticated, dark crimson. The principle here is not to darken the color to black, but to add a subtle undertone that enhances the existing red pigments, giving them more depth and dimension.
**How it works:** Think of it like a painter adding a tiny touch of black to deepen a shade. Black isn’t just an absence of color; it contains a complex mix of pigments that, when introduced in very small quantities, can push other colors towards a richer, more profound tone. In red frosting, a tiny dab of black can help neutralize any pinkish undertones and pull the red towards a more true, almost burgundy or velvet red.
**Crucial Warning:** The key to success with this method is an incredibly light hand. Use an absolute minimal amount – think a toothpick’s tip of black gel, not a squirt. Add it gradually, mixing thoroughly after each tiny addition, and observe the color change. Too much black will quickly turn your beautiful red into a muddy brown or an unappetizing dark purple. It’s better to add too little and slowly build up than to add too much and ruin the batch. This method is best used after you’ve already achieved a good base red with your primary red gel coloring.
Troubleshooting: Why Is My Frosting Still Pink?
It’s a common frustration to aim for a deep red and end up with a persistent pink. If your frosting isn’t achieving the desired crimson, here are the likely culprits and how to fix them:
- Insufficient Food Coloring: The most straightforward reason. Red is a strong color, but achieving a deep, saturated red requires a significant amount of concentrated gel dye. If you’re seeing pink, it simply means you haven’t added enough.
- Weak Dye Brand: Not all gel food colorings are created equal. Some brands are less potent than others, requiring more product to achieve the same vibrancy. As mentioned, Americolor “Super Red” or “Red Red” is highly recommended for its intensity.
- Skipping the Microwave Method: The microwave step is critical for activating and intensifying the red pigment. Without this quick heat treatment, the color molecules don’t fully develop their vibrant potential, often leading to a paler hue.
- Inadequate Chilling Time: This is a frequently overlooked but crucial step. Red food coloring, especially in buttercream, requires time to develop and deepen. The color literally “blooms” over a few days in the refrigerator. If you’re using the frosting immediately or after only a few hours, it won’t have had sufficient time to reach its true depth.
- Warm Kitchen Environment: If your kitchen is very warm, the frosting might be too soft, which can make it appear paler. Work in a cool environment, and ensure all ingredients are at the correct temperature.
How to Fix It:
If your frosting is still pink after initially coloring, don’t despair! Wait until day 2 or 3 of chilling. Take photos each day to visibly track the color development. If it’s still not deepening, remove the frosting from the fridge, allow it to soften slightly, and then mix in more red gel food coloring. You can also try taking a small portion, adding more dye, and repeating the microwave intensification method to create a super-concentrated red “booster” to add back into the main batch. Remember, patience with the chilling process is key to success!
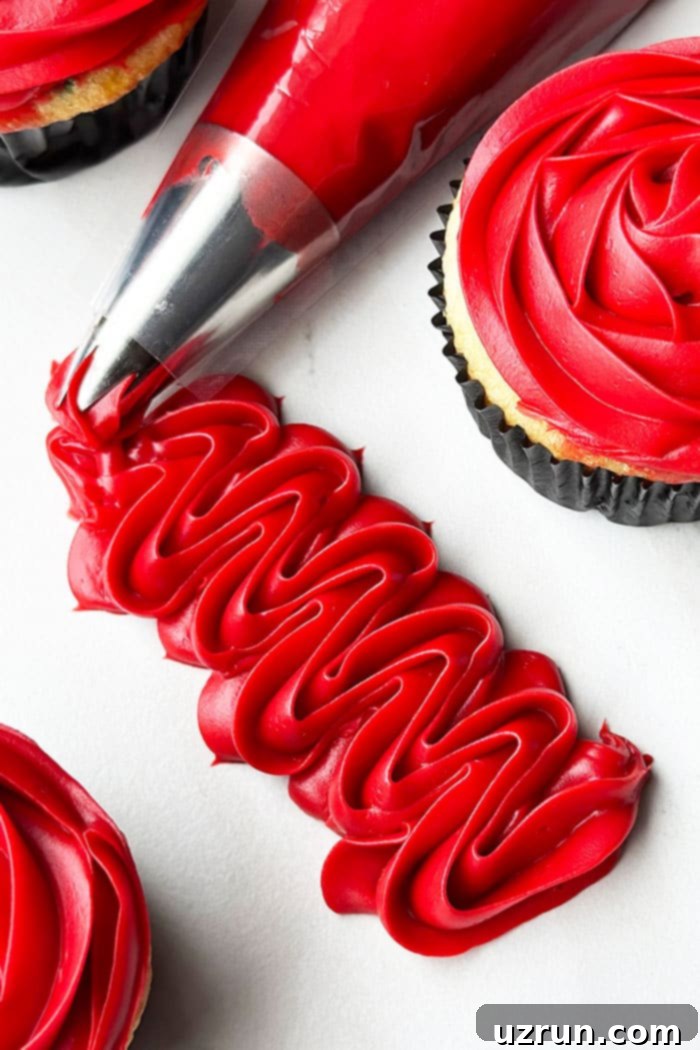
Essential Tips And Techniques For Perfect Red Buttercream Icing
Mastering red buttercream goes beyond just adding color. These expert tips and techniques will ensure your frosting is not only perfectly red but also has the ideal texture and taste.
- Plan Ahead: Color Development is Key! This is perhaps the most crucial tip for deep red frosting: it *must* be made 3-5 days in advance. Red food coloring needs time to oxidize and deepen. If you skip this step, even with the microwave method, your frosting will likely remain pink. Think of it like a fine wine; it improves with age (in the fridge, of course!).
- Unsalted Butter for Control: Always use unsalted butter. This gives you complete control over the salt content of your frosting. Salted butter can make your frosting overly salty, especially when combined with other strong flavors.
- The Power Duo: Butter and Shortening: Combining both butter and shortening is a professional secret. Butter provides that irresistible rich flavor and creamy mouthfeel. Shortening, on the other hand, adds crucial stability, ensuring your frosting holds its shape beautifully for piping, resists melting in warmer conditions, and contributes to a smooth, less greasy texture.
- Why is my icing soft and runny? How to fix it?
- Too Much Liquid: This is the most common reason. Ensure you add heavy cream (or milk) very gradually, one tablespoon at a time, mixing well after each addition until the desired consistency is achieved.
- Over-beating: Excessive mixing can incorporate too much air or warm up the butter, leading to a softer frosting.
- Warm Ingredients/Environment: If your butter was too warm to begin with, or if you’re working in a hot kitchen, the frosting can become runny.
- Fix: If it’s too soft, try adding more powdered sugar (½ cup at a time) to thicken it. If it’s just warm, chilling the frosting for 15-30 minutes in the refrigerator can often resolve the issue. Always work in a cool kitchen environment to prevent this.
- Why is my icing thick and hard to pipe? How to fix it?
- Too Cold: If your frosting has been refrigerated, it will be very firm.
- Not Enough Liquid: You might not have added enough heavy cream to achieve a pipeable consistency.
- Fix: Allow the frosting to come to room temperature. This can take several hours after refrigeration. Once softened, give it a good whip with your mixer. If it’s still too stiff, slowly mix in 1 tablespoon of heavy cream at a time until it reaches a smooth, workable consistency.
- High-Quality Vanilla Extract is a Must: Don’t skimp on vanilla extract! A good quality pure vanilla extract provides a superior flavor profile that is essential for masking any potential metallic taste from the red food coloring. It also adds a lovely aromatic depth to your frosting.
- Room Temperature Butter is Non-Negotiable: Your butter must be genuinely at room temperature – soft enough to indent with a finger but not melted or greasy.
- If the butter is too warm or melted, it will cause the emulsion to break, resulting in a separated, greasy, and grainy frosting that’s impossible to pipe.
- If the butter is too cold, it won’t cream properly with the shortening and sugar, leading to a lumpy, inconsistent frosting.
- Add Powdered Sugar Gradually: Always add powdered sugar ½ cup at a time, mixing well after each addition. This prevents a “sugar explosion” that covers your kitchen in a fine white dust. More importantly, it allows you to precisely control the consistency and sweetness level, ensuring you don’t end up with an overly sweet or thick frosting.
- Recipe Yield: This recipe typically yields enough frosting to generously frost 24 standard cupcakes (with a simple swirl design) or one 8×2 inch round cake (for a two-layer cake). Adjust quantities as needed for larger projects.
Storage and Make-Ahead Instructions
This red frosting is fantastic for making in advance, which is actually recommended to allow the color to fully develop. Proper storage ensures it stays fresh and ready for your baking projects.
- Refrigerate: Store any leftover frosting in an airtight container in the refrigerator for up to 2 weeks. Ensure it’s tightly sealed to prevent it from absorbing odors from other foods.
- Freeze: For longer storage, this frosting freezes beautifully. Transfer it to a freezer-safe container or a heavy-duty freezer bag, removing as much air as possible. It can be stored in the freezer for up to 1 month.
- Thawing and Re-whipping: When ready to use frozen frosting, transfer it to the refrigerator to thaw overnight. Once thawed and brought to room temperature, it will likely be quite firm and may appear somewhat separated. Don’t worry, this is normal! Place it back into your stand mixer bowl and whip it on medium-high speed for a few minutes until it becomes light, fluffy, and smooth again. You may need to add an extra tablespoon of heavy cream to achieve the perfect consistency if it seems too stiff after re-whipping.
More Cake Decorating Inspiration
Once you’ve mastered this vibrant red frosting, you’ll be ready to tackle even more exciting cake decorating projects. Here are some other helpful guides to fuel your creativity:
- How to Color Fondant
- How to Make a Naked Cake
- How to Make Marshmallow Fondant (Fondant Recipe for Cakes)
- How to Make Homemade Sprinkles
- How to Make Ombre Cake {Blue}
Recipe
Easy Homemade Deep Red Frosting (Red Velvet Style)
Abeer Rizvi
Pin Recipe
Want to Save This Recipe?
Enter your email & I’ll send it to your inbox. Plus, get great new recipes from me every week!
By submitting this form, you consent to receive emails from CakeWhiz
Ingredients
- ½ cup Unsalted Butter Room temperature
- ½ cup Vegetable Shortening
- 1 teaspoon Pure Vanilla extract
- 4 cups Powdered sugar
- 3-4 tablespoons Heavy cream Or whole milk, adjust for desired consistency
- Red gel food coloring Americolor “Super Red” or “Red Red” is highly recommended
- Black gel food coloring Optional, a tiny dot for deeper red
Instructions
-
In a large mixing bowl, cream together the room temperature unsalted butter and vegetable shortening until the mixture is very smooth and fluffy.
-
Stir in the vanilla extract until just combined, scraping down the sides of the bowl.
-
Gradually add the powdered sugar, about ½ cup at a time, mixing on low speed until fully incorporated before adding more. Continue until all the sugar is mixed in and the frosting is thick.
-
Pour in the heavy cream (or milk), 1 tablespoon at a time, mixing on low speed until you reach your desired creamy, pipeable consistency. Avoid over-mixing.
-
Add a generous amount of red gel food coloring (starting with about 3 deep squirts or more depending on your brand and desired shade). Mix until the color is as evenly distributed as possible. At this stage, it will likely look like a dark pink or muted red.
-
Spoon out about ½ cup of this frosting and transfer it to a small, separate microwave-safe bowl.
-
To this smaller portion, add an additional squirt or two of red gel coloring (and optionally, a tiny dot of black gel coloring for deeper hue) until the color is noticeably brighter and more vibrant.
-
Heat this small, intensely colored frosting in the microwave for about 15 seconds, or until it becomes runny. Be careful not to overheat it.
-
Stir the runny frosting with a spoon. You will notice it has transformed into a remarkably bright, deep red.
-
Pour this super-red, runny frosting back into the original bowl of frosting and mix thoroughly until the red color is evenly distributed throughout the entire batch.
-
Cover the bowl tightly with plastic wrap or an airtight lid and chill in the fridge for a crucial 3 to 5 days. This extended chilling period allows the red shade to fully deepen and develop into that true, vibrant crimson. This step is essential and should not be skipped for best results.
-
When you are ready to use the frosting, remove the bowl from the fridge and allow it to come to room temperature (this can take several hours).
-
Once at room temperature, give it a quick whip with your mixer for a minute or two to restore its fluffy texture. Then, fill a piping bag and beautifully decorate your cakes and cupcakes!
Notes
- For best results and a truly deep red, read all the tips and techniques provided in the article above, especially regarding the chilling time.
- Leftover frosting can be stored in a sealed container in the fridge for up to 2 weeks, or frozen for up to 1 month. Thaw and re-whip before use.
- This recipe makes enough frosting to decorate approximately 24 cupcakes (with a simple swirl) or one 8×2 inch round two-layer cake.
Nutrition
An automated tool is used to calculate the nutritional information. As such, I cannot guarantee the accuracy of the nutritional information provided for any recipe on this site.
