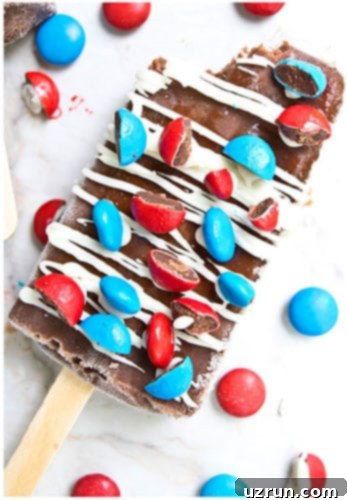
Irresistibly Creamy Homemade Chocolate Fudgesicles: The Ultimate Healthy Summer Treat!
Prepare to delight your taste buds with the most incredibly easy and utterly delicious homemade chocolate fudgesicles recipe! Crafted with just a few simple, wholesome ingredients, these frozen treats boast an unmatched creamy texture that will make you forget all about store-bought alternatives. They are not only a healthier option but also a fantastic addition to any summer gathering, backyard BBQ, or a simple afternoon cool-down session. Whether you’re celebrating a holiday like the Fourth of July with festive red, white, and blue toppings, or simply seeking a delightful escape from the heat, these fudgesicles are guaranteed to become your new favorite go-to dessert.
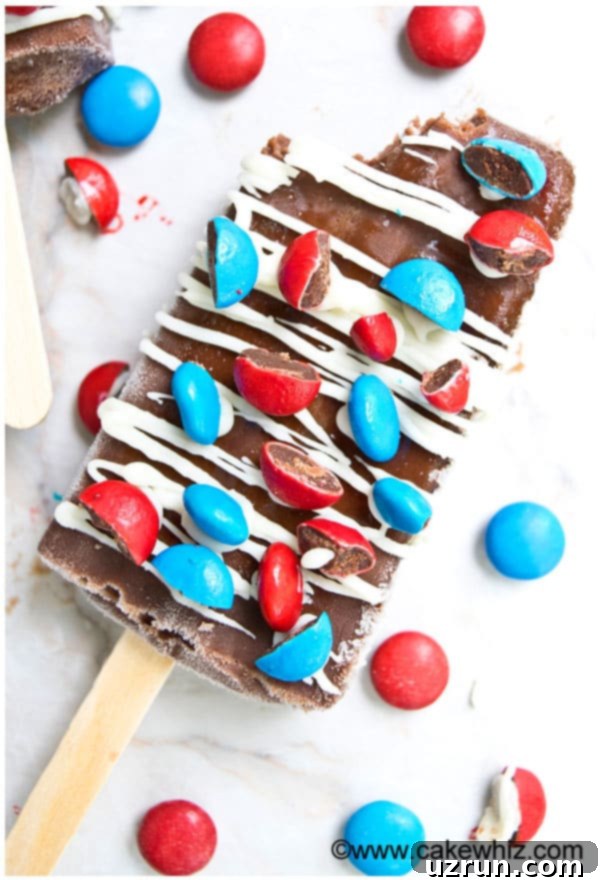
There’s something truly magical about a classic fudgesicle, and this homemade rendition elevates that magic to a whole new level. My mom’s recipe for these fudgy delights has always been the gold standard in our family, and I genuinely believe they surpass any store-bought version I’ve ever tasted. The secret lies in their incredible creaminess and deep chocolate flavor, achieved without the need for corn syrup or artificial ingredients. Just like my Homemade Fruit Popsicles, these chocolate treats prioritize natural goodness and exceptional taste. We recently gave them a festive twist, adding patriotic flair for holiday celebrations, making them an even more amazing treat for your guests and loved ones.
Why Choose Homemade Fudgesicles Over Store-Bought?
When it comes to frozen desserts, homemade always wins, and fudgesicles are no exception. Opting to make your own means you have complete control over the ingredients, allowing you to avoid artificial flavors, colors, and excessive sugars often found in commercial products. This recipe, in particular, skips corn syrup entirely, relying on natural sweeteners and the wholesome goodness of Greek yogurt and real cocoa. The result is a richer, more authentic chocolate flavor and a velvety smooth texture that simply can’t be replicated by mass-produced options. Plus, making them at home is surprisingly simple, often more cost-effective, and incredibly rewarding!
Key Ingredients for Velvety Smooth Fudgesicles
Achieving that perfect, luscious texture and rich flavor starts with selecting the right ingredients. Each component in this recipe plays a crucial role in creating the ultimate chocolate fudgesicle experience:
- Vanilla Greek Yogurt: This is the secret weapon for supreme creaminess! Greek yogurt, especially vanilla flavored, contributes a wonderfully rich and thick consistency that regular yogurt simply can’t match. It also adds a subtle tangy note that perfectly complements the chocolate, along with a boost of protein, making these treats more satisfying. Using a fat-free option can make them even lighter without sacrificing much on texture.
- Milk: The type of milk you choose will influence the final creaminess. Generally, a higher fat content in milk (like whole milk) will yield a creamier, more indulgent popsicle. However, you have plenty of flexibility to adjust based on your preferences or dietary needs.
- Cocoa Powder: For the best and most intense chocolate flavor, invest in high-quality cocoa powder. Unsweetened cocoa is key here to control the overall sweetness of the fudgesicles. Using a good brand will make a noticeable difference in the depth and richness of your chocolate treat.
- Honey: Raw, local honey is optimal for its natural sweetness and distinct flavor profile. It provides a more complex sweetness than refined sugar and helps bind the ingredients together. Its liquid form also contributes to the smooth consistency of the mixture.
Unleash Your Creativity: Exciting Fudgesicle Variations and Customizations
While this classic chocolate fudgesicle recipe is fantastic on its own, it also serves as a perfect canvas for culinary creativity. Don’t hesitate to experiment with different flavors and textures to personalize your frozen delights!
- Explore Other Yogurt Flavors: While vanilla Greek yogurt is a staple for its versatile flavor, don’t be afraid to try other varieties. A honey-flavored Greek yogurt could subtly enhance the sweetness, or you could completely transform the fudgesicle with a fruit-flavored yogurt like strawberry or cherry, creating a delightful chocolate-fruit combination.
- Experiment with Sweeteners: If honey isn’t your preference or you’re looking for an alternative, several other natural sweeteners work beautifully. Consider liquid Stevia for a sugar-free option, agave nectar for a milder sweetness, or natural maple syrup, much like I use in my popular Maple Syrup Fudge. Just remember to adjust quantities to your desired sweetness level.
- Try Different Milk Types: The base liquid can significantly alter the texture and dietary profile of your fudgesicles. While whole milk offers maximum creaminess, you can easily swap it for skim milk for a lighter version, or dairy-free alternatives like almond milk, coconut milk, or soy milk to make them vegan-friendly. For an extra chocolatey punch, try using chocolate milk!
- Pile on the Toppings: Once your fudgesicles are perfectly frozen, the fun doesn’t stop! Before they harden completely, or after removing them, dip or sprinkle them with your favorite toppings. Think shredded coconut for a tropical twist, crushed nuts for crunch, mini chocolate chips for extra indulgence, or colorful sprinkles for a festive look. Peanut butter chips or even chopped up candy bars like Butterfingers can also add an exciting dimension.
- Get Creative with Add-ins: Don’t limit the extra goodies to just toppings! You can incorporate many of the above options directly into the fudgesicle mixture before freezing. Mini chocolate chips, finely chopped nuts, or even a swirl of peanut butter can be blended in for a surprise in every bite.
- Go for a Dark Chocolate Experience: If you crave a deeper, more intense chocolate flavor, simply increase the amount of cocoa powder. This will give your fudgesicles a rich, dark chocolate profile that true cocoa lovers will adore.
- Drizzle for Extra Decadence: A final drizzle can turn a simple fudgesicle into an elegant dessert. Melted chocolate, melted peanut butter, or even a homemade caramel sauce (like my Homemade Caramel Sauce) can be artistically drizzled over the top. Just ensure any melted additions are cooled to room temperature before drizzling to prevent melting your perfectly frozen treat.
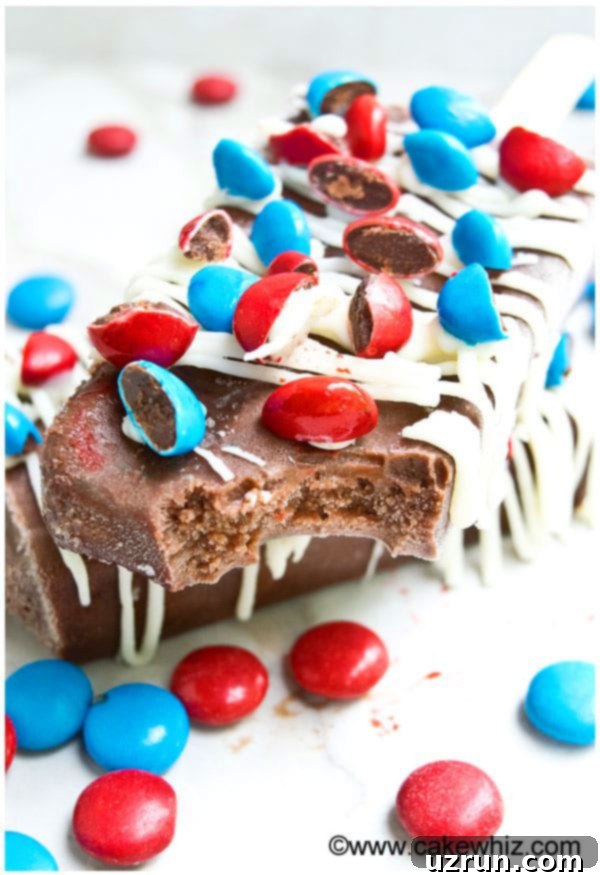
Mastering the Art: How to Make Homemade Fudgesicles
Making these decadent chocolate fudgesicles is surprisingly straightforward, requiring minimal effort for maximum reward. Follow these simple steps to create your own batch of frozen perfection:
- Combine the Ingredients: In a high-speed blender, add the vanilla Greek yogurt, milk, unsweetened cocoa powder, and honey. Secure the lid and blend until the mixture is completely smooth and creamy. Ensure there are no lumps of cocoa powder remaining, as this will affect the final texture. Scrape down the sides of the blender if necessary to ensure all ingredients are well incorporated.
- Pour into Molds: Carefully pour the smooth fudgesicle mixture into your chosen popsicle molds. Fill each mold nearly to the top, leaving a small amount of space for expansion during freezing. If using popsicle sticks, insert them now, ensuring they stand upright.
- Freeze to Perfection: Transfer the filled molds to the freezer. Allow them to freeze for at least 6 hours, or ideally overnight, to ensure they are completely solid and hold their shape when removed. Patience is key here for perfectly set fudgesicles!
- Release and Enjoy: Once fully frozen, remove the molds from the freezer. To easily release the fudgesicles, briefly run the outside of the molds under warm water for 10-20 seconds. This will slightly loosen the edges, allowing the fudgesicles to slide out effortlessly. Serve immediately and savor every creamy, chocolatey bite!
Expert Tips for Fudgesicle Perfection
Achieving the ideal fudgesicle is simple with a few helpful tips and techniques. These insights will ensure your homemade treats are always a success:
- Always Opt for Greek Yogurt: The unparalleled richness and thickness of Greek yogurt are what give these fudgesicles their signature creamy texture. Regular yogurt is too thin and will result in a icier, less satisfying popsicle. Don’t skip this critical ingredient!
- Honey Over Sugar for Flavor and Texture: This recipe is designed around the unique properties of honey. Replacing honey with granulated sugar would drastically alter both the flavor profile and the texture. Honey’s liquid consistency contributes to the smoothness, and its natural sugars prevent excessive crystallization, leading to a softer, more fudgy pop. Plus, this keeps the recipe sugar-free in the traditional sense.
- Choose Unsweetened Cocoa Powder: To maintain perfect sweetness balance, always use unsweetened cocoa powder. If you use sweetened cocoa, your fudgesicles will become overly sweet, potentially overpowering the other flavors and affecting the overall enjoyment.
- No Molds? No Problem!: Don’t let a lack of specialized popsicle molds deter you. You can easily improvise by using small paper cups (like Dixie cups) and inserting popsicle sticks once the mixture has partially frozen (after about 1-2 hours) to hold them upright. For mini-sized treats, ice cube trays with toothpicks work wonderfully for bite-sized fudgy delights.
- Effortless Removal with Warm Water: If your fudgesicles are stuck in their molds, a quick trick is to run the mold under warm water for 10-20 seconds. This gently thaws the outermost layer, allowing the fudgesicle to slide out without any struggle or breakage.
- Double Your Batch for Convenience: These fudgesicles are so popular, they disappear fast! Consider doubling the recipe, especially during peak summer months or before hosting a party, so you always have a delicious, ready-to-eat treat on hand for those impromptu cravings or hot summer days.
- Allow Ample Freezing Time: Patience is a virtue when making fudgesicles. For them to fully harden and achieve that perfect, non-drip consistency, they need at least 6 hours in the freezer. Overnight freezing is even better to ensure maximum solidity.
- Cool Drizzles Down: If you plan to add melted chocolate, peanut butter, or caramel drizzles, ensure they are cooled to room temperature before applying. Drizzling hot or warm liquid onto a frozen fudgesicle will cause it to melt, ruining the presentation and potentially the texture.
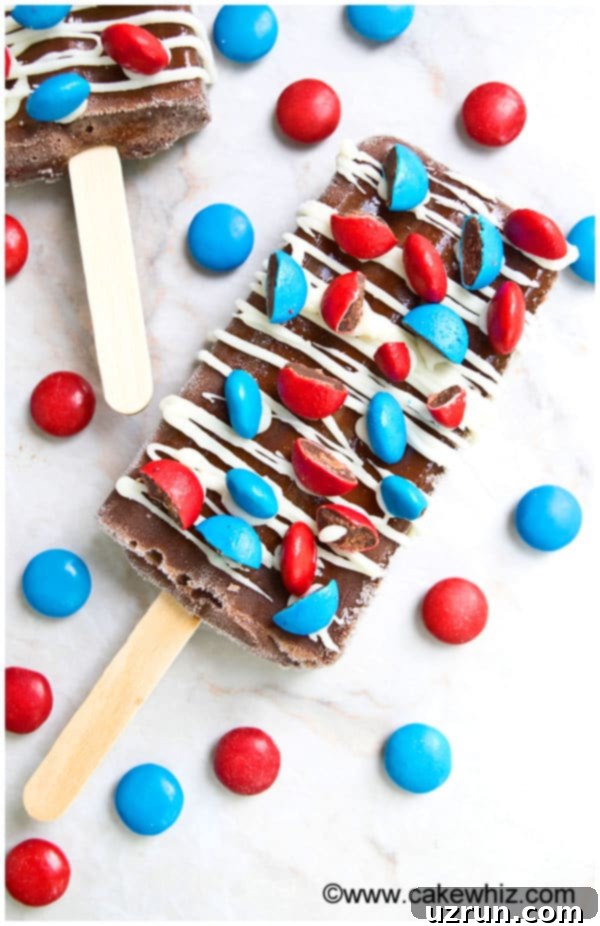
Your Fudgesicle Questions Answered
While commercial fudge bars often contain a long list of ingredients including corn syrup, artificial flavors, and stabilizers, this homemade recipe keeps it simple and wholesome. Our delicious version is primarily made with just four main ingredients: creamy milk, rich cocoa powder, natural honey, and thick Greek yogurt. This combination ensures a truly authentic and healthy fudgesicle experience without any unnecessary additives.
As written, this recipe is not vegan due to the use of honey, milk, and Greek yogurt. However, it can be easily adapted to be fully vegan-friendly! To make them vegan, you would replace the honey with maple syrup or agave nectar. The whole milk or skim milk can be swapped for plant-based milks like coconut milk, almond milk, or soy milk. Finally, the Greek yogurt can be replaced with a high-quality, plain or vanilla-flavored vegan yogurt (such as coconut or almond-based yogurt) to maintain the creamy texture.
While colorful popsicle sticks might seem fun, it’s generally not recommended to use them for food items like fudge pops. Many colored sticks are not certified as food-grade safe. There’s a risk that the dyes or colors from the stick could leech into your delicious chocolate fudgesicle, leading to you inadvertently ingesting the coloring. It’s always best to stick with natural, uncolored wooden popsicle sticks for safety and peace of mind.
Properly stored homemade fudgesicles can last remarkably well in the freezer. Once fully frozen, you can transfer them from their molds into an airtight freezer-safe bag or container. This helps prevent freezer burn and keeps them fresh. They will retain their best quality for up to 1 month. Beyond that, while still safe to eat, their texture or flavor might begin to degrade slightly.
Storage & Make-Ahead Tips
One of the many advantages of homemade fudgesicles is their excellent make-ahead potential, making them a convenient dessert solution for busy days or entertaining.
- Make Ahead: These fudgesicles are perfectly suited for preparing in advance. You can whip up a big batch and store them in the freezer, ensuring you’re always ready with a delightful treat whenever a craving strikes or guests arrive unexpectedly.
- Room Temperature: Fudgesicles are, by nature, frozen desserts. They will not last long at room temperature and will begin to melt quickly. For the best experience, keep them frozen until just before serving and consume them immediately.
- Refrigerate: While a refrigerator is cooler than room temperature, it’s still not cold enough to keep fudgesicles solid. Storing them in the fridge will only result in a melty, unappealing mess. Always opt for the freezer.
- Freeze for Longevity: The freezer is their natural habitat! Once frozen solid, carefully remove the fudgesicles from their molds and transfer them to an airtight freezer-safe bag or container. This will protect them from freezer burn and help them maintain their creamy texture and flavor for up to 1 month.
Explore More Frozen Desserts!
If you’ve enjoyed these delicious chocolate fudgesicles, you might be interested in exploring other delightful frozen treats:
- Mini Watermelon Ice Cream Tarts
- Rose Ice Cream Float
- Coffee Popsicles
- Skinny 2 Ingredient Chocolate Ice Cream
- Skinny Chocolate Banana Popsicles
Recipe Card
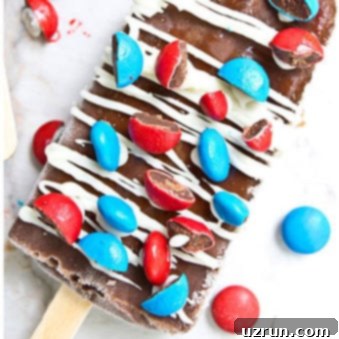
Homemade Chocolate Fudgesicles
Quick and easy homemade chocolate fudgesicles recipe, made with simple ingredients. These healthy fudgesicles are creamy and great for Summer parties!
Want to Save This Recipe?
Enter your email and we’ll send it to your inbox. Plus, get great new recipes every week!
By submitting this form, you consent to receive emails from [Your Website Name]
Ingredients
- 1 cup Vanilla Greek yogurt (Fat-free recommended for lighter version)
- 1 cup Milk (whole milk for creamier results, or alternative milk)
- ½ cup Cocoa powder (unsweetened)
- ⅔ cup Honey (raw, local honey is optimal)
- ¼ cup White chocolate (Melted, Optional, for drizzling)
- ⅓ cup M&M candies (Red, white and blue colors, Optional, for topping)
Instructions
-
Add the Greek yogurt, milk, cocoa powder and honey into a blender. Blend until the mixture is completely smooth and creamy, ensuring no lumps remain.
-
Carefully pour the smooth mixture into your popsicle molds, filling them almost to the top.
-
Place the molds in the freezer and freeze for a minimum of 6 hours, or preferably overnight, until the fudgesicles are completely hardened.
-
To easily remove the chocolate fudgesicles from their molds, run the molds under warm water for 10-20 seconds. This will gently loosen them.
-
For an extra touch, drizzle with cooled melted white chocolate and sprinkle with red, white, and blue M&M candies, if desired. Enjoy your homemade delight!
Nutrition
Carbohydrates: 42g
Protein: 5g
Fat: 6g
Saturated Fat: 3g
Cholesterol: 7mg
Sodium: 37mg
Potassium: 185mg
Fiber: 2g
Sugar: 38g
Vitamin A: 70IU
Vitamin C: 0.2mg
Calcium: 70mg
Iron: 1mg
An automated tool is used to calculate the nutritional information. As such, I cannot guarantee the accuracy of the nutritional information provided for any recipe on this site.
Tried this recipe?
Leave a comment below or rate and tag @cakewhiz on social!
We hope you enjoy making and savoring these incredibly creamy and undeniably delicious homemade chocolate fudgesicles as much as we do. They are the perfect blend of indulgence and wholesome goodness, making them an ideal treat for any occasion, especially those warm summer days. Share your creations with us online and let us know your favorite variations!
