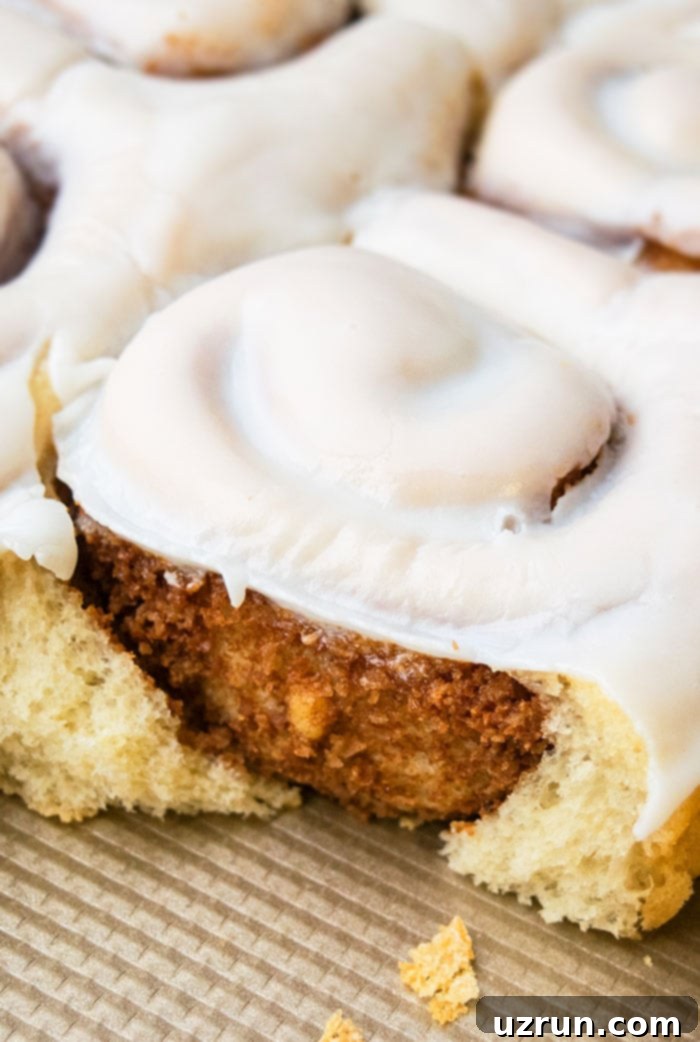
Easy Homemade 1-Hour Cinnamon Rolls: Fluffy, Gooey & Perfect Every Time
Craving warm, soft, and perfectly spiced cinnamon rolls but don’t have all day to bake? This incredible recipe for homemade cinnamon rolls is your ultimate solution! Made entirely from scratch with simple ingredients, these fluffy sweet yeast rolls are ready to devour in just about 1 hour. Forget the overnight waiting; get ready for a delightful breakfast or brunch treat that promises irresistible flavor and a melt-in-your-mouth texture without the long wait. Every bite is loaded with a generous cinnamon-sugar filling and topped with a luscious vanilla glaze, guaranteeing a crowd-pleasing dessert that never fails to impress.
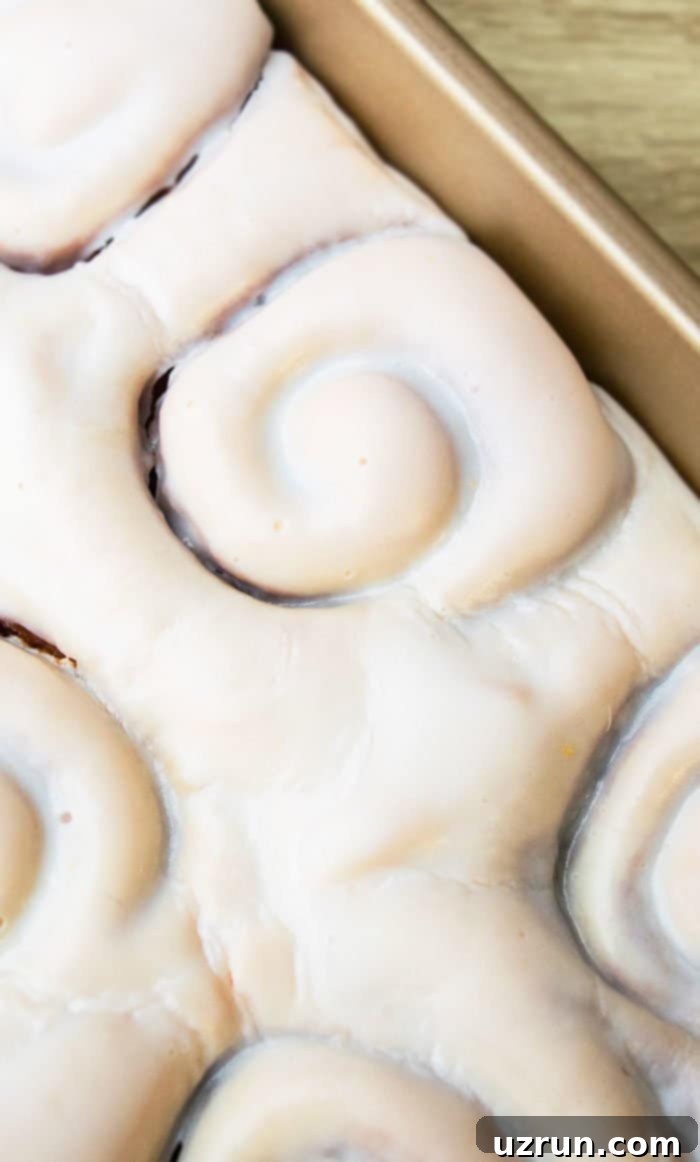
These speedy cinnamon rolls are a true game-changer, especially for those busy mornings or when an unexpected craving strikes. Unlike many traditional recipes that demand extensive proofing times, this accelerated method delivers equally delicious results. You’ll be amazed at how quickly you can achieve that classic fluffy, sweet, and utterly addictive texture. If your love for cinnamon runs deep, much like mine, you’ll also adore these other sweet treats: try our delightful Cinnamon Crinkle Cookies (Soft and Chewy) for a cookie fix, indulge in the airy goodness of Fluffy Cinnamon Pancakes, or grab a quick bite with these moist Cinnamon Muffins. But first, let’s dive into the magic of these 1-hour wonders!
Why This 1-Hour Cinnamon Roll Recipe is a Game-Changer
Many people shy away from making homemade cinnamon rolls because they associate it with a lengthy, complicated process. Traditional recipes often require hours of rising time, sometimes even overnight, which can be daunting for beginner bakers or anyone short on time. This 1-hour recipe breaks that mold by using smart techniques to significantly reduce the waiting period without compromising on flavor or texture. The secret lies in a rapid rise method utilizing a warm (but off!) oven, allowing the yeast to activate quickly and efficiently. You get all the comfort and deliciousness of slow-proofed rolls in a fraction of the time, making freshly baked cinnamon rolls an achievable weekday treat, not just a weekend luxury.
Ingredients You’ll Need (And Why!)
Creating these divine cinnamon rolls requires simple, accessible ingredients that you likely already have in your pantry. Let’s break down what you’ll need and why each component is crucial for perfect results:
- All-purpose flour: The foundation of our dough, providing structure. Don’t substitute with other flours like whole wheat, as all-purpose yields the softest rolls.
- Instant yeast: The key to our speedy rise! Instant yeast doesn’t require proofing beforehand, making the process much faster.
- Granulated sugar: Feeds the yeast and adds sweetness to the dough.
- Unsalted butter: Essential for both the dough and the rich, flavorful filling. Using unsalted allows you to control the overall saltiness.
- Whole milk: Adds richness and moisture to the dough, contributing to its tender texture.
- Warm water: Helps activate the yeast. Ensure it’s warm, not hot, to avoid killing the yeast.
- Large egg: Binds the dough, adds richness, and helps with structure and color.
- Brown sugar: The base of our gooey, caramelized filling, bringing deep molasses notes.
- Cinnamon powder: The star spice! Use good quality cinnamon for the best flavor.
- Vanilla extract: Enhances both the filling and the glaze with its aromatic sweetness.
- Powdered sugar: The primary ingredient for our smooth, sweet vanilla glaze.
How to Make Easy 1 Hour Cinnamon Rolls Recipe from Scratch?
Follow these straightforward steps to bake your way to soft, warm, and utterly delicious cinnamon rolls in just an hour!
- Prepare the Dough: Begin by whisking together the dry ingredients – all-purpose flour and instant yeast – in a large mixing bowl. In a separate microwave-safe bowl, combine granulated sugar, unsalted butter, milk, and warm water. Heat this mixture for about 1 minute in the microwave, just until the butter is melted and the liquid is warm (not hot!). Pour this warm milk mixture into the flour mixture, then add the large egg.
- Mix and Knead: Use a stand mixer with the paddle attachment to mix the dough until it comes together and becomes slightly sticky. Switch to the dough hook attachment and continue mixing until the dough is smooth, elastic, and pulls away from the sides of the bowl. If you’re kneading by hand, dust a clean surface with flour and knead the dough for approximately 6-8 minutes until it’s elastic and no longer sticky.
- Quick Dough Rest: Cover the dough with plastic wrap and let it rest for a mere 6 minutes. You’ll know it’s ready when the plastic wrap starts to fog up from the warmth of the dough. While it rests, preheat your oven to 200°F (93°C) and then immediately turn it OFF. This creates the perfect warm environment for a rapid rise.
- Prepare the Filling: In a small bowl, combine the brown sugar, cinnamon powder, and vanilla extract. This fragrant mixture will create the classic gooey center of your rolls.
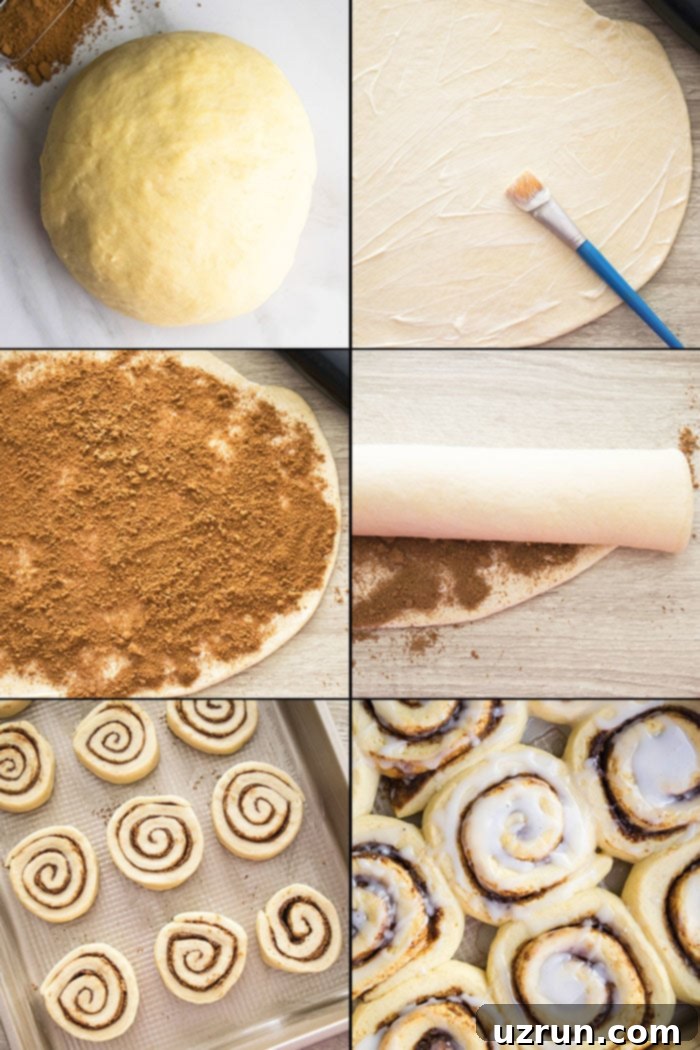
- Roll and Fill: On a lightly floured surface, roll out the dough into a rectangle, roughly 9×16 inches (23×40 cm). Make sure the thickness is even. Evenly brush softened (not melted!) unsalted butter over the entire surface of the rolled-out dough, leaving a small border free on one of the longer edges. Then, generously sprinkle your prepared cinnamon-sugar filling over the butter.
- Roll and Slice: Starting from one of the longer, buttered edges, carefully roll the dough tightly into a log, jelly-roll style. To achieve perfectly round and even slices, use a piece of dental floss! Slide a piece under the dough log, cross the ends over the top, and pull to cut through. Cut the log into 12 even slices. (Don’t worry about any odd-shaped end pieces, they’re still delicious!)
- Second Quick Rise: Grease a 9×13 inch (23×33 cm) rectangle baking pan. Arrange the sliced cinnamon rolls in the pan, leaving a little space between each to allow for expansion. Cover the pan tightly with aluminum foil and place it in your *already warmed (and turned OFF)* oven. Let the rolls rise in this warm environment for 25 minutes. Ensure the oven remains OFF during this time to prevent baking the rolls prematurely.
- Bake to Golden Perfection: After the 25-minute rise, remove the pan from the oven and set it on the counter. Preheat your oven to 375°F (190°C). Once the oven is up to temperature, remove the aluminum foil from the pan and bake the cinnamon rolls for 15-18 minutes, or until they are golden brown on top and cooked through.
- Glaze and Enjoy: While the rolls are baking, prepare your vanilla glaze by whisking together melted unsalted butter, powdered sugar, vanilla extract, and whole milk until smooth and creamy. (For a super white glaze, use clear vanilla extract.) Allow the baked rolls to cool slightly for about 10 minutes after removing them from the oven. This warm (not hot!) temperature is ideal for spreading the glaze; if applied too hot, it will melt completely and absorb into the rolls. Spread the luscious glaze generously over the warm cinnamon rolls. Some will seep in, making them wonderfully gooey, while a beautiful white layer will remain on top. For extra sweet rolls, feel free to double the glaze recipe! Enjoy them warm.
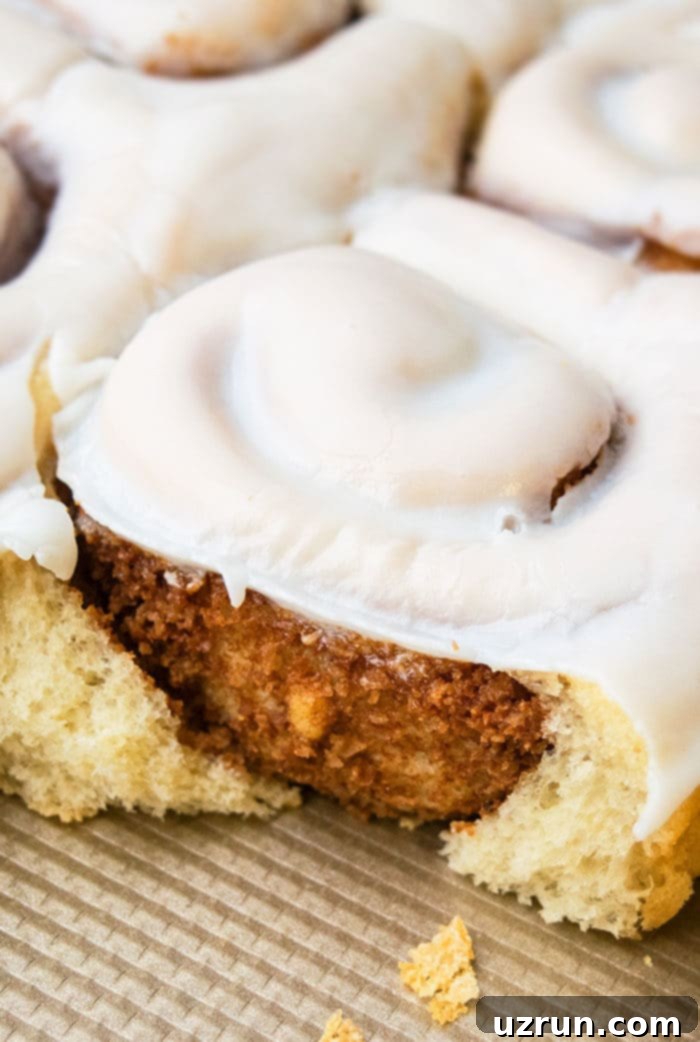
How to Make Best Cinnamon Roll Icing/Frosting
The glaze is the crowning glory of any cinnamon roll. While this recipe features a simple yet delicious vanilla glaze, there are other fantastic options to consider:
- Classic Cream Cheese Frosting: This is arguably the most popular choice for cinnamon rolls, offering a delightful tangy counterpoint to the sweet rolls. To make it, simply beat together softened cream cheese, powdered sugar, softened butter, and a splash of vanilla extract until light and fluffy. This frosting provides a rich, thick layer that truly elevates the experience.
- American Buttercream Frosting: If you prefer a richer, butter-forward frosting without the tang of cream cheese, American Buttercream is a great alternative. It’s made by creaming butter with powdered sugar, milk (or cream), and vanilla extract until smooth and airy. You can find a detailed recipe for American Buttercream Frosting here.
- Swiss Meringue Buttercream Frosting (SMBC): For a truly silky, less sweet, and incredibly stable frosting, consider SMBC. It’s a bit more involved to make but offers a luxurious texture. Learn how to make Swiss Meringue Buttercream Frosting (SMBC) here.
- Simple Vanilla Glaze (as in this recipe): Our featured glaze is a quick, easy, and incredibly versatile option. It melts beautifully into the warm crevices of the rolls, creating that signature gooeyness while leaving a lovely white coating on top. It’s perfect for when you want a delicious result with minimal effort.
Whichever frosting you choose, remember the golden rule: apply it when the rolls are warm, not piping hot. This allows some of the glaze to melt into the rolls for gooeyness, while the rest sets on top for that perfect frosted look.
How to Keep Your Homemade Cinnamon Rolls Incredibly Soft
There’s nothing worse than dry cinnamon rolls. Achieving and maintaining that coveted soft, fluffy texture is key. Here are proven tips:
- Avoid Over-baking: Over-baking is the number one culprit for dry rolls. Keep a close eye on them; they should be golden brown, not deep brown. Remember, they continue to cook slightly after being removed from the oven.
- Use a Water Bath: This is a fantastic baker’s trick! During baking, place a small square cake pan (e.g., 8×8 inches) filled with water on the bottom rack of your oven. The steam created by the water keeps the oven environment moist, which is crucial for soft breads and rolls. This technique works wonders for homemade breads too!
- The Glaze Adds Moisture: The generous layer of vanilla glaze on top of the baked rolls isn’t just for flavor; it also contributes to their moistness. As it melts slightly, it infuses the rolls with extra sweetness and moisture.
- Proper Storage is Key: Once glazed, always keep your cinnamon rolls covered tightly. Use aluminum foil or plastic wrap to prevent them from being exposed to air, which quickly dries them out.
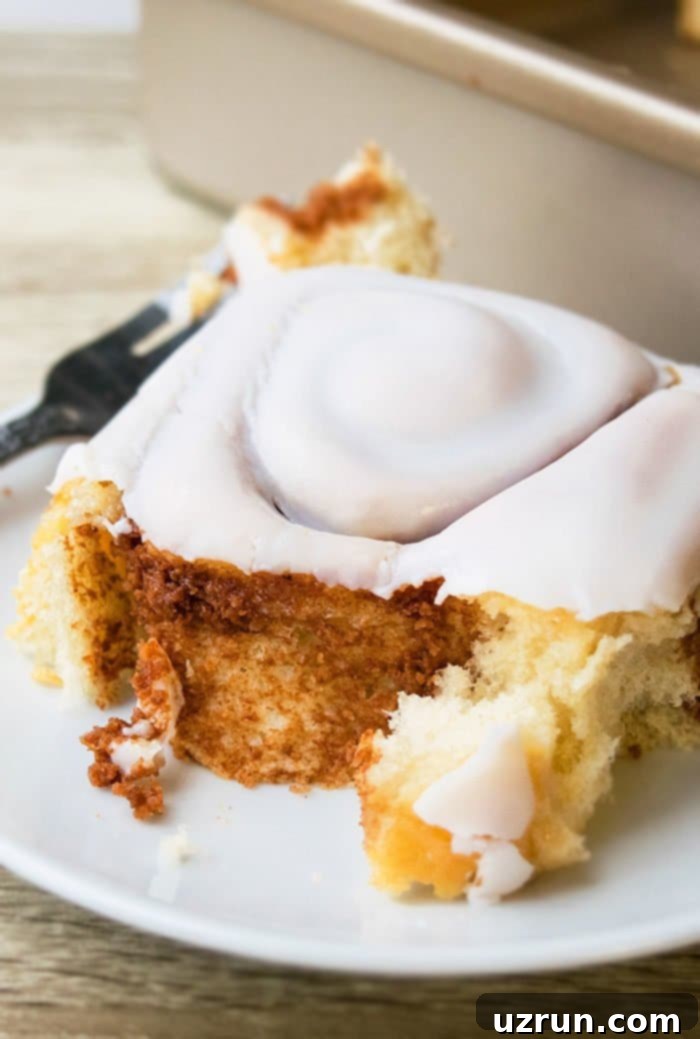
Expert Tips and Techniques for Flawless Cinnamon Rolls
To ensure your 1-hour cinnamon rolls turn out perfectly every single time, keep these invaluable tips and techniques in mind:
- Yeast Temperature is Crucial: When preparing your wet ingredients, ensure the liquid mixture (milk, water, butter, sugar) is warm, not hot. Liquids that are too hot will kill the yeast, preventing your rolls from rising. Aim for a temperature between 105-115°F (40-46°C).
- Invest in a Stand Mixer (or get ready for a workout!): While hand-kneading is possible, a stand mixer with a hook attachment makes the dough preparation much quicker and easier, ensuring the dough develops the necessary elasticity for soft rolls.
- Dental Floss for Perfect Slices: Ditch the knife for cutting your dough log! Unwaxed, unflavored dental floss creates incredibly even and sharp cuts, preventing the rolls from getting squished or deformed. Simply slide a piece under the roll, cross the ends over, and pull tightly.
- Oven OFF During Rising: Remember to turn your oven OFF after preheating it to 200°F (93°C) for the quick rise. If the oven stays on, it will bake your rolls prematurely instead of allowing them to proof.
- Adjust Cinnamon to Taste: The amount of cinnamon in the filling is a matter of personal preference. Feel free to adjust it slightly to make your rolls more or less spiced.
- Stick to All-Purpose Flour: For the softest, most tender cinnamon rolls, do not replace all-purpose flour with other types of flour (like whole wheat). Different flours have different protein contents and hydration needs, which will drastically change the texture.
- Use Unsalted Butter: This gives you complete control over the salt content in your recipe. If you only have salted butter, reduce any added salt in the dough (though this recipe doesn’t explicitly call for extra salt, it’s a good general baking rule).
- Glaze Consistency Adjustment: If your vanilla glaze is too thin, gradually mix in more powdered sugar until it reaches your desired thickness. If it’s too thick, add milk a teaspoon at a time until it’s smooth and pourable.
- Cool Slightly Before Glazing: Always allow your baked cinnamon rolls to cool for about 10 minutes (until they are warm, not hot) before spreading the glaze. If applied to very hot rolls, the glaze will melt completely and absorb into the rolls, preventing that beautiful white frosted appearance on top. It will still taste delicious, but you’ll lose some of that classic aesthetic.
Common Questions About Homemade Cinnamon Rolls (FAQs)
To make a smooth and creamy sweet roll glaze, simply whisk together melted unsalted butter, powdered sugar, vanilla extract, and whole milk until fully combined and lump-free. The key is to pour and spread this delectable glaze on top of warm rolls, NOT hot rolls. Applying it when they’re warm allows some of it to seep into the rolls, creating a wonderfully gooey texture, while the rest settles on top for a beautiful frosted finish.
No, I do not recommend making these specific cinnamon rolls without yeast. I’ve tested this recipe by attempting to replace yeast with baking powder and baking soda, and unfortunately, it did not produce the desired perfect fluffy, bread-like texture that is characteristic of classic cinnamon rolls. Yeast is fundamental to achieving that signature airy, soft rise and structure.
This recipe specifically calls for instant yeast (sometimes labeled “rapid rise” or “quick rise” yeast). Instant yeast is designed to work quickly and can be mixed directly with dry ingredients, eliminating the need for a separate proofing step in warm water, which is essential for our 1-hour recipe.
Your cinnamon rolls are perfectly baked when they are golden brown on top and the edges. They should feel firm but still soft to the touch. An internal temperature of about 190-200°F (88-93°C) in the center of a roll indicates they are fully cooked. Be careful not to over-bake, as this can lead to dry rolls.
Storage and Make-Ahead Options for Cinnamon Rolls
Enjoying cinnamon rolls fresh from the oven is unparalleled, but knowing how to store them properly ensures you can savor their deliciousness later. This recipe is also perfect for making ahead!
- Refrigerate: Leftover glazed cinnamon rolls can be stored in a sealed airtight container in the refrigerator for up to 3 days. To reheat, microwave for 15-30 seconds until warm and gooey again.
- Freeze (Unfrosted): Once baked, allow the cinnamon rolls to cool completely to room temperature. Do not frost them before freezing. Place them in a single layer in a freezer-safe sealed container or wrap them individually in plastic wrap and then foil. They can be frozen for up to 1 month. When you’re ready to enjoy, let them thaw to room temperature, warm them in the oven for a few minutes (around 300°F/150°C for 5-10 minutes), and then spread the fresh glaze on top.
- Room Temperature: Unfrosted baked cinnamon rolls can stay out in a covered airtight container for 1 day. Glazed rolls are best refrigerated if not consumed within a few hours.
- Make Ahead: This recipe can easily be made 1 day in advance. Prepare the rolls up to the point of the second rise (step 15 in the instructions). Instead of placing them in the warm oven, cover them tightly with plastic wrap and refrigerate overnight. The next morning, remove them from the fridge, let them sit at room temperature for 30-60 minutes while your oven preheats, then proceed with baking and glazing as directed.
More Easy Breakfast Recipes & Cinnamon Delights
If you loved these quick cinnamon rolls, explore more easy and delicious breakfast and brunch ideas to brighten your mornings:
- Pancake Muffins: All the flavor of pancakes in a convenient, portable muffin form.
- Caramel Pecan Sticky Buns: Indulge in gooey, nutty, and sweet sticky buns for a decadent treat.
- Chocolate Crepes: A delightful and elegant breakfast or dessert, perfect with a variety of fillings.
- Easy Chocolate Chia Seed Pudding: A healthy and delicious make-ahead option that’s rich and satisfying.
- Easy Breakfast in Bed Ideas (Recipes): Discover a collection of recipes perfect for a special morning indulgence.
Recipe
Easy Homemade Cinnamon Rolls Recipe
Abeer Rizvi
Pin Recipe
Want to Save This Recipe?
Enter your email & I’ll send it to your inbox. Plus, get great new recipes from me every week!
By submitting this form, you consent to receive emails from CakeWhiz
Ingredients
Cinnamon Roll Dough
- 2 ¾ cups All-purpose flour
- 1 packet Instant yeast E.g. 2 ¼ tsp
- ¼ cup Granulated sugar
- 2 tablespoon Butter Unsalted
- ¼ cup Milk Whole
- ½ cup Water Warm
- 1 Egg Large
Cinnamon Roll Filling
- ⅔ cup Brown sugar
- ¼ cup Butter Unsalted, Softened
- 1 tablespoon Cinnamon powder
- 1 teaspoon Vanilla extract
Vanilla Glaze/ Frosting
- ¼ cup Butter Unsalted, Melted
- 2 cups Powdered sugar
- 1 teaspoon Vanilla extract
- 4-6 tablespoon Milk Whole
Instructions
-
In a large mixing bowl, whisk together the flour and yeast. Keep aside.
-
In a microwave-safe bowl, add sugar, butter, milk, water. Heat in the microwave for about 1 minute or until butter is melted.
-
Pour this milk mixture to the flour mixture and also add the egg.
-
Mix in a stand mixer with the paddle attachment until the dough becomes sticky.
-
Remove the paddle attachment and replace it with the hook attachment. Continue mixing until the dough becomes elastic.
Note: If you are not using a stand mixer, you can also knead this dough by hands on a floured surface until dough becomes elastic. It will take about 6-8 minutes by hands. -
Cover the dough with plastic wrap and let it rest for 6 minutes or until the plastic becomes foggy.
-
While the dough is resting, heat the oven to 200 degrees F and then, turn it OFF.
-
Prepare the filling by mixing together brown sugar, cinnamon powder and vanilla extract in a mixing bowl. Keep aside.
-
Next, roll out the dough on a floured surface (Dimensions: 9×16).
-
Brush softened butter on top of the dough.
-
Spread the filling on top evenly.
-
Roll the dough from one end to the other, jelly-roll style.
-
Use dental floss to make 12 even slices. There may be some additional odd-shaped slices from the ends.
-
Place these rolls in a greased rectangle cake pan (Dimensions: 9×13). Make sure to leave space between the rolls to allow them enough space to rise.
-
Cover tightly with aluminum foil.
-
Place in the warm oven and let the rolls rise for 25 minutes. Make sure the oven is turned OFF!
-
Remove the pan from the oven and place on counter.
-
Heat oven to 375 degrees F.
-
Remove aluminum foil from pan and bake for 15-18 minutes or until rolls are golden brown.
-
While the rolls are baking, prepare the glaze by mixing together butter, powdered sugar, vanilla extract and milk until smooth and creamy. Note: Use clear vanilla extract if you want a super white glaze/frosting. The regular vanilla extract has a brown color which makes it a little off-white.
-
Spread the glaze on top after the rolls have cooled down for about 10 minutes. Some of it will get absorbed and make very ooey gooey rolls and some of it will settle on the top for a pretty appearance. Enjoy!
Note: If you prefer your sweet rolls super sweet, double the glaze recipe and spread as much as you like.
Video
Notes
- Read all my tips above for best results!
- These cinnamon rolls taste best when served fresh and warm. However, leftovers can be stored in a sealed container in the fridge for up to 2 days and easily reheated in the microwave for that ooey-gooey texture once more.
Nutrition
Carbohydrates: 59g
Protein: 4g
Fat: 10g
Saturated Fat: 6g
Cholesterol: 40mg
Sodium: 99mg
Potassium: 71mg
Fiber: 1g
Sugar: 36g
Vitamin A: 330IU
Calcium: 37mg
Iron: 1.5mg
An automated tool is used to calculate the nutritional information. As such, I cannot guarantee the accuracy of the nutritional information provided for any recipe on this site.
With this easy-to-follow, 1-hour recipe, you’re now equipped to bake the most delicious, fluffy, and gooey homemade cinnamon rolls whenever the craving strikes. No more long waits, just pure cinnamon bliss! Gather your ingredients, follow our expert tips, and get ready to impress yourself and your loved ones with these perfect sweet treats. Until next time, tata my lovelies!
