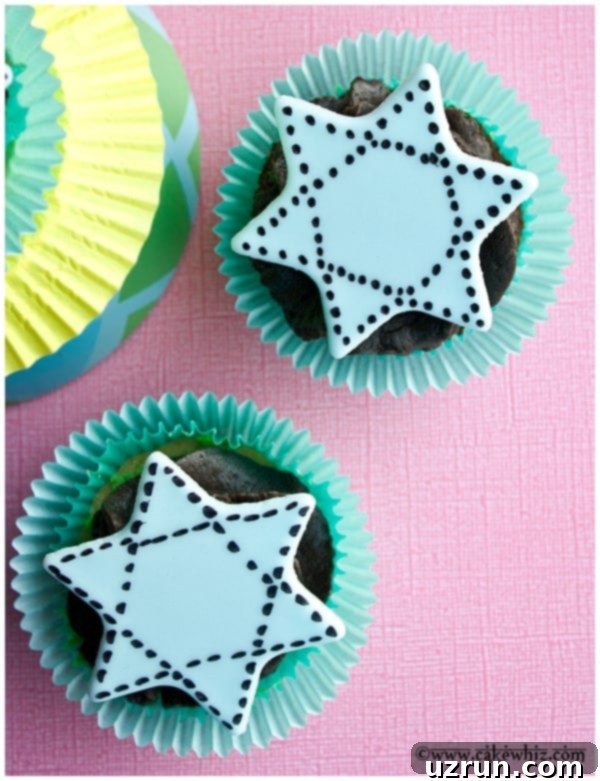
Easy Star of David Cupcakes: A Joyful Hanukkah Dessert Tutorial
As the holiday season draws near, our kitchens become hubs of warmth, delicious aromas, and festive creations. While Thanksgiving and Christmas often take center stage in the early winter months, it’s truly wonderful to shine a spotlight on all cherished holidays, and Hanukkah is no exception. This tutorial offers a delightful and surprisingly simple way to celebrate the Festival of Lights: elegant Star of David cupcakes, adorned with charming toppers crafted from homemade marshmallow fondant and edible markers.
Whether you’re hosting a grand Hanukkah gathering or simply looking for a special treat to share with family, these cupcakes are guaranteed to bring smiles. The beauty of this project lies in its simplicity and the personal touch that homemade decorations add. Even if you’re new to fondant work, you’ll find this step-by-step guide approachable and rewarding.
Embracing the Spirit of Hanukkah Through Sweet Treats
Hanukkah, also known as the Festival of Lights, is a time of joy, reflection, and celebration. It commemorates miracles, family, and the enduring power of light. What better way to honor this special holiday than with treats that are not only delicious but also visually represent its rich symbolism? The Star of David, a universally recognized emblem of Jewish identity, makes for a profound and beautiful centerpiece on these festive cupcakes.
While my own traditions may differ, I believe every holiday deserves respect, attention, and heartfelt celebration. These Star of David cupcakes are designed to be a delightful addition to any Hanukkah party, offering a touch of elegance and homemade charm that both children and adults will undoubtedly adore. Imagine the joy as your guests spot these beautifully decorated desserts, each one a miniature work of art.
Designing for Elegance: The Beauty of Simplicity
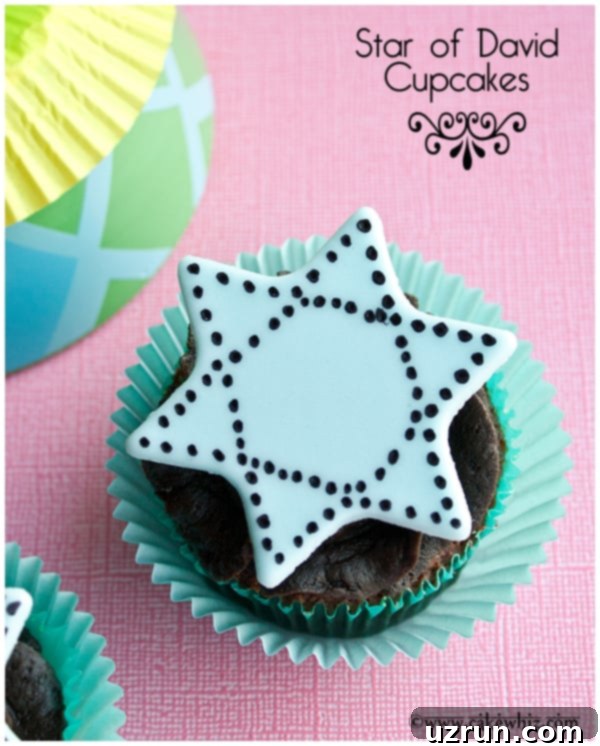
When I first envisioned these Hanukkah toppers, my goal was to create something that felt both festive and refined. Keeping the color palette light and crisp was key to achieving an elegant touch. While a plain blue Star of David is classic, I found that adding just a touch of detail elevated them significantly. The simple addition of designs created with a black edible marker transformed them from merely “nice” to truly captivating.
The beauty of these designs lies in their understated sophistication. We’re not aiming for complex artistry, but rather subtle patterns that enhance the Star of David’s iconic shape. These small details make a significant difference, turning a simple fondant cutout into a memorable decoration. I was particularly delighted with how the final look came together, and I’m confident you will be too.
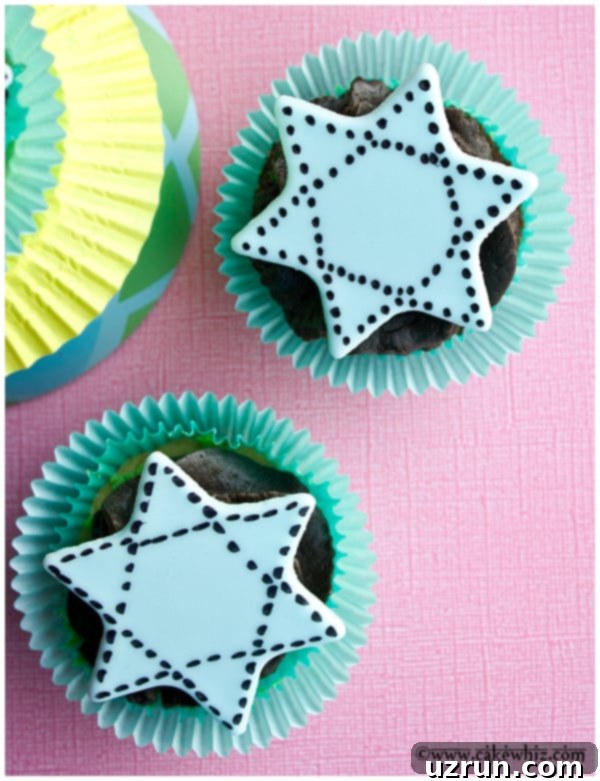
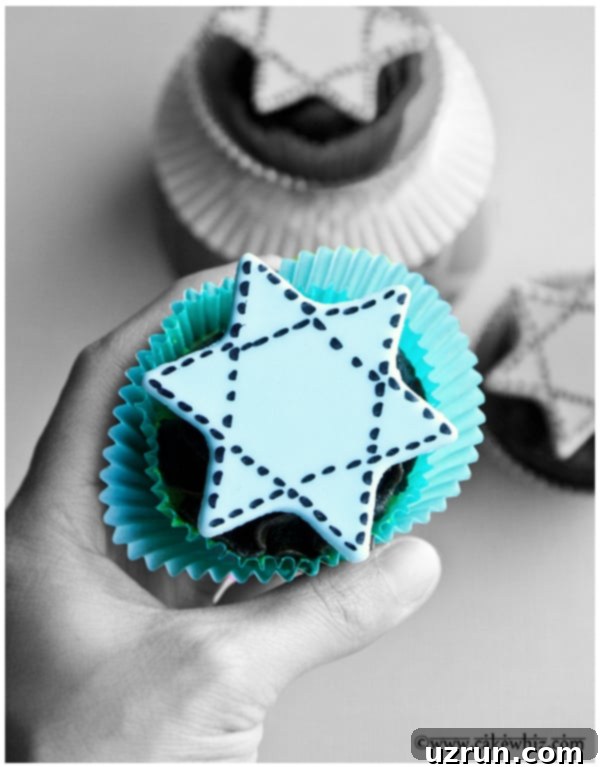
The contrast of the delicate light blue against the crisp black lines creates a visually appealing treat that stands out without being overly ornate. It’s a testament to how even the simplest artistic touches can yield the most impactful results in baking and decorating.
Gathering Your Essential Supplies
To embark on this delightful decorating journey, you’ll need just a few key items. The beauty of these toppers is that they don’t require an extensive list of specialized tools, making them accessible for home bakers of all skill levels. Here’s what you’ll need to get started:
- Light Blue Marshmallow Fondant: This is the star of our show! Marshmallow fondant is an excellent choice for its ease of preparation, pleasant taste compared to traditional fondant, and wonderful pliability. If you need a recipe, you can find a great one here. You can also purchase pre-made light blue fondant if you prefer to save time.
- Black Edible Marker: These culinary markers are incredibly versatile for adding fine details and designs to fondant, cookies, and other edible surfaces. A fine-tipped marker will give you the best control for delicate patterns.
- Star of David Cutter: This specialized cookie or fondant cutter will ensure your toppers have that iconic, recognizable shape. Various sizes are available, so choose one that fits perfectly on top of your cupcakes.
A Note on Fondant Drying Times:
While marshmallow fondant is fantastic to work with, it can take some time to fully dry and harden, typically 3-5 days depending on humidity. If you’re working with a tighter timeline and need your stars to dry more quickly, consider using a 50/50 mix of fondant and gum paste or pure gum paste. Gum paste generally dries within 24 hours and creates a firmer, more brittle finish, which can be ideal for standing decorations. If using pure fondant, plan accordingly and allow ample drying time.
Step-by-Step Decoration Guide: Crafting Your Star of David Toppers
Now that you have all your supplies ready, let’s dive into the fun part: creating these charming Star of David toppers. Follow these simple instructions for perfect results every time.
Step 1: Rolling and Cutting Your Fondant Stars
- Begin by lightly dusting your work surface with a small amount of powdered sugar or cornstarch to prevent sticking.
- Take your light blue marshmallow fondant and roll it out evenly. Aim for a thickness of about 1/8 to 1/4 inch (approximately 3-6mm). This thickness provides enough stability for the topper without making it too bulky.
- Using your Star of David cutter, firmly press down into the rolled fondant to cut out your shapes. Gently lift the cutter and then carefully remove the fondant star. Repeat this process until you have enough stars for all your cupcakes, plus a few extras in case of any mishaps.
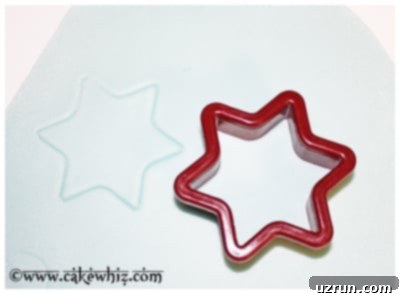
Step 2: Adding Elegant Details with an Edible Marker
Once your fondant stars are cut, it’s time to add the artistic touches that make them truly special. The black edible marker allows for precision and creativity.
Option A: Delicate Dots
For a beautifully intricate yet simple design, use your black edible marker to draw tiny dots around the edges of the star, or strategically place them at the points of the star. You can create a uniform pattern or freehand a more organic design. This subtle detail adds texture and visual interest without overwhelming the shape.
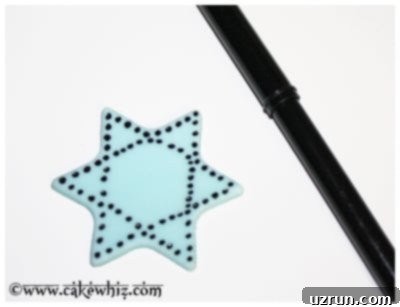
Option B: Charming Stitch Marks
Alternatively, you can opt for small stitch marks. These mimic the look of delicate embroidery and provide a lovely handcrafted feel. Draw short, evenly spaced lines along the edges or within the star’s points to create this effect. Experiment with both options or mix and match for a varied display!
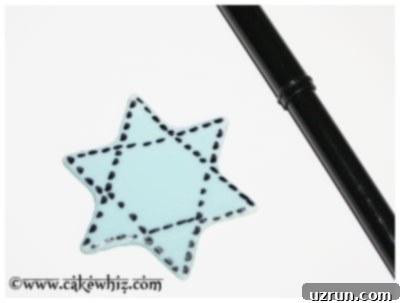
Step 3: Drying and Assembling Your Cupcakes
After you’ve decorated all your Star of David toppers, it’s crucial to let them dry properly. Place the decorated fondant stars on a flat surface, such as parchment paper or a silicone mat, in a cool, dry room temperature environment. Avoid direct sunlight or humid areas, as this can affect drying time. Allow them to dry until they are firm and hardened. As mentioned before, this can take 3-5 days for pure marshmallow fondant or about 24 hours for gum paste/50-50 mix.
Once your toppers are completely dry and rigid, they are ready to be placed on top of your beautifully frosted cupcakes! They can simply be gently pressed into buttercream frosting, or if your frosting is very soft, you can use a tiny dab of royal icing or melted chocolate on the back of the star to secure it.
Tips for Perfect Hanukkah Cupcake Toppers
To ensure your Star of David cupcakes are nothing short of spectacular, here are a few additional tips and tricks:
- Work in Batches: If you’re making a large quantity, roll and cut a few stars, decorate them, and then move on to the next batch. This helps prevent the fondant from drying out too much before you can decorate it.
- Humidity Control: Fondant can be tricky in very humid environments. If your kitchen is humid, consider working in an air-conditioned room or using a dehumidifier.
- Fondant Storage: Store any unused marshmallow fondant tightly wrapped in plastic wrap and then in an airtight container at room temperature. It will last for several weeks.
- Making Ahead: These fondant toppers can be made several days, even weeks, in advance and stored in an airtight container at room temperature once fully dry. This is a great time-saver for holiday baking!
- Cupcake Base: While these instructions focus on the toppers, remember to pair them with your favorite cupcake recipe and frosting. Vanilla, chocolate, or even a lemon-flavored cupcake would be delicious complements. A simple buttercream frosting (vanilla or cream cheese) provides a perfect base for the toppers.
- Clean Up: Always cap your edible markers tightly after use to prevent them from drying out.
Creative Variations for Your Hanukkah Celebration
While the light blue and black design offers a classic elegance, feel free to explore other creative avenues to customize your Hanukkah cupcakes:
- Color Variations: Experiment with different shades of blue, or incorporate white, silver, or gold fondant for a truly regal look. Edible metallic dusts brushed onto the dried stars can add a stunning shimmer.
- Other Hanukkah Symbols: Don’t limit yourself to just the Star of David! With different cutters, you could create menorah, dreidel, or gelt bag toppers. You could even freehand simple menorah designs with your edible marker.
- Sprinkles and Glitter: Before the fondant completely dries, you could lightly sprinkle edible glitter or small silver/blue sprinkles onto the stars for an extra sparkle.
- Textured Fondant: Use a fondant impression mat before cutting out your stars to add subtle textures like lace or geometric patterns to your blue fondant.
- Cupcake Flavors: Consider pairing the toppers with traditional Hanukkah flavors. For example, a donut-flavored cupcake (sufganiyot-inspired) or a classic vanilla cupcake with a hint of cinnamon would be wonderful.
These Star of David cupcakes are more than just a dessert; they are a heartfelt expression of holiday cheer and a beautiful way to partake in the Hanukkah spirit. They demonstrate that even simple, homemade touches can elevate a celebration to something truly memorable.
Making these treats is a wonderfully engaging activity that can involve the whole family, creating cherished memories along with delicious desserts. So, gather your supplies, put on some festive music, and enjoy the process of bringing these delightful Hanukkah cupcakes to life.
That’s all for today, my lovelies! I hope you have a joyous and bright Hanukkah, filled with light, laughter, and delicious food. Until next time, tata!
