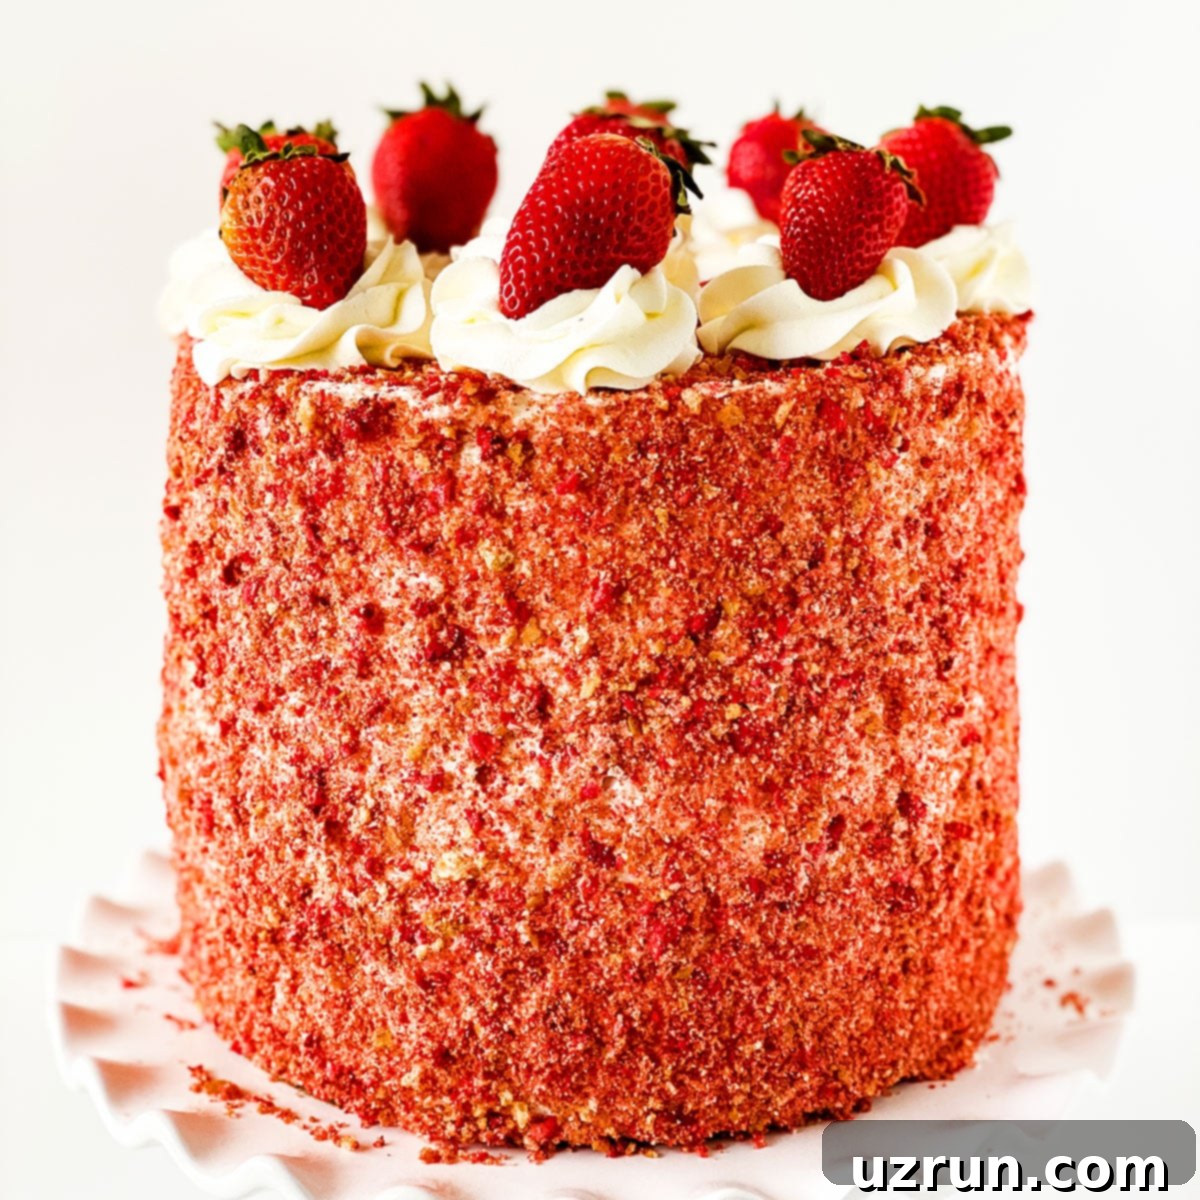
Easy Strawberry Crunch Cake with Cake Mix: Your Go-To Recipe for a Crunchy, Moist Dessert
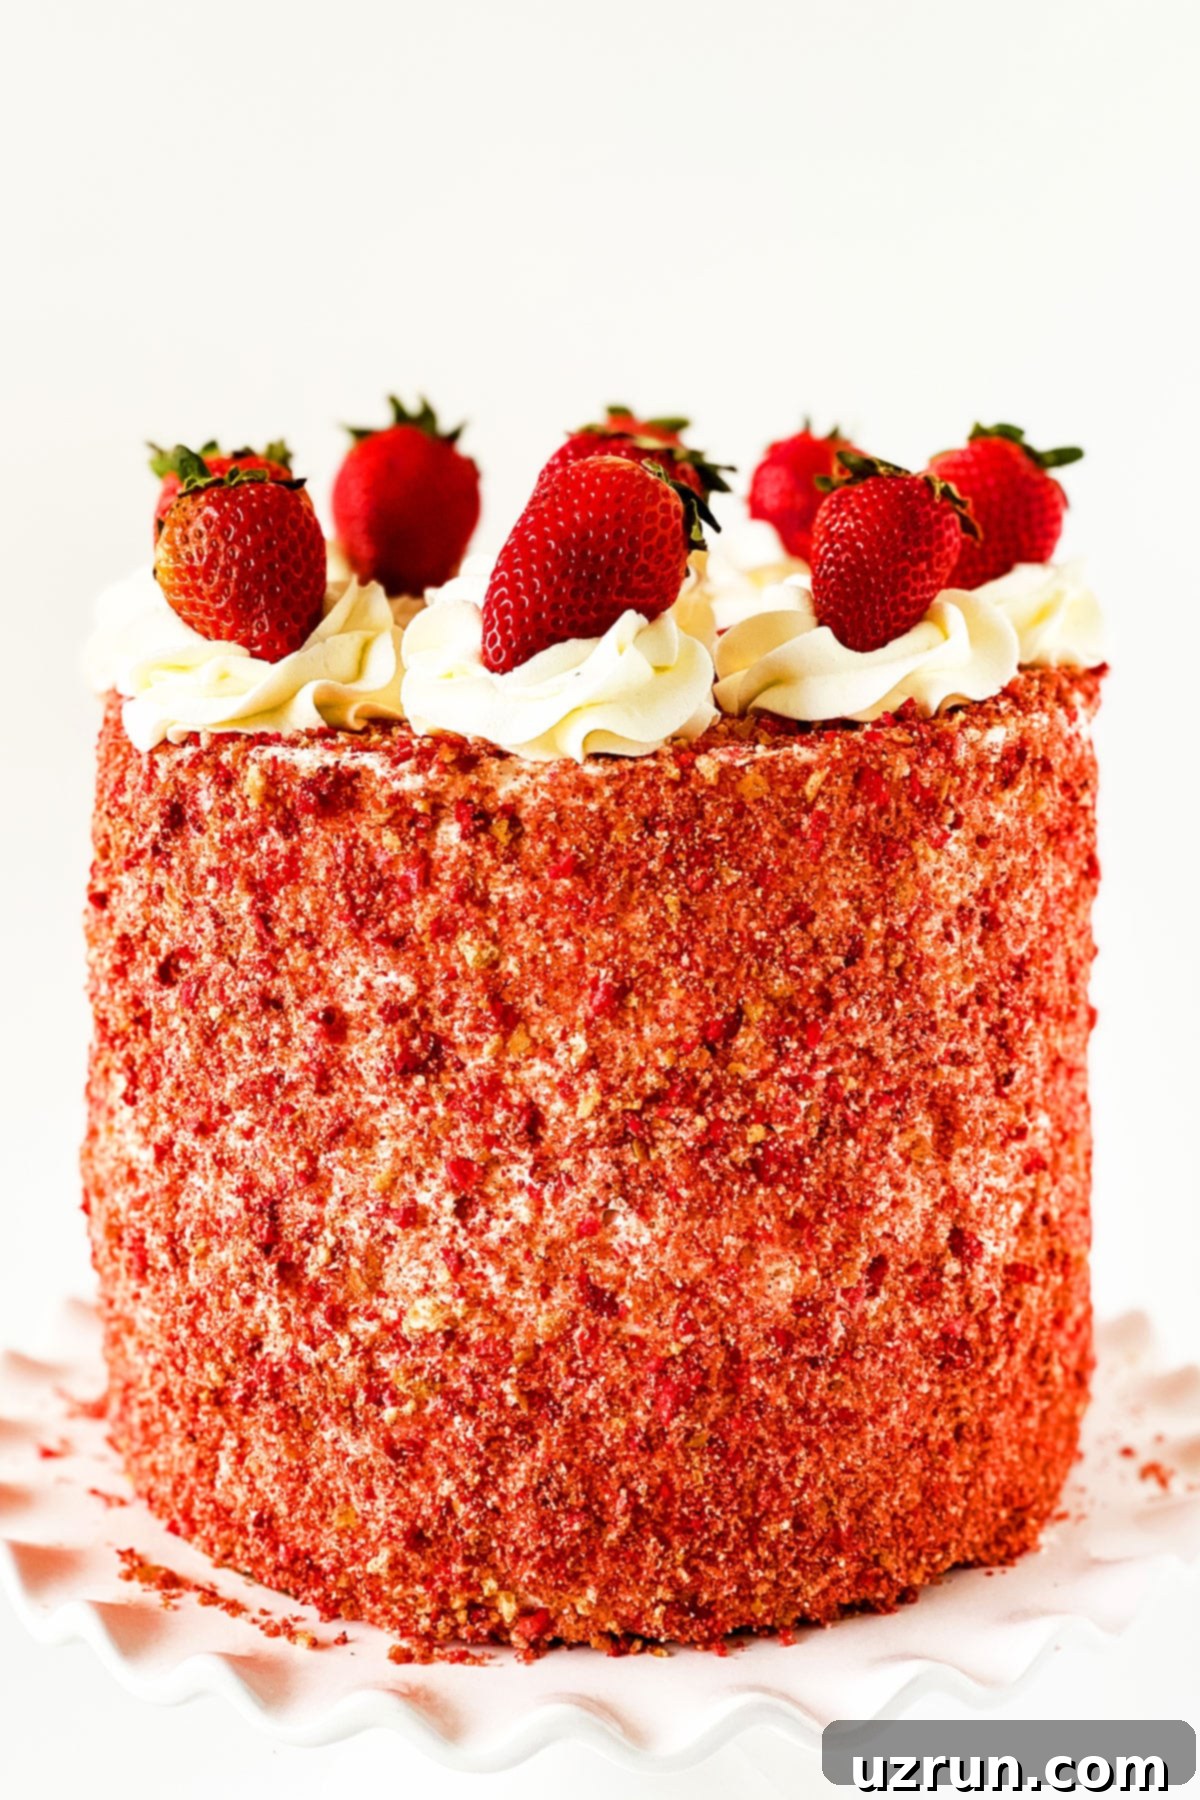
Indulge in the delightful texture and vibrant flavor of this easy strawberry crunch cake recipe, a homemade masterpiece crafted with readily available cake mix boxes and simple ingredients. This soft and incredibly moist layer cake is generously filled with luscious buttercream frosting and elegantly covered in a signature crunchy topping. The topping itself is a symphony of flavors and textures, featuring bright freeze-dried strawberries and classic vanilla cookies, creating an unforgettable sensory experience with every bite.
There’s an undeniable magic about fruit-infused desserts that consistently brings a smile to my face. Perhaps it’s my brain’s clever trick, convincing me that such treats offer a touch of health benefits, or maybe it’s simply my genuine appreciation for the vibrant colors and naturally sweet, refreshing flavors they bring. This very joy is why I also find immense pleasure in baking other delightful creations like Easy Applesauce Cake (With Cake Mix) and Chocolate Raspberry Cake (With Cake Mix). Each of these recipes shares a common thread: they are wonderfully sweet, incredibly delicious, and, most importantly, remarkably easy to prepare, making them perfect for any baker, from novice to experienced.
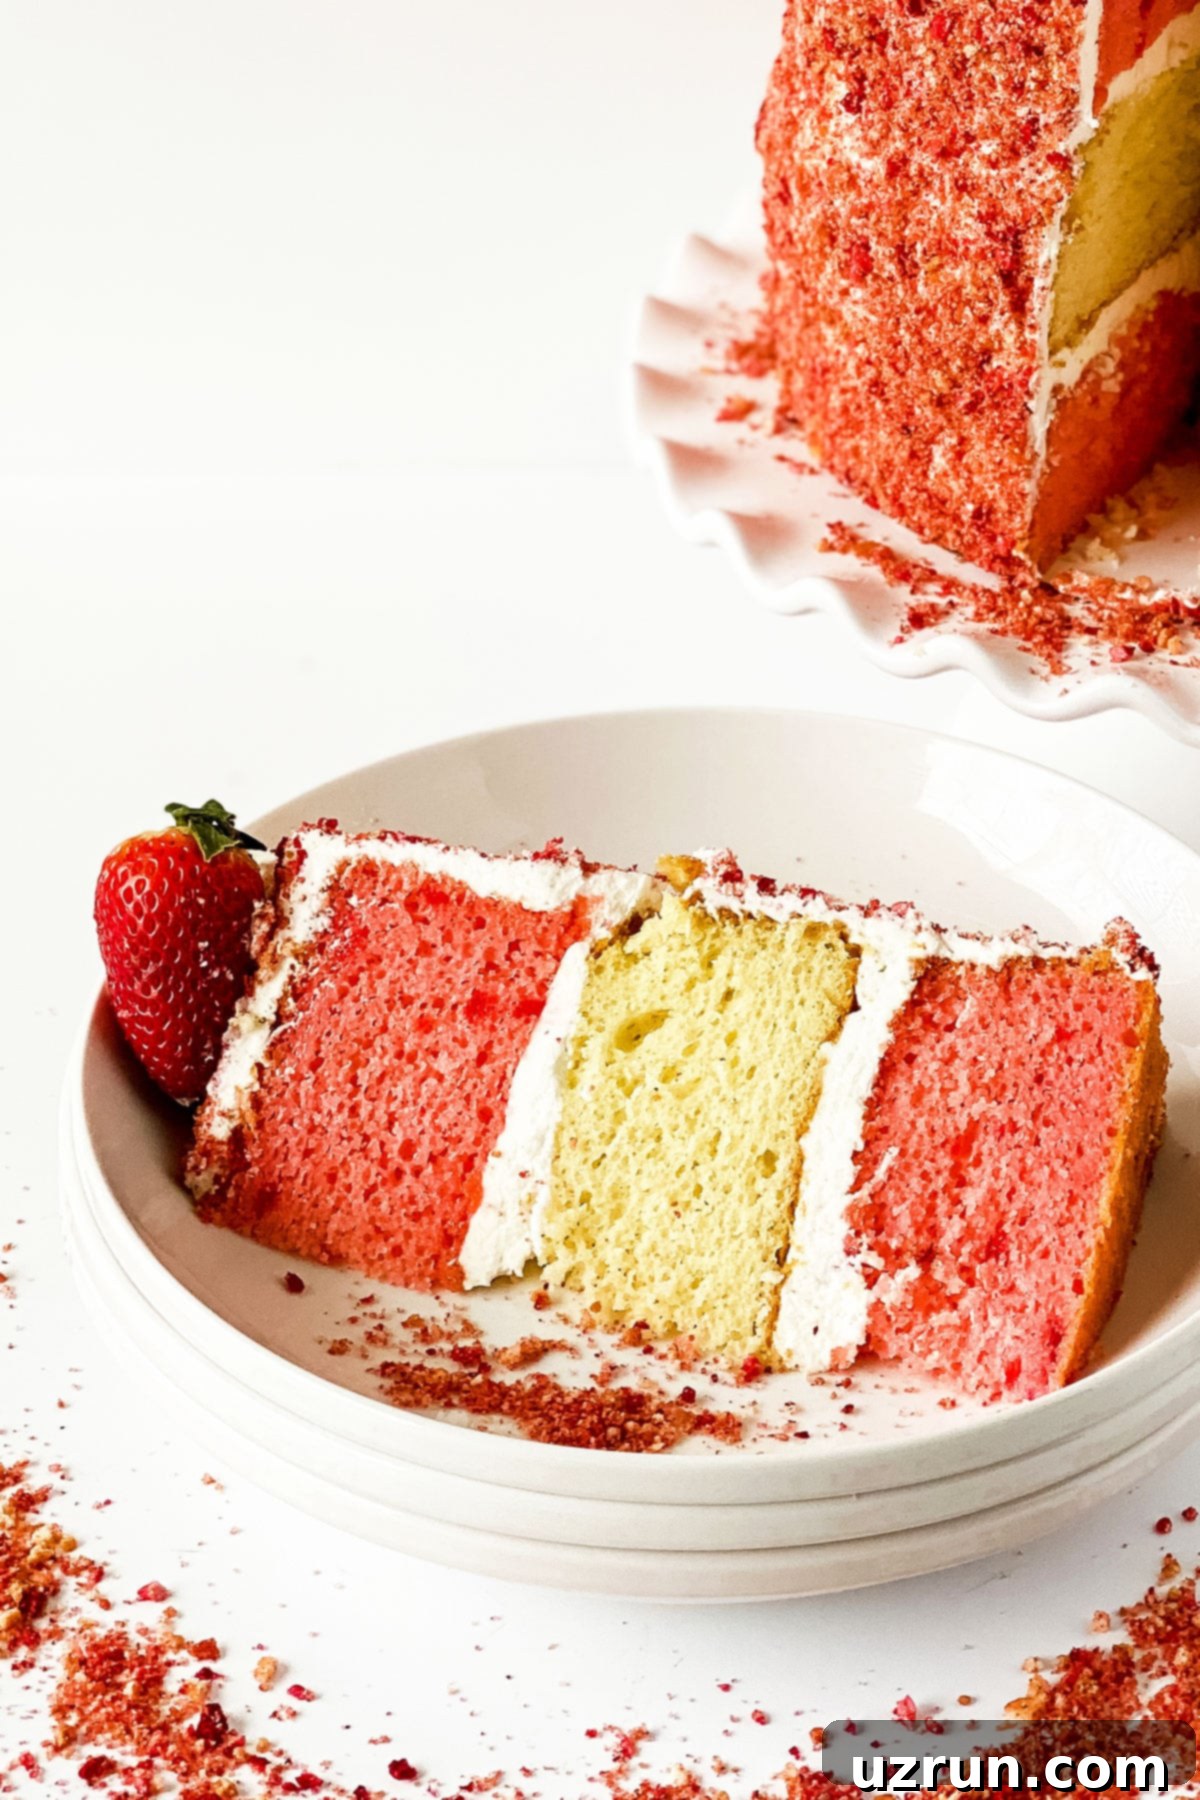
This Strawberry Crunch Cake stands out as a true crowd-pleaser, perfect for birthdays, holidays, or any moment that calls for a special treat. Its dual-layered cake base — a harmonious blend of strawberry and yellow cake flavors — is baked to perfection, ensuring a tender and moist crumb. The star of the show, however, is undoubtedly the crunchy strawberry topping, which adds an exciting contrast to the smooth buttercream. Get ready to impress your family and friends with this irresistible, homemade delight!
[feast_advanced_jump_to]
Key Ingredients for the Perfect Strawberry Crunch Cake
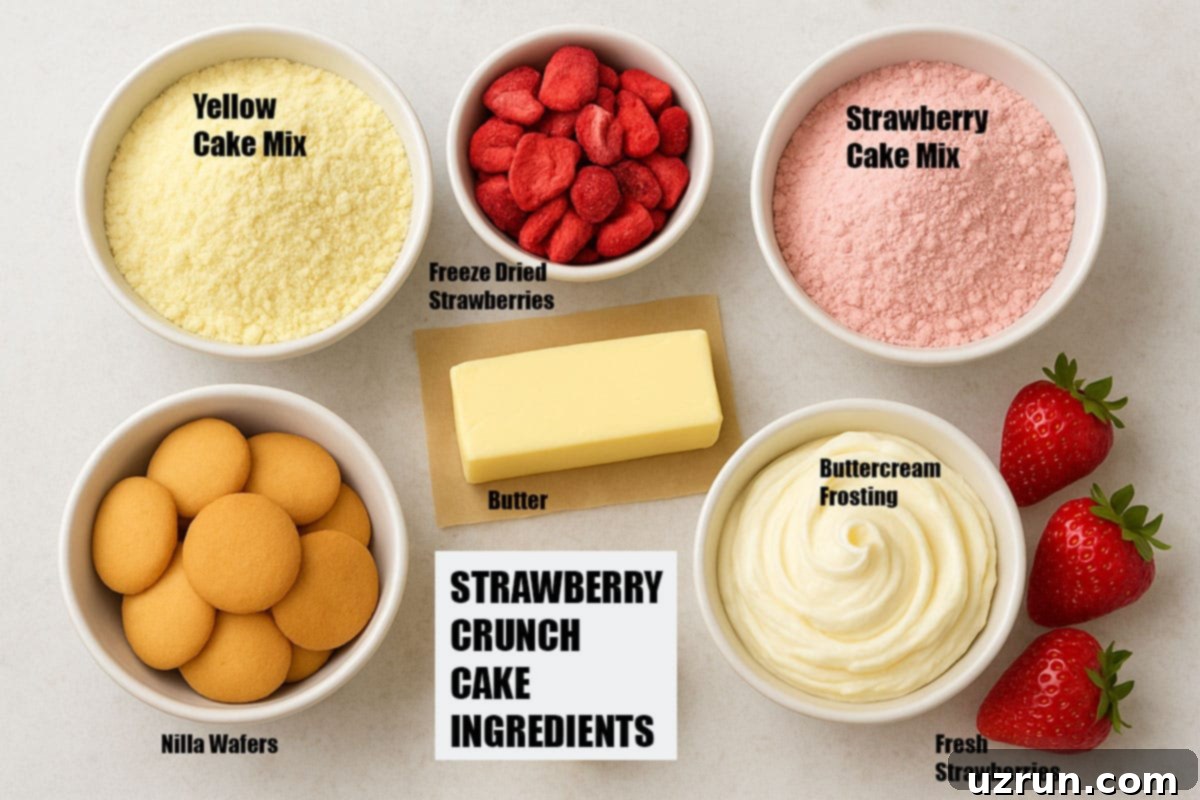
Creating this delicious strawberry crunch cake is surprisingly simple, thanks to a thoughtful selection of key ingredients. Each component plays a vital role in achieving the cake’s signature flavor and texture. Here’s a closer look at what you’ll need and why it’s essential:
- Cake mixes: For this recipe, we embrace the convenience and consistent results of two distinct cake mixes: yellow cake mix and strawberry cake mix. The yellow cake provides a classic vanilla-like base, while the strawberry cake mix amplifies the fruity flavor, creating a beautiful pink hue and a deeper strawberry essence in half of your cake layers. Remember to follow the box instructions for preparation, adding any required eggs, oil, or water.
- Freeze-dried strawberries: These are the secret weapon for our signature “crunch.” Unlike fresh strawberries, freeze-dried varieties retain their intense flavor and vibrant color but possess a brittle texture that, when crushed, provides an incredible crispy element. They are crucial for both the visual appeal and the delightful crunch of the topping.
- Butter: We recommend using unsalted butter for both the buttercream frosting and the crunchy topping. Using unsalted butter allows you complete control over the saltiness of your dessert. It contributes to the rich, creamy texture of the frosting and helps bind the crunchy topping ingredients together while adding a subtle richness.
- Nilla Wafers: These iconic vanilla-flavored cookies are essential for the crunch topping. Their delicate, crispy texture and sweet vanilla notes perfectly complement the strawberries. While name-brand Nilla Wafers offer a classic taste, feel free to use off-brand vanilla tea biscuits or even golden Oreos (without the cream filling) if preferred.
- Buttercream Frosting: A classic, velvety buttercream frosting is key to binding the cake layers and creating a smooth canvas for our crunchy topping. Its sweet, rich profile harmonizes beautifully with the strawberry flavors. You can use your favorite American buttercream recipe or follow a simple one, ensuring it’s smooth and easy to spread.
- Fresh strawberries: Beyond their functional role as a primary flavor, fresh strawberries serve as a beautiful and delicious garnish. Opt for high-quality, ripe strawberries that are firm, sweet, and vibrant in color for the best visual appeal and flavor burst when decorating your finished cake.
Creative Variations for Your Strawberry Crunch Cake
One of the best aspects of this strawberry crunch cake recipe is its versatility. You can easily adapt it to suit different tastes, occasions, or simply to experiment with new flavor combinations. Here are some exciting variations to inspire your next baking adventure:
- Transform it into a simple sheet cake: If you’re looking for a quicker, less elaborate presentation, convert this recipe into a sheet cake. Simply pour all the batter (or layers of batter) into a single large sheet pan, bake until done, and then frost and apply the crunchy topping directly over the flat surface. This makes serving a breeze and is ideal for potlucks or larger gatherings where ease of transport and portioning is a priority.
- Experiment with other freeze-dried fruit flavors: While strawberries are classic, don’t hesitate to explore other freeze-dried fruits for your crunch topping. Imagine a blueberry crunch cake, a tart raspberry version, or a mixed berry crunch. These alternatives will introduce distinct flavor profiles and unique color palettes, offering a fresh take on the original.
- Substitute Nilla Wafers for other cookies: Nilla Wafers provide a specific vanilla flavor and crispness, but you can achieve similar results with other cookies. Consider using any other crispy vanilla-flavored tea biscuits, shortbread cookies, or even golden Oreos (ensure you remove the creamy filling first to maintain the desired dry crunch). Each substitute will subtly alter the flavor and texture of your crunch.
- Pair with alternative frosting flavors: While classic buttercream is superb, this cake can shine with various frosting pairings. My Strawberry Buttercream Frostingmade with fresh strawberries would enhance the fruity notes beautifully. For a richer, nutty twist, try Nutella Frosting (Hazelnut Buttercream). If you prefer a tangy counterpoint, my Best Cream Cheese Frosting (Stable) offers a delightful creamy texture and complementary flavor.
- Incorporate more strawberry goodness: For an ultimate strawberry experience, layer thinly sliced fresh strawberries between each cake layer. You could also spread a thin layer of Strawberry Jam, Strawberry Pie Filling, or even macerated strawberries (strawberries soaked in a little sugar to release their juices) between the layers for an extra burst of flavor and moisture.
- Create a taller, more dramatic cake: If you desire a show-stopping dessert, increase the number of cake layers. Remember, for a taller cake, proper support is crucial. Use food-safe dowels or bubble tea straws inserted through the layers to prevent sagging and ensure structural integrity.
- Make individual strawberry crunch cupcakes: For convenient single servings, bake the cake batter into cupcakes. Once cooled and frosted, use the crunchy mixture as a generous topping for each individual cupcake. This is fantastic for parties or when you want easy-to-manage portions.
How to Make an Easy Strawberry Crunch Cake with Cake Mix?
Making this visually stunning and delicious strawberry crunch cake is simpler than you might think, especially with the use of cake mixes. Follow these detailed steps to achieve a perfect, celebratory dessert:
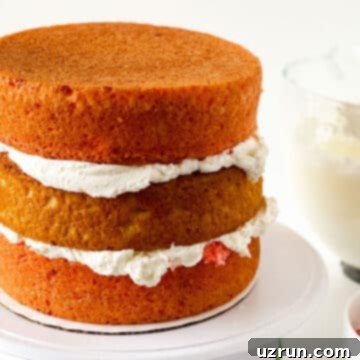
1. Bake, cool, and fill three cake layers: Begin by preparing your yellow and strawberry cake mixes according to package directions. Divide the batter evenly among your prepared 8×2 inch round cake pans. Once baked and completely cooled to room temperature, level the tops if necessary. Then, stack your three cake layers (alternating colors if desired, like strawberry-yellow-strawberry) with generous layers of buttercream frosting in between. Briefly chill the assembled cake to firm up the frosting, which makes the subsequent frosting steps much easier and prevents sliding.
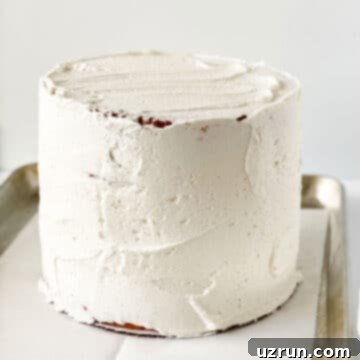
2. Smooth frosting over the entire cake: After the initial chilling, take your partially frosted cake and apply a smooth, even layer of buttercream over the top and sides. Use an offset spatula or a bench scraper to achieve a clean finish. Don’t worry if it’s not absolutely perfect; a rustic, slightly textured look can also be charming and is often easier to achieve for home bakers. This layer of frosting acts as the adhesive for our crunchy topping.
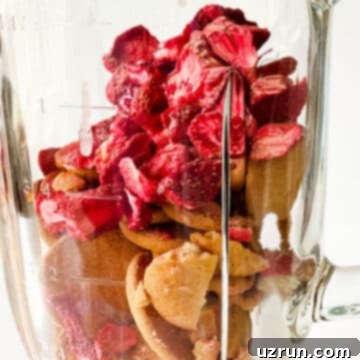
3. Prepare crunchy topping: This is where the magic happens! In the bowl of a food processor, combine the freeze-dried strawberries and the Nilla Wafers (roughly broken into pieces). Ensure you have the right quantities to create enough topping for your entire cake. These two components are crucial for both flavor and that satisfying crunch.
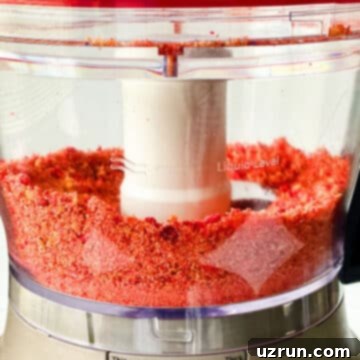
4. Then pulse until you get fine crumbs: Secure the lid on your food processor and pulse the mixture in short bursts. Continue until the freeze-dried strawberries and Nilla Wafers are transformed into fine, uniform crumbs. Be careful not to over-process, as you want crumbs, not a paste. Once you’ve achieved the desired texture, transfer these vibrant crumbs into a separate large bowl.
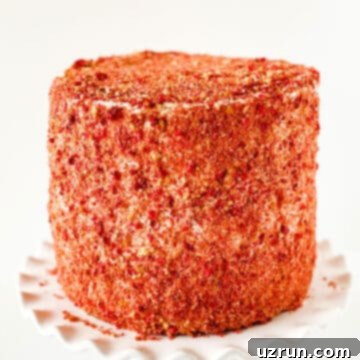
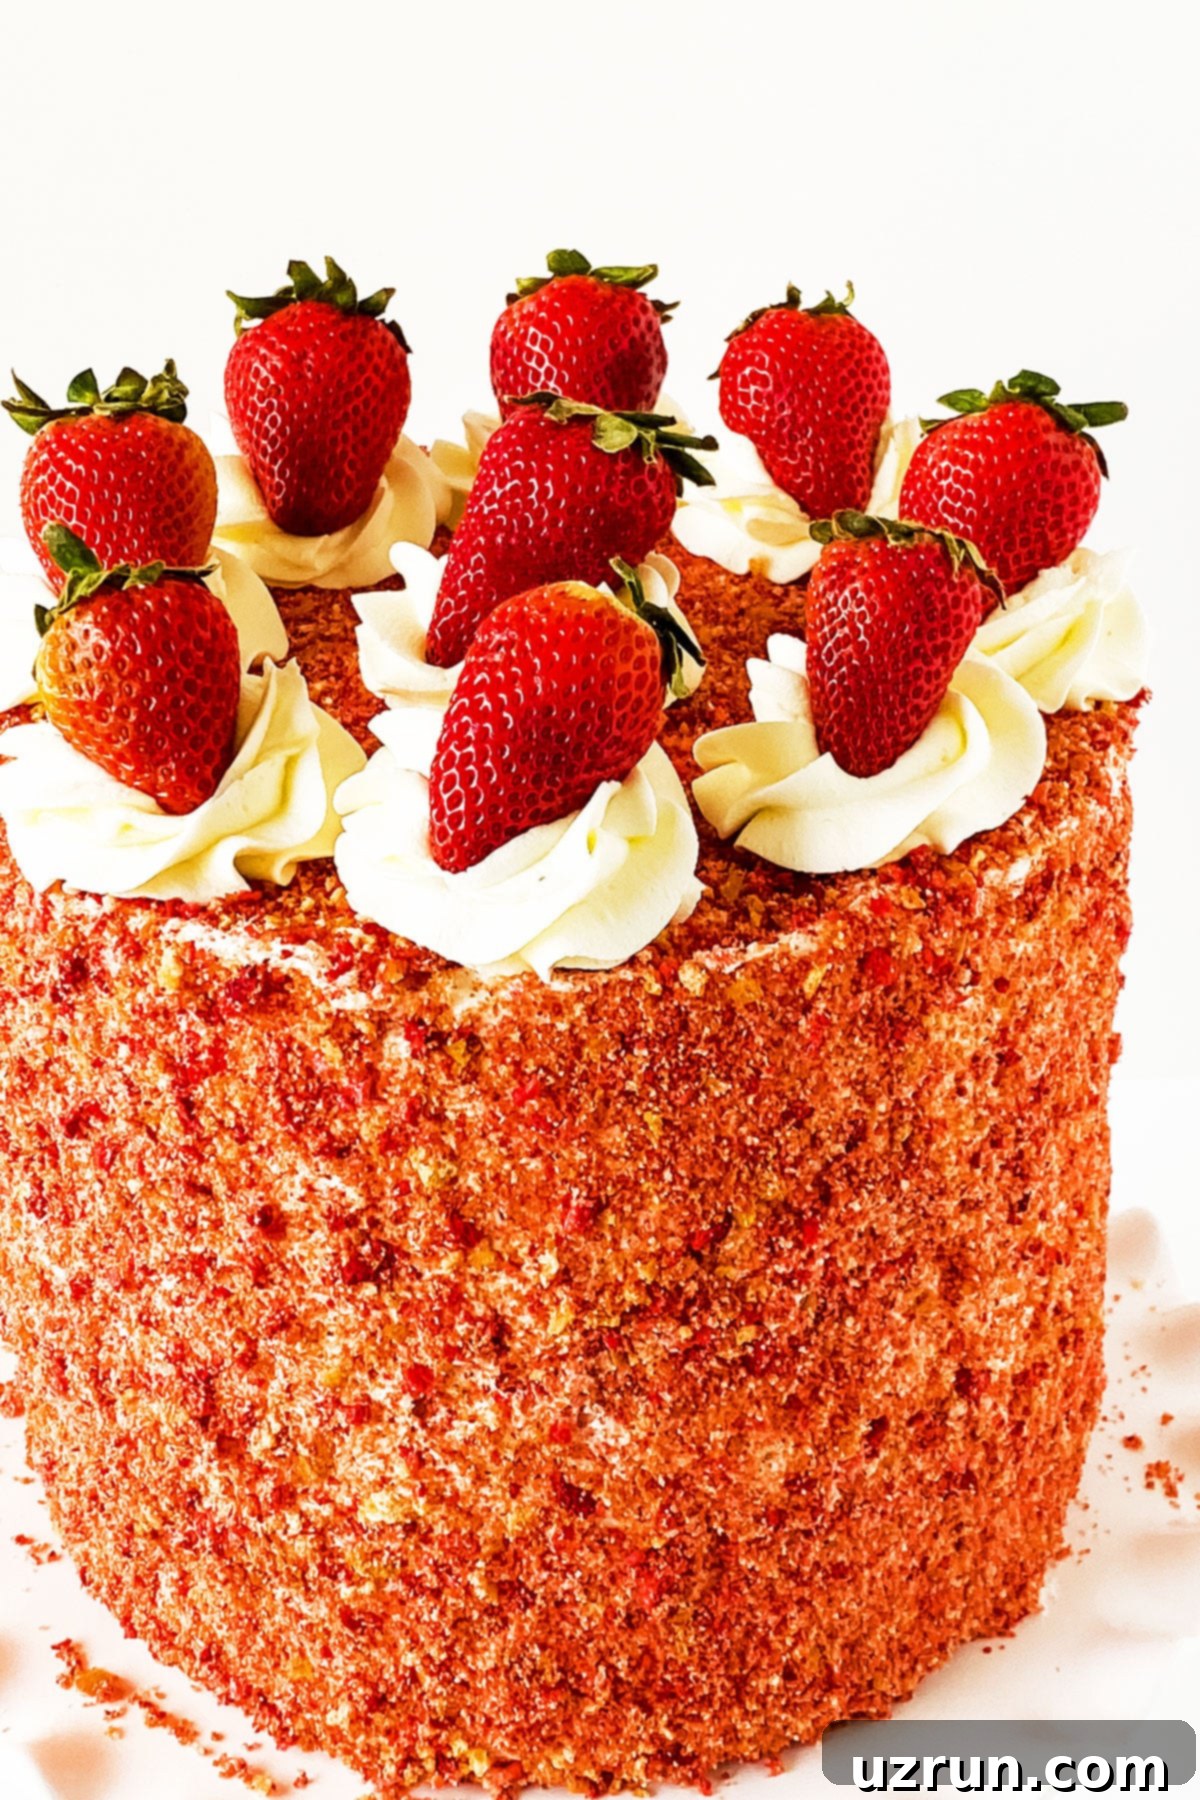
5. Add melted butter to this mixture: Pour the melted unsalted butter over the prepared crumbs in the bowl. Using a fork or a whisk, mix thoroughly until the butter is evenly distributed and the crumbs are slightly moistened and stick together when gently squeezed, but still remain crumbly. Now, carefully cover the entire frosted cake with this delicious crunchy topping. Gently press the crumbs onto the sides and top of the cake, ensuring an even coating. A gentle hand helps adhere the crunch without disturbing the frosting underneath.
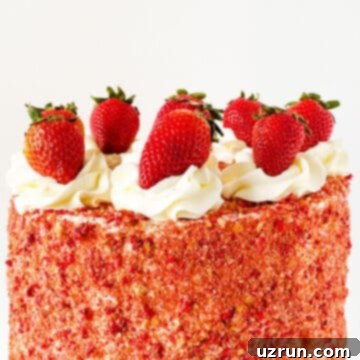
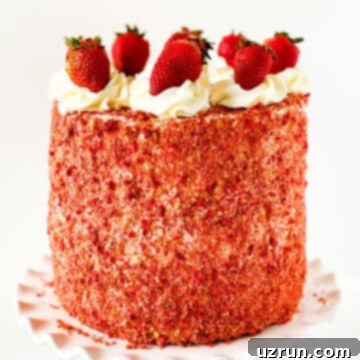
6. Decorate as desired: The final step is to add your personal touch! You can pipe beautiful swirls of extra buttercream on top of the cake using a piping bag fitted with a large star tip (like Tip 1M). Place a single fresh strawberry on top of each piped swirl for an elegant and inviting finish. Once decorated, chill the cake again for at least 30 minutes to allow everything to set. Then, slice, serve, and savor your incredible homemade strawberry crunch cake!
Expert Tips and Techniques for Success
Achieving a bakery-quality strawberry crunch cake at home is entirely possible with a few smart tips and techniques. These insights will help ensure your cake is perfectly moist, beautifully presented, and utterly delicious:
- Avoid over-baking your cakes: This is arguably the most crucial tip for any cake recipe. Over-baking will lead to a dry, crumbly, and unappetizing cake. To check for doneness, insert a wooden skewer or toothpick into the center of the cake. If it comes out clean or with a few moist crumbs attached, the cake is ready. The edges should be lightly golden, and the center should spring back when gently touched.
- Ensure cakes are completely cooled before frosting: Patience is key here. Attempting to frost a warm cake will result in melted, sliding frosting and a sticky, unappealing mess. Allow your cake layers to cool completely on a wire rack to room temperature. For an even faster process, you can wrap cooled layers in plastic wrap and chill them in the refrigerator for 30 minutes, or even freeze them for a quick cool-down.
- Ideal for special events and holidays: The vibrant red and pink hues of this strawberry crunch cake make it a perfect dessert for festive occasions. It’s wonderfully suited for Christmas celebrations, cheerful birthdays, or romantic Valentine’s Day gatherings. For the latter, I particularly enjoy making a themed Chocolate Marshmallow Cake (Heart Cake). Consider adding themed sprinkles for extra flair!
- Always use unsalted butter for baking: To maintain strict control over the flavor profile of your dessert, always opt for unsalted butter. This prevents your cake and frosting from becoming unexpectedly salty, allowing the natural sweetness and fruit flavors to shine through.
- Prioritize food safety: It goes without saying, but always wash all fresh fruit thoroughly under cool running water before eating or incorporating it into your baked goods. This practice is essential for maintaining safe food handling standards.
- Pat strawberries dry before use: If you plan to add fresh strawberry slices between your cake layers or as a garnish, make sure to gently pat them completely dry with a paper towel. Excess moisture from the fruit can leach into the cake layers or thin out your frosting, disrupting the delicate balance of textures and potentially making your cake soggy.
- A crumb coat is your friend: For a flawlessly smooth frosted cake, especially before applying the crunch topping, consider doing a crumb coat. Apply a very thin layer of buttercream over the entire cake, chilling it for 15-20 minutes until firm. This traps any loose crumbs, ensuring your final layer of frosting (and thus your crunch topping) adheres beautifully and looks professional.
- Divide tasks for stress-free baking: This cake has a few components, so don’t feel obligated to do everything in one day. You can bake the cake layers one day (and freeze them), make the buttercream frosting the next day, and prepare the crunch topping and assemble on the third. This approach makes the process much more enjoyable and less stressful.
Recipe FAQs
A crunch cake, like this strawberry version, is characterized by its distinctive, crisp, and textural outer layer. Unlike most cakes that focus solely on soft, moist crumbs, a crunch cake incorporates a topping that provides a delightful textural contrast. This unique element adds a pleasant crackle and an extra layer of flavor that elevates the overall eating experience, making each bite an exciting blend of smooth and crunchy.
If your crunchy topping has absorbed too much moisture and feels soggy, there are a couple of straightforward fixes. You can spread the mixture evenly on a baking sheet lined with parchment paper and bake it in a preheated oven at 350 degrees F (175°C) for just a few minutes, stirring occasionally, until it dries out and becomes crisp again. Alternatively, you can mix in a few more crushed Nilla Wafers or other crispy vanilla biscuits to help soak up the excess moisture and restore that desired crunch.
While a food processor is highly recommended for its efficiency and consistent results in creating fine crumbs (and is generally a handy kitchen investment!), you can use a blender in a pinch for this specific recipe. When using a blender, it’s crucial to pulse in small increments. Only run it for a few seconds at a time, then stop, shake the blender jar, and pulse again. This method helps prevent over-blending, which could turn your crumbs into a paste. Monitor closely to achieve a similar crumbly texture without liquefying the ingredients.
Yes, with a few substitutions! For a gluten-free version, simply use gluten-free yellow and strawberry cake mixes and ensure your Nilla Wafers (or alternative vanilla cookies) are also gluten-free. For a vegan cake, choose vegan-friendly cake mixes (many are accidentally vegan, but check labels), use plant-based butter (like a good vegan butter stick), and ensure your Nilla Wafers are vegan. You’ll also need a vegan buttercream frosting made with plant-based butter and plant-based milk.
If you want to enhance the pink hue of your strawberry cake layers or the crunch topping, you can add a few drops of pink or red gel food coloring to the cake batter or the crumb mixture. Gel food coloring provides a more concentrated color without adding excess liquid, ensuring vibrant results that truly pop.
Storing Your Strawberry Crunch Cake for Freshness
Proper storage is essential to keep your strawberry crunch cake tasting fresh and maintaining its wonderful textures. Here’s how to store it effectively:
- Refrigerate: For optimal freshness and to prevent the frosting from softening, store the cake in a sealed, airtight container in the refrigerator. It will stay delicious for up to 3 days. Ensure it’s covered to prevent it from absorbing odors or drying out.
- Freeze: If you plan to freeze this cake, it’s best to freeze the cake layers only. Once cooled, wrap each layer tightly in plastic wrap and then in aluminum foil. They can be frozen for up to 2-3 months. Prepare the frosting and add the fresh strawberries and crunchy topping only when you are ready to assemble and serve. Freezing a fully assembled cake with fresh strawberries can make them soggy upon thawing.
- Room temperature: While this cake is best served chilled, it can be left out at room temperature for up to 2-3 hours before needing to be placed back in the fridge. This is usually sufficient for serving at parties, but for longer periods, refrigeration is advised for food safety and to maintain its structure.
- Make ahead: This cake is an excellent candidate for making ahead. You can bake the cake layers up to 3 days in advance and keep them tightly wrapped in the fridge, or freeze them as described above. The buttercream frosting can also be made 2-3 days ahead and stored in an airtight container in the refrigerator; just let it come to room temperature and re-whip before use. The crunchy topping can be made a day in advance and stored in an airtight container at room temperature. Assembling the cake closer to serving time ensures the freshest results. In fact, spreading the process over a few days often makes baking more enjoyable and less stressful!
More Delicious Strawberry Desserts to Try
If you love the sweet, tangy flavor of strawberries, you’re in for a treat! Beyond this incredible Strawberry Crunch Cake, there’s a world of strawberry-infused desserts waiting to be explored. Here are some more delightful recipes that celebrate this beloved fruit:
- Strawberry Shortcake Cake (Cake Mix)
- Strawberry Cookies (Fresh Strawberries)
- Strawberries and Cream (No Bake)
- Easy Strawberry Strudel (With Puff Pastry)
- Fresh Strawberry Cupcakes (From Scratch)
Recipe
Easy Strawberry Crunch Cake (With Cake Mix)
Abeer Rizvi
Pin Recipe
Want to Save This Recipe?
Enter your email & I’ll send it to your inbox. Plus, get great new recipes from me every week!
By submitting this form, you consent to receive emails from CakeWhiz
Ingredients
Cake
- 1 box Yellow cake mix Plus ingredients listed on box (e.g., eggs, oil, water)
- 1 box Strawberry cake mix Plus ingredients listed on box (e.g., eggs, oil, water)
- 1 cup Strawberries Washed, patted dry, thinly sliced (Optional, for between layers)
- 5 cups American buttercream frosting Enough for filling and frosting the entire cake
Strawberry crunch topping
- 1 bag Freeze dried strawberries Approximately 1 oz. bag or about 1 cup when crushed
- 2.5 cups Nilla wafers Roughly broken up, or similar vanilla tea biscuits
- ¼ cup Butter Melted, unsalted, for binding the crunch
Decoration
- 8 Fresh strawberries Washed, patted dry, and hulled for garnish
Instructions
-
Prepare and bake the yellow and strawberry cakes according to the instructions on their respective boxes. Each box typically yields two cake layers, so you will end up with two strawberry cakes and two yellow/vanilla cakes. For this recipe, we will use three layers total – one vanilla cake and two strawberry cakes. You can freeze the extra cake layer for another dessert.
-
Once baked, transfer the cake layers to a wire rack and allow them to cool completely to room temperature. This is crucial to prevent the frosting from melting.
-
While the cakes are baking and cooling, prepare your American buttercream frosting according to your chosen recipe. Ensure it’s smooth and spreadable.
-
Simultaneously, prepare the delicious crunchy topping. In a food processor, combine the freeze-dried strawberries and the roughly broken Nilla Wafers.
-
Pulse the mixture in short bursts until you achieve fine, uniform crumbs. Be careful not to over-process.
-
Transfer these vibrant crumbs to a large bowl.
-
Pour the melted unsalted butter into the crumb mixture and whisk thoroughly with a fork until the crumbs are evenly coated and slightly clumpy. Set aside.
-
To begin assembling your cake, place one strawberry cake layer onto your chosen serving dish or cake stand.
-
Spread an even layer of buttercream frosting over the top of the strawberry cake using an offset spatula.
-
Carefully place the yellow/vanilla cake layer on top of the buttercream.
-
Spread another even layer of buttercream frosting over the vanilla cake.
-
Finally, place the second strawberry cake layer on top to complete your three-layer stack.
-
Optional step: For an extra burst of fresh flavor, arrange a thin layer of thinly sliced fresh strawberries (ensure they are patted very dry with paper towels to avoid excess moisture) on top of the icing between each cake layer before stacking.
-
To stabilize the layers, chill the assembled cake in the fridge for 20-30 minutes. This chilling step will firm up the buttercream, preventing the layers from sliding when you apply the final coat of frosting.
-
Using an offset spatula or bench scraper, frost the entire cake (top and sides) smoothly with the remaining buttercream frosting. This layer will act as the adhesive for the crunchy topping.
-
Gently and evenly press the prepared crunchy topping mixture over the entire frosted cake, ensuring all sides and the top are thoroughly covered.
-
For decoration, fill a piping bag with a little extra buttercream frosting and attach a large star tip (such as a 1M tip).
-
Pipe elegant swirls of frosting around the top edge of the cake.
-
Place a single fresh, washed, and patted-dry strawberry on top of each piped swirl for a beautiful finish. Chill the cake for at least 30 minutes before slicing and serving. Enjoy your homemade masterpiece!
Notes
- If you prefer to make your cake layers entirely from scratch rather than using a cake mix, I highly recommend my Best Vanilla Cake Recipe for the yellow layers and my Pink Champagne Strawberry Cake for the strawberry layers. These will give you an even richer, homemade flavor.
- If your crunchy topping feels soggy or wet, spread the mixture thinly in a lined baking tray and bake for a few minutes at 350 degrees F (175°C) to dry it out and restore its crispness. Another effective option is to mix in additional crushed Nilla wafers to absorb any excess moisture.
- To intensify the strawberry flavor throughout the cake, consider pairing it with a delicious strawberry-flavored buttercream frosting instead of plain vanilla.
- For an additional layer of strawberry flavor and moisture, instead of just fresh strawberries, you can add a thin layer of easy homemade strawberry jam or luscious strawberry pie filling between each cake layer.
- Always be careful not to over-bake your cake layers, as this is the primary cause of dry and crumbly cakes. Ensure they are just cooked through.
- Never assemble or frost warm cake layers. The heat will melt your buttercream, leading to a runny, sticky mess and an unstable cake structure. Always allow cakes to cool completely.
- For the crunch topping, while Nilla wafers are recommended, you can also use other crispy cookies like shortbread cookies, plain crispy sugar cookies, or even Golden Oreos. If using Oreos, remember to scrape off the creamy filling with a butter knife or spatula before crushing them.
- This recipe involves several components, and to make the process more manageable and less stressful, it’s a great idea to spread your work over a few days. For instance, you could bake the cake layers and make the frosting on day one, prepare the crunchy topping on day two, and then assemble and decorate the cake on day three.
- Don’t forget to review the additional tips and variations mentioned earlier in the post for more creative ideas and troubleshooting advice.
- Any leftover cake should be stored in a sealed, airtight container in the refrigerator to maintain its freshness and prevent drying out. It will remain delicious for up to 3 days.
Nutrition
An automated tool is used to calculate the nutritional information. As such, I cannot guarantee the accuracy of the nutritional information provided for any recipe on this site.
