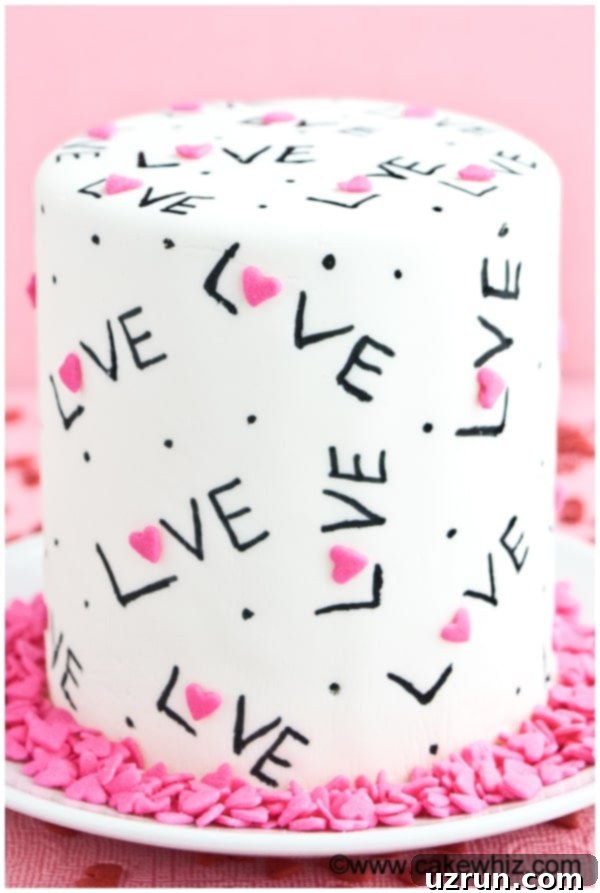
Effortless Love Cake: Your Ultimate Guide to Valentine’s, Mother’s Day & Anniversary Baking
Creating a truly special dessert for a loved one doesn’t have to be complicated. This comprehensive cake decorating tutorial will guide you through making an elegant and easy Love Cake, perfect for celebrating Valentine’s Day, honoring moms on Mother’s Day, or commemorating cherished anniversaries. We’ll utilize simple tools like fondant, vibrant sprinkles, and versatile edible markers to craft a personalized masterpiece that tastes as wonderful as it looks.
As many baking enthusiasts know, edible markers are a game-changer in the world of cake decoration. Their precision and ease of use make intricate designs accessible to everyone, from beginners to seasoned bakers. I’ve personally grown very fond of them and have used them extensively to create this adorable Valentine’s Day Cake. Their versatility has also shone through in projects like this Spring Cake with charming flowers and bumblebees, adding detailed accents to these Stencil Cupcakes, and even transforming simple Valentine’s Day Fruits with sweet, hand-written messages.
With romantic occasions often just around the corner, be sure to explore a plethora of other delightful treats. You can discover an array of inspiring Valentine’s Day Desserts, each designed to add a touch of sweetness to your celebrations. For those who adore a particular color palette, don’t miss out on these enchanting Pink Desserts, guaranteed to bring a pop of color and joy to any festive table.
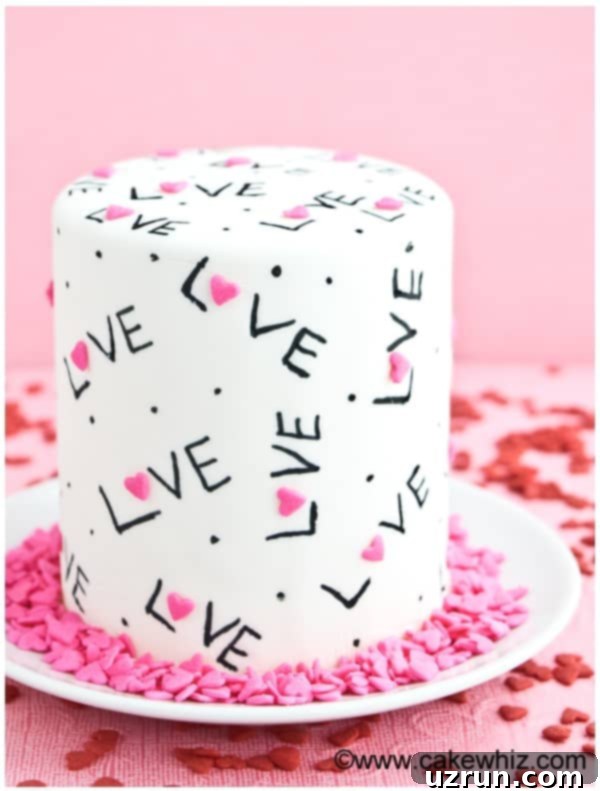
How to Make This Easy Love Cake: A Step-by-Step Guide
Creating your beautiful Love Cake is a straightforward process when broken down into manageable steps. This method ensures a smooth and enjoyable decorating experience, even if you’re relatively new to fondant work.
- Bake Cakes: Begin by baking your chosen cake layers. For a truly festive and visually appealing dessert, a moist pink velvet cake is an excellent choice, perfectly complementing the romantic theme of this holiday. Ensure your cake pans are properly prepared to prevent sticking and allow for even baking.
- Let It Cool: This step is absolutely crucial. After baking, allow your cakes to cool completely to room temperature on a wire rack. Attempting to frost or cover a warm cake will lead to melted icing and a frustrating, sticky mess. Patience here pays off immensely.
- Prepare Icing: While your cakes are cooling, prepare your favorite buttercream or cream cheese icing. If desired, tint your icing a lovely shade of pink using gel food coloring. Gel colors are highly concentrated and won’t thin out your frosting, ensuring vibrant results.
- Assemble the Layers: Place your first cooled cake layer on your chosen cake stand or serving platter. Apply an even layer of your prepared icing on top. Carefully place the second cake layer directly on top, pressing gently to create a stable base. Once stacked, proceed to apply a generous layer of icing to the entire exterior of the cake, striving for a smooth finish. This layer will serve as the canvas for your fondant.
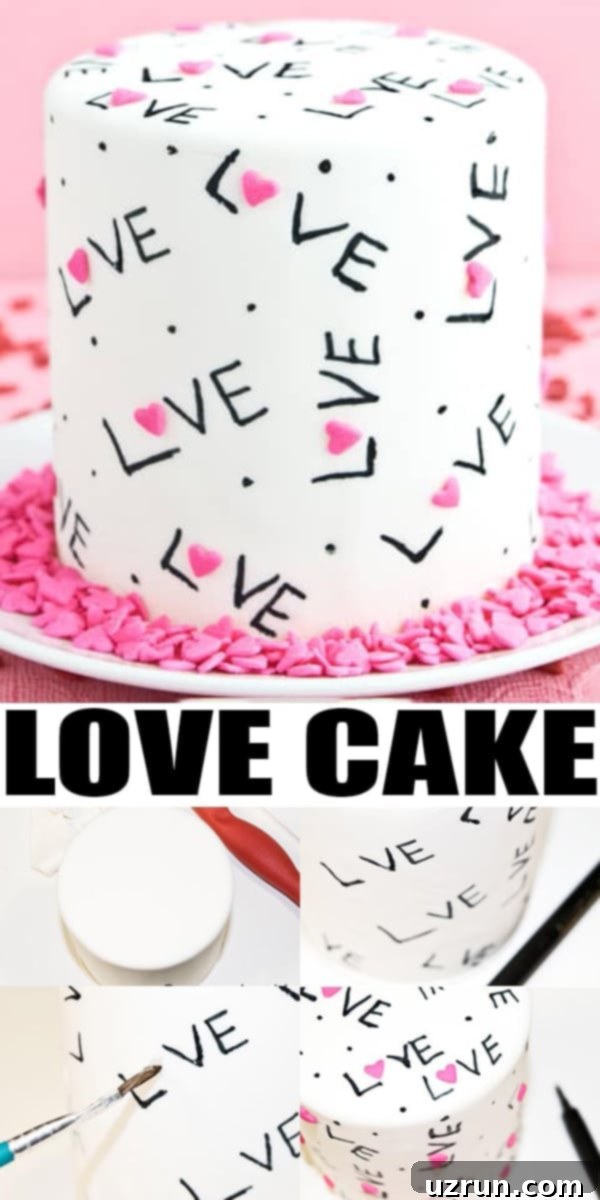
- Spread Fondant: Roll out your marshmallow fondant (or store-bought equivalent) to an even thickness, large enough to cover your entire cake. Carefully drape the fondant over the iced cake, smoothing it gently with your hands or a fondant smoother to eliminate any air bubbles and create a seamless surface. Trim any excess fondant neatly around the base using a sharp knife or a pizza cutter.
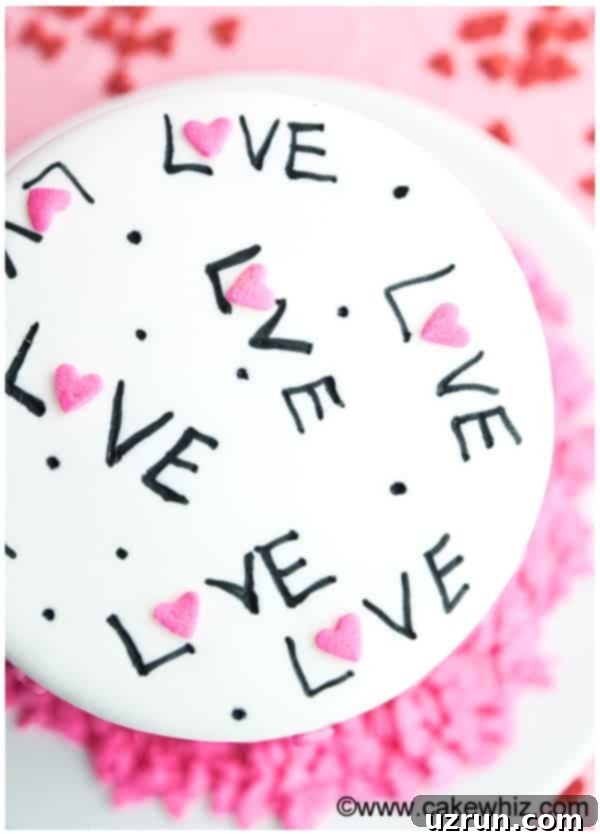
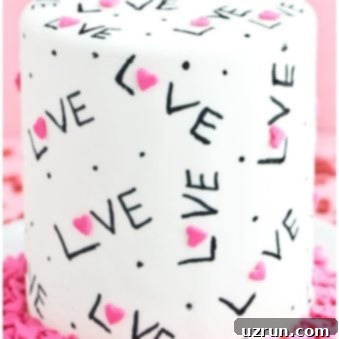
- Decorate with Markers & Sprinkles: Allow the fondant-covered cake to sit at room temperature for 30 minutes to 1 hour. This drying time is vital, as it prevents your edible markers from making dents or tears in the soft fondant. Once the fondant has firmed up slightly, use edible markers to write your heartfelt message, such as “L♡VE,” leaving space for a heart sprinkle. Then, lightly brush corn syrup in specific areas to adhere your chosen sprinkles for that extra festive touch.
Unleash Your Creativity: Love Cake Design Variations
The beauty of this Love Cake design lies in its adaptability. You can easily customize it to suit any celebration or personal preference. Don’t be afraid to experiment with these variations to make your cake truly unique.
- Write Different Messages: While “LOVE” is perfect for romantic occasions, edible markers open up a world of possibilities for personalization. Get as creative as you like! For Halloween, you could write “Boo!” with spooky sprinkles. For Christmas, “Holly Jolly” or “Merry & Bright” would be wonderful. Consider “Happy Birthday,” “Thank You,” “Congrats,” or even a special name for other events. The message can truly transform the cake.
- Choose Different Colors: The showcased cake features a clean, bright pink and white palette, which is classic for love-themed desserts. However, your imagination is the only limit! You could opt for vibrant reds and golds, pastel blues and yellows for a baby shower, or sophisticated black and silver for an elegant anniversary. When coloring fondant, always use gel food colors. They are highly concentrated, providing intense hues without altering the fondant’s consistency or making it sticky, which liquid food colorings can do.
- Make a Larger Tiered Cake: The cake pictured in this tutorial is a charmingly small 6-inch creation, ideal for intimate gatherings. However, the same decorating principles and steps can be seamlessly applied to a larger, multi-tiered cake for bigger celebrations. Just ensure you have enough cake, icing, and fondant, and adjust your cooling and drying times accordingly for larger surfaces. Proper support dowels would also be essential for tiered cakes.
- Try Other Cake Flavors: While pink velvet is a delightful choice, feel free to substitute it with your favorite cake recipe. A rich Moist Red Velvet Cake would be equally stunning and flavorful, or a classic, crowd-pleasing Best Vanilla Cake provides a versatile base for any frosting. Chocolate, lemon, or even a spiced cake could also make wonderful variations, depending on the occasion and your taste preferences.
- Try Other Frostings: The strawberry buttercream mentioned in the recipe is fantastic, but the world of frostings is vast! Consider a delicate Maraschino Cherry Frosting for a subtle fruity note, or a unique Blackberry Buttercream Frosting for an unexpected twist. Cream cheese frosting, chocolate ganache, or even a simple vanilla buttercream can also perfectly complement your chosen cake flavor.
- Add Cake Fillings: Elevate your cake’s flavor profile and texture by incorporating a delicious filling between the layers. A sweet Easy Homemade Strawberry Jam or other fruit preserves like raspberry or apricot would be a fantastic addition. You could also use lemon curd, chocolate ganache, or a simple whipped cream filling (just remember refrigeration if using cream).
- Consider Flavoring Fondant: If you enjoy adding extra dimensions to your flavors, try flavoring your white fondant. It’s crucial to use clear extracts to prevent any discoloration of the pristine white fondant. Choose a flavor that complements both your cake and frosting, such as almond, vanilla bean, or a subtle berry extract, to create a harmonious taste experience.
Expert Tips and Techniques for a Flawless Love Cake
Achieving a professional-looking and delicious cake is all about the details. These tried-and-true tips and techniques will help you navigate the decorating process with confidence and avoid common pitfalls.
- Sit at Eye Level: This seemingly simple tip can drastically improve your cake decorating accuracy. When you decorate at eye level, whether by sitting down or placing your cake on a rotating turntable, you gain a better perspective of your work, ensuring straight lines, even coverage, and precise placement of decorations. It also helps prevent neck and back strain during longer decorating sessions.
- Let the Fondant-Covered Cake Dry: This step cannot be stressed enough, especially when working with edible markers. After covering your cake with fondant, allow it to sit undisturbed at room temperature for approximately 30 minutes to 1 hour. This crucial drying time allows the surface of the fondant to firm up slightly. If you attempt to write on soft, freshly applied fondant, the tip of your edible marker will undoubtedly create unwanted dents, impressions, or even tear the delicate surface, compromising your design.
- Practice Writing: Before you commit your heartfelt message to the actual cake, I highly recommend practicing your writing on scrap pieces of fondant. This allows you to get comfortable with the marker’s flow, test your chosen font style, and perfect your spacing and letter formation without any pressure. Practicing will significantly boost your confidence and ensure a cleaner, more professional final inscription on your beautiful Love Cake.
- Go Slow and Steady: When writing with edible markers, precision is paramount. Unlike frosting, edible marker mistakes are permanent and cannot be easily erased or corrected. If you make an error, your only recourse is often to peel off the entire section of fondant and start over, which is both time-consuming and wasteful. Take your time, draw lightly first if unsure, and move slowly and deliberately.
- Don’t Decorate a Warm Cake: This is a golden rule in cake decorating. Your cake layers and any underlying frosting must be completely cool, preferably chilled, before you begin applying fondant or additional decorations. If the cake is even slightly warm, the heat will cause the buttercream beneath the fondant to melt, leading to a slippery surface. The fondant itself will become soft, sticky, and difficult to handle, resulting in a messy, unstable cake.
- Homemade Fondant vs. Store-Bought Fondant: Both options have their merits. I personally prefer homemade marshmallow fondant because I find its taste to be superior and more palatable than many store-bought varieties. However, store-bought fondant offers unparalleled convenience; it’s readily available, often comes in a wide array of pre-colored options, and saves you the tedious, arm-aching process of kneading in color yourself. Choose based on your priorities for taste versus time-saving.
- Don’t Use a Lot of Corn Syrup for Sprinkles: Corn syrup works wonderfully as a light adhesive to attach sprinkles to fondant or icing. However, a small quantity goes a very long way. Applying too much corn syrup will cause it to seep out from under the sprinkles, creating unsightly drips and a messy appearance. Use a fine brush to apply a very thin layer exactly where you want the sprinkles to adhere.
Storing Your Beautifully Decorated Love Cake
Proper storage is essential to maintain the freshness and appearance of your decorated cake. Fondant-covered cakes have specific storage requirements due to their delicate nature.
- Room Temperature: For optimal freshness and to preserve the fondant’s texture, store your decorated cake in a covered box at room temperature for up to 24 hours. This prevents the fondant from becoming tacky due to refrigerator moisture. Ensure it’s in a cool, dry place away from direct sunlight or heat.
- Refrigerate: If you need to store your cake for a longer period, it can be kept in a covered box in the refrigerator for 3-5 days. However, please be aware that fondant decorations are sensitive to moisture. The humidity inside the refrigerator can cause the fondant to become sticky, slightly gummy, or even develop condensation when removed. To minimize this, you can place the cake in an airtight container or box to protect it as much as possible.
- Freeze: Unfortunately, cakes decorated with fondant generally cannot be frozen. When a frozen fondant-covered cake thaws, the condensation process causes the fondant decorations to become extremely sticky, soft, and often unappealing. This can also lead to colors bleeding and the overall design being ruined. It is best to enjoy fondant cakes within a few days of decorating.
More Decorated Cakes for Inspiration
If you enjoyed decorating this Love Cake and are looking for more creative baking projects, explore these other fantastic decorated cake ideas:
- Chocolate Bark Cake
- Easy Cake Tower
- Easy Beach Cake
- Fondant Flower Cake
- Modern Abstract Cake
- Blue Ombre Cake
- Butterfly Cake
Recipe: Easy Love Cake
Easy Love Cake
Abeer Rizvi
Pin Recipe
Want to Save This Recipe?
Enter your email & I’ll send it to your inbox. Plus, get great new recipes from me every week!
By submitting this form, you consent to receive emails from CakeWhiz
Ingredients
- 2 Pink velvet cake Round, 6 inch each
- 4 cups Strawberry buttercream frosting
- 2 cups Marshmallow fondant White
- 1 tablespoon Corn syrup
- 2 tablespoon Heart sprinkles
Instructions
-
Bake your cakes and allow them to cool completely.
-
While they are cooling, prepare strawberry frosting.
-
Place one cake on a cake stand or serving dish.
-
Spread frosting on top.
-
Then, place the other cake on top and press gently to secure it in place.
-
Now, frost the entire cake completely.
-
Roll out white fondant and spread it smoothly over the frosted cake. Cut off excess fondant around the base of the cake with a knife or a pizza cutter.
-
Allow this fondant covered cake to sit at room temperature for 30 minutes to 1 hour so that the fondant dries up a little.
Tip: If you don’t let the fondant on this cake to air dry, the tip of your marker will make dents in your fondant!
-
Then, write ” L VE” on it with a black edible marker. Make sure to leave some space in the center for the heart sprinkle.
-
Brush a bit of corn syrup in the space between all the “L VE.”
-
Stick small heart sprinkles there.
-
Spread more sprinkles around the base of the cake. Enjoy!
Notes
- Read all my tips above for best results and to ensure a smooth decorating process.
- Leftovers can be stored in a sealed container in the fridge for up to 3 days, although fondant may become slightly sticky from moisture.
Nutrition
An automated tool is used to calculate the nutritional information. As such, I cannot guarantee the accuracy of the nutritional information provided for any recipe on this site.
