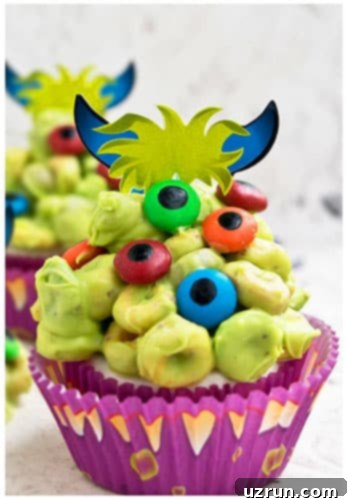
Easy Halloween Monster Cupcakes: The Ultimate Kid-Friendly Recipe for Spooky Fun
Get ready to whip up a batch of the most adorable and spooktacular treats this Halloween! These **Easy Halloween Monster Cupcakes** are a fantastic way to celebrate the season, combining moist cupcakes with crunchy, colorful monster toppings made from melted chocolate and cereal. They’re incredibly simple to make, requiring just a few common ingredients and a sprinkle of imagination. Whether you’re planning a ghoulish gathering or simply looking for a fun kitchen project with the kids, these monster cupcakes are guaranteed to bring smiles and delicious frights!
My inspiration for these super easy cupcakes actually stemmed from a peculiar curiosity. Growing up, everyone around me seemed to have fond memories of eating cereal clusters – those delightful clumps of cereal bound together with something sweet. Yet, I always enjoyed my cereal the traditional way, swimming in a bowl of milk! This gap in my childhood culinary experience led me to create my own version, but with a spooky twist perfect for Halloween. The result? Crunchy, sweet, and utterly irresistible chocolate cereal clusters that, when adorned with candy eyeballs and horns, transform into charming little monsters. These treats are ideal for both chocolate and cereal lovers, offering a unique texture and flavor combination. For an even more monstrous spread at your next Kids Halloween Party, consider adding these vibrant Easy Monster Cookies to your dessert table!
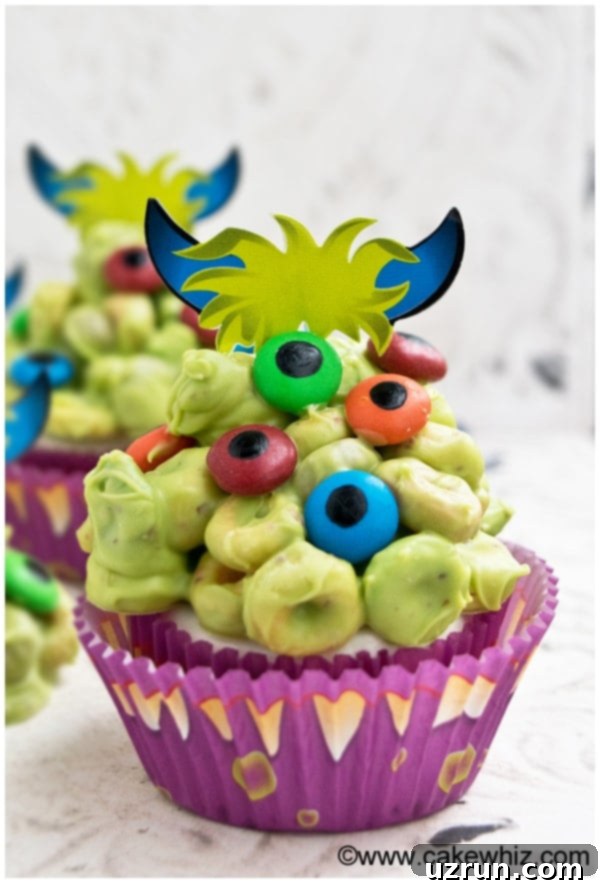
How To Create Easy Halloween Monster Cupcakes: A Simple Step-by-Step Guide
Making these monster cupcakes is surprisingly straightforward, even for novice bakers or busy parents. The key lies in preparing your base cupcakes and frosting ahead of time, then focusing on the fun, creative monster toppings. Here’s a detailed breakdown of the process:
- Prepare Your Cupcakes and Frosting: Start by baking your favorite batch of cupcakes and letting them cool completely. You can use a homemade recipe or a box mix for convenience. While they cool, prepare your frosting. Having these ready ensures a smooth decorating process.
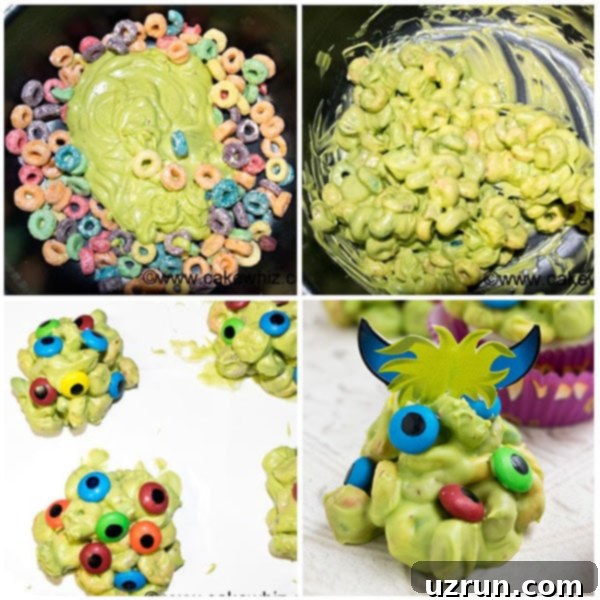
- Mix Ingredients for Monster Toppers: In a bowl, combine your chosen cereal (like Fruit Loops or Cheerios for fun colors and crunch) with melted chocolate. Stir gently until every piece of cereal is coated. This mixture forms the base of your “monster blobs.”
- Drop Generous Spoonfuls: Take large spoonfuls (about two tablespoons each) of the chocolate-cereal mixture and drop them onto a sheet of wax paper or parchment paper. Shape them into irregular, blob-like forms – remember, monsters aren’t perfectly symmetrical!
- Adorn with M&M Candies: While the chocolate is still wet, press colorful M&M candies onto each blob. These will serve as the pupils of your monster’s eyes. Feel free to use different colors and arrangements to give each monster a unique personality.
- Allow Clusters to Set: Let your monster blobs sit at room temperature for about 10 minutes, or until the chocolate has hardened and the clusters are firm. This step is crucial for them to maintain their shape when placed on the cupcakes.
- Draw Eyeballs for Character: Once the chocolate is set, use a black edible food marker to draw small pupils and details onto the M&M candies. This instantly brings your monsters to life, adding that essential spooky charm.
- Add a Paper Horn: For an extra monstrous touch, gently push a small paper horn pick into the top of each cereal cluster. You can find these at most party supply stores, or even craft your own from cardstock.
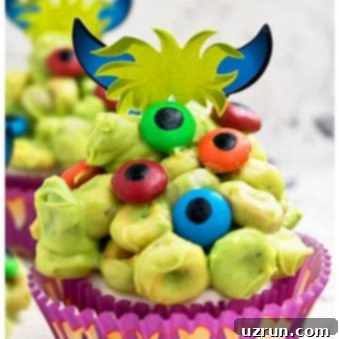
- Ice Cupcakes and Assemble: Generously spread your prepared buttercream frosting over each cooled cupcake. Finally, carefully place one of your cereal monster clusters on top of each iced cupcake. Your adorable, spooky monster cupcakes are now complete and ready to delight!
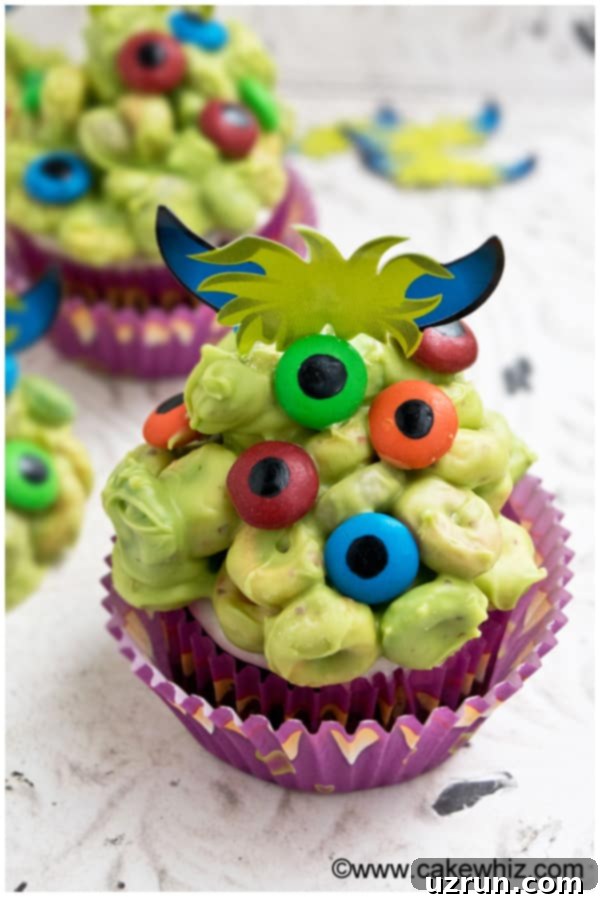
Unleash Your Creativity: Exciting Variations for Homemade Halloween Cupcakes
While the classic monster cupcake recipe is fantastic, don’t hesitate to experiment and customize them to your heart’s content. Here are some creative variations to make your Halloween cupcakes truly unique:
- Explore Other Cupcake Flavors: The base cupcake is a canvas for flavor! Instead of chocolate, try something different. Imagine spooky monsters atop light and fluffy Rainbow Cupcakes (perfect for colorful monsters!), classic Yellow Cupcakes, rich Red Velvet Cupcakes, delightful Chocolate Chip Cupcakes, zesty Easy Orange Cupcakes, or even decadent Brownie Cupcakes for a denser treat. Each flavor profile offers a new dimension to your monster creation.
- Experiment with Frosting Flavors: The frosting is more than just glue for your monster blobs; it’s a key part of the flavor experience! Beyond traditional buttercream, consider a rich Chocolate Ganache Frosting, a tart Lemon Frosting, a vibrant Maraschino Cherry Frosting, a fluffy Marshmallow Frosting, or a bright Easy Orange Buttercream Frosting. Matching the frosting flavor to your cupcake or monster theme can create an unforgettable dessert.
- Add Delicious Fillings: Surprise your guests with a hidden treat inside! Fill your cupcakes with fruit-based delights like Raspberry Pie Filling, Strawberry Pie Filling, or Blueberry Pie Filling. For a zesty burst, a homemade Lemon Curd or classic Cherry Pie Filling works wonders. If you’re new to this, check out these helpful tips on How To Make Filled Cupcakes.
- Play with Other Color Combinations: While green monsters are classic, don’t limit yourself! Try vibrant yellow and black for a bee-like monster, or mystical purple and orange for a truly spooky, magical theme. You can also vary the color of your chocolate monster blobs for a diverse crew of creatures.
- Mix in Other Seasonal Halloween Candies: Enhance the monster blobs or the cupcake topping with other Halloween treats. Think mini candy corn pieces for teeth, tiny gummy worms for creepy crawlies, or small Halloween-shaped chocolates (like bats or pumpkins) for added festive flair.
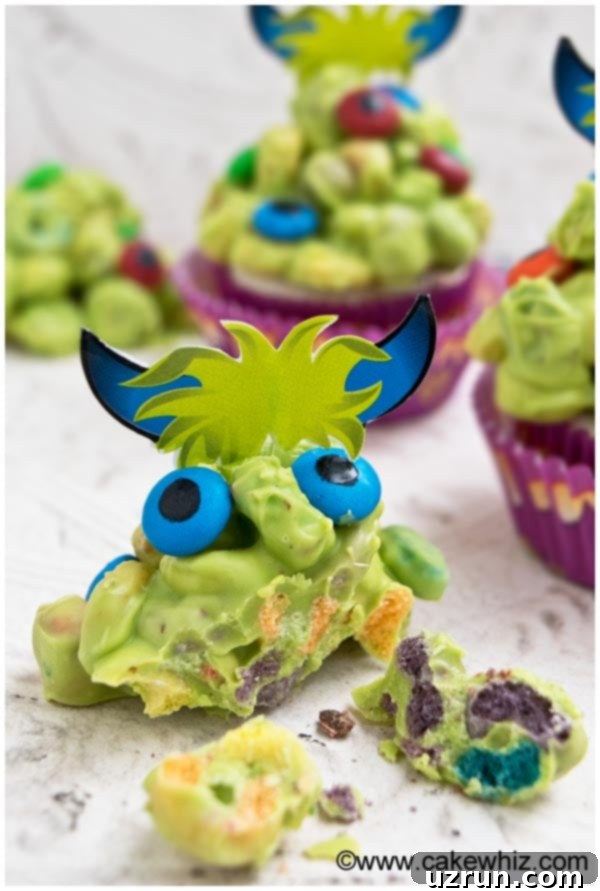
Expert Tips And Techniques for Perfect Spooky Cupcakes
To ensure your Halloween Monster Cupcakes turn out perfectly delightful and spooky, here are some key tips and techniques:
- Eyeball Candies – Store-Bought vs. Homemade: For ease, you can certainly use store-bought edible eyeball candies, which are widely available during Halloween season. However, for a truly homemade touch, consider making your own Homemade Candy Eyes (Eyeballs). They’re surprisingly simple and add an authentic charm.
- Choosing the Best Cereal: The original recipe uses Fruit Loops for their vibrant colors and fun-to-bite texture, which adds to the playful monster theme. However, feel free to use any crunchy cereal you love! Cheerios are another popular option, providing a classic crunch. Rice Krispies also work well for a lighter, crispier texture. The key is a cereal that holds up when mixed with chocolate and provides good texture.
- Coloring Melted White Chocolate: If you plan to dye your melted white chocolate green (or any other color) for your monster blobs, it’s crucial to use **oil-based food coloring**. Water-based food coloring will cause your chocolate to seize and become thick, grainy, and unusable. Oil-based colors blend smoothly, maintaining the chocolate’s texture.
- Time-Saving Hacks: Short on time? There are several ways to speed up the process without sacrificing fun! You can buy pre-colored candy melts (often available in green, orange, and purple), which eliminates the need to dye white chocolate. Wilton offers a wide range of colors at very reasonable prices. Even simpler, purchase pre-made cupcakes and ready-made frosting from your local bakery or grocery store, then simply assemble your cereal monsters and stick them on top.
- Fondant vs. Buttercream for Decoration: While buttercream is delicious and easy, if you’re aiming for a smoother, more sculpted look for your monsters, consider using fondant. You can make your own Marshmallow Fondant for a softer texture and sweet flavor, or opt for a store-bought version for convenience. Fondant allows for more intricate detailing if you wish to shape specific monster features.
- Selecting the Right Chocolate: I used white chocolate for the monster blobs because it’s easily tinted green. However, you can use whatever chocolate you prefer! Milk chocolate or dark chocolate will give your monsters a different look and a richer chocolate flavor. Just remember that dark chocolate will be harder to color with food dyes. Colored candy melts are an excellent alternative if you want specific hues without the hassle of dyeing.
- Proper Chocolate Melting Technique: Melting chocolate correctly is key. For microwave melting, place chocolate in a microwave-safe bowl and heat in 30-second intervals, stirring thoroughly after each interval, until smooth. Avoid overheating, as this can cause the chocolate to burn or seize. Alternatively, you can use a double-boiler method over simmering water for a more controlled melt.
Storage Tips for Your Decorated Monster Cupcakes
Proper storage ensures your monster cupcakes stay fresh and delicious for as long as possible:
- Refrigerate: Store leftover decorated monster cupcakes in a sealed airtight container in the refrigerator for up to 3 days. This prevents the frosting from spoiling and keeps the cupcakes moist.
- Freezing: I generally do not recommend freezing these specific monster cupcakes. The cereal topping, when thawed, tends to absorb moisture and can become soggy, losing its delightful crunch. It’s best to enjoy these fresh!
More Spooktacular Halloween Desserts to Try
Looking for more eerie-sistible treats to complete your Halloween feast? Check out these other fun and festive recipes:
- Halloween Pudding Cups
- Halloween Donuts (Spider and Monster)
- Easy Ghost Cookies
- Easy Mummy Cake
- Easy Chocolate Monsters
Recipe Card
Easy Halloween Monster Cupcakes
Abeer Rizvi
Pin Recipe
Want to Save This Recipe?
Enter your email & I’ll send it to your inbox. Plus, get great new recipes from me every week!
By submitting this form, you consent to receive emails from CakeWhiz
Ingredients
- 12 Vegan chocolate cupcakes
- 2 cups American buttercream frosting
- ⅓ cup M&M candies
- 1 ¾ cups Chocolate Melted, Green, Can use green candy melts too
- 2 cups Cereal Fruit Loops or Cheerios
Instructions
-
Bake cupcakes and allow them to cool down fully.
-
Prepare the frosting and keep aside.
-
In a deep mixing bowl, add cereal and melted chocolate and mix everything together.
-
Spoon out about two tablespoons of this mixture onto a sheet of wax paper.
-
Stick M&M candies randomly on these monster blobs.
-
Let these monster clusters set and harden at room temperature (takes about 10 minutes).
-
Use a black edible marker to draw eyeballs on the candies.
-
Then, push a horn pick on top of each monster.
-
Spread buttercream icing on top of each cupcake and top it off each with cereal monster. Enjoy!
Notes
- Read all my tips above for detailed guidance.
- Leftovers can be stored in a sealed container in the fridge for up to 3 days.
Nutrition
An automated tool is used to calculate the nutritional information. As such, I cannot guarantee the accuracy of the nutritional information provided for any recipe on this site.
