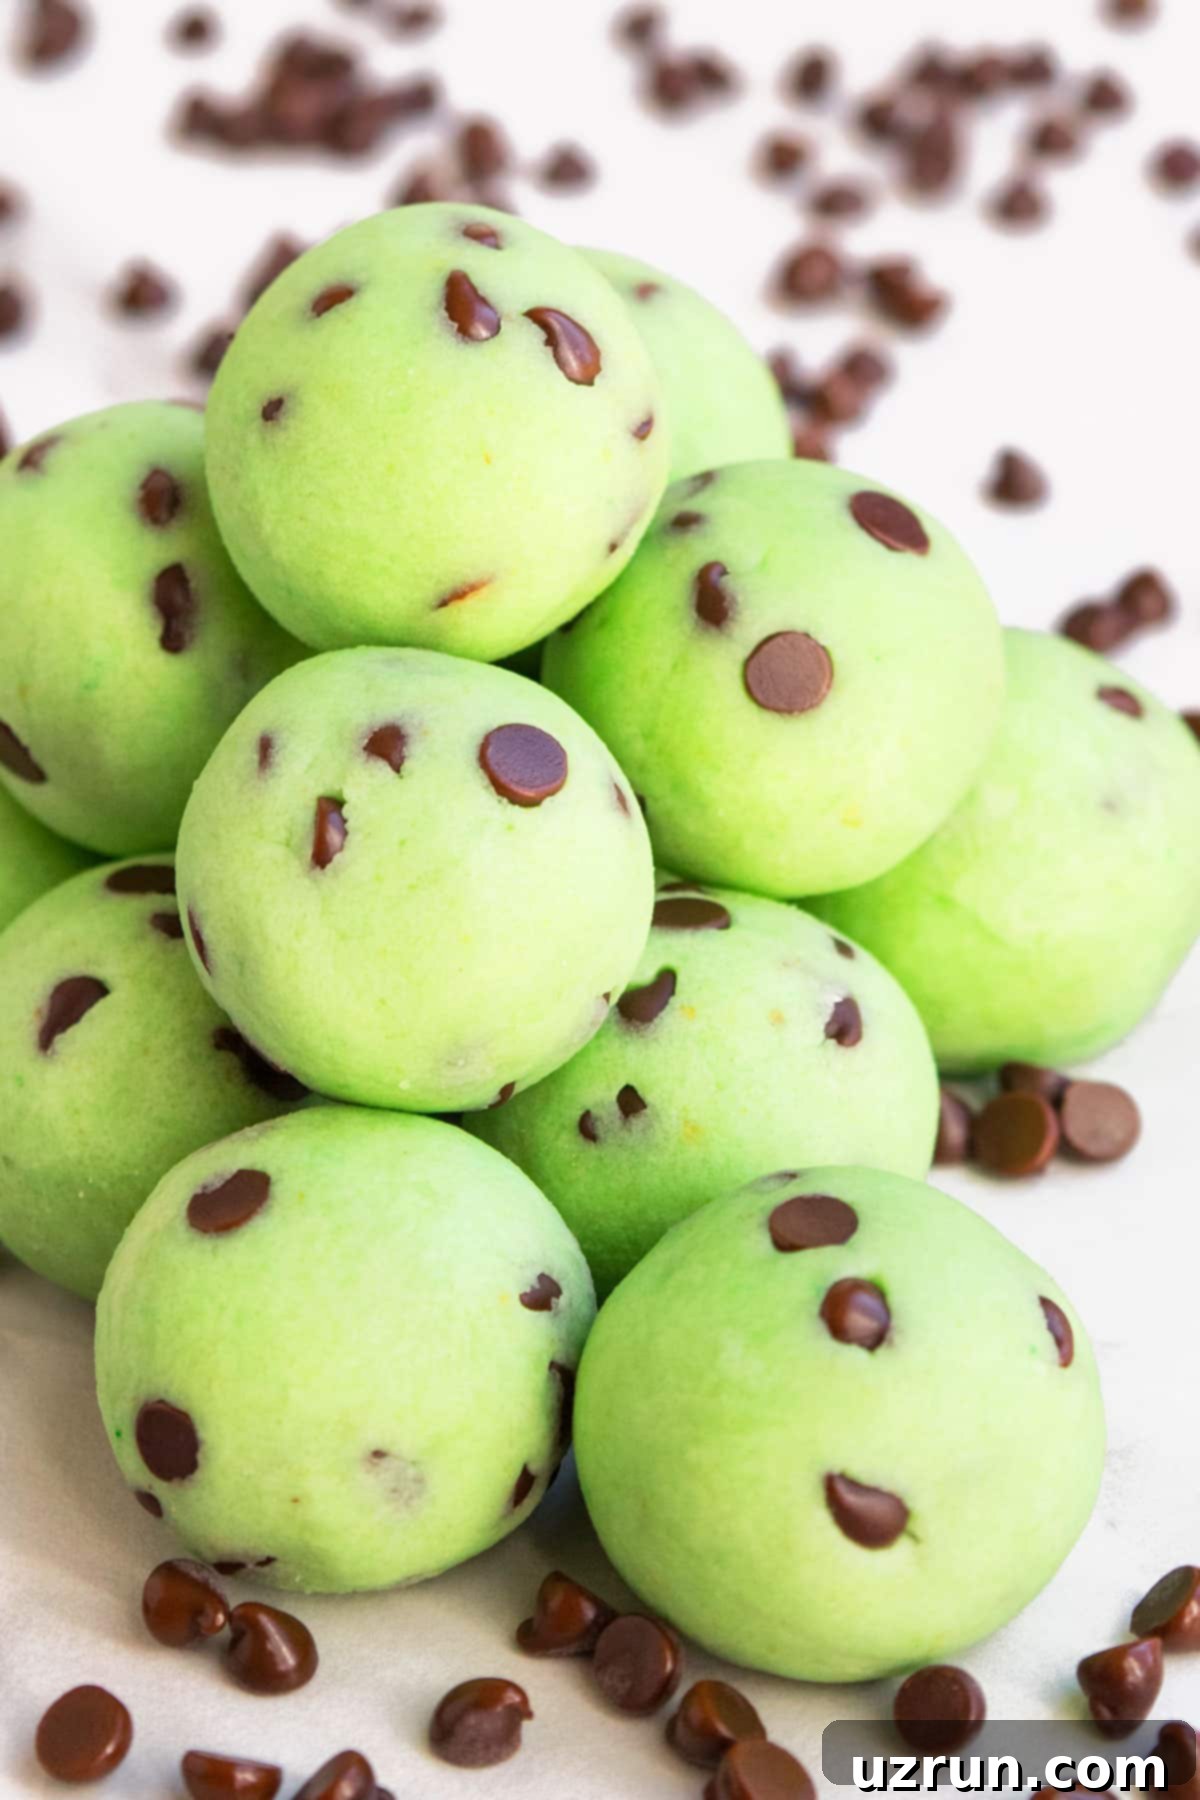
Decadent Homemade Chocolate Mint Truffles: Your Easiest 5-Ingredient Recipe for Creamy Perfection
Prepare to be enchanted by these easy-to-make, utterly decadent chocolate mint truffles. Crafted from just 5 simple ingredients, these homemade delights are a symphony of rich, creamy texture and vibrant mint flavor, generously studded with miniature chocolate chips. They’re not just a dessert; they’re a celebration in every bite, perfect for sharing with family and friends or simply indulging yourself.
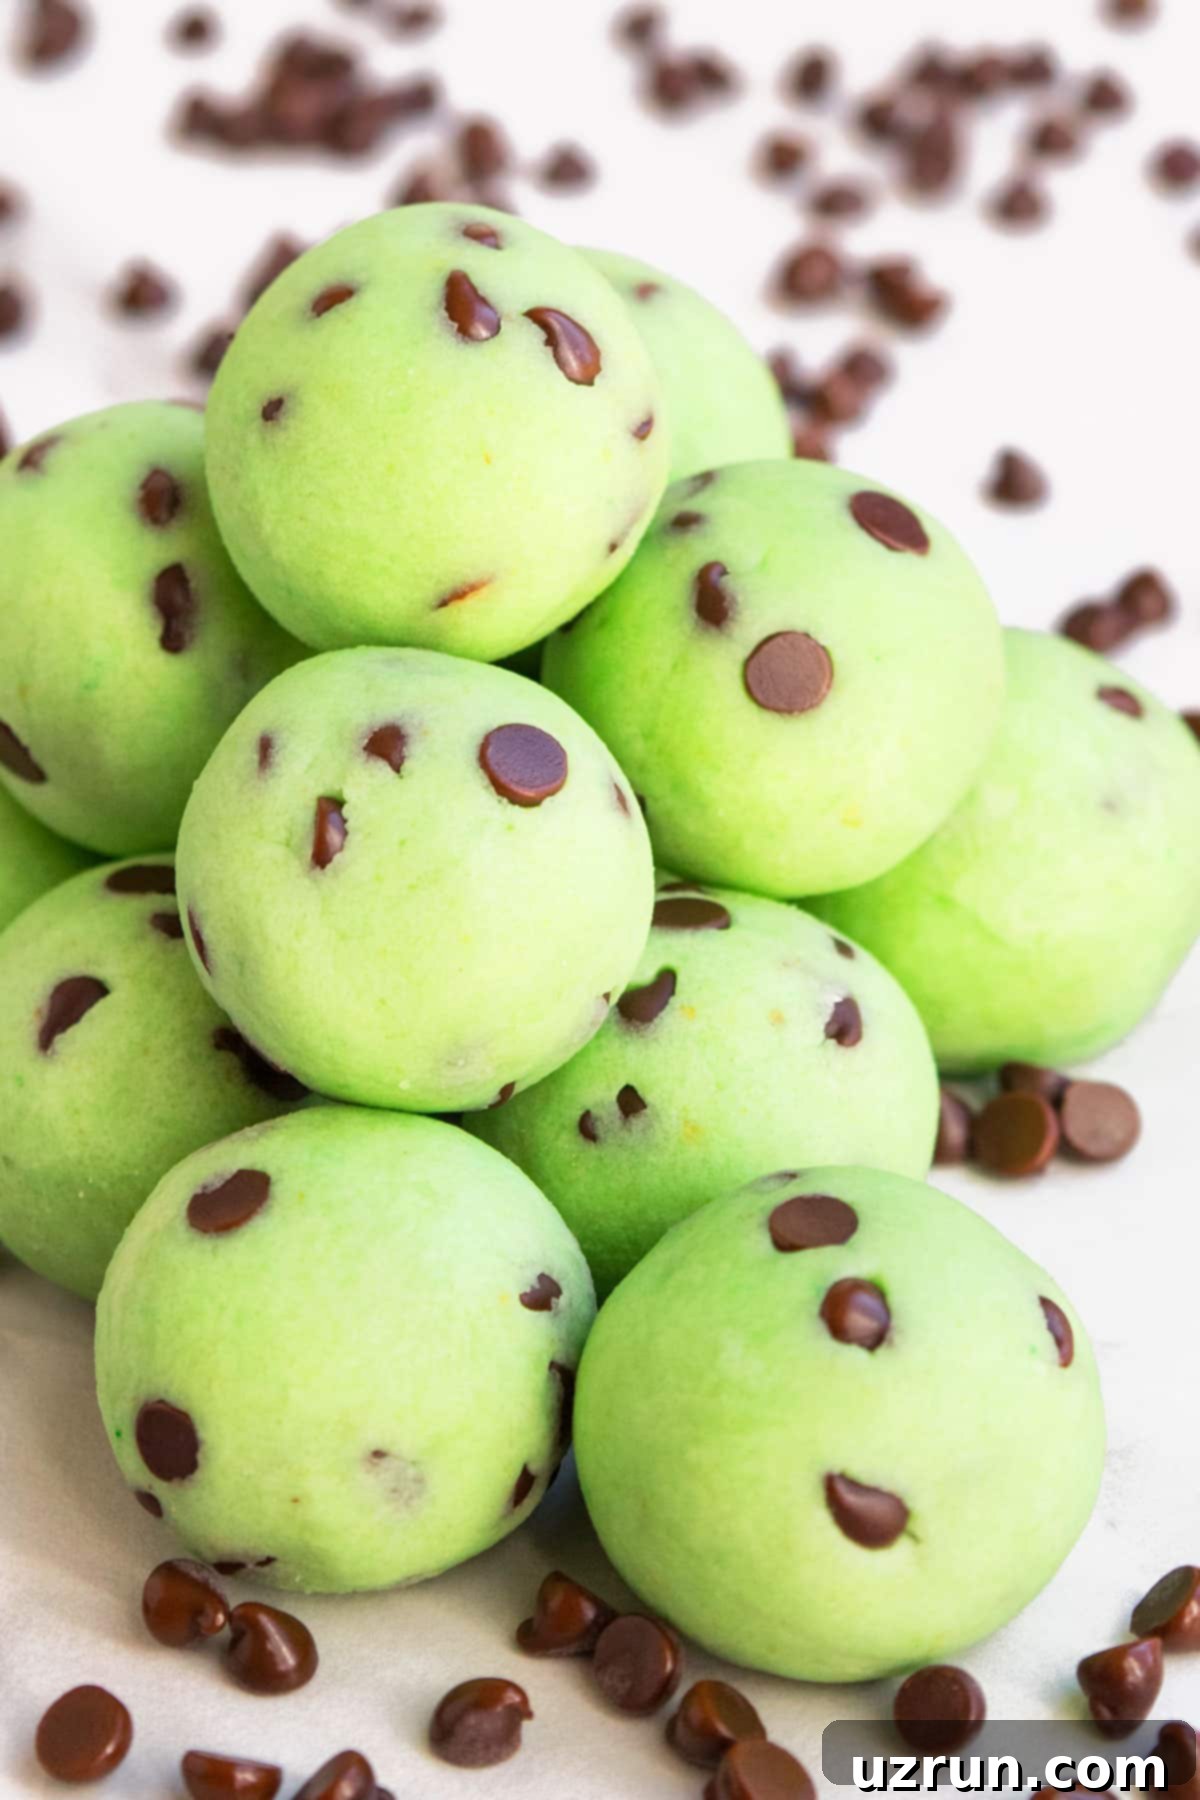
For my family, these little candies are a cherished tradition, especially during the festive holiday season. They join the ranks of other beloved treats like Red Velvet Truffles and White Chocolate Truffles, bringing smiles and sweet memories. I’ve meticulously refined this particular recipe over time to achieve an even silkier, creamier texture, ensuring the chocolate and mint flavors are perfectly balanced—neither too overpowering nor too subtle. The secret? A touch of cream cheese, which not only enhances the richness but also beautifully cuts through the sweetness, making these truffles irresistibly smooth and delightfully refreshing. If you adore this classic chocolate mint combination, you absolutely must explore my other creations, such as these Chocolate Mint Brownies and the festive Chocolate Chip Cupcakes with Mint Frosting. Their vibrant green hue also makes these truffles an ideal festive treat for St. Patrick’s Day, adding a pop of color to any celebration. For more emerald-hued inspiration, be sure to browse through these delightful Green Desserts (St. Patrick’s Day Desserts).
Key Ingredients for the Best Mint Chocolate Chip Truffles
Crafting perfect truffles begins with understanding the role of each ingredient. Here’s what you’ll need and why:
- Unsalted Butter: Always opt for unsalted butter at room temperature. Using unsalted butter gives you complete control over the saltiness of your truffles, preventing them from becoming overly savory. Room temperature butter creams beautifully with cream cheese, ensuring a smooth, lump-free base for your truffles.
- Full-Fat Cream Cheese: This is a non-negotiable for achieving that signature creamy, rich, and slightly tangy texture that balances the sweetness. Full-fat cream cheese provides the necessary body and flavor, while lower-fat versions can lead to a less luxurious texture and a diluted taste.
- Mint Extract: Essential for infusing that vibrant, cool mint flavor. It’s crucial to use mint extract, not fresh mint leaves. Fresh mint can introduce a bitter aftertaste and doesn’t provide the consistent, concentrated flavor we’re looking for in truffles. Be mindful of the quantity, as too much can make your truffles taste medicinal.
- Powdered Sugar (Confectioners’ Sugar): This is vital for the truffle’s smooth, melt-in-your-mouth texture. Unlike granulated sugar, which would create a gritty consistency, powdered sugar dissolves easily into the mixture, resulting in a silky-smooth truffle base.
- Mini Chocolate Chips: While regular chocolate chips work, mini chocolate chips are highly recommended. Their smaller size ensures they are evenly distributed throughout the truffle, making the mixture easier to roll into smooth balls and providing a better chocolate-to-mint ratio in every bite.
- Green Food Coloring (Optional): This is purely for aesthetics, especially if you’re making them for St. Patrick’s Day or other themed events. Gel food coloring is preferred over liquid drops, as it delivers a more vibrant color without altering the consistency of your truffle mixture.
Unleash Your Creativity: Delicious Truffle Variations
One of the joys of making homemade truffles is the endless potential for customization. Once you’ve mastered the basic recipe, feel free to experiment with these exciting variations to create your unique flavor combinations:
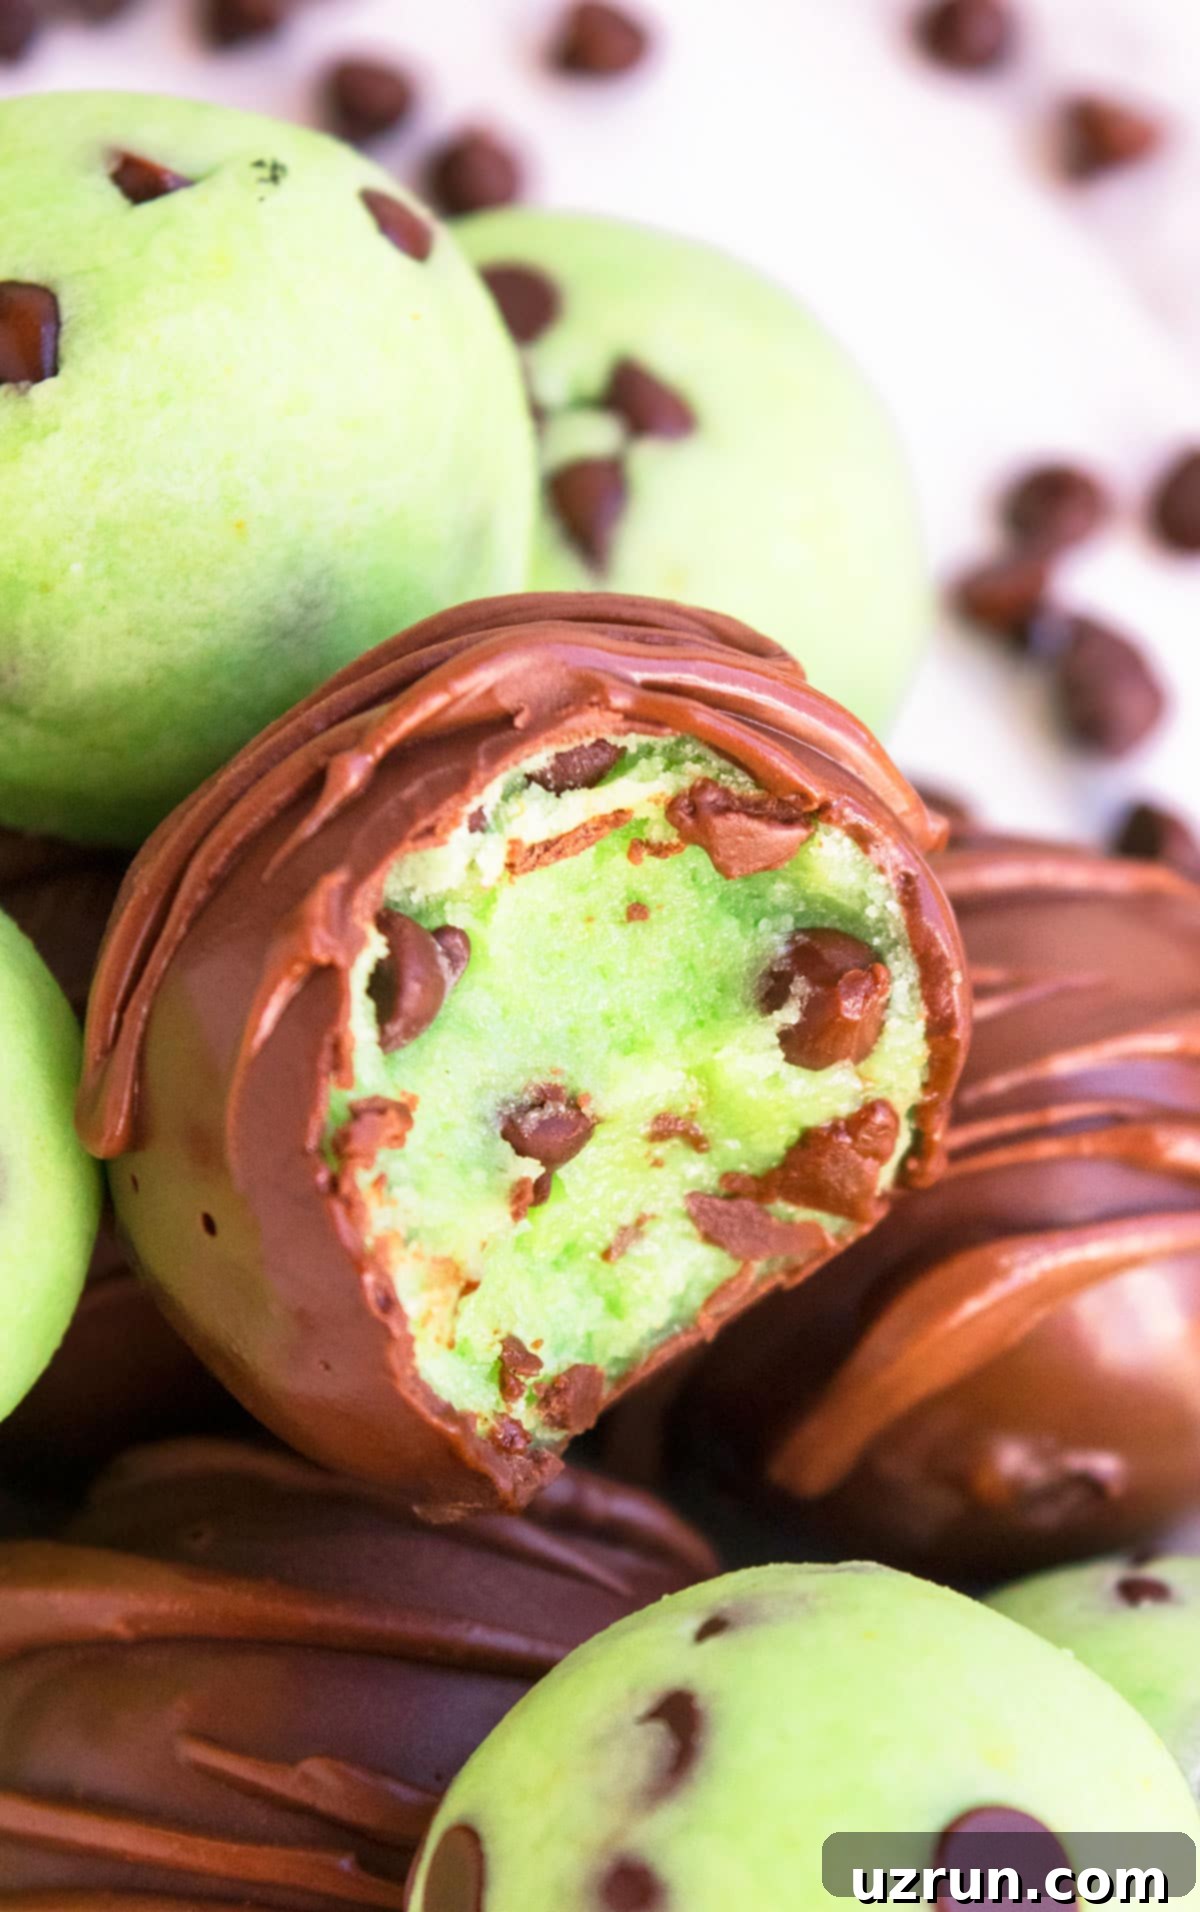
- Dip Them for Extra Indulgence: Elevate your truffles by dipping them in melted chocolate. You can use classic dark chocolate for a rich, bittersweet contrast, creamy white chocolate for a sweeter profile, or semi-sweet chocolate for a balanced flavor. For the ultimate mint experience, consider dipping them in melted Andes mint chocolate. The chocolate coating adds a delightful snap and an extra layer of flavor and elegance.
- Change the Flavor and Color: Don’t limit yourself to mint! The base recipe is incredibly versatile. Swap out the mint extract for other flavor extracts like orange, almond, raspberry, or even coffee extract. Pair your new flavor with a corresponding gel food coloring – imagine vibrant orange truffles flavored with orange extract, or delicate pink truffles with a hint of raspberry.
- Creative Coatings: Beyond melted chocolate, there are many ways to coat your truffles for added texture and visual appeal. Roll them in unsweetened cocoa powder for a traditional look, powdered sugar for a snowy finish (like these Lemon Cake Balls), or even finely shredded coconut. For a fun crunch, try crushed Andes mints, sprinkles, finely crushed Thin Mint cookies, chopped nuts (pistachios or walnuts are great), toffee bits, or even homemade Chocolate Bark.
- Replace Chocolate Chips with Other Mix-ins: Instead of just chocolate chips, consider folding in other exciting ingredients. Roughly chopped Oreos would create a delicious cookies-and-cream-mint combo. You can also experiment with other chopped candy bars (like Kit Kat or Snickers) or your favorite cookies for a unique twist.
- Stuff Them for a Surprise: For a delightful surprise in every bite, gently press a Hershey’s Kiss or another small, firm candy into the center of each truffle before rolling it into a ball. It’s a fun way to add an extra layer of flavor and excitement.
- Alternate Filling Bases: The cream cheese base is fantastic, but you can get even more creative! Substitute a portion of the cream cheese with flavored cream cheese, Biscoff spread, creamy peanut butter, rich Nutella, or even your favorite frostings like this Easy Mint Frosting or a fluffy Marshmallow Frosting Recipe. Adjust the powdered sugar as needed to achieve the right consistency.
- Roll Them in Toppings (Post-Dip): This method works exceptionally well if you choose to dip your truffles in melted chocolate first. While the chocolate coating is still wet and before it fully sets, gently roll the truffles in your chosen toppings. This ensures the toppings adhere perfectly, creating a beautiful and flavorful exterior.
Simple Steps to Homemade Mint Truffle Perfection
Making these creamy chocolate mint truffles is incredibly straightforward. Follow these easy steps for a batch of homemade deliciousness:
- Cream Together the Base: In a sturdy mixing bowl, combine the softened unsalted butter, full-fat cream cheese, mint extract, and a few drops of green food coloring (if using). Beat these ingredients together until the mixture is light, fluffy, and perfectly combined, ensuring there are no lumps of butter or cream cheese.
- Gradually Add Powdered Sugar: With the mixer on low speed, gradually add the powdered sugar, about one cup at a time. Continue mixing until all the sugar is incorporated and the mixture becomes smooth and thick. Then, gently fold in the mini chocolate chips until they are evenly distributed throughout the truffle mixture.
- Chill, Form, and Enjoy: Transfer the truffle mixture to an airtight container and chill it in the refrigerator for at least 1-2 hours. This crucial step firms up the mixture, making it much easier to handle and roll. Once chilled, scoop out small portions and roll them into smooth, bite-sized balls. If desired, you can then dip them in melted chocolate before serving. Enjoy your delightful homemade truffles!
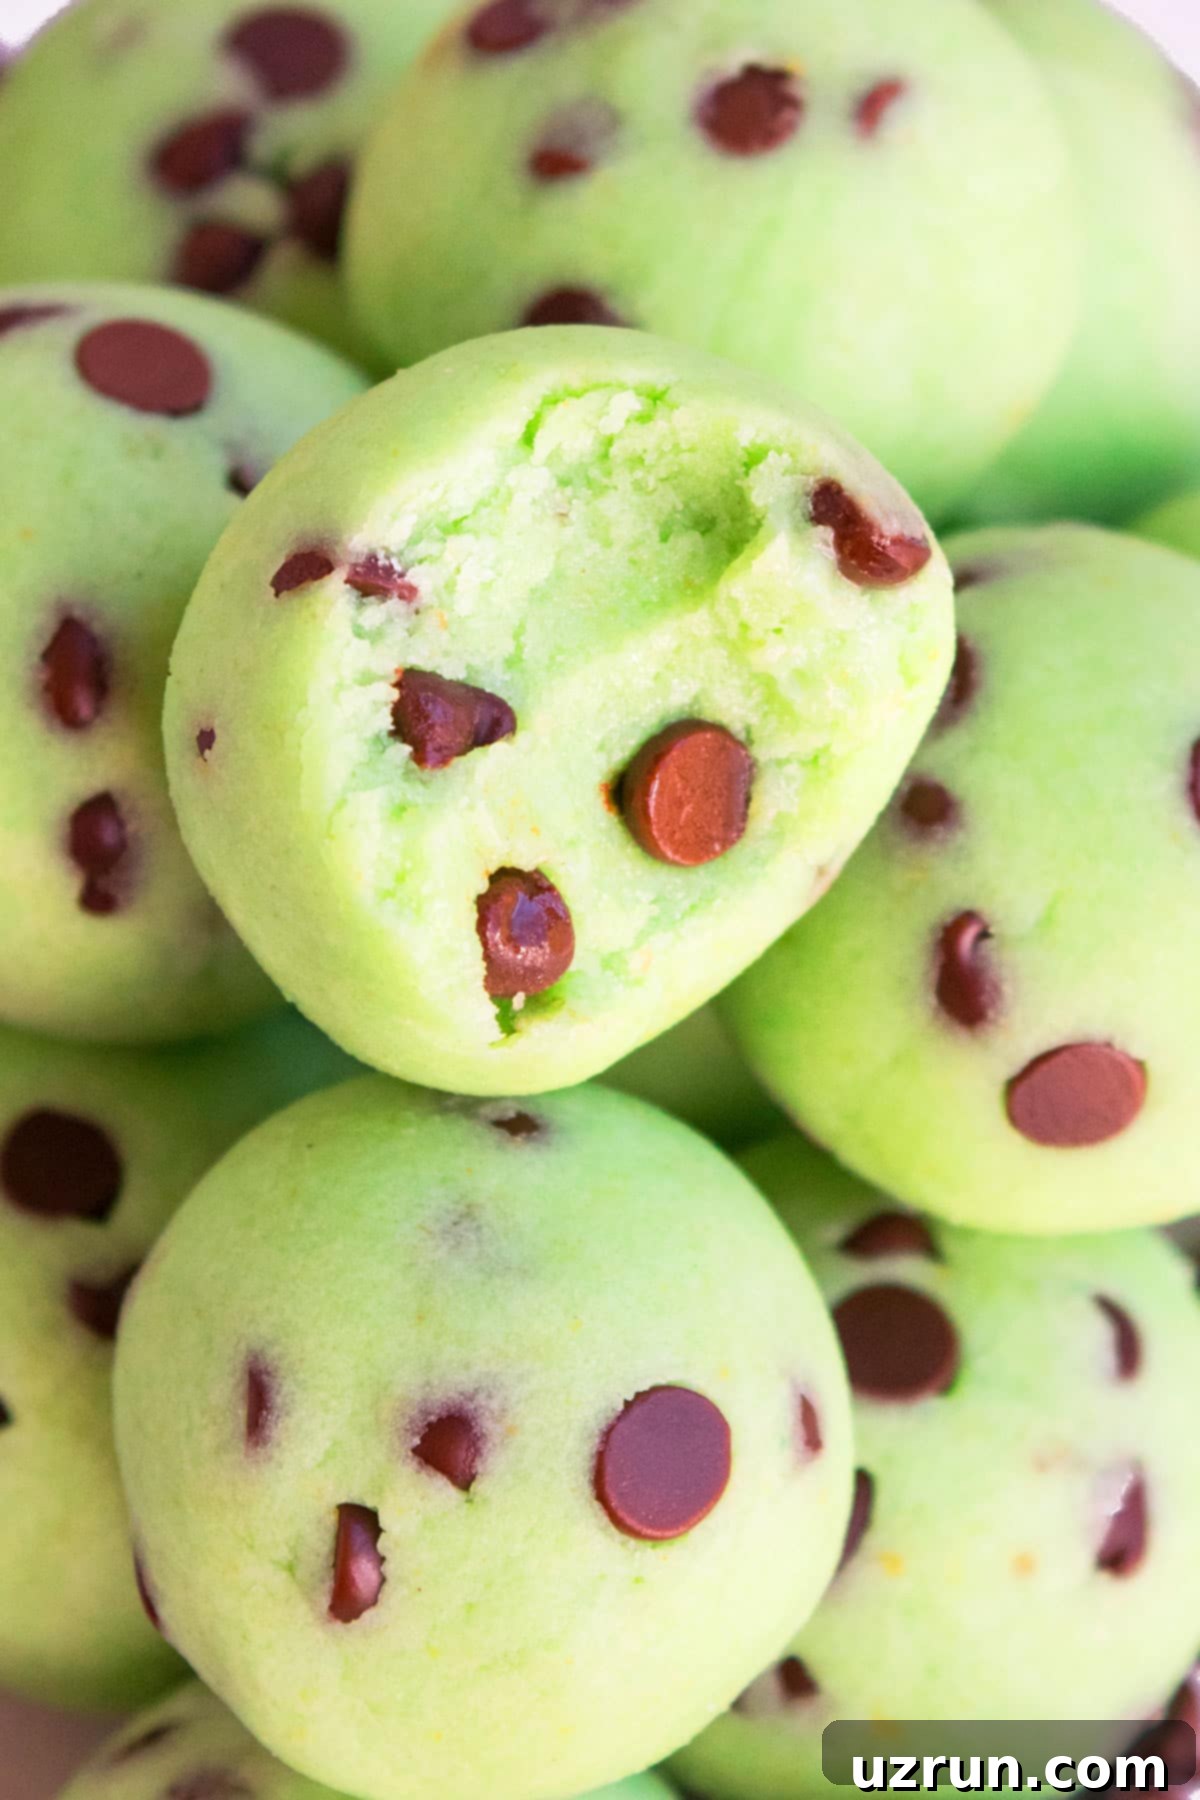
Essential Tips and Techniques for Flawless Truffles
Achieving perfectly smooth and flavorful truffles is easy with these expert tips and techniques:
- The Importance of Chilling: You absolutely must chill the truffle mixture for at least 1-2 hours. This firming period is essential as it makes the mixture much easier to handle, preventing it from sticking to your hands and allowing you to form perfectly smooth, uniform balls. Without adequate chilling, your truffles will be too soft and messy to roll.
- Unsalted Butter is Key: Always use unsalted butter. Salted butter can make your truffle mixture unexpectedly salty, altering the delicate balance of flavors. Unsalted butter gives you control over the overall taste profile.
- Opt for Full-Fat Cream Cheese: For the creamiest, richest, and best texture, full-fat cream cheese is indispensable. Fat-free or low-fat versions contain more water, which can result in a grainy texture and a less satisfying, less flavorful truffle.
- Adjust Mint Extract to Your Liking: The amount of mint extract can be adjusted based on your personal preference. Start with the recommended amount and add a little more if you desire a stronger mint flavor. However, be cautious: adding too much extract can lead to an unpleasantly bitter or overly medicinal taste.
- Truffle Size Matters for Yield: The number of truffles you get from this recipe will vary depending on how large or small you roll each individual ball. For consistent size, consider using a small cookie scoop before rolling.
- Choose Gel Food Coloring: For vibrant green truffles, I highly recommend using gel food coloring. Gel colors are concentrated and produce a much more intense hue than liquid drops, without adding excess moisture that could thin out your truffle mixture.
- Avoid Fresh Mint: While fresh herbs are often preferred, fresh mint does not work well in this truffle recipe. It tends to impart a bitter aftertaste that can be quite unpleasant, and the resulting color isn’t as appealing or consistent as using extract and gel coloring.
- Add Powdered Sugar Gradually: To ensure a perfectly smooth and lump-free truffle mixture, always add the powdered sugar gradually, one cup at a time, while continuously mixing. This method helps the sugar dissolve thoroughly and prevents the mixture from becoming stiff and difficult to incorporate.
- Wear Disposable Gloves for Rolling: For a cleaner and easier rolling process, wear disposable gloves. This prevents the sticky mixture from adhering to your hands and helps you form perfectly smooth, professional-looking truffle balls.
- Prioritize Mini Chocolate Chips: Using mini chocolate chips instead of regular-sized ones is a game-changer. They distribute more evenly throughout the mixture, making the truffles much easier to roll into smooth, round balls, and they provide a more pleasant texture when you bite into them.
- Temperature Control for Dipping: If you plan to cover your truffles in melted chocolate, pay close attention to temperatures. A super-cold truffle ball dipped into piping hot melted chocolate can cause the truffle’s center to expand, leading to unsightly cracks in the chocolate coating. Aim for truffle balls that are chilled but not icy, and melted chocolate that is warm and fluid but not excessively hot. Allow melted chocolate to cool slightly before dipping.
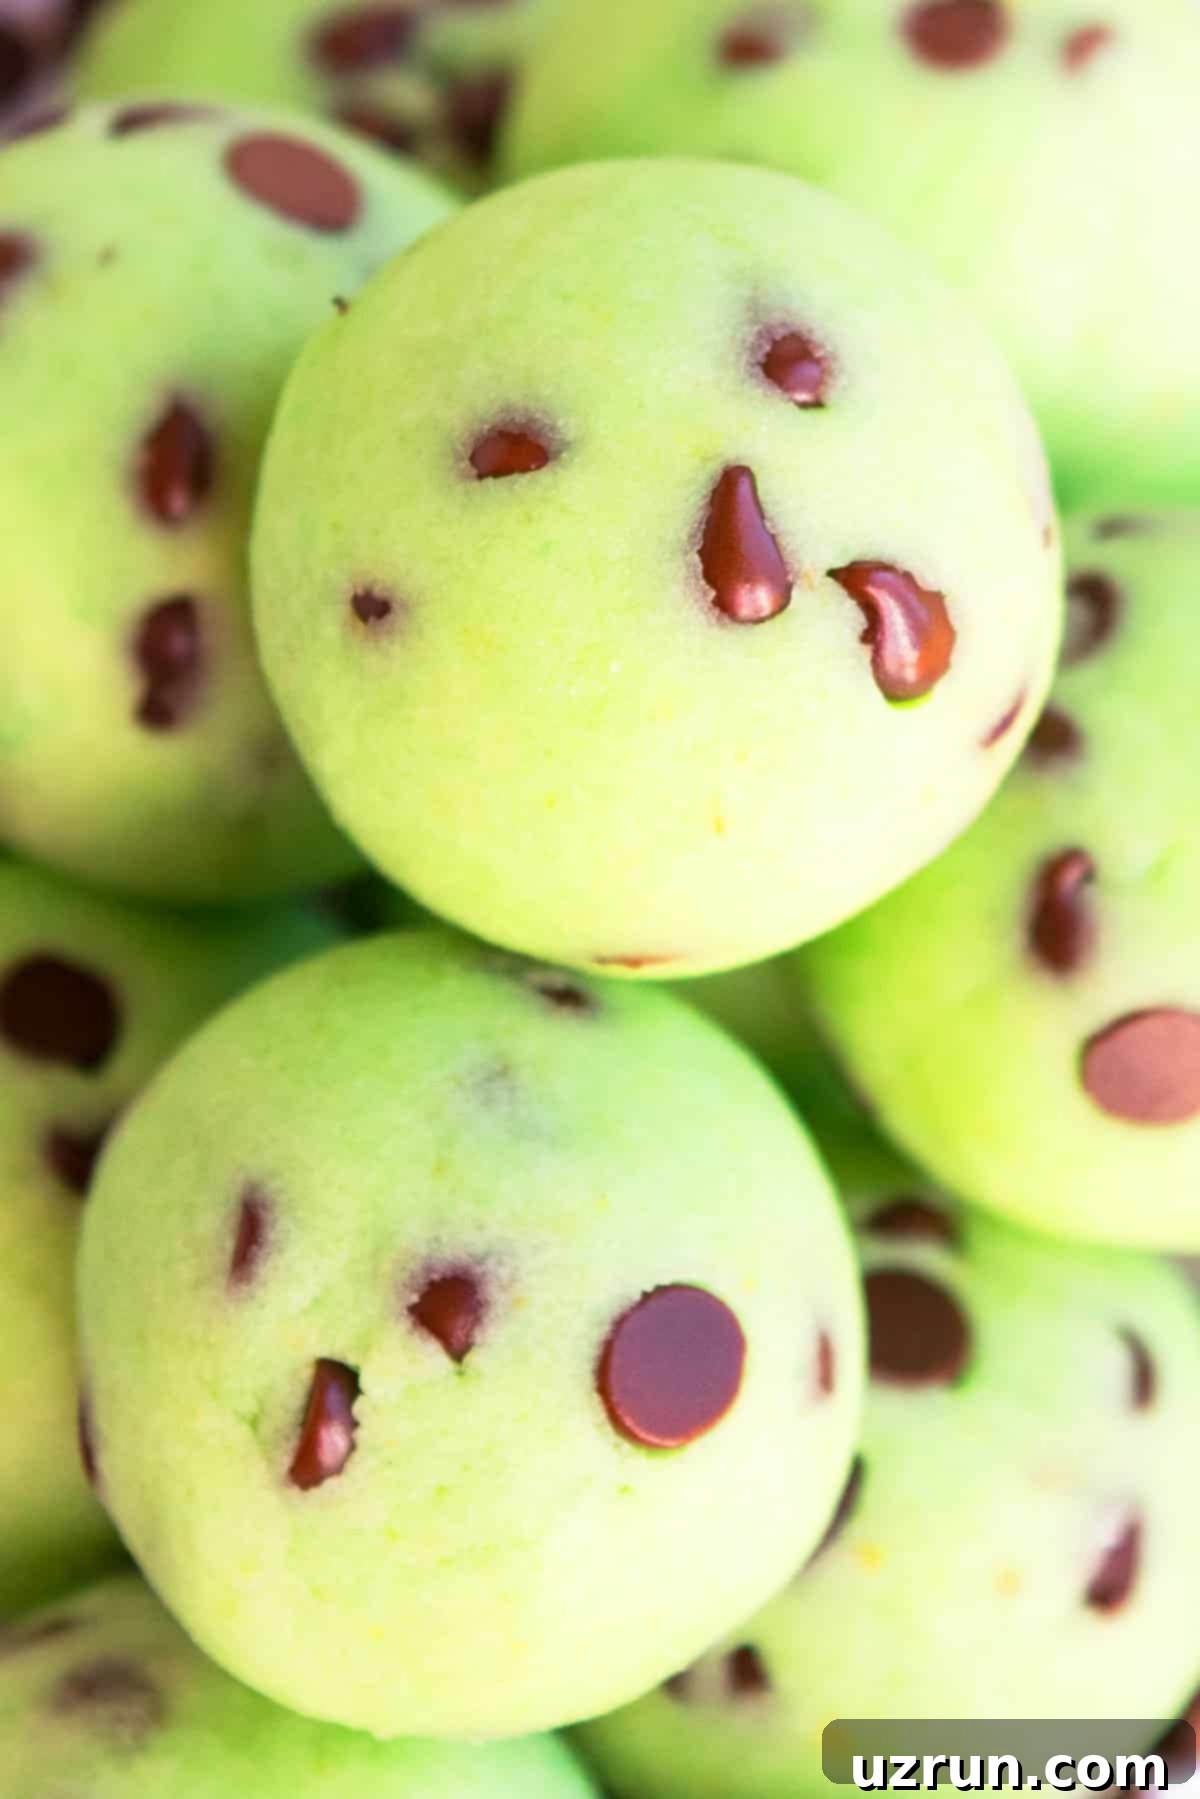
Recipe FAQs: Your Chocolate Mint Truffle Questions Answered
The term “truffle” for candy originated from its resemblance to the prized fungi, truffles, in shape and sometimes in its earthy appearance when coated in cocoa powder. Traditionally, a truffle candy features a rich chocolate ganache center (a mixture of chocolate and cream) that is then rolled into a ball and often dusted with cocoa powder. However, modern interpretations have broadened, with many recipes now using various creamy fillings, like cream cheese, buttercreams, or cookie dough, and covering them with different toppings. The key elements remain their bite-sized, usually spherical shape, and their luxurious, melt-in-your-mouth texture.
Dipping truffles in melted chocolate is a simple way to elevate their appearance and flavor. First, ensure your truffles are thoroughly chilled but not frozen solid. Next, melt your chosen chocolate (white, dark, or semi-sweet) gently, ensuring it’s smooth and fluid but not too hot, to prevent cracking. I find it easiest to insert a toothpick gently into the center of a truffle, then quickly dip it into the bowl of melted chocolate, allowing any excess to drip off before carefully transferring it to a parchment-lined baking sheet. For a flawless finish, work quickly and avoid over-dipping.
There are a few common reasons why truffles might not be setting properly. The most frequent culprit is insufficient chilling time; they simply haven’t had enough time in the fridge or freezer to firm up. In this case, just give them more time! Another factor could be inaccurate ingredient measurements, particularly if the ratio of liquid (butter/cream cheese) to dry ingredients (powdered sugar) is off, making the mixture too soft. Always measure precisely. If you’re dipping them in melted chocolate, ensure the chocolate has cooled sufficiently before dipping, as hot chocolate can soften the truffle interior. To fix soft truffles, try adding a little more powdered sugar to the mixture (if it’s still unrolled), or return them to the coldest part of your refrigerator or even the freezer for a longer period until they are firm enough to handle.
Storage Solutions: Keeping Your Truffles Fresh
Proper storage is essential to maintain the freshness, texture, and flavor of your homemade chocolate mint truffles:
- Room Temperature: Due to the dairy products (butter and cream cheese) in these truffles, they should not be left at room temperature for more than 2-3 hours. Prolonged exposure to warmth can cause them to soften, melt, and potentially spoil. Always store them in the refrigerator.
- Refrigerate: Leftover truffles can be stored in an airtight container in the refrigerator for up to 5 days. Ensure the container is sealed tightly to prevent them from absorbing any odors from other foods in the fridge and to maintain their creamy texture.
- Freeze: For longer storage, these truffles freeze beautifully. Place them in a single layer on a baking sheet to flash freeze for about an hour until solid, then transfer them to a freezer-safe, airtight container or a heavy-duty freezer bag. They can be stored in the freezer for up to 1 month. Thaw them gradually in the refrigerator before serving.
- Make Ahead: These truffles are a fantastic make-ahead dessert! You can prepare them up to 5 days in advance and store them in a sealed container in the fridge. Alternatively, make and freeze them for up to 1 month, as described above, and then thaw them in the refrigerator the day before you plan to serve them. This makes them perfect for holiday entertaining or when you need a quick dessert on hand.
Discover More Decadent Truffle Recipes
- Easy Coffee Truffles (Mocha Espresso Truffles)
- Easy Pumpkin Truffles (Cheesecake)
- How to Make Chocolate Truffles (3 Ingredients)
- Oreo Truffles (Oreo Balls)
- Cake Truffles (With Cake Mix)
Recipe
Chocolate Mint Truffles
Abeer Rizvi
Pin Recipe
Want to Save This Recipe?
Enter your email & I’ll send it to your inbox. Plus, get great new recipes from me every week!
By submitting this form, you consent to receive emails from CakeWhiz
Ingredients
- ½ cup Butter Unsalted, Room temperatre
- ½ cup Cream cheese Full fat
- 1.5 teaspoon Mint extract
- Green food coloring Optional but highly recommended
- 4.5 cups Powdered sugar
- ¾ cup Mini chocolate chips
Instructions
-
In a mixing bowl, add butter, cream cheese, mint extract, food coloring and mix until combined.
-
Gradually, add powdered sugar (1 cup at a time) and continue mixing until smooth.
-
Stir in chocolate chips.
-
Chill for 1-2 hours or until mixture is easier to handle.
-
Scoop out small portions of the mixture and form balls.
Tip: It helps to wear disposable gloves to form smooth balls and prevents the mixture from sticking to your hands.
-
Dip in melted chocolate, if you like. Enjoy!
Notes
- Chill mixture because it makes it easier to roll into small balls.
- Use mini chocolate chips instead of the regular sized chocolate chips.
- Dip in them in melted white chocolate, dark chocolate or semisweet chocolate if you like.
- You can also coat them in cocoa powder or powdered sugar.
- Read additional tips and variations above.
- Leftovers can be stored in a sealed container in the fridge for up to 5 days.
Nutrition
An automated tool is used to calculate the nutritional information. As such, I cannot guarantee the accuracy of the nutritional information provided for any recipe on this site.
