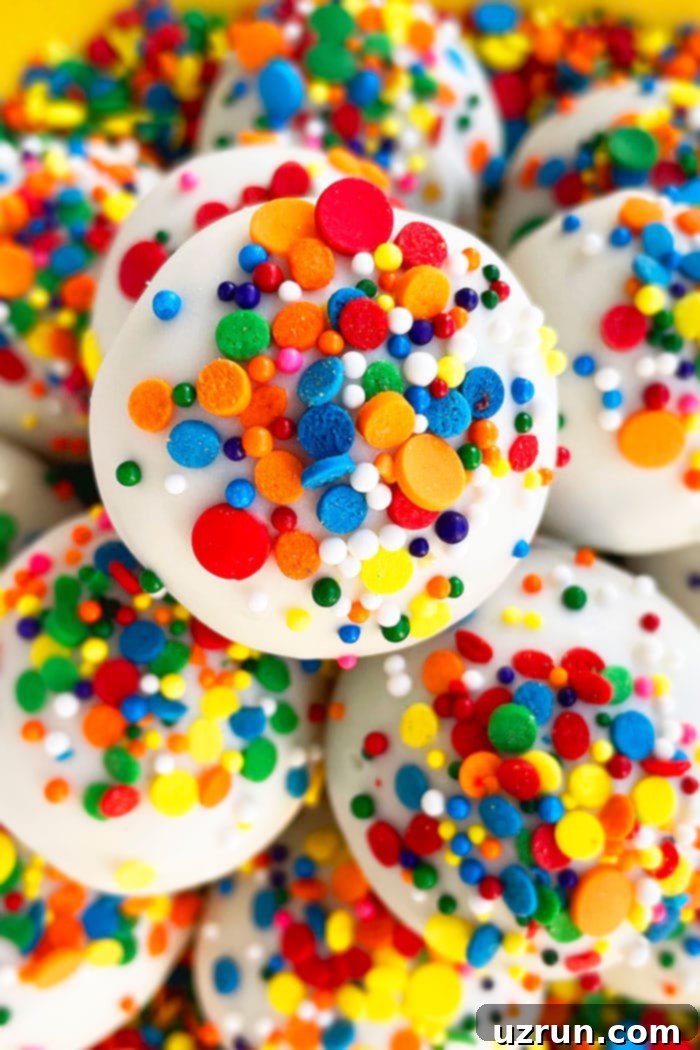
Irresistible No-Bake Funfetti Birthday Cake Truffles: Your Ultimate Guide
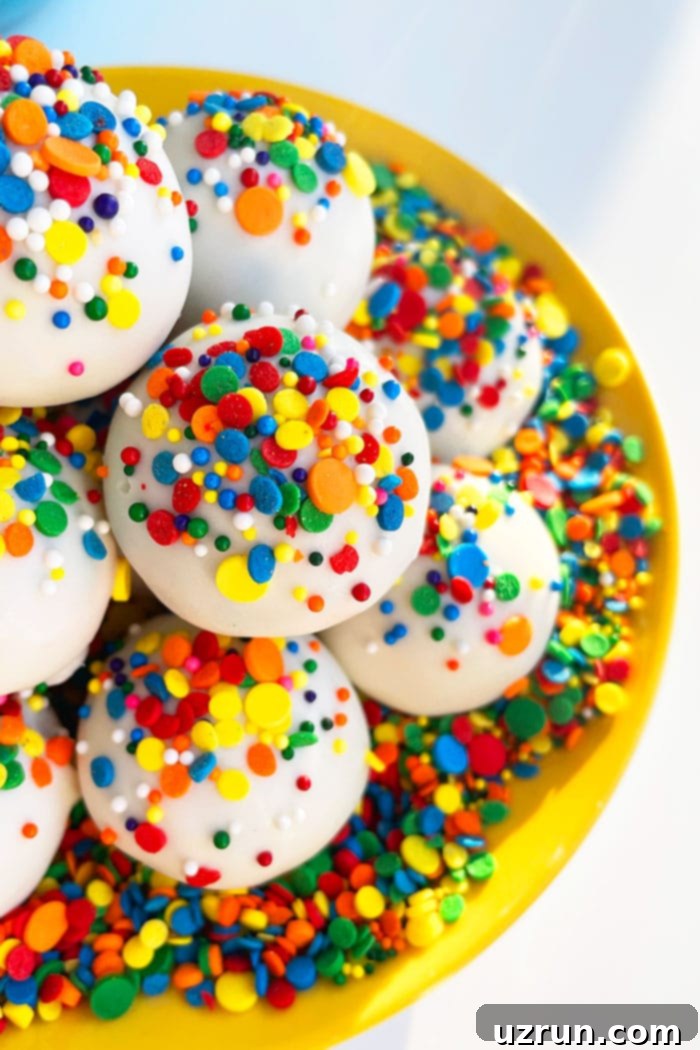
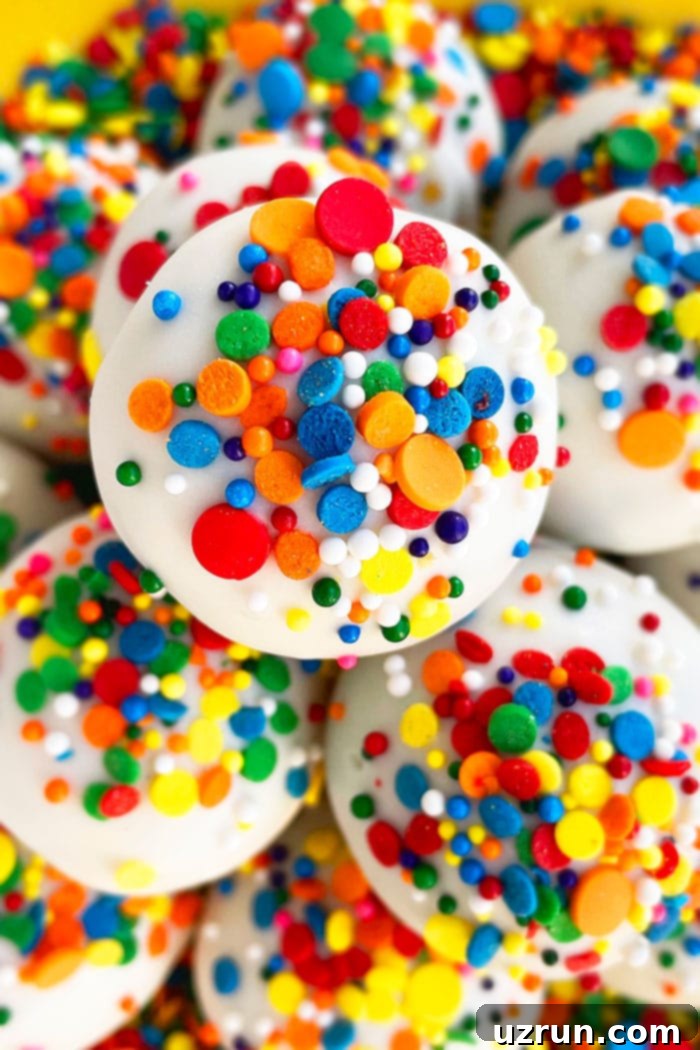
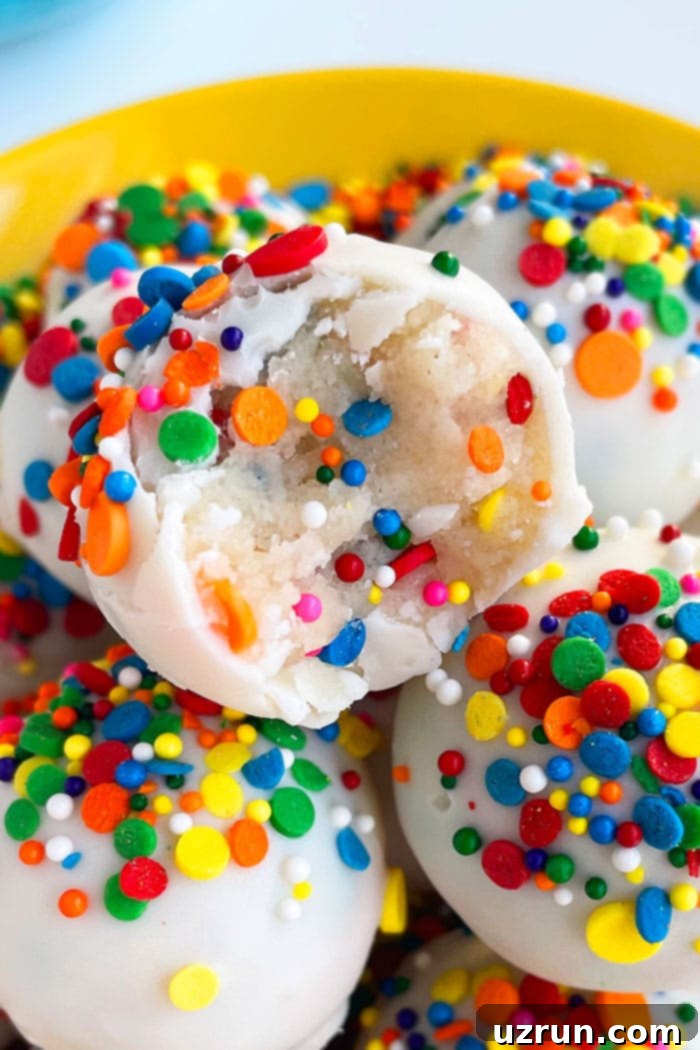
Get ready to create the most delightful, bite-sized treats that are perfect for any celebration! These **homemade Birthday Cake Truffles** are incredibly quick and easy to make, requiring absolutely no baking. Starting with a vibrant funfetti cake mix, these little spheres of joy are packed with cheerful rainbow sprinkles, bound with luscious buttercream frosting, and elegantly coated in crisp white chocolate. They are truly a showstopper and disappear almost as fast as they are made!
Whether you’re hosting a birthday party, looking for a simple yet impressive dessert, or just craving something sweet and nostalgic, these truffles are your answer. They are rich, fudgy, and bursting with flavor, reminiscent of other beloved treats like Red Velvet Truffles and White Chocolate Truffles. Prepare to impress everyone with these vibrant, delicious **no-bake funfetti cake truffles**!
How to Make Easy Birthday Cake Truffles with Cake Mix: A Step-by-Step Guide
Creating these delightful **funfetti cake truffles** is a straightforward process, perfect for beginners and seasoned bakers alike. Follow these simple steps to whip up a batch of these irresistible treats in under an hour.
- Prepare the Mixture: In a large mixing bowl, combine your heat-treated funfetti cake mix with a generous dollop of creamy buttercream frosting. The frosting acts as the primary binder, creating that signature fudgy texture. If the mixture appears too stiff or crumbly, gradually add small amounts of milk, one tablespoon at a time, until it reaches a moist, pliable dough-like consistency that is easy to roll. Finally, gently fold in a good amount of rainbow sprinkles, ensuring they are evenly distributed for that festive burst of color.
- Chill for Firmness: Once your vibrant cake truffle mixture is ready, cover the bowl and transfer it to the refrigerator. Allow it to chill for approximately 20-30 minutes. This crucial step firms up the dough, making it much easier to handle and roll into perfectly shaped balls without them becoming sticky or falling apart.
- Form into Balls: Remove the chilled mixture from the fridge. Using a small cookie scoop or your hands, scoop out even portions of the dough. Roll each portion into smooth, uniform balls. Aim for consistency in size, which will ensure even coating and a professional look.
- Dip in Melted Chocolate: Melt your chosen white chocolate chips gently until smooth and fluid. Dip each cake ball into the melted chocolate, ensuring it’s fully coated. Lift it out, allowing any excess chocolate to drip off.
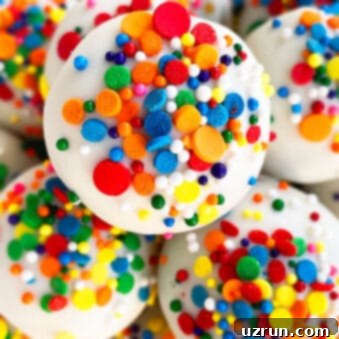
- Add More Sprinkles (Optional but Recommended!): While the chocolate coating is still wet, quickly sprinkle some extra rainbow sprinkles on top. This adds an extra layer of visual appeal and reinforces the “funfetti” theme.
- Allow Chocolate to Set: Carefully place the dipped truffles onto a baking tray lined with wax paper or parchment paper. Let the chocolate coating set completely at room temperature, which typically takes about 15-20 minutes. Once set, they are ready to be devoured!
For those who prefer a completely scratch-made approach, you can easily substitute the cake mix with leftover funfetti cake crumbs. Simply crumble your baked funfetti cake and mix with buttercream until you achieve the desired consistency.
Understanding the Differences: Cake Balls, Cake Truffles, Chocolate Truffles, and Cake Pops
It’s common to get these delightful treats mixed up, but understanding the subtle differences can help you appreciate each one more. Let’s clarify:
- Cake Balls & Cake Truffles: These terms are essentially interchangeable. They refer to a rich, fudgy mixture made from crumbled cake (either baked cake scraps or a prepared cake mix) combined with frosting or another binding agent, then rolled into small spheres. Our **birthday cake truffles** fall perfectly into this category!
- Chocolate Truffles: Unlike cake truffles, traditional chocolate truffles are made primarily from a ganache – a mixture of chocolate and heavy cream or condensed milk. This ganache is then chilled, rolled, and often coated in cocoa powder, nuts, or melted chocolate. Their texture is typically denser and more intensely chocolatey.
- Cake Pops: Imagine a cake ball, but on a stick! Cake pops are simply cake balls that have a lollipop stick inserted into them before being dipped in chocolate and decorated. They are incredibly popular for parties as they are easy to hold and eat. If you’re keen to explore them further, check out this comprehensive post on How to Make Cake Pops and Cake Balls.
Safety First: How to Heat Treat Raw Flour or Cake Mix
When making no-bake desserts like these **cake batter truffles**, it’s crucial to heat treat any raw flour or cake mix. Raw flour can sometimes contain harmful bacteria, and heat treating it eliminates this risk, ensuring your treats are safe to eat. This simple step takes minimal effort for maximum peace of mind.
- Prepare Your Tray: Line a baking tray with parchment paper. Evenly spread out the desired amount of flour or cake mix in a thin layer.
- Bake to Temperature: Preheat your oven to 350 degrees F (175 degrees C). Bake the flour or cake mix for 5-7 minutes. The goal is to bring the internal temperature of the flour to 160 degrees F (71 degrees C). You can verify this with an instant-read thermometer. It’s important that the flour does not change color or toast; we only want to heat it for safety.
- Cool Completely: Once the desired temperature is reached, remove the tray from the oven and let the flour or cake mix cool completely to room temperature. This is essential before mixing it into your no-bake recipe.
- Sift for Smoothness: After cooling, sift the heat-treated flour or cake mix to remove any clumps that may have formed during baking. This ensures a smooth, consistent texture in your truffles.
- Use in Your Recipe: Your heat-treated flour or cake mix is now ready to be incorporated into your delicious no-bake dessert!
Please understand that while this step significantly reduces risks, it’s undertaken at your own discretion. However, I and many others have enjoyed these truffles without issue after following this heat treatment process.
More Festive Birthday Dessert Ideas
If you’re planning a birthday bash or simply love celebratory sweets, explore these other fantastic recipes that are sure to bring smiles:
- Creative Birthday Cake Ideas
- The Best Classic Birthday Cake Recipe
- Easy Birthday Sprinkle Cookies (Made with Cake Mix)
- Fun Birthday Cupcakes (Including Pinata Cupcakes!)
Creative Variations for Birthday Cake Truffles (or Funfetti Truffles!)
One of the best things about these **cake mix truffles** is their incredible versatility. You can easily customize them to suit any occasion, season, or personal preference. Here are some fantastic ideas to get your creative juices flowing:
- Experiment with Extracts: Beyond vanilla, add a few drops of almond, lemon, or even a sophisticated caramel extract for a unique flavor twist. Peppermint extract is perfect for holiday-themed truffles, while coconut extract can transport you to a tropical paradise.
- Incorporate Zests: For a bright and fresh flavor, grate in the zest of a lemon, lime, or orange into your cake truffle mixture. Citrus zest adds a lovely aromatic and tangy note that beautifully cuts through the sweetness.
- Holiday-Themed Truffles:
- Christmas Truffles: Use a gingerbread or spice cake mix, or add gingerbread spice to a vanilla mix. Dip in white chocolate and decorate with festive red and green sprinkles.
- Halloween Truffles: Use an orange-colored cake mix or add orange food coloring. Dip in dark chocolate and add spooky edible decorations.
- Valentine’s Day Truffles: (See detailed section below!)
- Decadent Chocolate Truffles: Swap the funfetti mix for a chocolate cake mix. For an extra chocolatey punch, stir in mini chocolate chips, roughly chopped Oreos, or a swirl of chocolate ganache into the mixture before rolling.
- Elegant Vanilla Truffles: Start with a yellow or vanilla cake mix and enhance the flavor with pure vanilla bean paste or extra vanilla extract. Dip in dark, milk, or white chocolate for a classic appeal.
- Eggless and Easy: This recipe is naturally eggless, making it a great option for those with dietary restrictions or preferences, without compromising on taste or texture.
- Diverse Add-ins: Get creative with what you mix into the dough! Instead of just sprinkles, consider:
- Roughly chopped nuts (pecans, walnuts, almonds) for crunch.
- Crushed candy bars (Snickers, Butterfinger) for a textural and flavor explosion.
- Crushed Oreo cookies for a cookies-and-cream delight.
- Shredded coconut for a tropical touch.
- Mini chocolate chips or M&M candies for extra chocolate and color.
- Dried fruits like cranberries or chopped apricots for a chewy contrast.
- Colorful Chocolate Coatings: Elevate the visual appeal by using colored candy melts for dipping. These come in a rainbow of colors and are easy to melt and work with, setting quickly for a smooth, vibrant finish.
- Surprise Fillings: For a delightful surprise, roll your cake truffle mixture around a small candy center. A Hershey’s Kiss, a mini Reese’s peanut butter cup, or a Rolo caramel candy can be hidden inside, offering an unexpected burst of flavor when you bite in.
- Transform into Cake Pops: As mentioned, these truffles are easily converted into cake pops. Simply dip a lollipop stick into a bit of melted chocolate, then insert it into the center of each cake ball. Allow the chocolate to set, which will anchor the stick, then proceed to dip the entire **cake pop** in melted chocolate and decorate.
- Alternate Frosting Flavors: Don’t limit yourself to basic buttercream. Experiment with other delicious frostings such as Marshmallow Frosting, a classic Cooked Flour Buttercream (Ermine Frosting), or a tangy Cream Cheese Frosting for different flavor profiles and textures.
- Cream Cheese Alternative: For a subtle tanginess and an even creamier consistency, replace the buttercream frosting with an equal quantity of softened cream cheese. This creates a slightly different but equally delicious truffle.
- Color the Dough: Add a few drops of food coloring to your cake mixture to match a party theme, holiday, or simply to create a visually stunning batch of truffles. Gel food colors work best for vibrant hues without thinning the mixture.
Essential Tips and Techniques for Perfect Cake Batter Truffles
Achieving perfectly smooth, fudgy, and delicious **cake batter truffles** is easy with these expert tips and techniques:
- Always Heat Treat Cake Mix and Flour: This cannot be stressed enough for no-bake recipes. As mentioned above, raw flour and cake mix can harbor bacteria. A quick bake in the oven kills off any potential germs, making your truffles completely safe to enjoy. Always allow it to cool completely before using.
- Choosing the Best Chocolate for Dipping: The type of chocolate you use will significantly impact the final taste and appearance of your truffles.
- Candy Melts: If you desire vibrant colors or a very quick-setting, smooth coating, Wilton’s candy melts are an excellent choice. They are designed to melt smoothly and harden quickly without tempering.
- Chocolate Chips/Baking Bars: For a more traditional chocolate flavor, opt for high-quality chocolate chips (like Nestle or Ghirardelli) or baking chocolate bars. Chocolate almond bark is also a good, easy-to-melt option. Always choose a brand and type of chocolate whose flavor you truly love, as it will be a prominent part of the truffle.
- Melting Tips: Melt chocolate gently over a double boiler or in short bursts in the microwave, stirring frequently. Avoid overheating, as this can cause the chocolate to seize or become grainy. Add a teaspoon of vegetable oil or coconut oil to thin out the chocolate slightly for an even smoother dip if needed.
- The Importance of Chilling: Do not skip the chilling step! Refrigerating the cake mixture for 20-30 minutes makes the dough firm and significantly less sticky. This firmness is crucial for rolling perfectly round, uniform balls without a mess, and helps them hold their shape during dipping.
- Avoid Nonpareils Sprinkles in the Dough: While beautiful for decoration, nonpareils sprinkles tend to bleed their colors into the dough when mixed in, resulting in an oddly (and often unappetizingly) colored mixture. Stick to jimmies (rod-shaped sprinkles) or quins (flat, shaped sprinkles) for mixing into the dough, as they are less likely to bleed. Save the nonpareils for topping!
- How to Fix Crumbly Mixture: If your cake truffle mixture feels too dry and crumbly to roll, don’t despair! Gradually mix in a very small amount of milk (or even a tiny bit more frosting), a teaspoon at a time, until the mixture becomes pliable and easy to roll into smooth balls.
- For Evenly Sized Balls: To ensure all your truffles are consistently sized, use a small cookie scoop or a melon baller. This not only makes the process faster but also gives your finished product a professional and appealing look.
- Achieving a Smooth Chocolate Coating: After dipping, gently tap the truffle against the side of the bowl or fork to allow excess chocolate to drip off. This prevents puddles of chocolate at the base and ensures a thinner, more elegant coating.
A Special Touch: Valentine’s Day Truffles
These versatile **cake truffles** aren’t just for birthdays! They make a wonderfully thoughtful and romantic treat for Valentine’s Day or Mother’s Day. Here’s how to create a special batch:
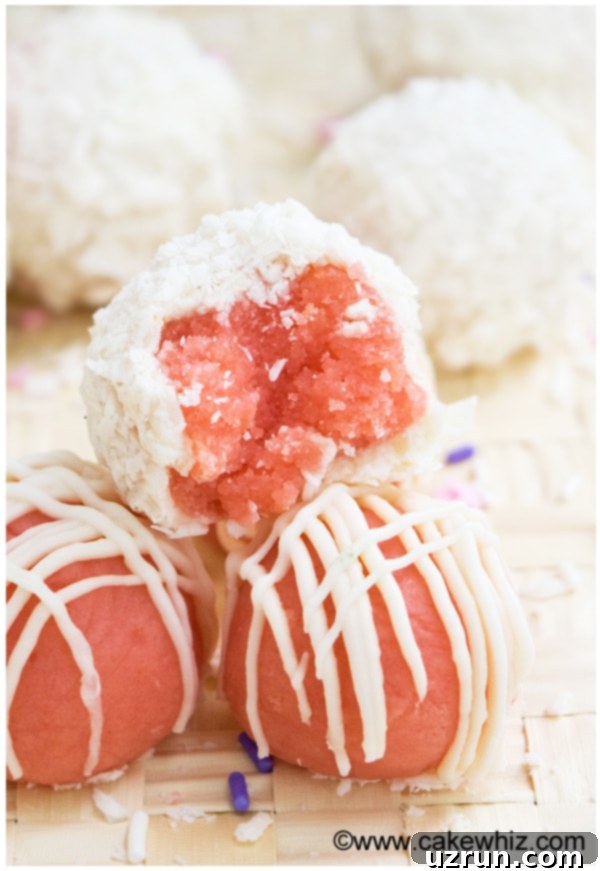
Start with a classic vanilla cake mix (heat-treated, of course!) and tint it a beautiful soft pink or vibrant red using gel food coloring. Alternatively, if you have leftover Pink Velvet Cake crumbs, they would be absolutely perfect. For the binder, mix in creamy vanilla frosting or elevate the flavor with a delightful Strawberry Buttercream Frosting. Once your pink mixture is ready and chilled, roll it into elegant balls. Dip each ball in melted white chocolate for a pristine, romantic finish, and then coat them in delicate shredded white chocolate or fine shredded coconut for a touch of texture and sophistication. These are sure to melt hearts!
Proper Storage for Your Delicious Truffles
To keep your **birthday cake truffles** fresh and delicious, proper storage is key:
- Refrigerate: Store finished, chocolate-covered truffles in an airtight container in the refrigerator for up to 3 days. The chocolate coating helps to lock in moisture and flavor.
- Freeze for Longer Storage: If you want to make them ahead or have leftovers, unfrosted or non-chocolate covered cake balls/truffles can be frozen. Place them in a single layer on a baking sheet to freeze solid, then transfer them to a freezer-safe, sealed container or bag for up to 1 month. When you’re ready to enjoy them, simply remove them from the freezer, allow them to thaw slightly at room temperature, then dip each truffle in melted chocolate and decorate as desired. This method ensures maximum freshness for the coating.
Explore More Homemade Truffle Recipes
If you’ve fallen in love with making truffles, there’s a whole world of flavors to discover! Here are some other fantastic homemade truffle recipes to try:
- Bright and Zesty Lemon Cake Balls
- Easy Spiced Pumpkin Truffles
- Refreshing Chocolate Mint Truffles
- Irresistible Eggless Chocolate Chip Cookie Dough Truffles
- Fruity Chocolate Blueberry Truffles
- Classic Chocolate Truffles with a Cranberry Twist
- Magical Harry Potter Golden Snitch Truffles
- Energizing Coffee Truffles
- Simple and Delicious Buckeyes (Peanut Butter Balls)
Recipe
Birthday Cake Truffles (With Cake Mix)
Abeer Rizvi
Pin Recipe
Want to Save This Recipe?
Enter your email & I’ll send it to your inbox. Plus, get great new recipes from me every week!
By submitting this form, you consent to receive emails from CakeWhiz
Ingredients
- 1 box Funfetti cake mix Heat treated
- ¼ cup All-purpose flour Heat treated
- 1 cup Buttercream frosting
- 1-3 tablespoon Milk As needed and only use if necessary
- ½ cup Rainbow sprinkles Avoid nonpareils sprinkles that would dye the dough, Use rainbow jimmies or quins
- 2 cups White chocolate chips Melted, For dipping
Instructions
-
In a large mixing bowl, add cake mix, powdered sugar, buttercream, milk (if necessary) and mix until combined.
-
If the dough is too crumbly, mix in more milk.
-
Add sprinkles and mix with a spatula until evenly distributed.
-
Chill in fridge for 20-30 minutes to make dough firmer and easy to handle.
-
Scoop out small portions of the mixture and roll into small balls.
-
Dip each ball in a bowl of melted chocolate.
-
Place them on a tray, lined with wax paper or parchment paper.
-
Toss some sprinkles on top (optional).
-
Allow the chocolate to set for 15-20 minutes at room temperature. Enjoy!
Notes
- Read all my tips above.
- Leftovers can be stored in a sealed container in the fridge for up to 3 days.
Nutrition
An automated tool is used to calculate the nutritional information. As such, I cannot guarantee the accuracy of the nutritional information provided for any recipe on this site.
