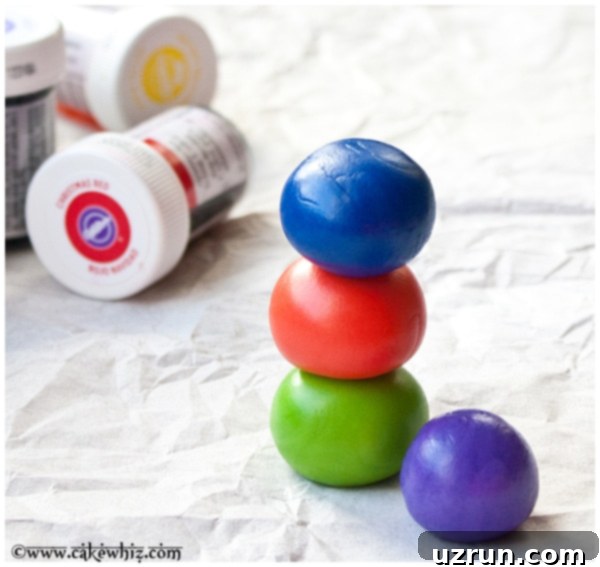
Mastering Fondant Coloring: Your Ultimate Guide to Using Gel Colors
Welcome, fellow bakers and cake enthusiasts! Today, we’re diving into an essential skill for anyone who loves to decorate cakes: how to color fondant. Learning the right techniques can transform your cake designs from simple to spectacular, allowing you to create vibrant, customized creations. This guide will share all my tried-and-true tips and tricks, helping you avoid common mistakes and achieve perfectly colored fondant every time.
As I continue my journey in baking and cake decorating, I’m constantly learning new things. There’s nothing more rewarding than sharing this knowledge with you, especially my fellow beginners. So, get ready for an in-depth “how-to” post that will make coloring fondant a breeze!
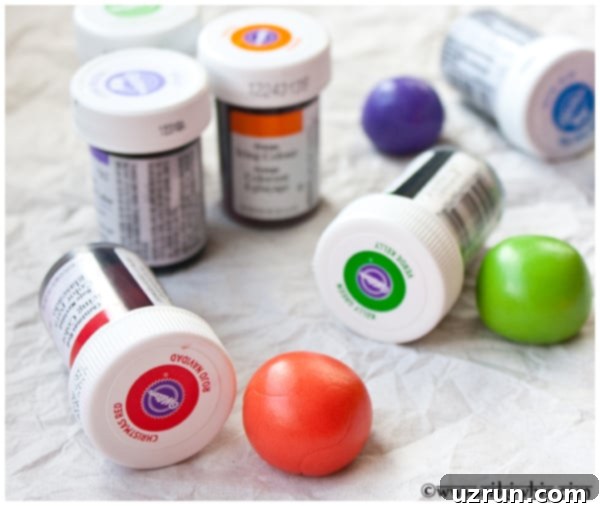
Understanding Fondant: Your Canvas for Color
Before we dive into coloring, let’s briefly discuss fondant itself. Fondant is an edible sugar paste primarily used to cover cakes, creating a smooth, elegant finish. It’s also incredibly versatile for making various decorations, from intricate flowers to fun figures.
There are many different brands of ready-made fondant available, and you can certainly use whichever you prefer. However, I often use homemade marshmallow fondant (MMF). My MMF recipe is foolproof, tastes fantastic, and is significantly cheaper and easier to make than you might think. Its pliability also makes it a dream to color and work with.
Why Gel Colors are Your Best Friend for Fondant
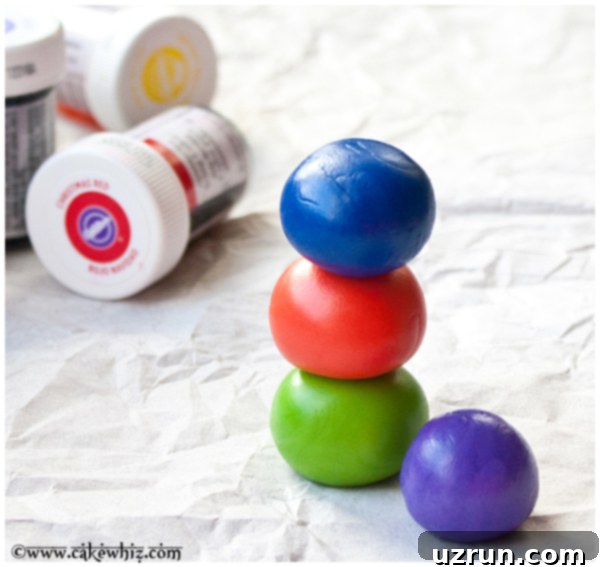
When it comes to coloring fondant, the choice of coloring agent is crucial. This is where gel colors truly shine. Here’s why they are the absolute best choice:
- Always Use Gel Colors: Gel colors are highly concentrated food colorings that contain very little water. This high concentration means you need only a tiny amount to achieve vibrant, rich colors.
- Avoid Liquid Food Coloring: Never, ever use liquid food coloring to tint your fondant. Liquid colorings have a high water content, which will make your fondant incredibly sticky, gooey, and almost impossible to handle. This leads to frustration and wasted product.
- Availability: Gel colors are widely available in the cake decorating aisles of craft stores like Michaels or Hobby Lobby. You can also easily order them online from specialized cake decorating sites like Wilton, Americolor, or even Amazon.
- Cost-Effective: While some might perceive gel colors as pricey, they are actually quite affordable, typically costing just a few dollars per bottle. Given how concentrated they are, a single bottle will last you a very long time, making them extremely economical in the long run.
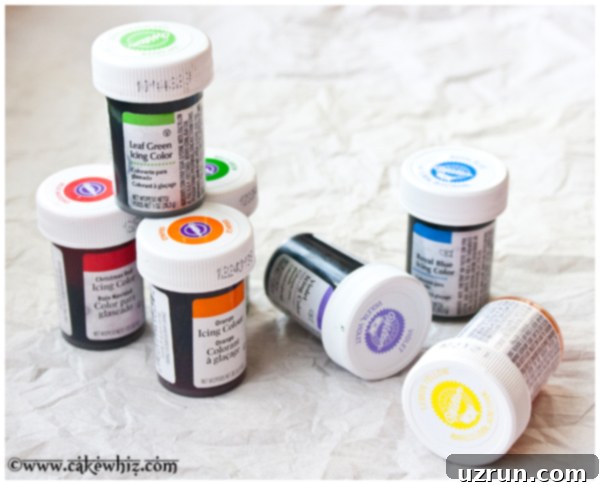
Choosing the Right Gel Colors and What Else They Can Do
- Brand Variety: There are many excellent brands of gel colors on the market. Two popular and reliable brands I frequently use are Wilton and Americolor. Americolor gels are often considered slightly more intense and vibrant than Wilton’s, sometimes requiring fewer drops to achieve a deep shade, but both are fantastic options.
- Vast Color Range: Gel colors come in an extensive array of pre-made shades. Don’t be afraid to experiment! You can also mix different gel colors to create your own unique and custom hues, allowing for endless creative possibilities.
- Concentration for Longevity: Because gel colors are so concentrated, a little goes a very long way. Your bottles will last for a substantial amount of time, even with frequent use.
- Versatile Use: Beyond fondant, gel colors are perfect for coloring other baking components such as gum paste, buttercream frostings, royal icing, and even cookie dough. They offer the same vibrant results without thinning your mixtures.
- What Not to Color: It’s important to note that gel colors cannot be used to color candy melts or melted chocolate. For these applications, you need to purchase special oil-based food colorings, as water-based gel colors will cause chocolate to seize and become grainy.
Essential Tips for a Smooth Coloring Process
- Wear Disposable Gloves: I highly recommend wearing disposable gloves when coloring fondant, especially if you’re working with red, blue, black, or any other dark or highly pigmented shade. These colors will readily stain your nails and fingers, and it can take quite a few washings to remove them completely. Gloves make cleanup much easier.
- Clean Up Stains: If your work area or countertop gets stained with gel color, simply wiping it with a wet cloth might not be enough. However, these stubborn stains can usually be cleaned easily with an all-purpose cleaning spray. I find products like Clorox sprays to be very effective.
- Coloring Large Quantities: If you plan on making a large quantity of fondant in a single color, consider adding the gel color while you are making your marshmallow fondant. Incorporate it into the melted marshmallow mixture before you add all the powdered sugar. Since you’re already kneading and mixing, it’s an efficient way to evenly distribute the color from the start, saving you time and effort later.
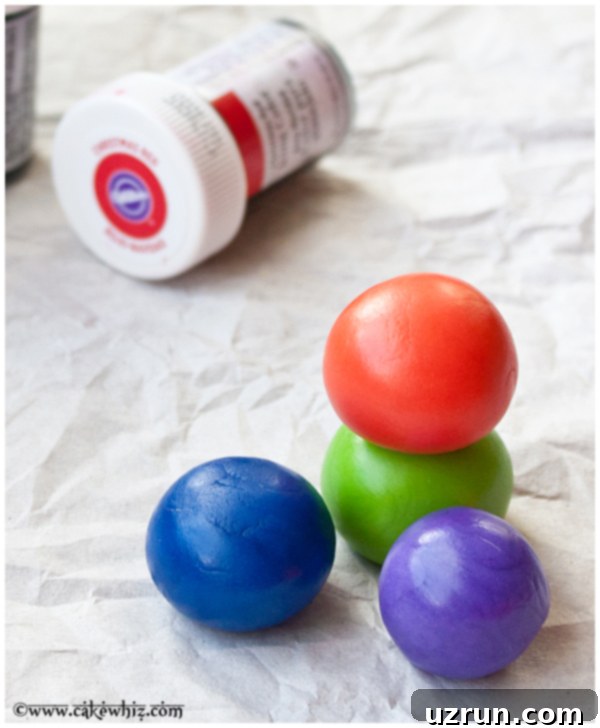
Step-by-Step Guide: How to Color Fondant with Gel Colors
The process for coloring fondant is surprisingly simple and yields beautiful results when done correctly. Follow these steps for vibrant, evenly colored fondant:
Step 1: Prepare Your Fondant and Apply Initial Color
First, ensure your work surface is clean and lightly rubbed with a thin layer of shortening. This prevents the fondant from sticking. Take your desired amount of marshmallow fondant and knead it gently for a minute or two. The warmth from your hands will make it more pliable and easier to work with.
Dip a clean toothpick into your chosen bottle of gel color. Start with a very tiny amount – remember, a little goes a long way. Dab or rub the gel color directly onto your ball of fondant in several spots. Using a toothpick helps control the amount of color and prevents contaminating your gel color bottle with fondant residue.
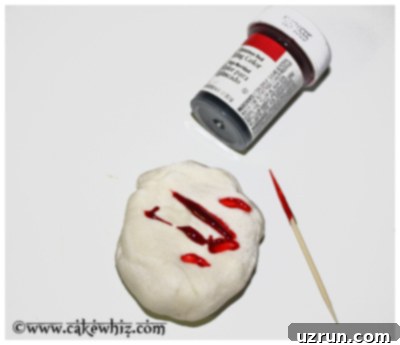
Step 2: Knead the Color Thoroughly Into the Fondant
Now, put on your disposable gloves. Using your hands, begin to knead the fondant, folding it over itself repeatedly. The goal is to thoroughly incorporate the gel color. At first, you’ll see streaks of color, which is perfectly normal. Continue kneading and stretching the fondant until the color is evenly distributed throughout and no streaks remain.
If the fondant starts to feel sticky during this process, simply rub a tiny bit more shortening onto your hands. This will help reduce stickiness and allow you to continue kneading without frustration. Avoid adding powdered sugar at this stage, as it can dry out the fondant unnecessarily.
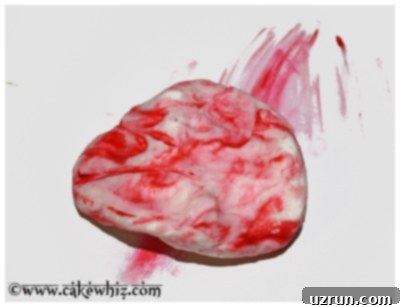
Step 3: Adjust the Shade to Your Desire
Once the initial color is fully mixed, evaluate the shade. If you feel it’s not deep or vibrant enough, you can easily add more color. Dip a *fresh* toothpick into the gel color (to prevent cross-contamination) and add another small amount to the fondant. Repeat the kneading process until the new color is thoroughly blended and you’ve achieved your desired shade. Always add color incrementally – it’s much easier to darken the shade than to lighten it!
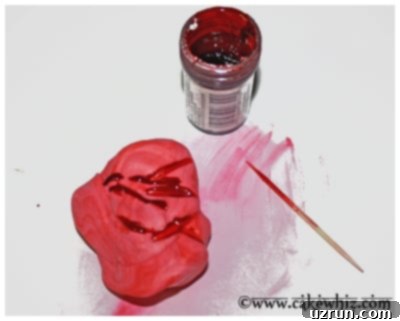
Step 4: Rest and Store Your Colored Fondant
Your beautifully colored fondant is now ready to use! You can begin decorating with it immediately. Alternatively, if you have time, you can let it sit for a day or two. Often, the color will deepen slightly and become more uniform after a period of rest, especially with darker hues.
Fondant dries out very quickly when exposed to air. To keep it fresh and pliable, always wrap it tightly in plastic wrap (saran wrap) immediately after coloring or when you’re not actively using it. Ensure there are no air gaps. Then, place the wrapped fondant in an airtight container or a resealable plastic bag. Store it at room temperature, away from direct sunlight or extreme temperatures. Properly stored, colored fondant can last for several weeks.
And there you have it! With your vibrant, perfectly colored fondant, you’re ready to cut out cool shapes, cover cakes, or create intricate decorations for your cakes and cupcakes. The possibilities are endless!
Fondant Coloring FAQs
Q: Can I use liquid food coloring for fondant?
A: Absolutely not! Liquid food colorings contain a high percentage of water, which will make your fondant sticky, unmanageable, and ultimately ruin its texture. Always stick to concentrated gel or paste food colorings for fondant.
Q: How much gel color should I use?
A: Always start with a very tiny amount, like the tip of a toothpick. Gel colors are highly concentrated. It’s much easier to add more color gradually to achieve your desired shade than to try and lighten a fondant that’s become too dark.
Q: My fondant is sticky after adding color. What should I do?
A: Stickiness usually occurs if too much liquid color was added, or if the fondant is overworked. Rub a small amount of shortening on your hands and work surface. Continue kneading gently. If it’s still too sticky, you can try incorporating a tiny bit of powdered sugar, but use it sparingly as it can dry out the fondant.
Q: How do I store colored fondant?
A: Wrap it tightly in plastic wrap, ensuring no air exposure, then place it in an airtight container or a zip-top bag. Store at room temperature, away from direct sunlight. Properly stored, it can last for several weeks.
Q: Will the color fade over time?
A: Gel colors are quite stable. However, prolonged exposure to direct sunlight can sometimes cause vibrant colors to fade. Store your decorated cakes or fondant pieces away from direct light if possible.
I hope you found this “How to Color Fondant” tutorial helpful! Learning this skill opens up a world of creative possibilities for your cake decorating endeavors. If you have any suggestions for my next “how-to” post or simply want to share your coloring success, feel free to leave a comment or send an email.
Happy decorating, my lovelies!
