The Ultimate Southern Cream Cheese Pound Cake: A Recipe for Unforgettable Moistness and Flavor
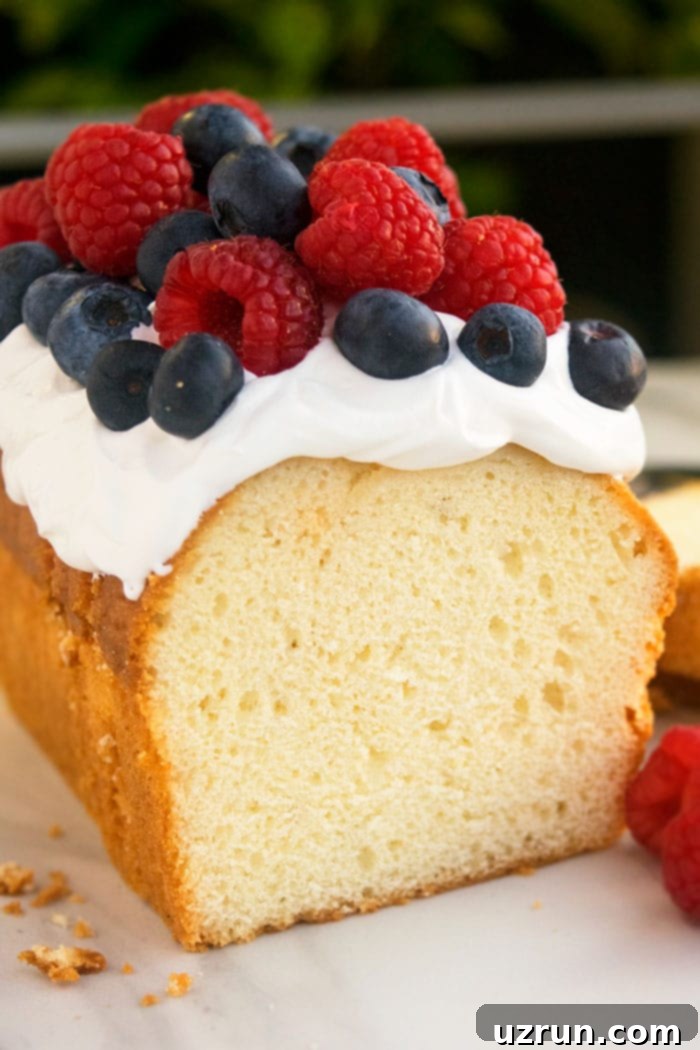
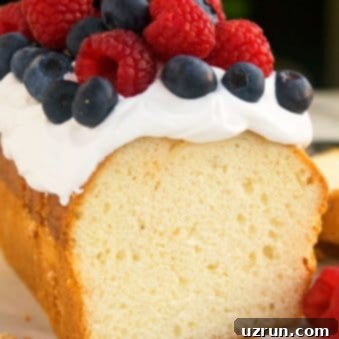
Prepare to fall in love with the ultimate classic Southern cream cheese pound cake! This recipe delivers an exceptionally soft, moist, and tender cake with a delightfully firm crumb, all made from scratch using simple, wholesome ingredients. Infused with rich vanilla and a subtle hint of almond, it’s a timeless dessert that’s perfect topped with freshly whipped cream and an assortment of vibrant seasonal fruits. It’s not just a cake; it’s a piece of culinary history, a tradition passed down through generations, promising comfort and indulgence in every slice.
This vintage-inspired pound cake stands proudly alongside my beloved Sour Cream Pound Cake and the elegant Marble Cake (Pound Cake). It holds a special place in my heart, being one of the very first cakes my Mom taught me to bake during my childhood. The memories of learning to cream butter and sugar, the aroma filling our kitchen, are as sweet as the cake itself. This recipe captures that same nostalgic charm, allowing you to create your own cherished baking memories.
Crafting Your Cream Cheese Pound Cake: A Simple Guide
Making this delectable cream cheese pound cake is a straightforward process, even for novice bakers. The key lies in careful mixing and using quality ingredients at the right temperature. Here’s a quick overview of the steps involved, with more detailed instructions provided in the full recipe card below:
- Begin by creaming together softened butter and full-fat cream cheese until the mixture is smooth and lump-free.
- Gradually incorporate the granulated sugar, beating until the mixture becomes light, fluffy, and significantly increased in volume. This step is crucial for incorporating air.
- Add the eggs, one at a time, mixing just enough after each addition to combine. Overmixing at this stage can lead to a dense cake.
- Stir in the vanilla extract and optional almond extract, ensuring they are well distributed for a balanced flavor profile.
- In a separate bowl, whisk together the dry ingredients: all-purpose flour and salt.
- Gently fold the dry ingredients into the wet mixture until just combined. Be careful not to overmix, as this can develop gluten and result in a tough cake.
- Pour the rich batter evenly into prepared (greased and floured) loaf or Bundt pans.
- Bake at a precise low temperature until golden brown and a toothpick inserted into the center comes out clean.
- Allow the cakes to cool in the pans for a short period before transferring them to a wire rack to cool completely.
- For the best texture and slicing, chill the cooled cake overnight in the refrigerator, wrapped securely.
- Before serving, lavishly top with your favorite frosting, glaze, or simple whipped cream and an abundance of fresh fruits.
Endless Possibilities: Delicious Variations for Your Pound Cake
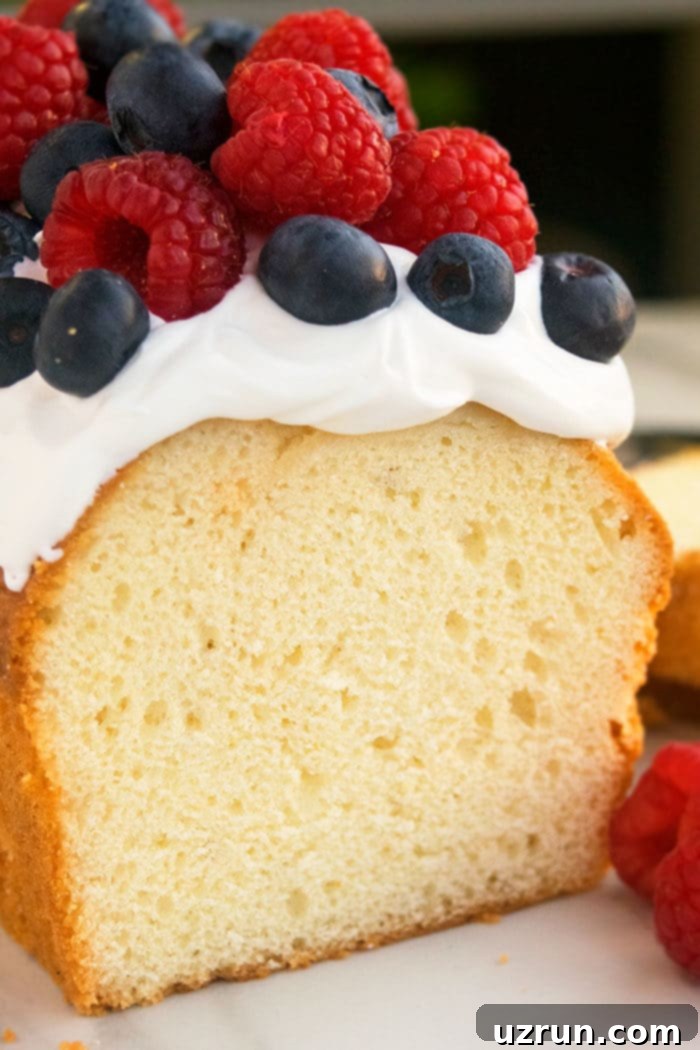
One of the many reasons to adore this cream cheese pound cake is its incredible versatility. With just a few minor tweaks to extracts, glazes, or toppings, you can effortlessly transform its flavor profile without drastically altering the core recipe. Here are some delightful variations to inspire your baking:
- Zesty Lemon Cream Cheese Pound Cake: For a bright and refreshing twist, simply swap the vanilla extract for 1-2 teaspoons of lemon extract. Enhance the citrusy notes by adding 1-2 teaspoons of fresh lemon zest to the batter. The harmonious blend of creamy cheese and tart lemon creates an exquisite sweet and tangy flavor. Take it a step further by drizzling a vibrant lemon glaze or spreading a tangy lemon frosting over the cooled cake. This variation is particularly popular during warmer months.
- Sweet Strawberry Cream Cheese Pound Cake: While fresh strawberries are delicious, I advise against adding them directly into the cake batter, as their high water content can release juices during baking, potentially making your beautiful pound cake soggy. Instead, embrace the strawberry flavor by topping the cooled cake with a luscious Strawberry Buttercream Frosting and generous amounts of fresh, sliced strawberries. For an added layer of indulgence, consider slicing the cake horizontally and filling it with a dollop of high-quality strawberry jam before frosting.
- Decadent Chocolate Cream Cheese Pound Cake: If you’re a chocolate lover, this variation is for you. While you could incorporate a small amount of cocoa powder into the dry ingredients for a subtle chocolate base, my preferred method is to allow the rich pound cake flavor to shine, then load it with chocolate goodness on top. A thick layer of creamy Chocolate Buttercream Frosting or a healthier yet equally delicious Coconut Cream Chocolate Frosting paired with a shower of chocolate chips will satisfy any cocoa craving.
- Explore Other Frosting & Glaze Options: The canvas of this pound cake is perfect for a myriad of toppings. Don’t limit yourself to just whipped cream! Experiment with various fruity frostings such as a vibrant Maraschino Cherry Frosting, a zesty Easy Orange Frosting, a subtly sweet Blackberry Buttercream Frosting, or an exotic Mango Frosting. Each will bring a unique character to your cake.
- Simple & Elegant Glazes: Although I opted for whipped cream in the primary recipe, a simple glaze is an effortless way to add flavor and moisture. A basic glaze can be whipped up by mixing together 2 cups of powdered sugar, 2 tablespoons of whole milk, 1 tablespoon of melted unsalted butter, and 1 teaspoon of vanilla extract until smooth and creamy. For variations, substitute vanilla with other extracts or fresh citrus zests – orange and lemon are perpetually popular choices, offering a delightful tang and aroma.
Expert Tips and Techniques for a Flawless Pound Cake
Achieving the perfect cream cheese pound cake is all about understanding a few key principles and techniques. Follow these expert tips to ensure your cake is nothing short of magnificent:
- Embrace Full-Fat Ingredients: For a truly rich, moist, and flavorful pound cake, steer clear of low-fat or fat-free alternatives. Always opt for full-fat cream cheese and real unsalted butter. These high-quality fats are essential for the cake’s luxurious texture and depth of flavor.
- No Leavening Agents Required! Unlike many other cakes, traditional pound cakes, including this cream cheese version, rely solely on the aeration created by creaming butter and sugar, and the structure provided by a generous amount of eggs for their rise. Do not add baking powder or baking soda, as these will alter the dense, fine crumb texture that defines a pound cake.
- Choose Your Pan Wisely: This recipe works beautifully in two standard 8×4 inch loaf pans, allowing for easier slicing and sharing. Alternatively, a 4-quart Bundt pan can be used for a more decorative presentation. The baking time will be approximately the same for either option, but always keep an eye on your specific oven.
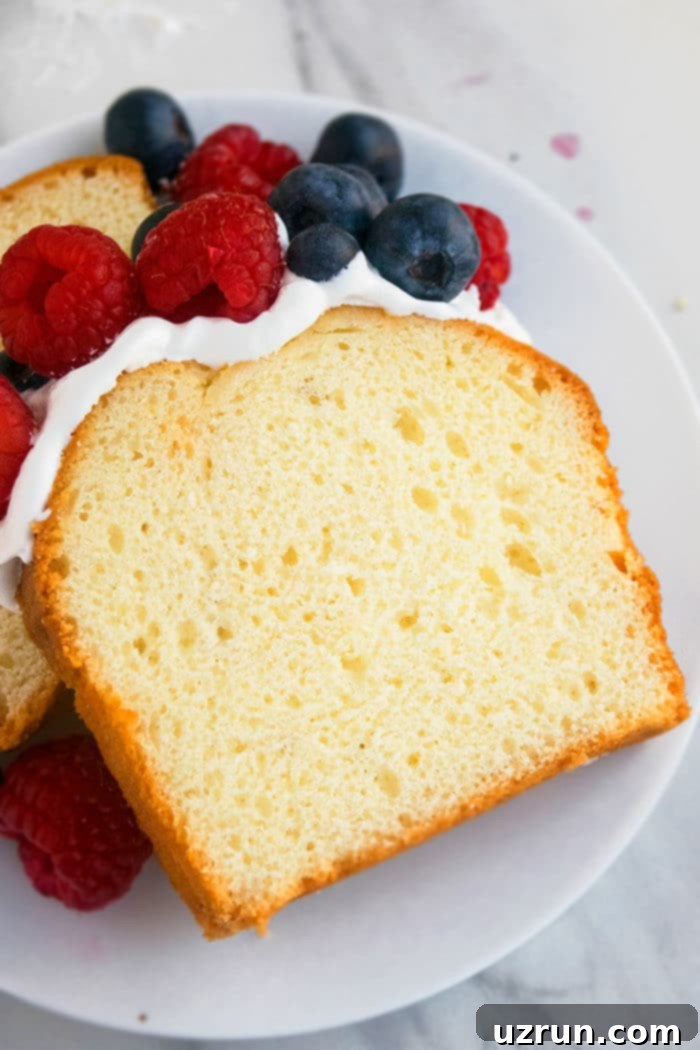
- Patience is Key – Don’t Rush the Bake Time! Pound cakes are inherently dense and have a thick batter, which necessitates a longer baking period, typically ranging from 1 to 1.5 hours. Resist the urge to shorten the baking time. A fully baked pound cake will have a firm, golden crust and a moist, cooked-through interior. Underbaked pound cakes can be excessively soft or gummy.
- Freezing for Future Enjoyment: Yes, pound cake freezes beautifully! Once your cake has cooled completely, wrap it tightly in plastic wrap, then place it in a sealed freezer-safe bag. It can be stored in the freezer for up to one month. To thaw, simply transfer it to the refrigerator overnight. Many believe the flavors deepen and meld even more wonderfully after freezing, making it taste even better!
- Chill Overnight for Perfect Slices: For impeccably smooth and even slices without annoying crumbs, I highly recommend chilling the pound cake in the refrigerator overnight after it has fully cooled. This allows the cake to firm up considerably, making it much easier to cut cleanly and beautifully.
- All Ingredients at Room Temperature: This is a non-negotiable rule for pound cake success. Ensure your butter, cream cheese, and eggs are all at room temperature. This allows them to emulsify and blend together seamlessly, creating a smooth, homogenous batter that holds air effectively, leading to a lighter texture.
- Avoid Over-mixing the Batter: Once you add the flour, mix only until the dry ingredients are just incorporated into the wet. Over-mixing develops gluten, which can result in a tough, chewy cake and can even cause the cake to collapse or sink during baking.
- Unsalted Butter is Best: Always use unsalted butter in baking. This gives you complete control over the total salt content in your recipe, preventing the cake from becoming too salty. If you only have salted butter, you can slightly reduce the added salt in the recipe.
- Temperature Control with Toppings: Always ensure your pound cake has cooled down completely to room temperature before applying any frosting, glaze, or whipped cream. Spreading these delicate toppings on a warm cake will cause them to melt, creating a messy situation and potentially ruining your beautiful presentation.
- Bake at 325°F for Optimal Results: Given the extended baking time required for this dense cake, a lower oven temperature of 325°F (160°C) is ideal. Baking at a higher temperature, such as 350°F (175°C), can lead to over-browning or burning on the outside while the inside remains undercooked. This gentle heat ensures even baking and a beautiful golden crust.
- Proper Pan Preparation is Crucial: To prevent sticking and ensure easy release, generously grease your pan (Bundt or loaf) with softened butter using a pastry brush, making sure to coat every crevice. Then, lightly flour the greased pan, tapping and rotating it until a thin, even layer of flour covers the entire surface. Invert the pan over a sink and gently tap out any excess flour. This creates a non-stick barrier for a flawless cake.
- Get Creative with Decoration: While a simple topping of whipped cream and fresh berries is elegantly classic, don’t hesitate to get creative! Drizzle your cooled cake with a rich Homemade Caramel Sauce, a luxurious Nutella Syrup, or a vibrant fruit glaze. Embellish with sprinkles, various candies, chocolate chips, or even fresh edible flowers for a truly stunning centerpiece.
More Classic Cake Recipes to Love
If you’ve enjoyed baking this cream cheese pound cake, you’ll surely appreciate these other timeless cake recipes. Each offers its own unique charm and deliciousness:
- Best Vanilla Cake Recipe (From Scratch)
- Chocolate Bundt Cake (From Scratch)
- Angel Food Cake
- Easy Black Forest Cake (With Cake Mix)
- Depression Cake (Wacky Cake)
- Homemade Pineapple Upside Down Cake
- Moist Red Velvet Cake
- Louisiana Crunch Cake
Full Recipe Card: Easy Cream Cheese Pound Cake
Easy Cream Cheese Pound Cake Recipe
Abeer Rizvi
★
★
★
★
📌Pin Recipe
Want to Save This Recipe?
Enter your email & I’ll send it to your inbox. Plus, get great new recipes from me every week!
By submitting this form, you consent to receive emails from CakeWhiz
Ingredients
- 1.5 cups Unsalted Butter (room temperature)
- 1 package Cream Cheese (8 oz., full-fat, room temperature)
- 3 cups Granulated Sugar
- 6 Large Eggs (room temperature)
- 2 teaspoons Vanilla Extract
- ¼ teaspoon Almond Extract (Optional, but highly recommended)
- 3 cups All-Purpose Flour
- 1 teaspoon Salt
- 1 cup Homemade Whipped Cream (for serving)
- 1 cup Fresh Berries (strawberries, raspberries, blueberries, etc., for topping)
Instructions
-
Prepare Wet Ingredients: In a large mixing bowl (preferably with an electric mixer), cream together the softened unsalted butter and room temperature cream cheese until the mixture is incredibly smooth, light, and free of any lumps. This step should take a few minutes.
-
Add Sugar: Gradually add the granulated sugar to the butter and cream cheese mixture. Continue creaming on medium-high speed for about 5-7 minutes until the mixture is light, fluffy, and significantly increased in volume. This aeration is crucial for the pound cake’s texture.
-
Incorporate Eggs: Add the large eggs one at a time, beating just long enough after each addition to fully combine it with the mixture. Scrape down the sides of the bowl as needed to ensure everything is well incorporated. Avoid overmixing once the eggs are in.
-
Flavoring: Stir in the vanilla extract and the optional almond extract. Mix until they are smoothly integrated into the batter.
-
Combine Dry Ingredients: In a separate, medium-sized bowl, whisk together the all-purpose flour and salt until thoroughly combined.
-
Add Dry to Wet: Gently dump this dry flour mixture into the wet batter. Mix on low speed, or fold by hand with a spatula, until the ingredients are just combined and no streaks of dry flour remain. It is critical NOT TO OVER-MIX at this stage, as it can result in a tough cake.
-
Prepare for Baking: Pour the thick cake batter evenly into two generously greased and floured loaf pans (standard 8×4 inch dimensions work well). Use a spatula to spread the batter out smoothly.
-
Bake: Bake in a preheated oven at 325°F (160°C) for approximately 60-75 minutes, or until a wooden skewer or toothpick inserted into the very center of the cake comes out completely clean. To ensure even baking and browning, remember to rotate your pans halfway through the baking time.
Pro Tip: If you notice the tops of your cakes are browning too quickly before the inside is fully cooked, loosely tent the pans with aluminum foil for the remainder of the baking time.
-
Cooling: Once baked, remove the cakes from the oven and allow them to cool in their pans for about 10-15 minutes. This allows the cake to set properly. Then, carefully invert the cakes onto a wire cooling rack to cool completely to room temperature.
-
Chill for Best Slices: For the smoothest, most crumb-free slices, wrap the completely cooled cake securely in plastic wrap and chill it in the refrigerator overnight. This step makes a significant difference in texture and ease of slicing.
-
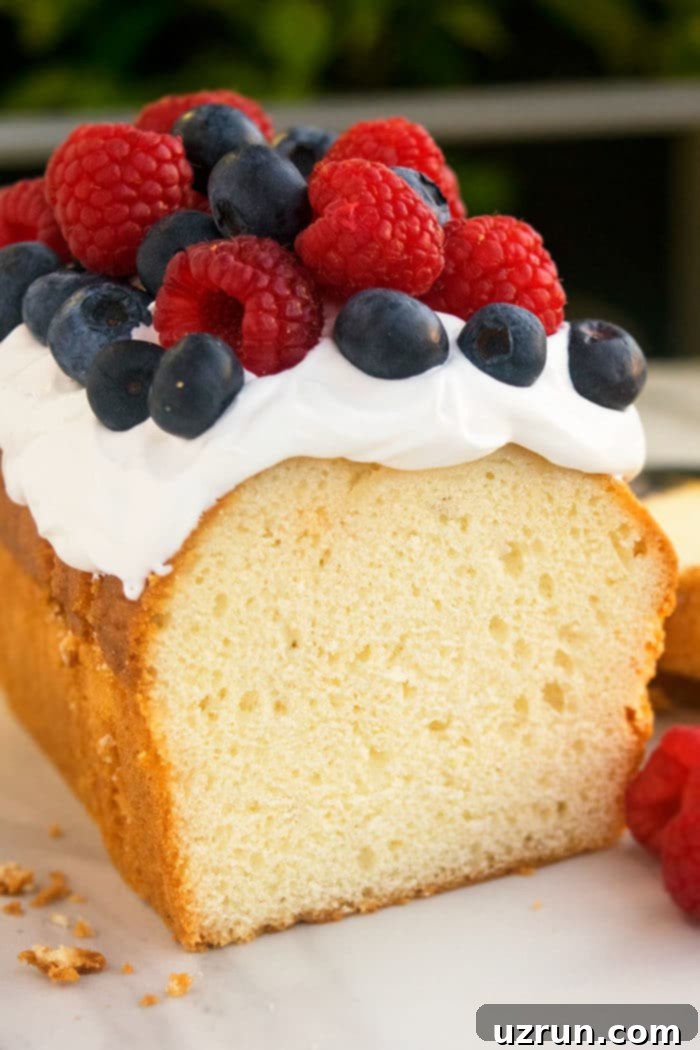
Serve & Enjoy: Prior to serving, generously spread homemade whipped cream on top of the chilled cake and decorate with an abundance of fresh, colorful berries. Slice and enjoy your magnificent homemade cream cheese pound cake!
Notes
- Please refer to all the detailed tips and techniques provided above for the best possible results.
- Storage: Leftover cream cheese pound cake can be stored in an airtight container in the refrigerator for up to 3 days. Ensure it’s well covered to prevent drying out.
- Baking Time Justification: I understand that the baking time might seem quite long, but please trust the process! In my experience, baking for a slightly longer duration at a lower temperature helps the dense pound cake develop its signature firm yet tender crumb, preventing it from being too soft or crumbly. It’s truly worth the wait for that perfect texture.
Nutrition
An automated tool is used to calculate the nutritional information. As such, I cannot guarantee the accuracy of the nutritional information provided for any recipe on this site.
Until next time, tata my lovelies, and happy baking!
