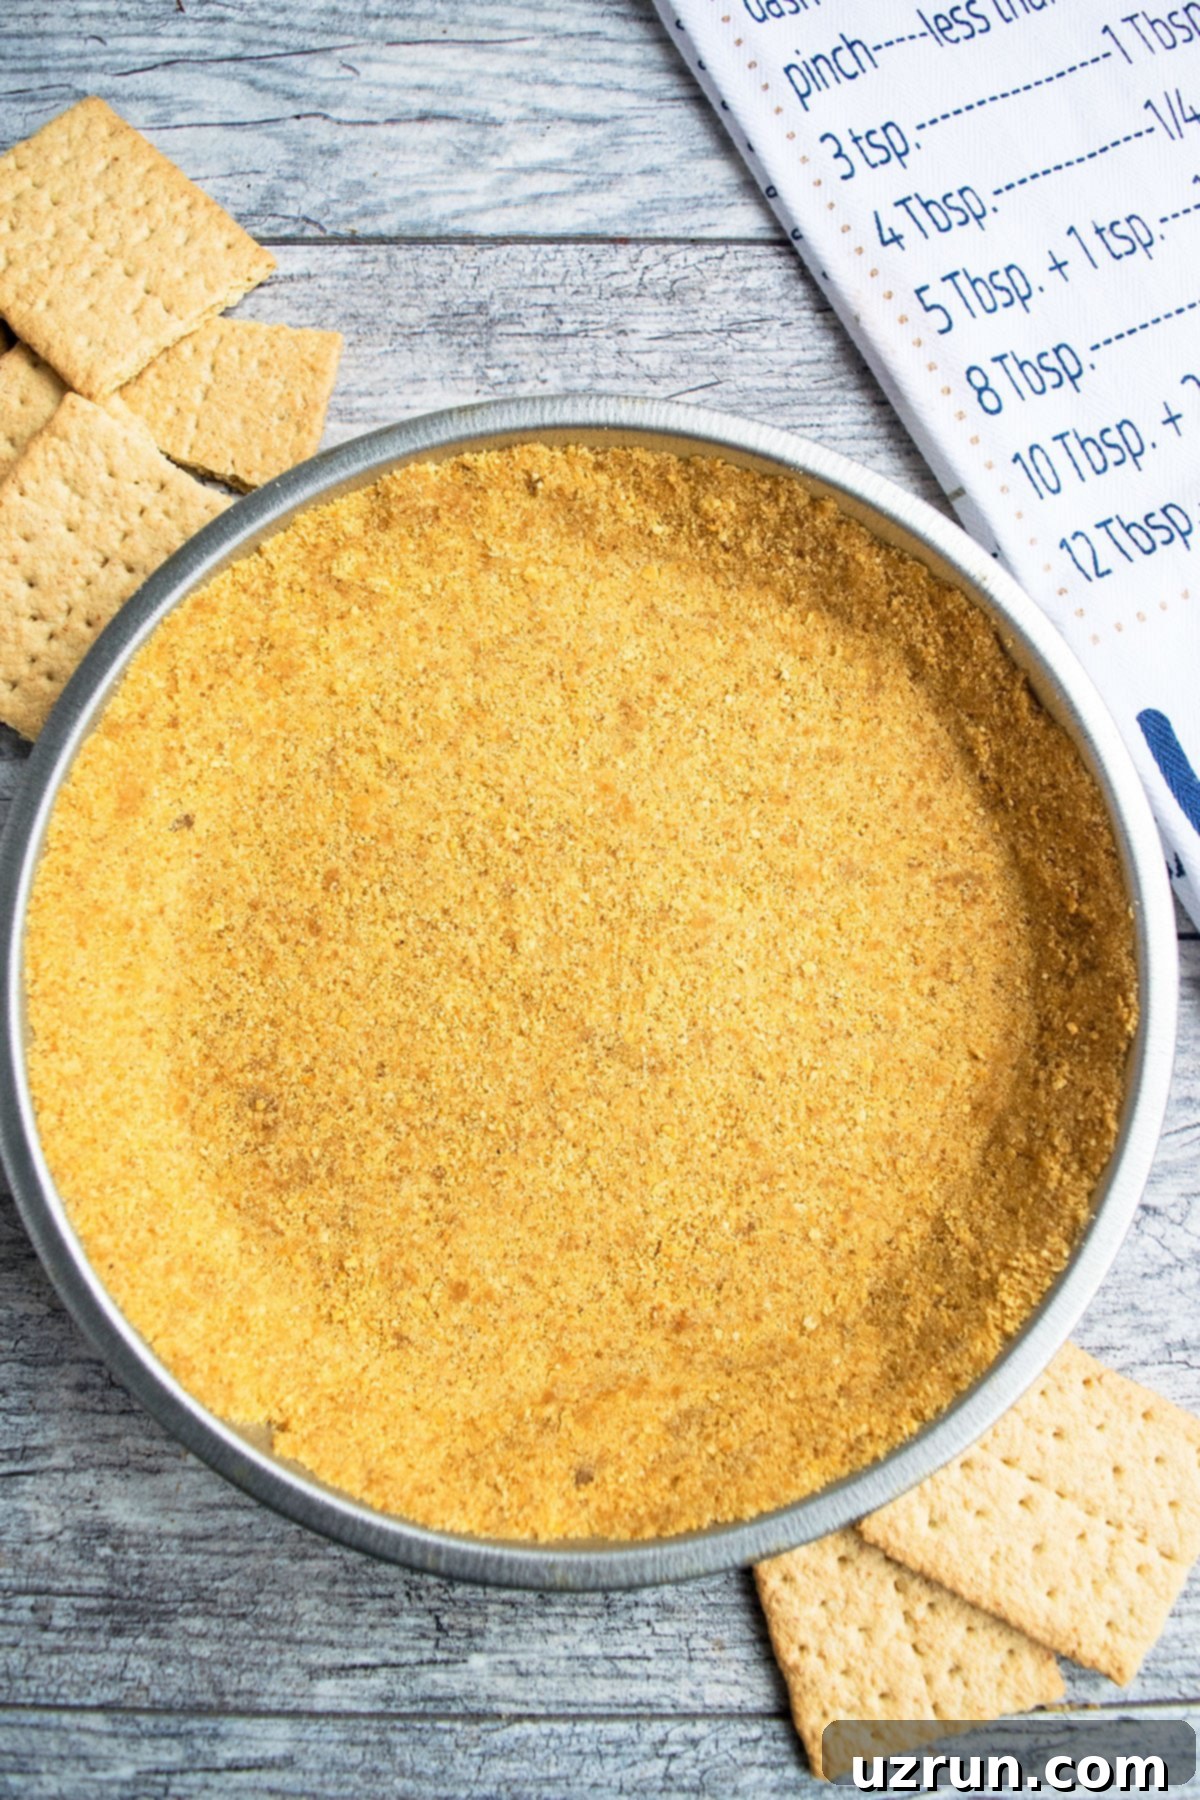
The Ultimate Easy No-Bake Graham Cracker Crust Recipe for Pies & Cheesecakes
Discover how to create the perfect graham cracker crust with this incredibly simple, classic, and quick recipe. Made with just four fundamental ingredients, this homemade no-bake pie crust forms the ideal foundation for an array of desserts, from rich cheesecakes and delightful pies to delicate tarts. What’s even better? You won’t need any fancy equipment like a mixer or a food processor – just a bowl, your hands, and a few basic tools are all it takes to achieve a crumbly, flavorful, and perfectly set crust every time.
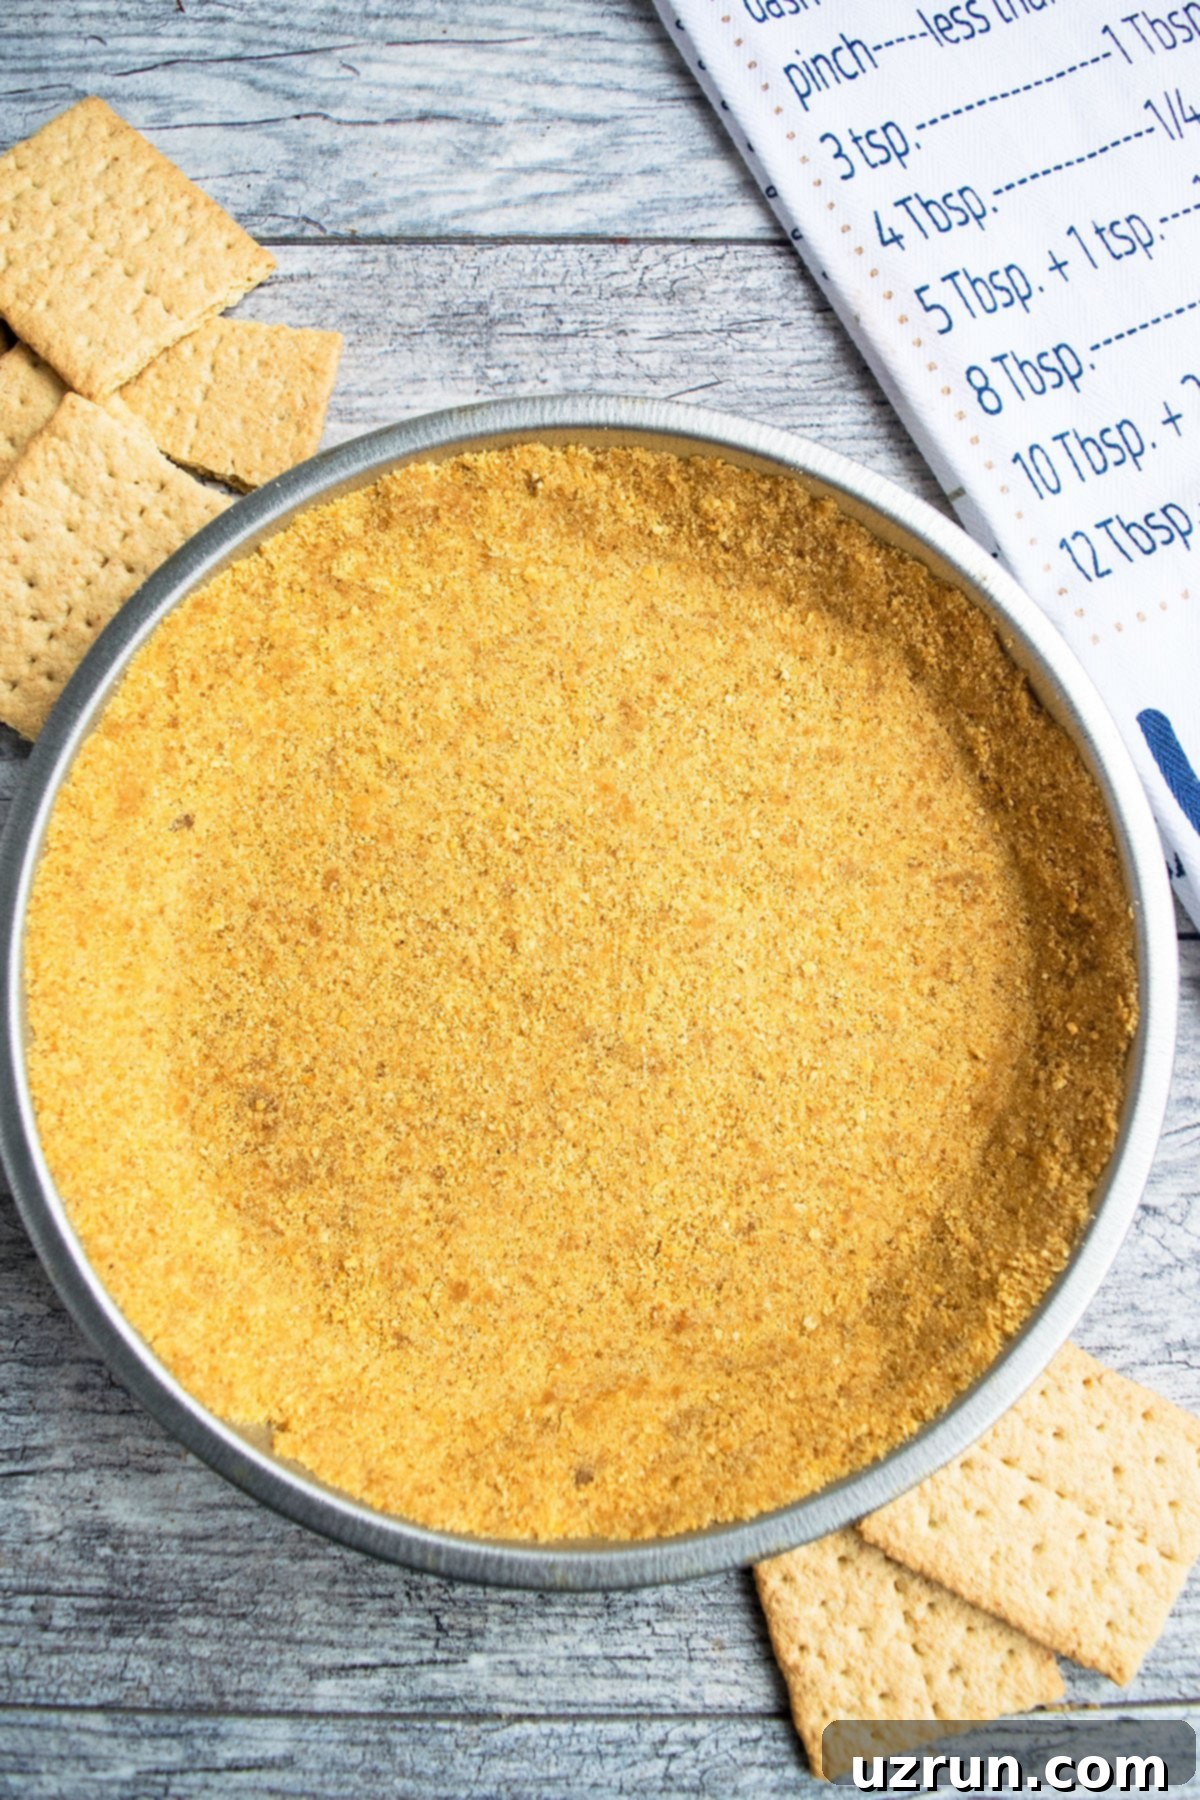
This graham cracker crust recipe is a guaranteed crowd-pleaser and has been a staple at countless gatherings, including Thanksgiving parties. Its versatility makes it suitable for almost any no-bake dessert you can imagine. We’ve successfully used it as the foundational layer in our Easy No-Bake Caramel Apple Pie and these adorable Mini No-Bake Strawberry Cheesecake Cupcakes. Even if you’re new to baking or crust-making, this dummy-proof version is incredibly forgiving and yields superior results compared to any store-bought, pre-made crust. Once you try this homemade graham cracker crust, you’ll never go back!
Why You’ll Love This Graham Cracker Crust Recipe
There are countless reasons why this easy no-bake graham cracker crust will become your go-to recipe:
- Effortlessly Simple: With only 4 ingredients and minimal steps, it’s perfect for beginners and seasoned bakers alike.
- No-Bake Versatility: While it can be baked for extra crispiness, it holds together beautifully after just chilling, making it ideal for a wide range of no-bake desserts.
- Superior Flavor & Texture: Homemade always triumphs! This crust offers a perfect balance of sweet, spiced, and buttery notes with a satisfying, firm-yet-crumbly texture.
- Quick to Prepare: From start to finish, the active prep time is under 15 minutes, making it excellent for last-minute desserts.
- Customizable: Easily adapt the flavors with various spices or even make a chocolate version to suit your specific dessert.
Key Ingredients for Your Perfect Crust
Crafting the perfect graham cracker crust requires just four simple ingredients, each playing a vital role in the final texture and flavor:
- Graham Cracker Crumbs: These are the star of the show. For the best consistency, ensure your graham crackers are crushed very finely, resembling coarse sand. You can buy pre-made crumbs for convenience or crush whole graham crackers yourself using a food processor or by placing them in a Ziploc bag and crushing them with a rolling pin. Brands like Keebler or Honey Maid work wonderfully.
- Brown Sugar: This isn’t just for sweetness; the molasses content in brown sugar adds a delightful depth of flavor and a subtle caramel note that granulated sugar simply can’t replicate. It also contributes to the crust’s tender texture.
- Cinnamon: A pinch of cinnamon elevates the flavor profile, providing a warm, sweet, and comforting aroma that pairs beautifully with graham crackers. It’s an optional but highly recommended addition that truly enhances the classic taste.
- Butter: Unsalted melted butter acts as the binder, holding the crumbs together and giving the crust its rich, buttery taste. Using unsalted butter allows you to control the overall saltiness of your crust, ensuring it complements your dessert filling perfectly. Make sure it’s fully melted to evenly coat the crumbs.
Variations & Flavor Enhancements to Experiment With
While the classic graham cracker crust is fantastic on its own, it’s also incredibly adaptable. Feel free to get creative and customize it to match your dessert’s flavor profile:
- Gluten-Free Version: Easily make this crust gluten-free by simply substituting regular graham crackers with gluten-free graham crackers. The rest of the recipe remains exactly the same, ensuring everyone can enjoy your delicious desserts.
- Chocolate Lover’s Crust: For a decadent twist, opt for chocolate graham crackers for the easiest chocolate crust. Alternatively, you can add 1 tablespoon of unsweetened cocoa powder to the dry mixture of the original recipe to achieve a rich chocolate flavor. This works exceptionally well for chocolate cheesecakes or peanut butter pies.
- Coconut Oil Alternative: If you prefer a dairy-free option or a subtle coconut flavor, replace the melted butter with melted coconut oil. Note that you might need a slightly larger amount of coconut oil compared to butter to achieve the desired crumbly-but-cohesive texture, as its binding properties can differ.
- Enhance with Extracts: Introduce new dimensions of flavor by mixing in a small amount of your favorite extracts. Vanilla extract is a classic choice, but almond extract adds a sophisticated touch, while maple extract can enhance a fall-themed pie. Start with ¼ teaspoon and adjust to taste.
- Spice It Up: Beyond cinnamon, consider adding other warm spices to complement your filling. A pinch of ginger, nutmeg, or allspice can transform the crust, making it perfect for pumpkin pies, apple crisps, or holiday desserts.
- Nutty Crunch: For added texture and flavor, finely chop and mix in about ¼ cup of toasted nuts like pecans, walnuts, or almonds with the graham cracker crumbs. This adds a delightful crunch and nutty aroma.
- Citrus Zest: Brighten up your crust by adding 1-2 teaspoons of finely grated lemon or orange zest. This is particularly good for key lime pies or lemon cheesecakes, providing a zesty pop that complements creamy fillings.
How to Make Easy Graham Cracker Crust from Scratch
Making this graham cracker crust is astonishingly simple and takes mere minutes. Follow these straightforward steps for a perfect base:
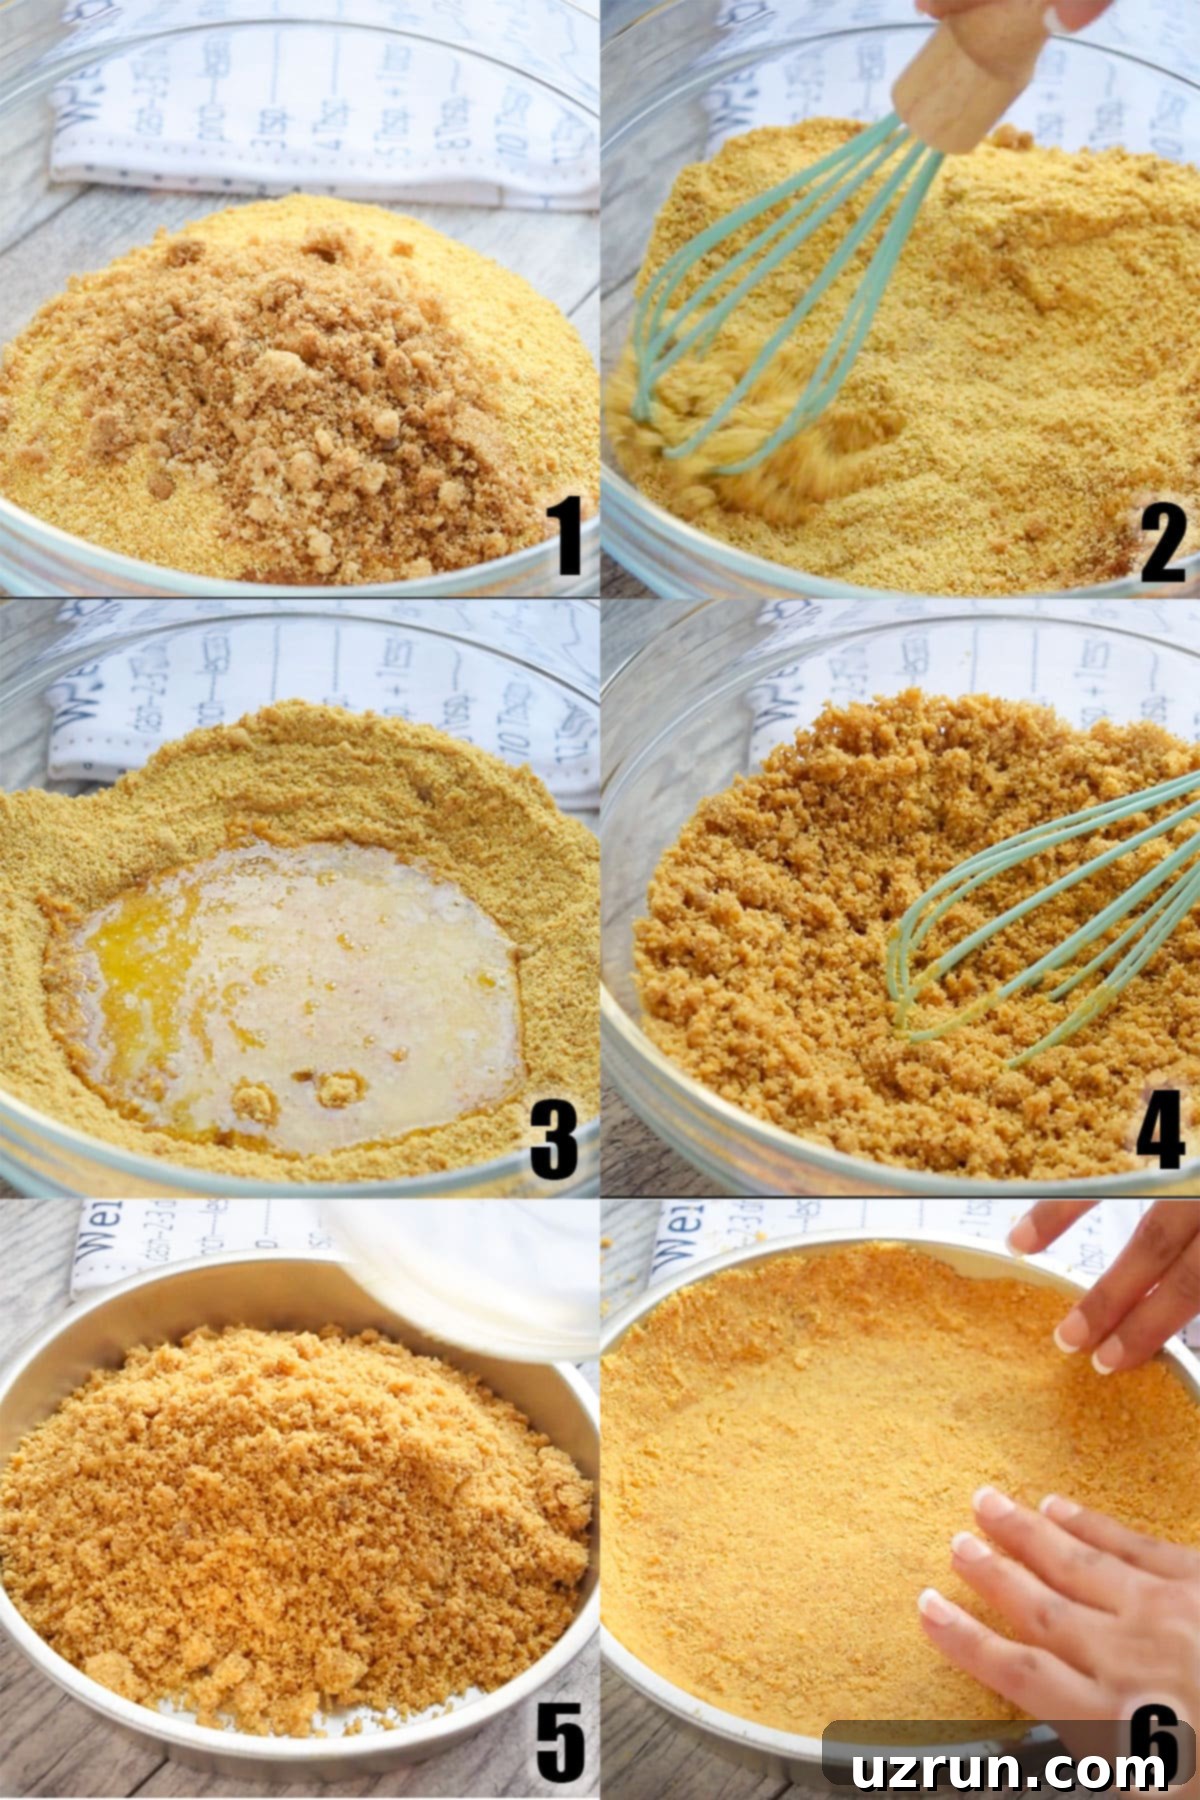
- Combine Dry Ingredients: In a large mixing bowl, whisk together the finely crushed graham cracker crumbs, brown sugar, and cinnamon. Ensure these dry ingredients are well combined so the flavor is evenly distributed (refer to Images 1 and 2 in the original context for visual guidance).
- Add Melted Butter: Pour in the melted unsalted butter. Using a wooden spoon or a sturdy spatula, stir the mixture thoroughly. Continue mixing until all the crumbs are moistened and the mixture resembles wet sand or a crumbly texture. It should stick together when pressed between your fingers (Images 3 and 4).
- Press into Pan: Transfer the crumb mixture into your chosen pie dish (a 9-inch round pie dish is standard). Start by evenly spreading the mixture across the bottom. Then, use your fingers to press it firmly onto the base and up the sides of the dish (Image 5).
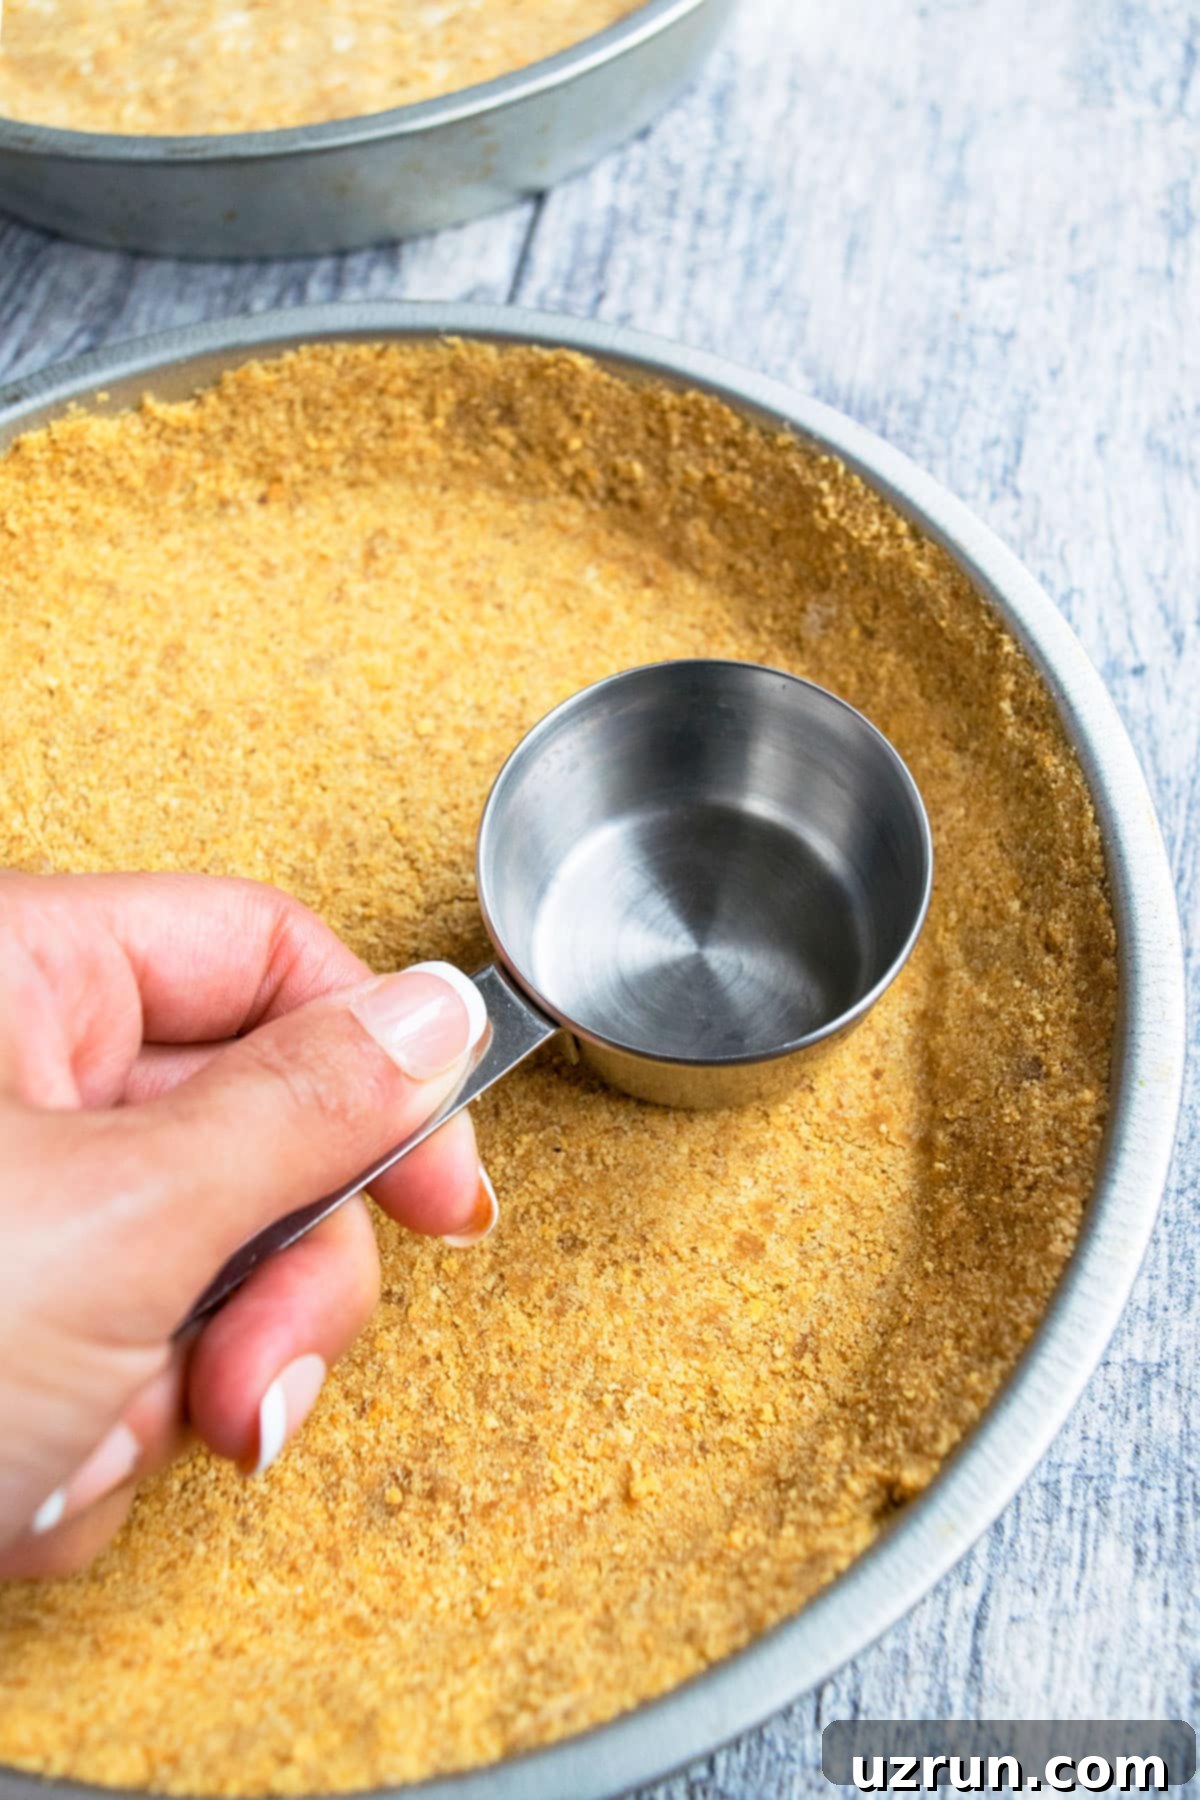
- Compact Firmly: For a truly sturdy crust that won’t crumble when sliced, this step is crucial. Take the flat bottom of a drinking glass or a measuring cup and use it to firmly press down the crumbs on both the bottom and up the sides of the pie dish. This compacts the crumbs tightly, ensuring a solid structure.
- Chill or Bake: For a no-bake crust, simply chill the pie crust in the refrigerator for at least 30 minutes to 1 hour (or until firm) before adding your filling. If you prefer a crispier crust or are making a pie with a very wet filling (like pumpkin pie), bake the crust at 325°F (160°C) for 8-10 minutes. Let it cool completely before filling (Image 6).
Essential Equipment for Success
You don’t need a lot of specialized tools to make this easy graham cracker crust. Here’s what comes in handy:
- Large Mixing Bowl: For combining your ingredients easily.
- Measuring Cups and Spoons: For accurate ingredient measurements.
- Whisk or Spoon: To mix the dry ingredients and later incorporate the butter.
- 9-inch Pie Dish or Springform Pan: The vessel for your crust.
- Flat-Bottomed Glass or Measuring Cup: Crucial for pressing the crumbs firmly into place.
- Ziploc Bag & Rolling Pin (Optional): If crushing whole graham crackers.
What to Put in a No-Bake Graham Cracker Pie Crust?
The beauty of a graham cracker crust lies in its versatility. It’s the perfect canvas for an endless variety of fillings. Here are some fantastic ideas to get you started:
- Classic Pie Fillings: This crust pairs wonderfully with fruit-based pie fillings. Think Homemade Apple Pie Filling, sweet Strawberry Pie Filling, vibrant Blueberry Pie Filling, tart Cherry Pie Filling, or juicy Peach Pie Filling. For best results with wetter fillings, a pre-baked crust is often recommended to prevent sogginess.
- Rich Custards: A chilled custard, such as Homemade Vanilla Custard, provides a luxurious and smooth contrast to the crunchy crust. Top with fresh berries for a truly elegant dessert.
- Creamy Puddings: Puddings are a match made in heaven for this crust. Try a comforting Banana Pudding, classic Vanilla Pudding, decadent Chocolate Pudding, or even a healthy Chia Seed Pudding for a lighter option.
- Cheesecake Fruit Dips & Creamy Toppings: These make excellent no-bake toppings. Simply spread any of these delicious dips over your chilled crust: Easy Pumpkin Dip (perfect for fall!), Creamy Chocolate Dip, refreshing Cream Cheese Fruit Dip, or a luscious Peaches and Cream Dip.
- Jelly and Fresh Berries: For a simple yet stunning dessert, mix Jello powder with hot water, let it cool slightly, then combine with your choice of fresh berries (strawberries, raspberries, blueberries work wonderfully). Pour this mixture directly onto the chilled crust and refrigerate until set. It’s a light and fruity option.
- Decadent Chocolate: Chocolate in almost any form is incredible with a graham cracker crust. A smooth layer of Chocolate Ganache, a rich chocolate mousse, or even a simple spread of Nutella can turn this crust into a truly indulgent treat.
- Frozen Delights: This crust is fantastic for frozen pies and tarts. Fill it with your favorite ice cream, sorbet, or a homemade frozen yogurt mixture, then freeze until firm for a refreshing dessert. Add a layer of hot fudge or caramel before freezing for an extra treat!
- Cheesecake Filling: Of course, this crust is most famously known as the base for cheesecakes! From classic New York style to no-bake fruit cheesecakes, the crumbly texture provides a perfect contrast to the creamy filling.
Pro Tips and Techniques for a Perfect Crust
Achieving a consistently perfect graham cracker crust is easy with a few key tips and techniques:
- Always Use Unsalted Butter: This is a crucial step to control the overall saltiness of your crust. Graham crackers can already have a slightly salty note, and using salted butter might make the crust overly savory, detracting from your sweet dessert.
- Avoid Shortening or Margarine: While some recipes might suggest alternatives, for the best flavor and texture in a graham cracker crust, stick with real butter. Shortening or margarine often result in a less flavorful, greasier, and less firm crust that lacks the rich taste butter provides.
- Troubleshooting: Too Soft and Greasy: If your pie crust mixture feels overly soft, wet, or greasy, it indicates you’ve added too much butter. To correct this, simply mix in additional graham cracker crumbs, a tablespoon at a time, until the mixture achieves the desired wet-sand consistency that clumps when pressed.
- Troubleshooting: Too Dry and Crumbly: Conversely, if your mixture is too dry and isn’t holding together when you try to press it, you haven’t added enough butter. Gradually add more melted butter, about half a tablespoon at a time, mixing well after each addition until the crumbs are adequately moistened and hold their shape when squeezed. Remember, a little butter goes a long way!
- Prevent Crumbling When Slicing: The secret to a firm crust that holds its shape when sliced is thorough compaction. After spreading the mixture, use your hands and fingers to firmly press the crumbs onto the bottom and up the sides. Then, take the flat bottom of a drinking glass or measuring cup and press down with significant force, rotating and evening out the surface. The tighter you pack it, the sturdier your crust will be.
- Easily Double the Recipe: This recipe is incredibly scalable. If you’re planning a bigger dessert or multiple pies, simply double or triple the ingredients. You can even prepare extra crusts and freeze them for later use, saving you time when you need a quick dessert.
- Always Chill Before Filling (No-Bake): For no-bake desserts, chilling the crust is non-negotiable. This allows the butter to solidify and bind the crumbs firmly, preventing the crust from becoming soggy once a wet filling is added. Aim for at least 30-60 minutes in the refrigerator.
- Homemade vs. Store-Bought Crumbs: Both options work! Store-bought graham cracker crumbs offer convenience. If making your own, place graham crackers in a sturdy Ziploc bag, remove excess air, and crush them with a rolling pin until fine. A food processor also works beautifully for this, yielding very uniform crumbs.
- Pre-Bake for Wet Fillings: If you’re using a very thin or wet filling (like many pumpkin pie recipes or certain fruit purees), consider pre-baking your graham cracker crust for 8-10 minutes at 325°F (160°C) after chilling. This extra step helps to create a barrier and prevent the bottom of the crust from becoming soggy. Ensure it cools completely before adding the filling.
Recipe FAQs
Melted coconut oil is an excellent dairy-free substitute that also adds a subtle, pleasant flavor. Another option, though it will slightly alter the flavor and texture, could be a neutral-flavored olive oil, but use slightly less than butter. For best results, butter is highly recommended for its classic taste and binding properties.
Your crust is likely too dry because there isn’t enough melted butter to bind the graham cracker crumbs. You need to add enough butter to create a consistently wet, crumbly mixture that holds its shape when pressed. It shouldn’t look like cookie dough, but rather wet sand. Add melted butter a little at a time, mixing thoroughly, until the desired consistency is achieved. Be careful not to add too much at once.
A soggy or greasy crust typically means there was too much butter in the mixture, or your filling was too wet and the crust wasn’t adequately chilled or pre-baked. To fix a greasy mixture, balance out the extra butter by mixing in more graham cracker crumbs. To prevent soggy bottoms with fillings, ensure your crust is well-chilled (or pre-baked if the filling is particularly liquidy) and try to use thicker fillings. The fat in the butter can also become absorbed by the crumbs if not properly set.
Both methods work well, depending on your preference and the type of filling. This is predominantly a no-bake crust designed to hold together perfectly after chilling or freezing. However, for an even firmer, crispier texture, and to help prevent sogginess with very wet fillings, you can bake it at 325°F (160°C) for 8-10 minutes. Always allow it to cool completely before filling if you choose to bake it.
Generally, the following approximations apply:
- 7 full graham cracker sheets (approx. 2.5 x 5 inches) = ½ cup graham cracker crumbs
- 14 full graham cracker sheets = 1 cup graham cracker crumbs
- 28 full graham cracker sheets = 2 cups graham cracker crumbs
Always measure your crumbs after crushing for precise amounts.
Storage Instructions for Your Crust
Proper storage ensures your graham cracker crust remains fresh and ready for your delicious creations:
- Make Ahead (Unfilled Crust): You can prepare the crust 1-2 days in advance. Once pressed into the pie dish, cover it tightly with plastic wrap and store it in the refrigerator. For longer storage, you can freeze an unfilled, unbaked, or pre-baked crust for up to 1 month. Wrap it very well in plastic wrap and then aluminum foil to prevent freezer burn. Thaw overnight in the fridge before filling.
- Room Temperature (Filled Pies): A pie or cheesecake with a graham cracker crust and a stable, non-dairy filling can often be left at room temperature for no more than 1 day, provided your filling doesn’t require refrigeration. Always check the specific storage recommendations for your chosen filling.
- Refrigerate (Filled Pies): Most desserts made with a graham cracker crust (especially those with dairy, fruit, or custard fillings) should be covered and stored in the refrigerator for up to 2-4 days. Use plastic wrap or an airtight container to keep it fresh and prevent it from absorbing refrigerator odors.
- Freeze (Filled Pies): Many pies and cheesecakes made with this crust can be frozen after being filled and set. Wrap the entire pie or individual slices tightly in plastic wrap and then aluminum foil. Store in an airtight container for up to 1 month. Thaw in the refrigerator for several hours or overnight before serving.
More Pie and Pie-Inspired Recipes
If you love this easy graham cracker crust, you’ll surely enjoy these other delicious pie and pie-inspired recipes:
- Easy Homemade Apple Pie
- Easy French Silk Pie
- Chocolate Pecan Pie Bars
- Easy Pecan Pie
- Apple Pie Cake
- Boston Cream Pie Cupcakes
Recipe Card: Easy No-Bake Graham Cracker Crust
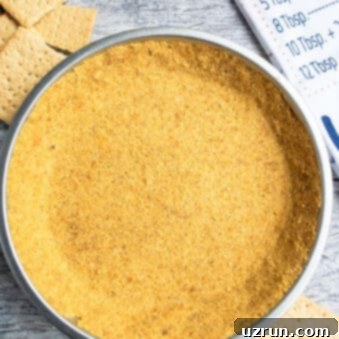
No Bake Graham Cracker Pie Crust Recipe
Abeer Rizvi
Pin Recipe
Want to Save This Recipe?
Enter your email & I’ll send it to your inbox. Plus, get great new recipes from me every week!
By submitting this form, you consent to receive emails from CakeWhiz. (Note: Email form functionality is not included in this HTML output.)
Ingredients
- 1 ¼ cups Graham cracker crumbs
- ¼ cup Brown sugar
- ½ teaspoon Cinnamon powder
- ⅓ cup Butter Unsalted, Melted
Instructions
-
In a large mixing bowl, whisk together graham cracker crumbs, brown sugar, and cinnamon until well combined.
-
Add the melted unsalted butter and mix with a wooden spoon or spatula until you have a crumbly mixture that holds together when pressed.
-
Dump this mixture into a round pie dish (9 inch) or springform pan and press it down evenly on the base and up the sides with your fingers.
-
Then, use the flat bottom of a drinking glass or the flat bottom of a measuring cup to firmly pack down and smooth out the crumbs, creating a solid crust.
-
Chill this crust in the refrigerator for at least 30 minutes to 1 hour before filling for a no-bake option.
-
Alternatively, if you are baking it, bake the crust at 325 degrees F (160°C) for 8-10 minutes. Let it cool completely before filling with anything you like. Enjoy your perfect homemade crust!
Video
Notes
- If the pie crust mixture is too soft and greasy, you’ve added too much butter. Balance it out by mixing in more graham cracker crumbs.
- If it is too dry and is not coming together properly, you didn’t add enough butter. Add melted butter a little at a time until the desired consistency and texture is achieved – remember, a small amount goes a long way.
- This recipe yields enough crust for one standard 9-inch pie or cheesecake.
- Extra prepared pie crusts can be stored in a sealed container in the fridge for up to 2 days, or frozen for up to a month.
- For more detailed tips, variations, and storage advice, please refer to the sections above in this article.
Nutrition
Carbohydrates: 22g
Protein: 1g
Fat: 11g
Saturated Fat: 6g
Cholesterol: 27mg
Sodium: 207mg
Potassium: 43mg
Sugar: 12g
Vitamin A: 315IU
Calcium: 27mg
Iron: 0.8mg
An automated tool is used to calculate the nutritional information. As such, I cannot guarantee the accuracy of the nutritional information provided for any recipe on this site.
