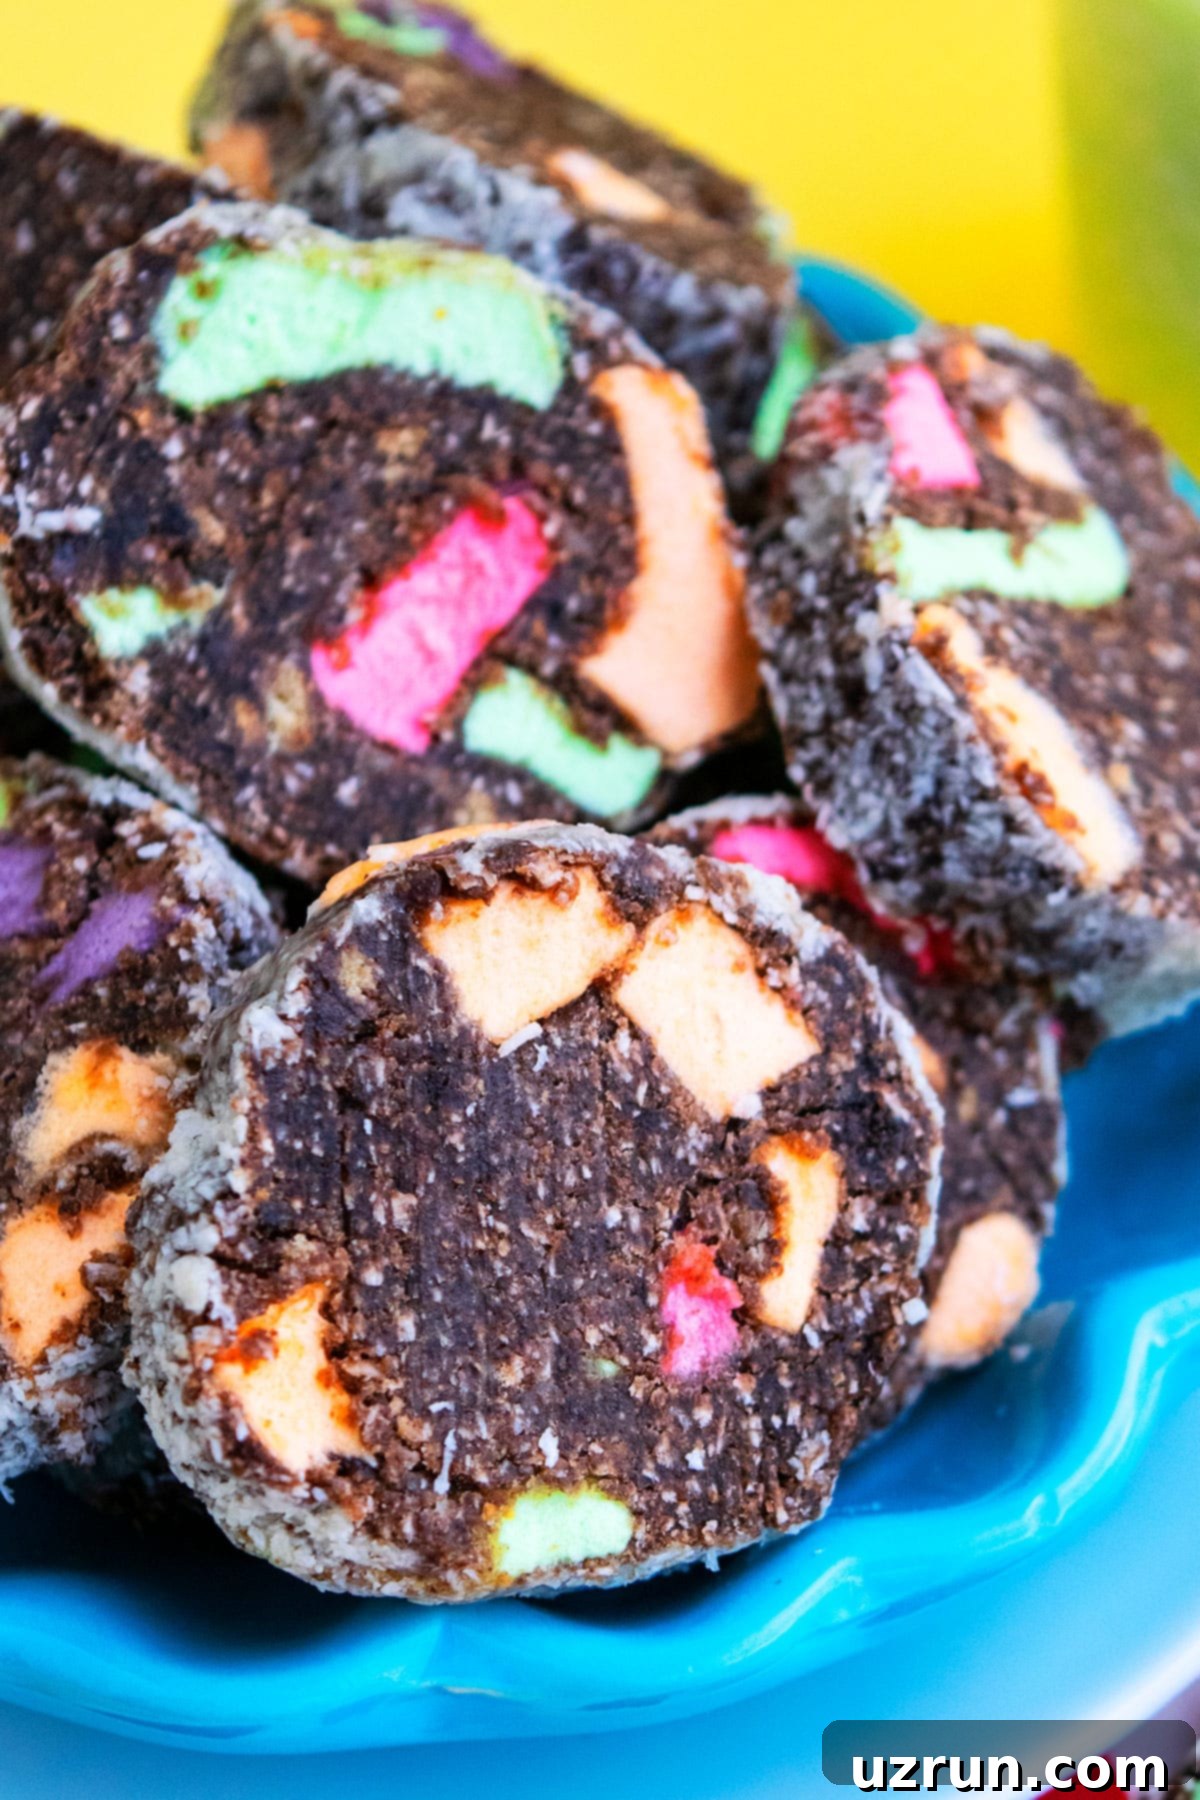
Classic No-Bake Church Window Cookies: Easy Recipe for Festive Chocolate & Marshmallow Treats
Indulge in the nostalgic delight of these Classic No-Bake Church Window Cookies – a truly effortless and enchanting treat perfect for any occasion, especially the festive holiday season. This homemade recipe combines the rich goodness of chocolate, the soft chewiness of marshmallows, the tropical hint of coconut, and the satisfying crunch of finely chopped nuts, all coming together in a symphony of flavors and textures.
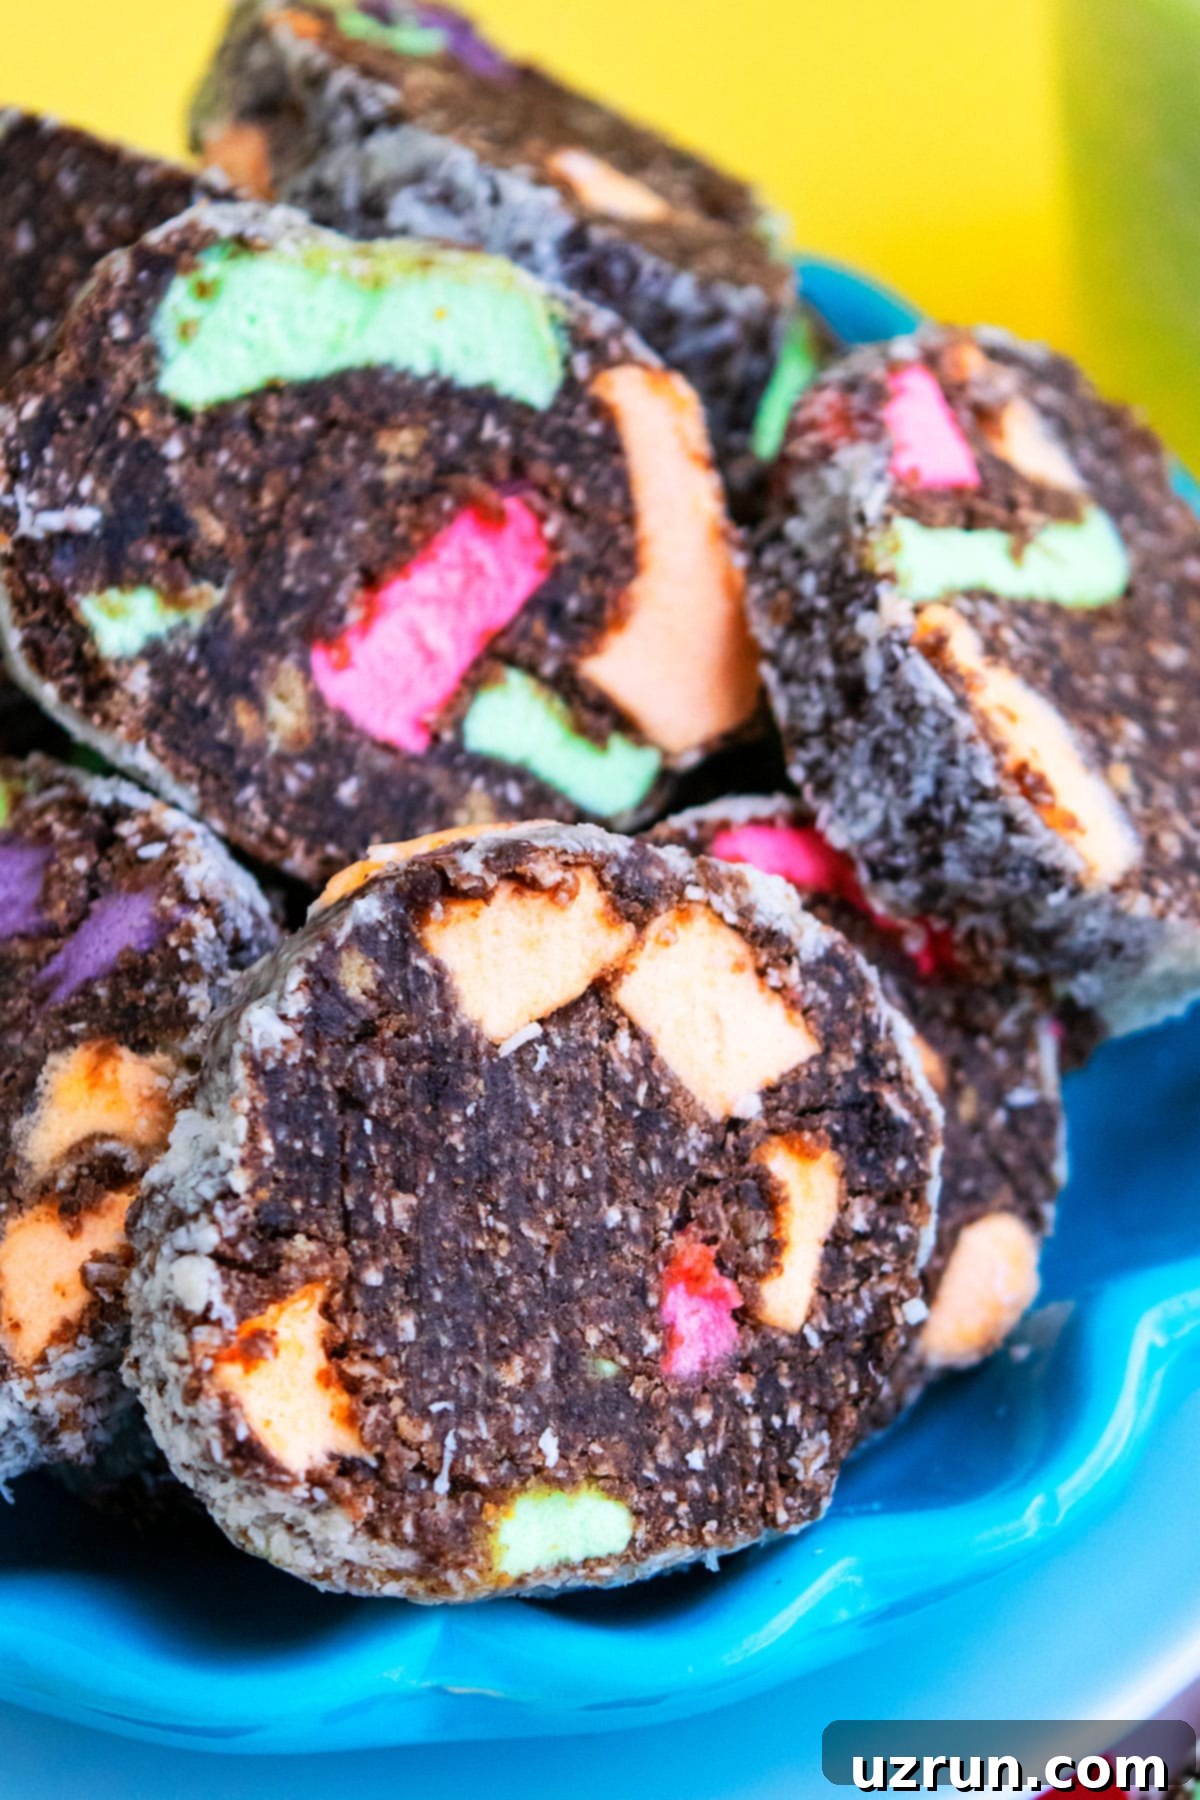
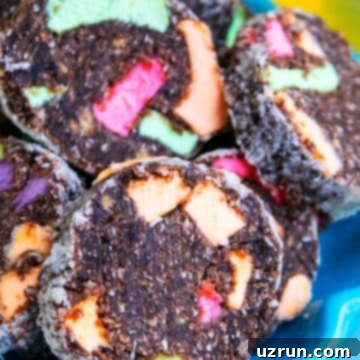
More than just a delicious dessert, these cookies are a feast for the eyes, making them an ideal centerpiece for Christmas holiday parties, Easter gatherings, or any celebration where a touch of whimsy is appreciated. Their distinctive appearance, resembling the colorful stained-glass windows of a church, is what gives them their charming name. It’s important not to confuse them with Stained Glass Cookies made with crushed hard candies, as these are a completely different no-bake creation.
These delightful treats are also an excellent addition to holiday cookie exchanges and thoughtful Homemade Christmas Cookie Boxes. Pair them with other beloved homemade confections like Gingerbread Cookies (Cake Mix) or Jam Thumbprint Cookies (Soft and Buttery) for a truly impressive assortment.
The beauty of Church Window Cookies lies in their simplicity. Requiring no oven, no special baking skills, and minimal prep time, they are a fantastic option for busy bakers or anyone looking for a quick yet stunning dessert. The process involves melting chocolate and butter, folding in marshmallows and nuts, rolling the mixture in coconut, and chilling until firm. The magic happens when you slice them, revealing the colorful marshmallow “windows” suspended in the rich chocolate matrix.
[feast_advanced_jump_to]
Key Ingredients for Perfect Church Window Cookies
Crafting the perfect batch of Church Window Cookies begins with selecting quality ingredients. Each component plays a vital role in achieving their signature taste and texture:
- Unsalted Butter: Always opt for unsalted butter. This gives you complete control over the saltiness of your cookies. Ensure it’s at room temperature for easier melting and smoother integration with the chocolate.
- High-Quality Chocolate Chips: The flavor of your cookies largely depends on the chocolate you choose. Use a variety of your favorite chocolate chips—dark, semi-sweet, or milk—for a complex and satisfying chocolate base. Higher quality chocolate will melt more smoothly and provide a richer taste.
- Chopped Nuts: Nuts add a crucial textural contrast to the soft marshmallows and smooth chocolate. A variety of finely chopped nuts, such as pecans, walnuts, or almonds, works best. Ensure they are fresh and finely chopped for even distribution and a pleasant bite.
- Mini Marshmallows: These are the stars of the “windows”! Using colored mini marshmallows not only adds a festive pop of color but also provides that delightful chewy texture. If you can only find white ones, they still taste great, but colored ones truly enhance the visual appeal.
- Sweetened Shredded Coconut: Coconut provides a delicate sweetness and unique texture, forming the exterior coating of these delightful logs. Sweetened shredded or desiccated coconut is recommended, as it complements the chocolate and marshmallows perfectly. If you prefer a less sweet cookie, you can use unsweetened coconut, but be aware of the flavor difference.
Creative Variations and Flavor Enhancements
While the classic recipe is wonderful, these Church Window Cookies are incredibly versatile, allowing for numerous delicious adaptations. Don’t hesitate to experiment and make them your own!
- White Chocolate Indulgence: Replace the dark or semi-sweet chocolate chips with white chocolate for a sweeter, creamier cookie. This variation offers a different flavor profile and can create a beautiful contrast with colored marshmallows.
- Aromatic Extracts and Zests: Infuse your cookies with extra flavor by adding extracts. Vanilla extract is a given, but consider almond, coconut, or even a hint of peppermint for a festive twist, similar to White Chocolate Peppermint Cookies (Chewy). Citrus zests from lemon, lime, or orange can also brighten the flavor profile significantly.
- Peanut Butter Perfection: For a nutty and savory-sweet touch, mix in about ¼ cup of creamy peanut butter with the melted chocolate. This adds a wonderful depth of flavor, especially if you’re a fan of combinations like in Easy Reeses Cookies (With Cake Mix).
- Fun Topping Alternatives: Instead of or in addition to coconut, consider rolling the logs in other coatings. Sprinkles, crushed peppermints (especially for Christmas), chocolate flakes, mini chocolate chips, or even more finely chopped nuts can add visual appeal and extra flavor.
- Add Dried Fruits: Incorporate roughly chopped dried cranberries, apricots, mangoes, or raisins into the chocolate mixture along with the marshmallows and nuts. This adds a chewy texture and a burst of fruity flavor.
- Adjust Quantities: Feel free to adjust the amount of nuts and marshmallows based on your personal preference. Love nuts? Add more! Want them extra chewy? Increase the marshmallows.
- Spiced Delights: For a warm, inviting flavor, add a pinch of cinnamon, nutmeg, or even a touch of pumpkin pie spice to the melted chocolate.
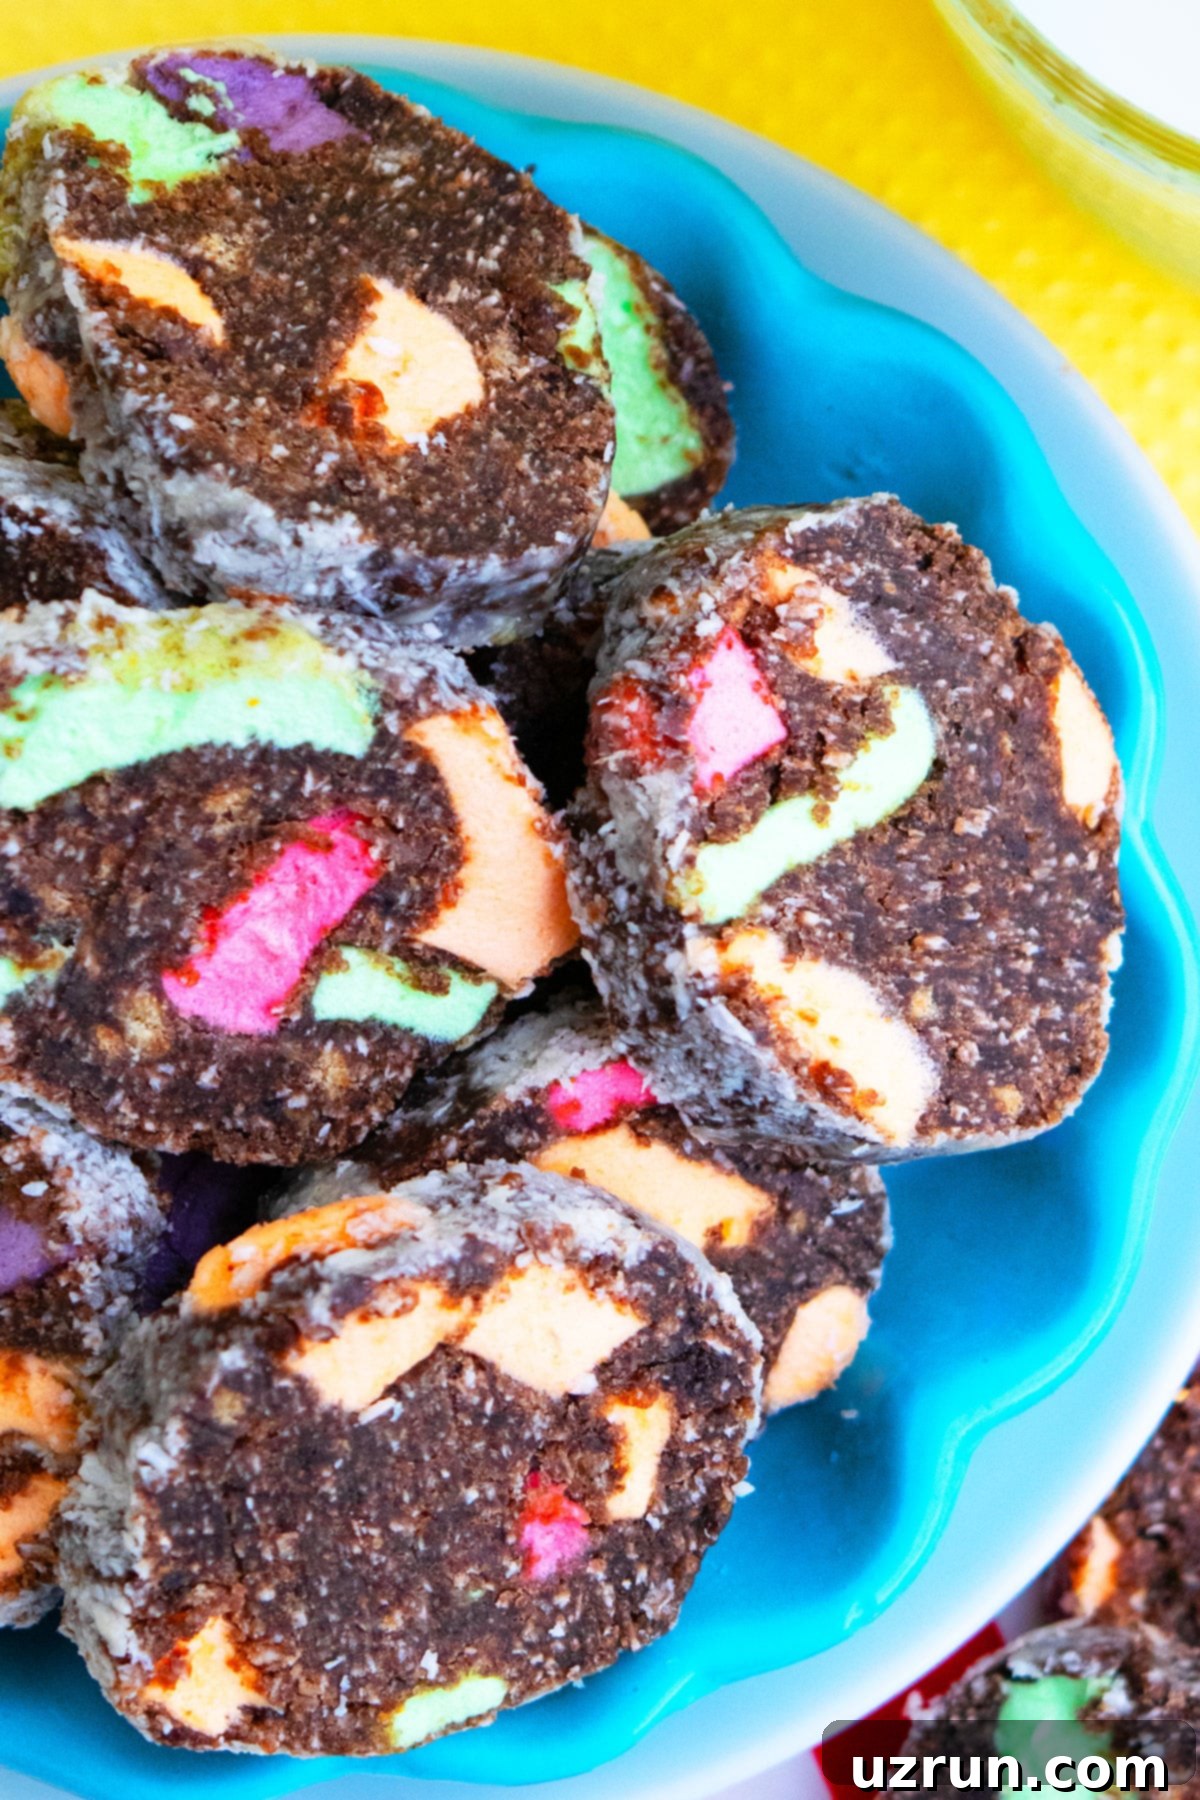
How to Make Easy Cathedral Window Pane Cookies from Scratch
These no-bake wonders are incredibly simple to assemble. Follow these steps for perfect, vibrant cookies every time:
- Melt Butter and Chocolate: In a sturdy saucepan over low heat, gently melt the unsalted butter and chocolate chips. Stir constantly until the mixture is completely smooth and free of lumps. Low heat is key to prevent scorching the chocolate.
- Cool the Mixture: Remove the melted chocolate mixture from the heat and allow it to cool for 5-6 minutes. This crucial step prevents the marshmallows from melting into a sticky mess when added.
- Combine Ingredients: Once slightly cooled, transfer the chocolate mixture to a large mixing bowl. Fold in the mini marshmallows and finely chopped nuts. Mix everything until evenly coated, forming a thick, chunky mixture.
- Prepare Work Surface: Lay out two long sheets of saran wrap (plastic wrap) on your countertop. Generously sprinkle each sheet with sweetened shredded coconut. This will be the outer coating for your cookie logs.
- Divide and Place Mixture: Divide the chocolate-marshmallow-nut mixture equally in half. Carefully scoop one half onto the center of each coconut-sprinkled saran wrap sheet.
- Add More Coconut: Sprinkle additional coconut generously over the top of each chocolate mixture portion.
- Form Logs: Using the saran wrap, tightly roll each chocolate mixture into a log shape. Twist the ends of the plastic wrap securely, and if necessary, use a piece of tape to hold the ends in place, ensuring a compact log.
- Chill Thoroughly: Place the wrapped chocolate logs in the refrigerator for at least 1 hour, or until they are completely firm. Chilling is essential for easy and clean slicing.
- Slice and Serve: Once thoroughly chilled and firm, unwrap the logs. Using a sharp knife, carefully cut thin, even cookie slices. Arrange them beautifully on a platter and enjoy the vibrant “windows” within!
Expert Tips and Techniques for Success
Achieving perfectly pretty and delicious Church Window Cookies is easy with a few insider tips:
- Marshmallow Size Matters: If you don’t have mini marshmallows, don’t worry! You can easily cut larger marshmallows into smaller pieces with kitchen shears. Lightly oiling the shears can prevent sticking.
- Chocolate Melting Precision: When melting chocolate, always use low heat and stir frequently. Chocolate can go from perfectly melted to burnt very quickly. A double boiler or melting it in short bursts in the microwave can also be safer options.
- Patience with Cooling: Do not rush the cooling step for the chocolate mixture. Adding marshmallows to hot chocolate will result in them melting, creating an undesirable ooey-gooey, sticky mess rather than distinct “windows.”
- Shredded vs. Desiccated Coconut: The choice between shredded and desiccated coconut is often personal. Shredded coconut is typically coarser and adds more texture, while desiccated is finer. Either works, but desiccated often creates a more even coating.
- Sweetness Level of Coconut: Sweetened coconut is recommended for a balanced flavor, complementing the chocolate. However, if you prefer a less sweet treat or are using very sweet chocolate, unsweetened coconut can be a good alternative.
- The Importance of Chilling: Adequate chilling time is paramount. This allows the chocolate to fully solidify, making it easy to cut clean, perfect slices without crumbling or distortion.
- Sharp Knife for Clean Slices: A sharp, thin-bladed knife is your best friend for cutting these cookies. It will glide through the firm log, ensuring neat, even slices that beautifully display the colorful marshmallow centers.
- Work Quickly: Once the chocolate mixture has cooled slightly, work relatively quickly when mixing in marshmallows and forming logs. This prevents the mixture from firming up too much before you’ve shaped it.
- Even Distribution: Ensure marshmallows and nuts are evenly distributed throughout the chocolate mixture for consistent “windows” in every slice.
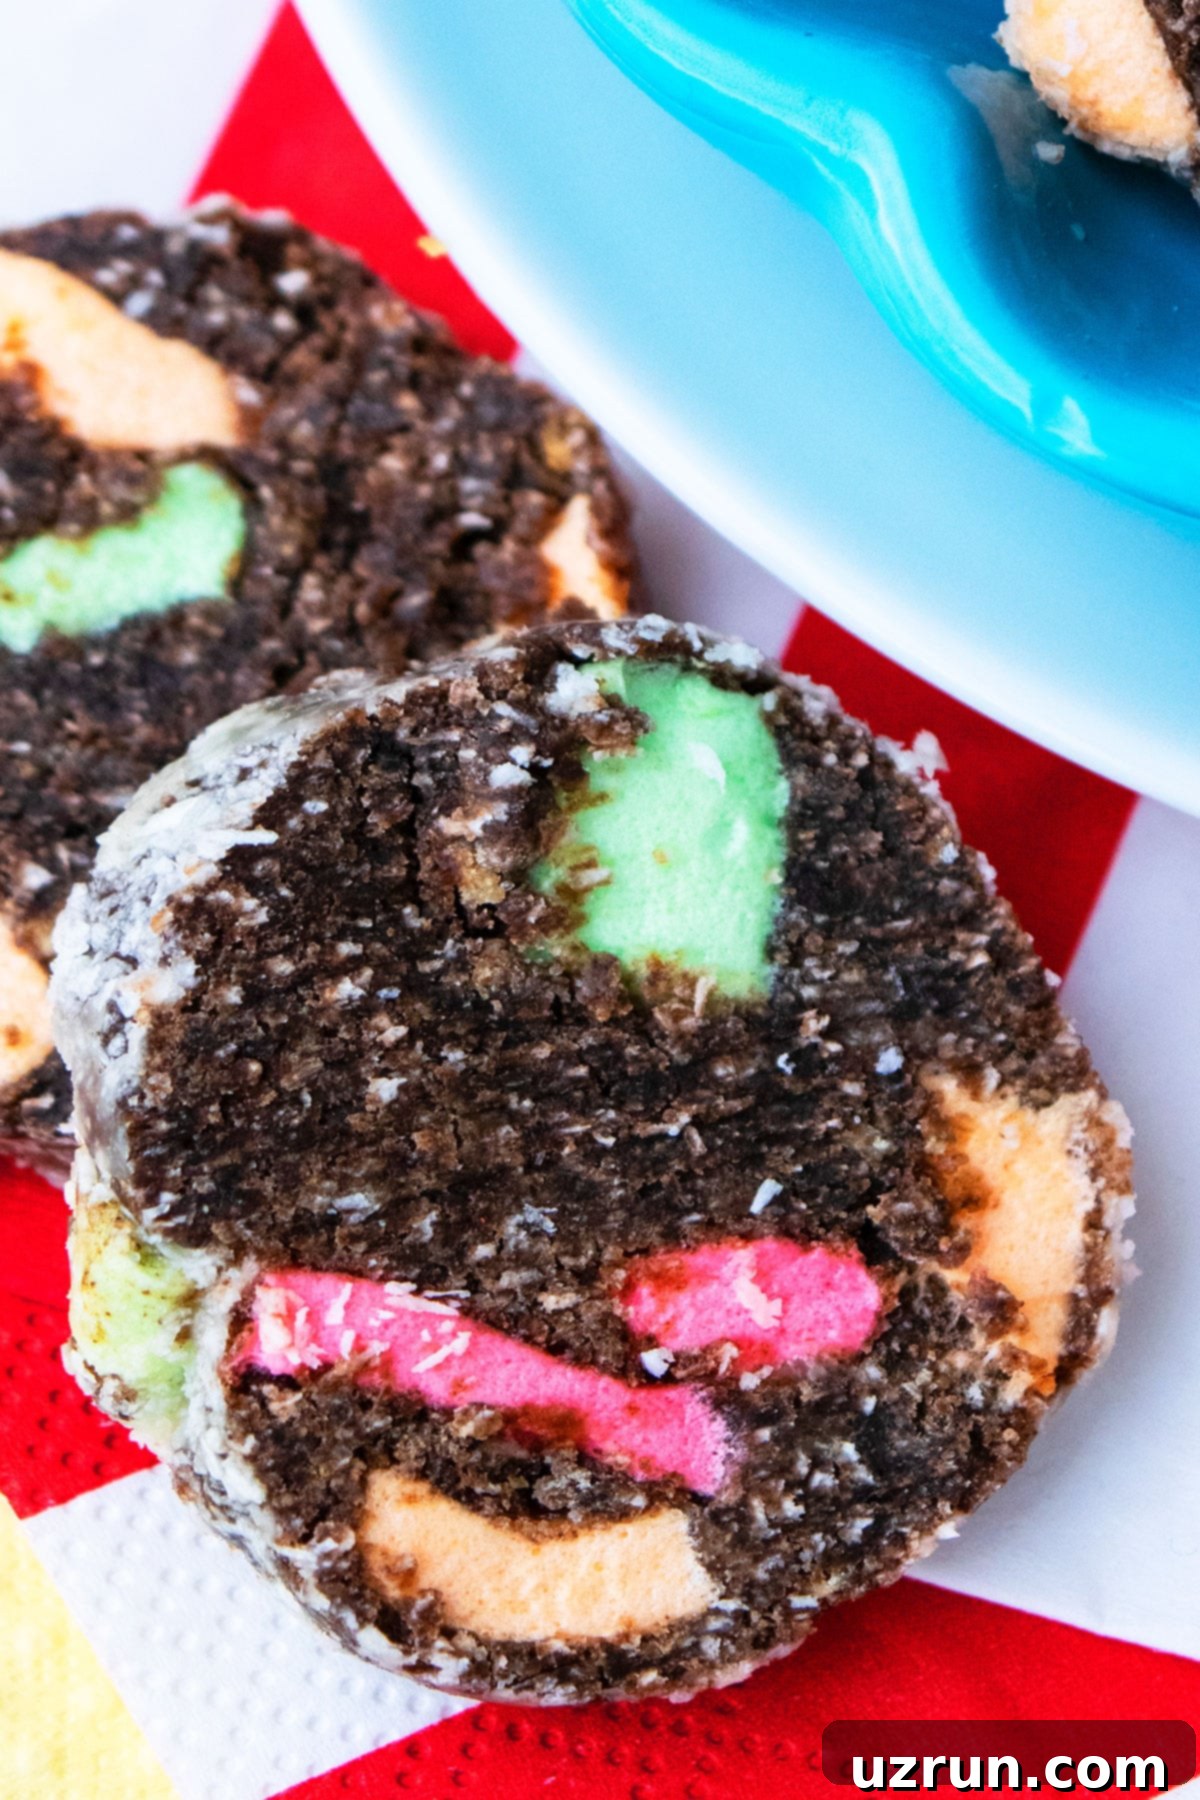
Recipe FAQs
Church Window Cookies are a unique no-bake dessert crafted from a rich mixture of melted chocolate, chewy marshmallows, and crunchy nuts, all rolled in a coating of shredded coconut. After chilling and slicing, the colorful marshmallows within the dark chocolate matrix create a beautiful “stained glass” effect, reminiscent of the intricate windows found in churches, hence their name. Unlike most traditional cookies, these do not contain flour, baking soda, baking powder, or eggs, making them a distinctive and easy treat.
If your cookies have a burnt taste, it’s almost certainly because the chocolate was overheated and scorched during the melting process. Chocolate is delicate and requires low heat and constant stirring to melt properly. Once chocolate is burnt, there’s no way to salvage its flavor, and unfortunately, you’ll need to start fresh with new ingredients.
The best brand of chocolate is truly a matter of personal preference, as the taste of the chocolate will largely define the flavor of your cookies. High-quality brands like Nestle Tollhouse, Ghirardelli, Lindt, or Godiva are all excellent choices that will melt smoothly and deliver a rich, delicious flavor. Feel free to use your favorite chocolate chips or baking chocolate.
Yes, with a few substitutions! To make them vegan, use a plant-based butter alternative, vegan chocolate chips (many dark chocolate brands are dairy-free, but always check labels), and vegan marshmallows. Since these cookies naturally contain no flour, they are inherently gluten-free, provided all other ingredients like chocolate and marshmallows are certified gluten-free.
Crumbling usually indicates that the cookie logs haven’t been chilled sufficiently. The chocolate needs to be completely firm to hold its shape when sliced. Ensure your logs are chilled for at least 1 hour, or even longer (up to overnight) for best results. Also, make sure you’re using a very sharp knife, as a dull blade can tear rather than slice.
Storage and Make-Ahead Tips
These no-bake delights are fantastic for making in advance, making holiday planning a breeze!
- Make Ahead: Church Window Cookies are perfect for meal prepping or holiday baking. You can prepare the logs and keep them tightly wrapped in saran wrap in the refrigerator for up to 1 week before slicing.
- Room Temperature: Once sliced, these cookies can be stored in an airtight cookie jar or container at room temperature for 2-3 days. However, due to the chocolate and butter content, they maintain their best firm texture and freshness when refrigerated.
- Refrigerate: For optimal freshness and firmness, store the sliced cookies in an airtight container in the refrigerator for up to 1 week. This keeps the chocolate from softening and the marshmallows from drying out.
- Freeze: To store for a longer period, wrap the entire unsliced log tightly in several layers of plastic wrap, then place it in a sealed airtight container or freezer bag. They can be frozen for up to 1 month. When ready to serve, thaw the log in the refrigerator overnight before unwrapping and slicing.
More Irresistible No-Bake Dessert Ideas
If you love the ease and deliciousness of no-bake treats, explore some of these other fantastic recipes:
- Classic No Bake Cookies (With Peanut Butter, Oats, Chocolate)
- No Bake Oreo Pie
- Cream Cheese Fruit Dip (With Marshmallow Fluff)
- Easy Birds Nest Cookies (No Bake)
- Easy Oreo Spider Cookies (No Bake)
- No-Bake Chocolate Peanut Butter Bars
- No-Bake Chocolate Lassi (Drinkable Dessert)
Full Recipe: Easy Church Window Cookies (No Bake)
Easy Church Window Cookies (No Bake)
Abeer Rizvi
Pin Recipe
10 minutes
1 hour
1 hour 10 minutes
Dessert
American
20 Cookies
263 kcal
Want to Save This Recipe?
Enter your email & I’ll send it to your inbox. Plus, get great new recipes from me every week!
By submitting this form, you consent to receive emails from CakeWhiz
Ingredients
- ½ cup Butter Unsalted
- 2 cups Chocolate Chips Use combination of dark, semisweet and milk
- 1 cup Nuts Use variety of nuts, Finely chopped
- 1 bag Mini marshmallows Colorful ones, 10 oz. bag
- 2 cups Coconut Sweetened, Shredded or Desiccated
Instructions
-
Heat butter and chocolate chips in a nonstick saucepan over low heat until fully melted and smooth. Mix often to prevent burning.
-
Keep aside and allow the chocolate to cool down for 5-6 minutes.
-
In a large mixing bowl, add this cooled chocolate mixture, nuts, marshmallows and mix everything together. It will be a thick chunky mixture.
-
Spread out 2 sheets of long saran wrap on your countertop and sprinkle coconut.
-
Divide the chocolate marshmallow mixture in half. Turn out half of this chocolate mixture on one sheet of plastic over all that coconut. Turn out the other half of the chocolate mixture on the other sheet of plastic over all that coconut.
-
Sprinkle more more coconut on top of the chocolate mixture.
-
Wrap the saran wrap tightly around the chocolate mixture to create a log shape. Twist the ends of the plastic wrap and tape the ends, if necessary.
-
Do the same thing again with second chocolate log.
-
Chill chocolate logs in the fridge for 1 hour or until firm.
-
Use a sharp knife to cut thin cookie slices. Enjoy!
Notes
- Always use unsalted butter to maintain control over the overall sweetness and prevent the cookies from becoming too salty.
- For best results and clean slices, ensure the cookie logs are thoroughly chilled and completely firm before attempting to cut them.
- If colored mini marshmallows are unavailable, plain white ones will work perfectly fine, though they won’t offer the same vibrant “stained glass” effect.
- Refer to the detailed tips and variations sections above for more creative ideas and troubleshooting advice.
- Leftover cookies can be stored in an airtight container in the refrigerator for up to 1 week, or the logs can be frozen for up to 1 month.
Nutrition
Carbohydrates: 29g
Protein: 2g
Fat: 15g
Saturated Fat: 8g
Cholesterol: 14mg
Sodium: 88mg
Potassium: 73mg
Fiber: 1g
Sugar: 23g
Vitamin A: 180IU
Vitamin C: 0.2mg
Calcium: 29mg
Iron: 0.7mg
An automated tool is used to calculate the nutritional information. As such, I cannot guarantee the accuracy of the nutritional information provided for any recipe on this site.
