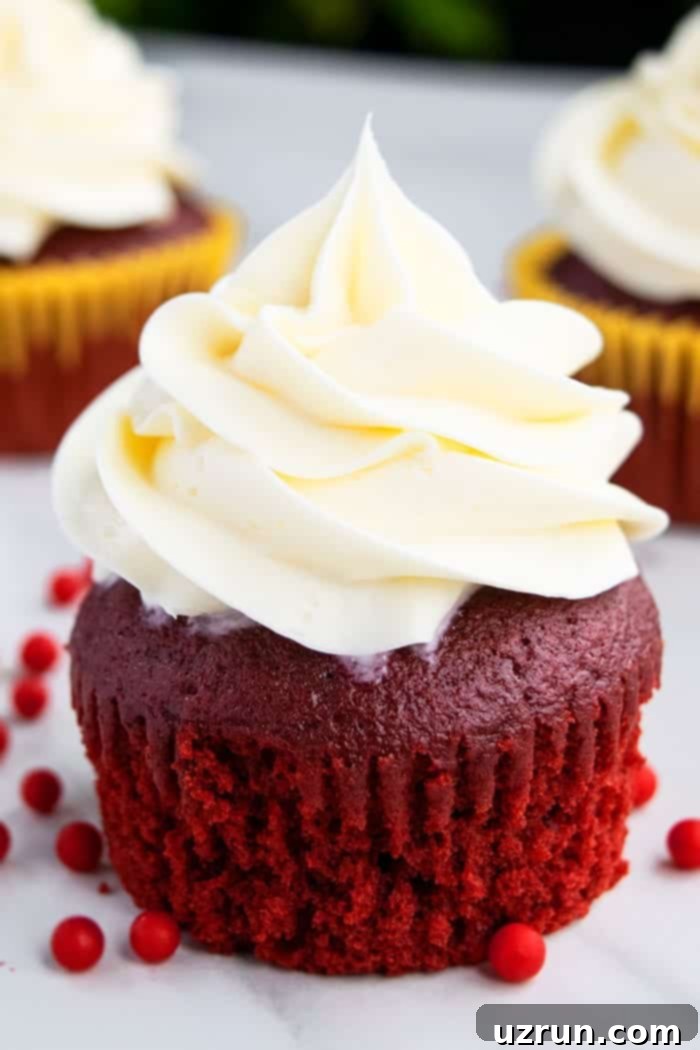
The Ultimate Classic Homemade Red Velvet Cupcakes with Tangy Cream Cheese Frosting
Prepare to fall in love with these absolutely perfect, light, fluffy, soft, and incredibly moist red velvet cupcakes. This classic recipe, made completely from scratch with simple, wholesome ingredients, is crowned with a generous swirl of the most delightful, tangy cream cheese frosting. Forget bland, dry imitations – these homemade treats deliver an authentic, rich flavor and a tender crumb that will make them an instant favorite.
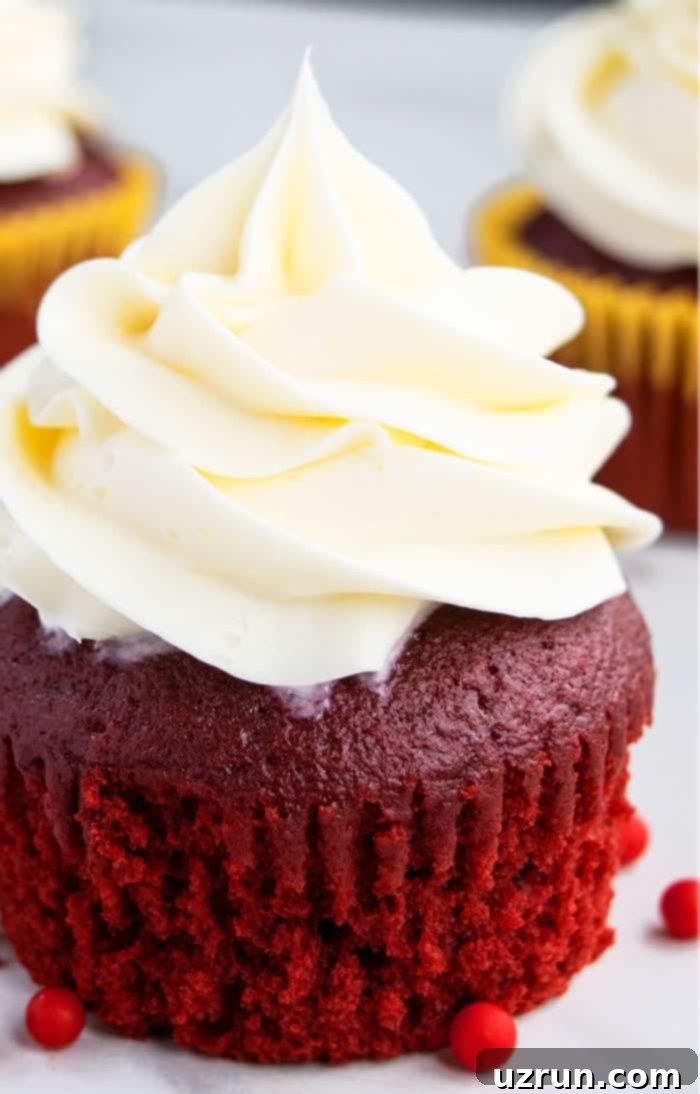
Whether you’re celebrating Valentine’s Day, a birthday, an anniversary, or simply craving a luxurious dessert, these red velvet cupcakes are an impeccable choice. Their distinctive vibrant red hue and deep, complex flavor make them stand out on any dessert table. If you’re a fan of the iconic red velvet taste, you’ll also adore my Red Velvet Truffles, the chewy Red Velvet Crinkle Cookies, the convenient Red Velvet Cookies (With Cake Mix), and of course, the grand Moist Red Velvet Cake, all perfectly complemented by my signature Red Velvet Frosting. Each bite promises a harmonious blend of subtle cocoa, vanilla, and that signature buttermilk tang.
[feast_advanced_jump_to]
What are Red Velvet Cupcakes? Unveiling Their Unique Flavor and History
Red velvet cupcakes are so much more than just vanilla cakes with red food coloring! They are miniature, muffin-shaped cakes renowned for their stunning vibrant red or reddish-brown color, a tender “velvet” texture, and a distinctive flavor profile. Often misunderstood, the true essence of a red velvet cupcake lies in a delicate balance of ingredients that create a truly unique taste experience. While they might appear similar to chocolate cake, they possess only a hint of chocolate flavor, derived from a small amount of unsweetened cocoa powder. This cocoa interacts with acidic ingredients like buttermilk and vinegar, which not only tenderizes the crumb, giving it that characteristic “velvet” feel, but also traditionally enhanced the red hue before concentrated food colorings became widely available.
Historically, red velvet cakes trace their origins back to the Victorian era, where “velvet cakes” were made with cocoa to soften the flour and give a finer texture. The reddish tint was initially a natural reaction between non-Dutched cocoa powder, baking soda, and acidic buttermilk. During World War II, when food coloring was scarce, beets or beet juice were sometimes used to achieve the signature color. Today, a dash of red food coloring is typically added to ensure that eye-catching, deep red that makes these cupcakes so iconic. The flavor is a sophisticated blend: a light cocoa background, a prominent vanilla sweetness, and a noticeable tang from the buttermilk and vinegar, all culminating in a rich and incredibly moist bite.
How to Make Easy Red Velvet Cupcakes from Scratch with Buttermilk
Crafting these delectable red velvet cupcakes at home is a surprisingly straightforward process, especially when you follow these clear, step-by-step instructions. The secret to their incredible moistness and tender crumb lies in the careful combination of ingredients like buttermilk, vinegar, and baking soda. Here’s a quick overview of the essential steps:
- Cream butter and sugar: Begin by creaming unsalted butter and granulated sugar together until the mixture is light, fluffy, and pale in color. This step is crucial for incorporating air, which contributes to the cupcakes’ airy texture.
- Mix remaining wet ingredients: Incorporate the eggs one at a time, ensuring each is fully blended before adding the next. Then, add the vibrant red food coloring and vanilla extract, mixing until everything is smoothly combined and beautifully colored.
- Mix together dry ingredients separately: In a separate bowl, whisk together the cake flour and unsweetened cocoa powder. Sifting these ingredients is recommended to prevent lumps and ensure even distribution.
- Combine dry and wet ingredients: Gradually add the dry flour mixture to the wet mixture, alternating with buttermilk. Start and end with the dry ingredients, mixing on low speed until just combined to avoid overmixing.
- Mix vinegar and baking soda: In a small, separate bowl, combine the vinegar and baking soda. You’ll notice a delightful fizzing reaction as they combine – this is exactly what you want! This chemical reaction is key to the cupcakes’ lift and tender texture.
- Add vinegar mixture to batter: Gently fold the fizzing vinegar mixture into the cupcake batter. Mix just until it’s incorporated; overmixing at this stage can lead to tough cupcakes.
- Pour batter: Distribute the rich red batter evenly into prepared cupcake liners, filling each about two-thirds full.
- Bake: Bake in a preheated oven until a toothpick inserted into the center of a cupcake comes out clean, indicating they are perfectly cooked through.
- Prepare frosting: While your beautiful red velvet cupcakes are cooling, whip up a batch of creamy, tangy cream cheese frosting.
- Pipe frosting: Once the cupcakes are completely cool, adorn each one with a generous swirl of the homemade cream cheese frosting.
Following these steps will ensure you create a batch of the most delicious and visually stunning red velvet cupcakes, guaranteed to impress.
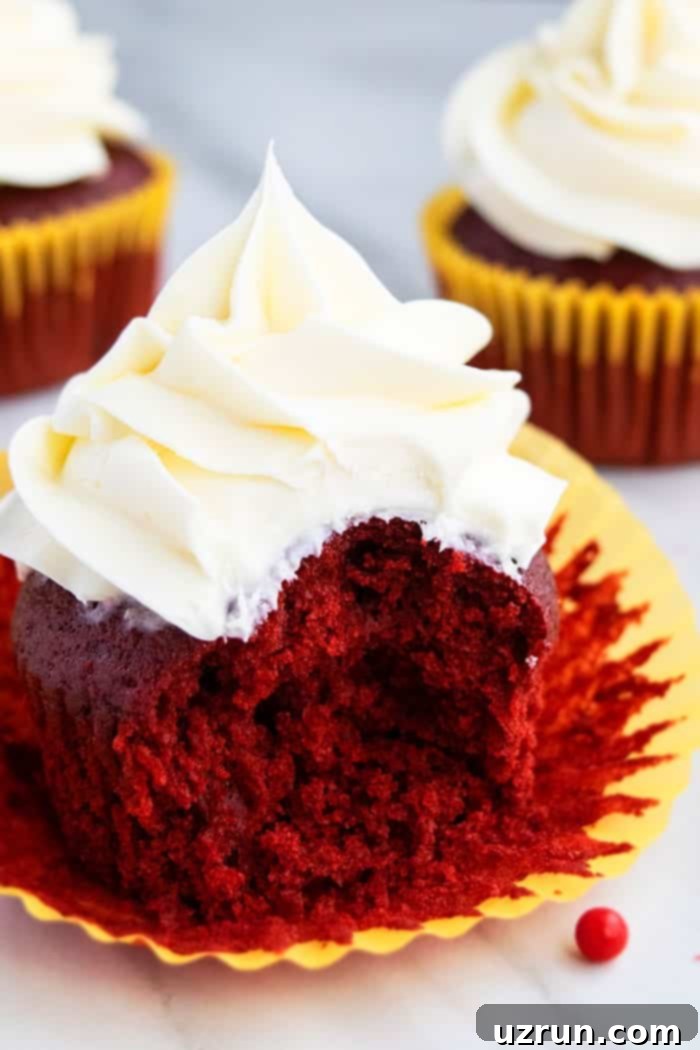
What Frosting Goes Best with Moist Red Velvet Cupcakes?
The traditional and undeniably best pairing for red velvet cupcakes is classic cream cheese frosting. Its rich, tangy, and slightly sweet profile perfectly complements the subtle chocolate and vanilla notes of the red velvet cake, creating a harmonious balance that is simply divine. The coolness and smooth texture of the cream cheese frosting provide a delightful contrast to the moist and fluffy cupcake.
While cream cheese frosting is the gold standard, you can explore other delicious options to suit your taste or occasion:
- Chocolate Cream Cheese Frosting: For those who desire a more pronounced chocolate flavor without overpowering the red velvet, a chocolate-infused cream cheese frosting is a decadent choice.
- American Buttercream Frosting: A sweet, buttery, and classic frosting that can be easily flavored. While less traditional, a vanilla or subtly flavored buttercream can also be quite delicious.
- Marshmallow Frosting: For a lighter, incredibly fluffy, and whimsical topping, marshmallow frosting adds a unique sweetness and texture.
- White Chocolate Buttercream Frosting: This option offers a creamy, sweet, and luxurious touch that beautifully enhances the vanilla and mild cocoa flavors of red velvet.
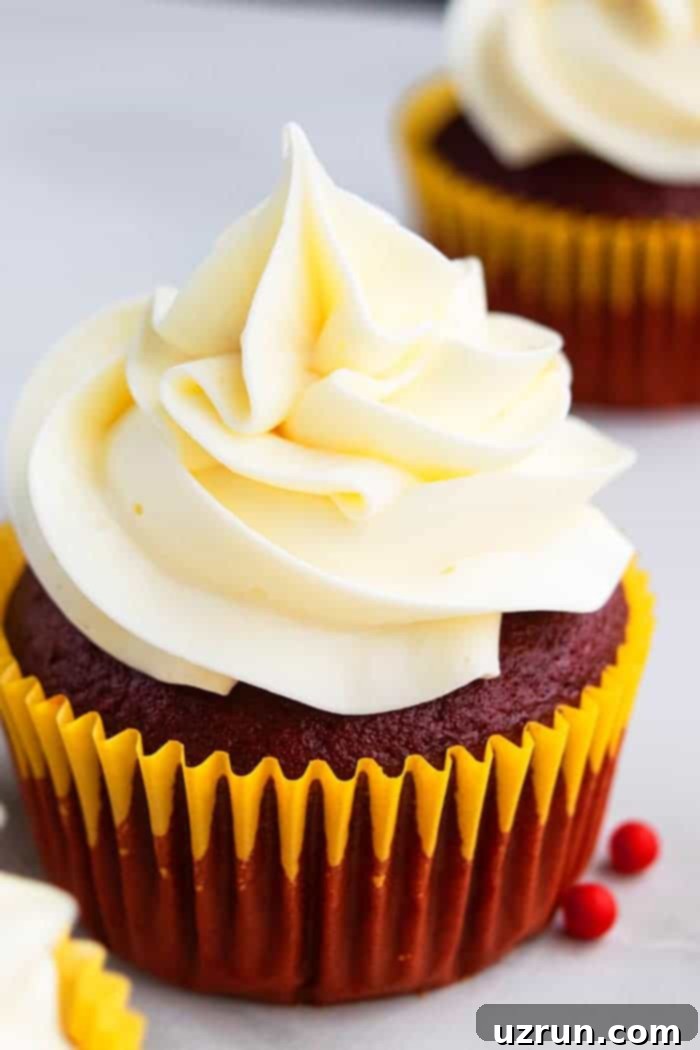
When it comes to decorating, you have several choices. For that iconic, elegant swirl, fill a piping bag fitted with a decorator’s tip (such as Wilton Tip 1M for a classic star design) and pipe a beautiful swirl on top of each cupcake. Alternatively, for a more rustic and homemade charm, simply use a small spatula or knife to spread the frosting generously over each cupcake, creating delightful peaks and valleys. Either way, the frosting is the crowning glory!
Creative Variations for Your Red Velvet Cupcakes
While the classic red velvet cupcake is perfect as is, there are many exciting ways to customize this recipe and add your personal touch. Get creative with these delicious variations:
- Cheesecake Cupcakes: Transform your red velvet into a truly indulgent dessert by stuffing them with a creamy, no-bake cheesecake filling. Once your cupcakes have cooled completely and before frosting, simply create a small cavity in the center and pipe in the cheesecake mixture. If you’re new to this technique, our comprehensive guide on How to Make Filled Cupcakes will show you exactly how.
- Stuff Them with Flavor: Go beyond cheesecake! Hollow out the middle of your cooled cupcakes and fill them with an array of delectable treats. Consider fruit jams or preserves, luscious pie fillings, rich chocolate truffles, delightful Edible Eggless Chocolate Chip Cookie Dough Truffles, extra frosting, or even fun red sprinkles for a playful touch at kids’ birthday parties.
- Add Chocolate Chips: For an extra burst of chocolate in every bite, fold mini chocolate chips or white chocolate chips directly into the cupcake batter just before pouring it into the liners. This adds a wonderful texture and additional sweetness.
- Make Mini Cupcakes: Adapt this recipe for bite-sized delights! Use a mini cupcake pan and mini cupcake liners. Remember that the baking time will be significantly shorter (typically 10-14 minutes), so keep a close eye on them to prevent overbaking. Mini cupcakes are perfect for parties and gatherings.
- Marble Cupcakes: Create a visually stunning marble effect by dividing your batter in half. Add red food coloring to only one half, leaving the other half white (or a very pale pink if your cocoa reacts slightly). Then, spoon alternating dollops of red and white batter into the cupcake liners and gently swirl them together with a toothpick before baking to create beautiful, unique patterns.
- Spice It Up: For a subtle twist, add a pinch of cinnamon or a tiny dash of allspice to your dry ingredients. These spices can deepen the overall flavor profile without overpowering the classic red velvet essence.
- Alcohol-Infused: For adult celebrations, consider brushing cooled cupcakes with a little raspberry liqueur or a hint of brandy before frosting.
Proper Storage for Your Red Velvet Cupcakes
To ensure your red velvet cupcakes remain fresh, moist, and delicious, proper storage is key. Here’s how to keep them at their best:
- Refrigerate: Due to the cream cheese frosting, frosted red velvet cupcakes must be stored in the refrigerator. Place them in an airtight container to prevent them from drying out or absorbing other odors from the fridge. They will stay fresh and delicious for up to 3 days. Bring them to room temperature for about 15-30 minutes before serving for the best flavor and texture.
- Freeze (Unfrosted): If you’re planning ahead or have leftover unfrosted cupcakes, they freeze beautifully. Allow the baked cupcakes to cool completely, then place them in an airtight freezer-safe container or a freezer bag. They can be stored for up to 1 month. When you’re ready to enjoy them, simply thaw them overnight in the refrigerator, then bring them to room temperature and frost as desired.
- Freeze (Frosted, Short-Term): While generally not recommended for long-term storage due to potential texture changes in the frosting, you can freeze frosted cupcakes for up to a week. Flash freeze them on a baking sheet until the frosting is firm, then transfer them to an airtight container. Thaw in the refrigerator.
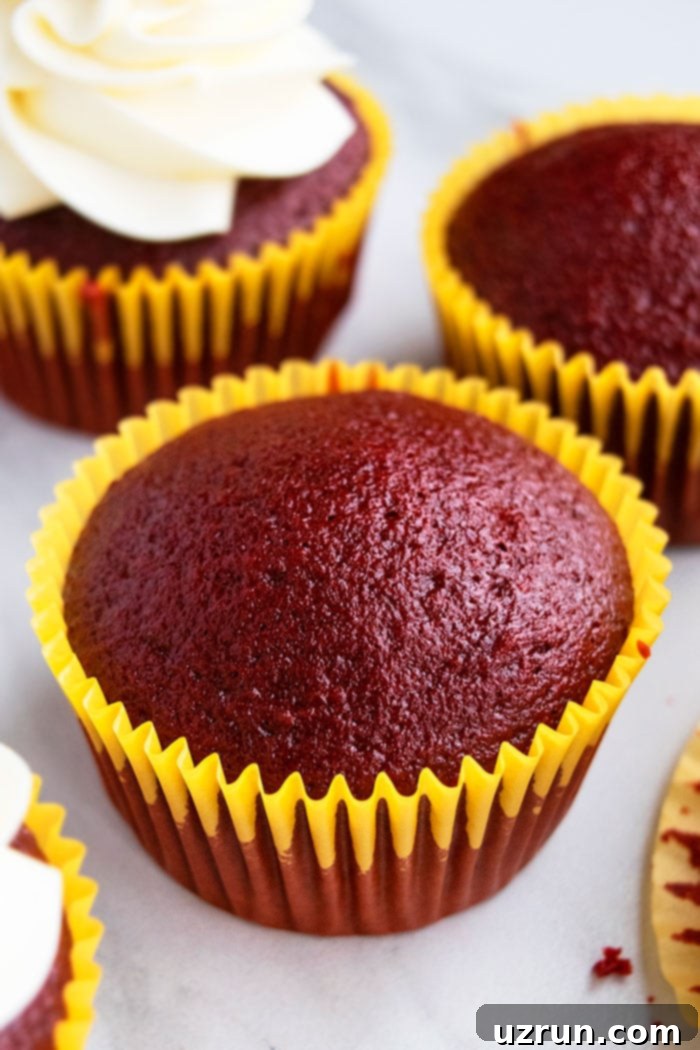
Expert Tips and Techniques for Perfect Red Velvet Cupcakes
Achieving bakery-quality red velvet cupcakes at home is easier than you think with these essential tips and techniques:
- How to Make a Frosting Swirl on Cupcakes: A beautifully piped frosting swirl elevates the presentation of any cupcake. For detailed guidance on using piping bags and various decorator’s tips, particularly the popular Wilton Tip 1M for a classic rose swirl, be sure to check out our dedicated post on How to Decorate Cupcakes. Practice makes perfect!
- Liquid Food Coloring vs. Gel Coloring: Both types of red food coloring can be used, but they have different strengths. You’ll generally need a significantly larger amount of liquid red food coloring to achieve a truly vibrant, deep red color, which can sometimes slightly alter the consistency of your batter. Gel food coloring, on the other hand, is much more concentrated. A small amount goes a long way to produce a rich, intense red hue without noticeably affecting the batter’s texture, making it the preferred choice for many bakers.
- Buttermilk Substitute: If you don’t have buttermilk on hand, don’t worry! You can easily make a homemade substitute. Simply mix 1 cup of whole milk with 1 tablespoon of white vinegar or lemon juice. Let the mixture sit for 5-10 minutes until it slightly curdles (this means the acid is working). Give it a quick stir, and it’s ready to use in your recipe.
- Use Unsweetened Cocoa Powder: It’s crucial to use unsweetened cocoa powder, not hot cocoa mix. Hot cocoa mix contains sugar, milk solids, and other additives that will throw off the balance of your recipe and result in a different flavor and texture. Unsweetened cocoa powder provides that subtle, distinctive chocolate note characteristic of red velvet.
- Unsalted Butter is Best: Always opt for unsalted butter in baking recipes unless otherwise specified. This gives you complete control over the total salt content in your treats, preventing them from becoming overly salty. If you only have salted butter, simply omit or reduce the amount of added salt in the recipe to compensate.
- Troubleshooting Brown Cupcakes: If your red velvet cupcakes turn out more brown than red, there could be a few reasons. You might not have added enough red food coloring to achieve the desired vibrancy, or perhaps too much cocoa powder was used, which can deepen the color too much. Additionally, overbaking can cause the edges and tops to brown excessively.
- Why are My Cupcakes Raw in the Middle?: This is a common issue and usually indicates that the cupcakes were not baked long enough. The reliable way to check for doneness is to insert a toothpick or a thin wooden skewer into the center of a cupcake. If it comes out clean (without any wet batter clinging to it), your cupcakes are perfectly baked. If it comes out with raw batter, they need a few more minutes in the oven.
- The Importance of Cake Flour: Using cake flour is not optional for this recipe if you desire that signature “velvet” texture. Cake flour has a lower protein content than all-purpose flour, which results in less gluten development. This creates a more delicate, tender, and lighter crumb texture, making your cupcakes melt-in-your-mouth soft.
- Homemade Cake Flour Substitute: If cake flour isn’t available, you can make your own. For every cup of all-purpose flour, remove 2 tablespoons, then replace those 2 tablespoons with 2 tablespoons of cornstarch. Sift this mixture together thoroughly several times to ensure it’s well combined before measuring for the recipe. Instructions for this can also be found in more detail in the recipe card below.
- Do Not Over-mix: This is one of the golden rules of baking. Overmixing the batter develops the gluten in the flour too much, leading to tough, dense, and chewy cupcakes. It can also cause the delicate structure to collapse, resulting in sunken tops. Mix only until the ingredients are just combined.
- All Ingredients at Room Temperature: Ensure that ingredients like butter, eggs, and buttermilk are at room temperature. Room temperature ingredients emulsify more easily, creating a smooth, well-blended batter that bakes evenly and results in a lighter, fluffier texture. Cold ingredients can cause the batter to seize or curdle.
- Use Baking Soda, Not Baking Powder: This recipe specifically calls for baking soda, which reacts with the acids in buttermilk and vinegar to create carbon dioxide gas, providing lift. Do not substitute baking powder, as it has a different chemical composition and will alter the texture and rise of your cupcakes.
- Fill Liners Correctly: Fill cupcake liners about two-thirds full. This allows enough space for the cupcakes to rise without overflowing, ensuring perfectly domed tops.
- Cooling Completely: Always allow cupcakes to cool completely on a wire rack before frosting. Frosting warm cupcakes will cause the frosting to melt and slide off, creating a messy result.
More Festive Cupcake Recipes for Valentine’s Day and Beyond
Looking for more delightful cupcake ideas for Valentine’s Day or any romantic occasion? Here are some fantastic recipes that are sure to capture hearts:
- Strawberry Cupcakes
- Champagne Cupcakes
- White Wedding Cupcakes
- Flower Bouquet Cupcakes
- Strawberry Cheesecake Cupcakes (No Bake)
Recipe
Easy Red Velvet Cupcakes
Abeer Rizvi
Pin Recipe
Want to Save This Recipe?
Enter your email & I’ll send it to your inbox. Plus, get great new recipes from me every week!
By submitting this form, you consent to receive emails from CakeWhiz
Ingredients
- ¾ cup Butter Unsalted, Room temperature
- 2 ⅓ cups Granulated sugar
- 3 Eggs Large
- 2.5-3 tablespoon Red liquid food coloring Can be adjusted on how vibrant and red you want your cupcakes
- 2 teaspoon Vanilla extract
- 3 ⅓ cups Cake flour
- 2.5 tablespoon Cocoa powder
- 1.5 cups Buttermilk
- 2 teaspoon Vinegar
- 2 teaspoon Baking soda
- 3 cups Cream cheese frosting
Instructions
-
In a large mixing bowl, cream together butter and sugar until light and fluffy.
-
Add eggs, food coloring, vanilla extract and mix until smooth.
-
In a separate bowl, whisk together cake flour and cocoa powder.
-
Mix in this dry flour mixture into the wet mixture, alternating with buttermilk, until combined.
-
In a separate small bowl, mix together vinegar and baking soda. When these two ingredients come together, they react and create bubbles. That’s nothing to be alarmed about.
-
Pour this vinegar mixture in the batter and mix until just combined.
-
Pour cupcake batter in cupcake liners.
-
Bake at 350 degrees F for 16-20 minutes or until an inserted toothpick in the center comes out clean.
-
Allow the cupcakes to cool down completely.
-
While they are cooling, make cream cheese frosting.
-
Fill a piping bag with icing and pipe icing on top of each cupcake. Enjoy!
Video
Notes
- Read all my tips above.
- Leftovers can be stored in a sealed container in the fridge from up to 3 days. They can also be frozen (without frosting) in a sealed airtight container for up to 1 month. Thaw overnight in the fridge when you are ready to enjoy them.
Nutrition
An automated tool is used to calculate the nutritional information. As such, I cannot guarantee the accuracy of the nutritional information provided for any recipe on this site.
