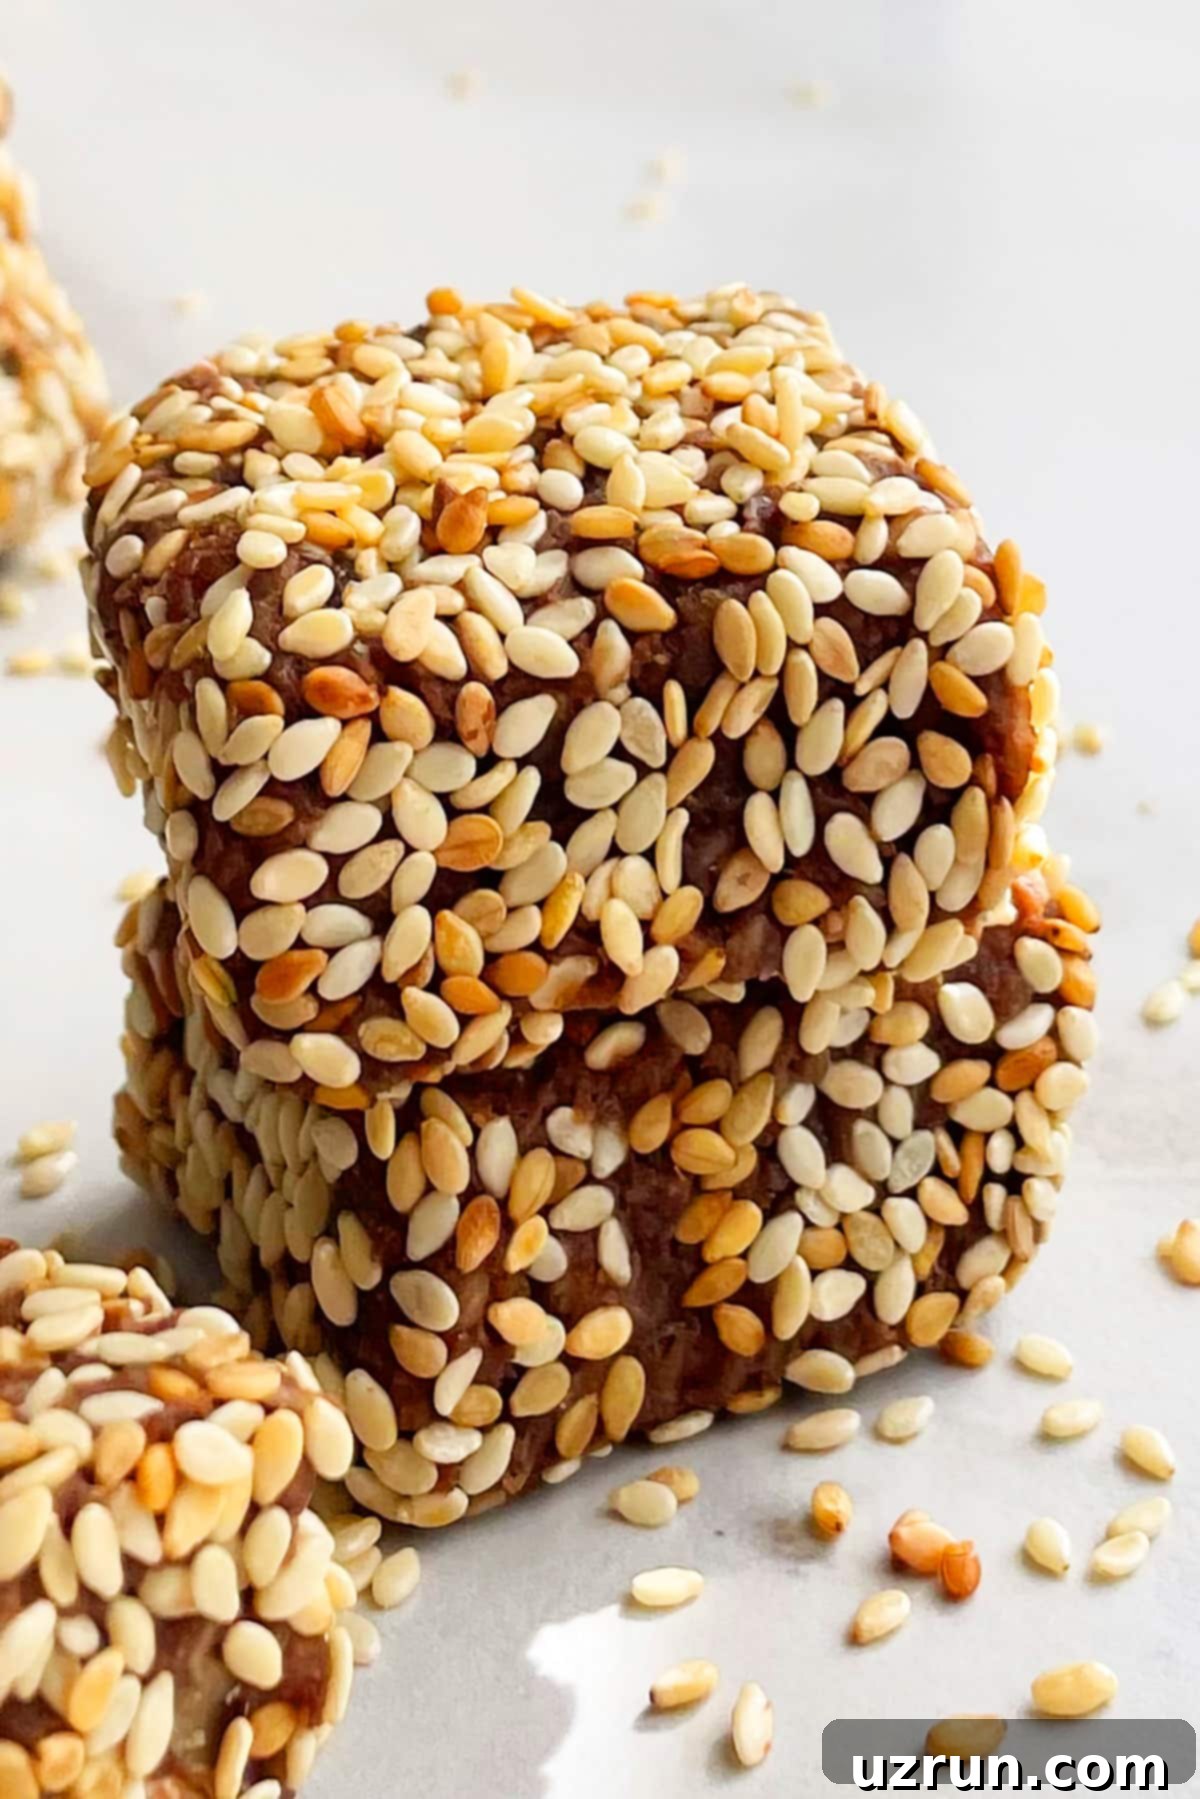
Deliciously Easy No-Bake Date Bars: Your Ultimate Recipe for Healthy & Delicious Energy Bites
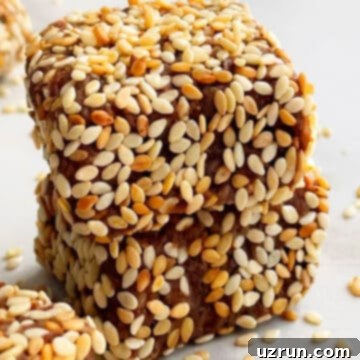
Craving a sweet treat that’s also good for you? Look no further than these incredibly easy **no-bake date bars**! This homemade recipe, bursting with natural flavors and wholesome ingredients, is designed for convenience and deliciousness. Forget complex baking — in just minutes of active prep, you can create a batch of these delightful date squares, packed with the goodness of crunchy **walnuts**, rich **cocoa powder**, flaky **coconut**, luscious **Medjool dates**, and a finishing touch of nutty **toasted sesame seeds**.
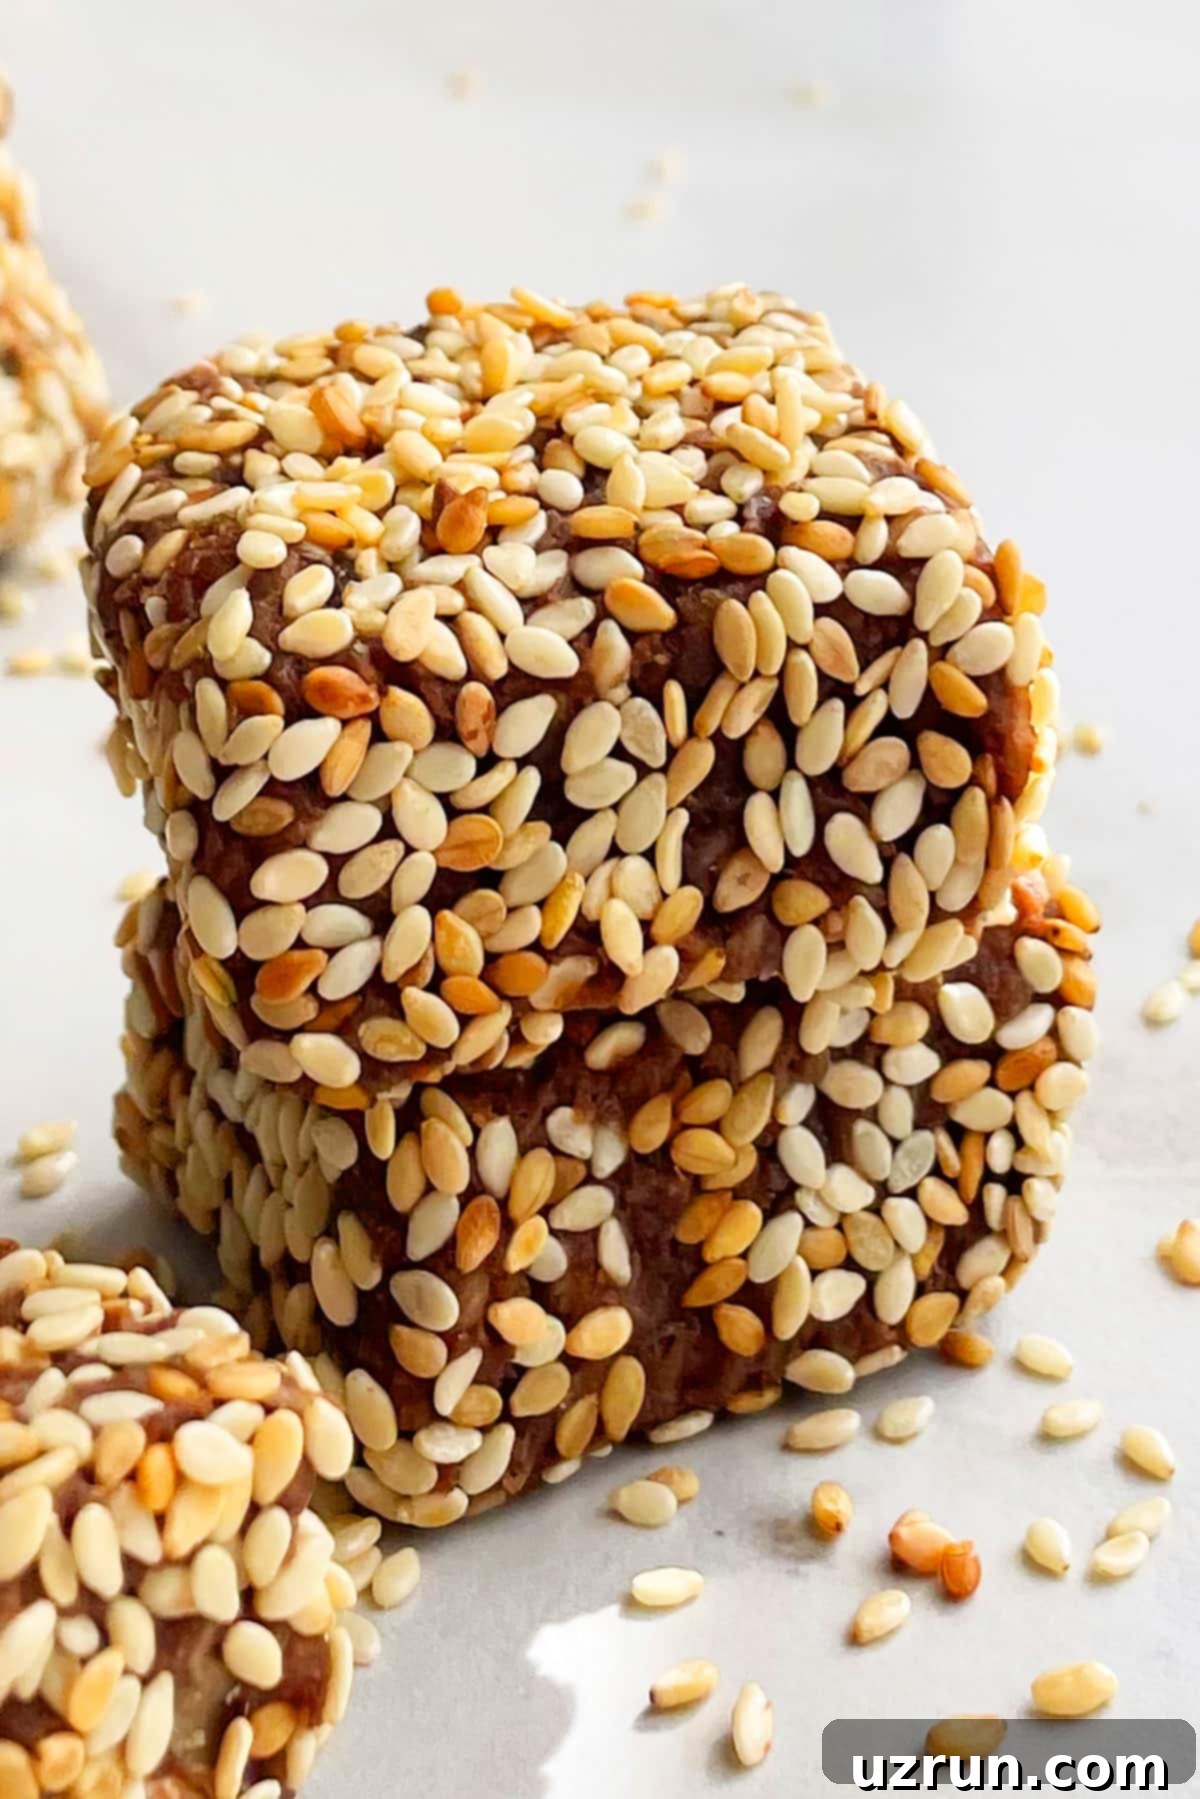
These versatile bars offer an explosion of flavor and texture, boasting the perfect amount of nuttiness and natural sweetness. Much like my popular Date Balls (Energy Balls), these are a fantastic option for a healthier dessert, a satisfying pick-me-up snack, or a welcome addition to work and school lunches. They’re loaded with nutrient-dense ingredients that provide sustained energy, making them ideal for fueling busy days.
Whether you’re an experienced home baker or a novice in the kitchen, this recipe is incredibly forgiving and simple to follow. It’s perfect for meal prepping healthy snacks for the week or whipping up a last-minute treat. Let’s dive into why these are a must-try and how you can make these irresistible date bars from scratch!
Why You’ll Love These No-Bake Date Bars
These delightful date bars aren’t just easy to make; they also come with a host of benefits that make them a perfect addition to any healthy lifestyle:
- Effortlessly Easy & Quick: The “no-bake” aspect means you skip the oven entirely. With just a food processor, these bars come together in about 10 minutes of active preparation, followed by a quick chill to set. Perfect for busy schedules!
- Wholesome & Nutrient-Dense: Packed with natural sugars from dates, healthy fats and protein from nuts, and fiber, these bars are a powerhouse of nutrition. They offer sustained energy without the sugar crash associated with many processed snacks.
- Naturally Sweetened: Medjool dates provide all the sweetness needed, eliminating the need for any refined sugars. This makes them a much healthier alternative to traditional sweet treats.
- Rich Flavor & Texture: The combination of chewy dates, crunchy walnuts, rich cocoa, and fragrant coconut creates a complex flavor profile that satisfies sweet cravings. The toasted sesame seeds add an extra layer of nutty crunch.
- Highly Customizable: This recipe is a fantastic base for experimentation! Easily adapt the nuts, coatings, and flavorings to suit your personal preferences or what you have on hand.
- Ideal for Meal Prepping: These bars store beautifully in the fridge or freezer, making them perfect for preparing a week’s worth of healthy snacks in advance. Grab one on your way out the door for a convenient and nutritious boost.
- Kid-Friendly & Energy Boosting: A great way to get wholesome ingredients into your family’s diet. They’re an excellent source of sustained energy for kids and adults alike, whether for school, work, or post-workout recovery.
Key Ingredients for No-Bake Date Bars
This recipe relies on a handful of simple, natural ingredients that combine to create a deeply flavorful and satisfying treat. Each component contributes uniquely to the bars’ taste and texture:
- Walnut Halves: I highly recommend walnuts for their distinct earthy, slightly bitter flavor and their incredible nutritional benefits, including omega-3 fatty acids. When ground, they provide a wonderful crumbly texture that forms the bulk of the bar. If walnuts aren’t your favorite, you can easily substitute them with other nuts like pecans (for a buttery taste), almonds (for a milder flavor), or cashews (for a creamier consistency).
- Medjool Dates: The undisputed star of these no-bake bars! Medjool dates are prized for their naturally rich, caramel-like sweetness and their exceptionally soft, chewy texture. They are the natural binding agent that holds all the ingredients together, eliminating the need for any cooking. Always ensure your dates are pitted before adding them to the food processor. Their natural stickiness is what makes the “no-bake” magic happen.
- Unsweetened Desiccated Coconut: This ingredient adds a fantastic chewiness and a subtle tropical aroma. Using unsweetened desiccated coconut is crucial for balancing the intense natural sweetness of the dates, preventing the bars from becoming cloyingly sweet. If you only have sweetened coconut, you might consider slightly reducing the amount of dates or increasing the cocoa powder to maintain flavor balance.
- Cocoa Powder: Essential for that delicious hint of chocolate, cocoa powder introduces a beautiful depth of flavor and a subtle bitterness that perfectly counters the dates’ sweetness. It also lends a rich color to the bars. You can adjust the quantity from ½ to ¾ cup based on your preference for chocolate intensity. Natural unsweetened cocoa powder works wonderfully, but Dutch-processed cocoa can also be used for a darker, milder chocolate flavor.
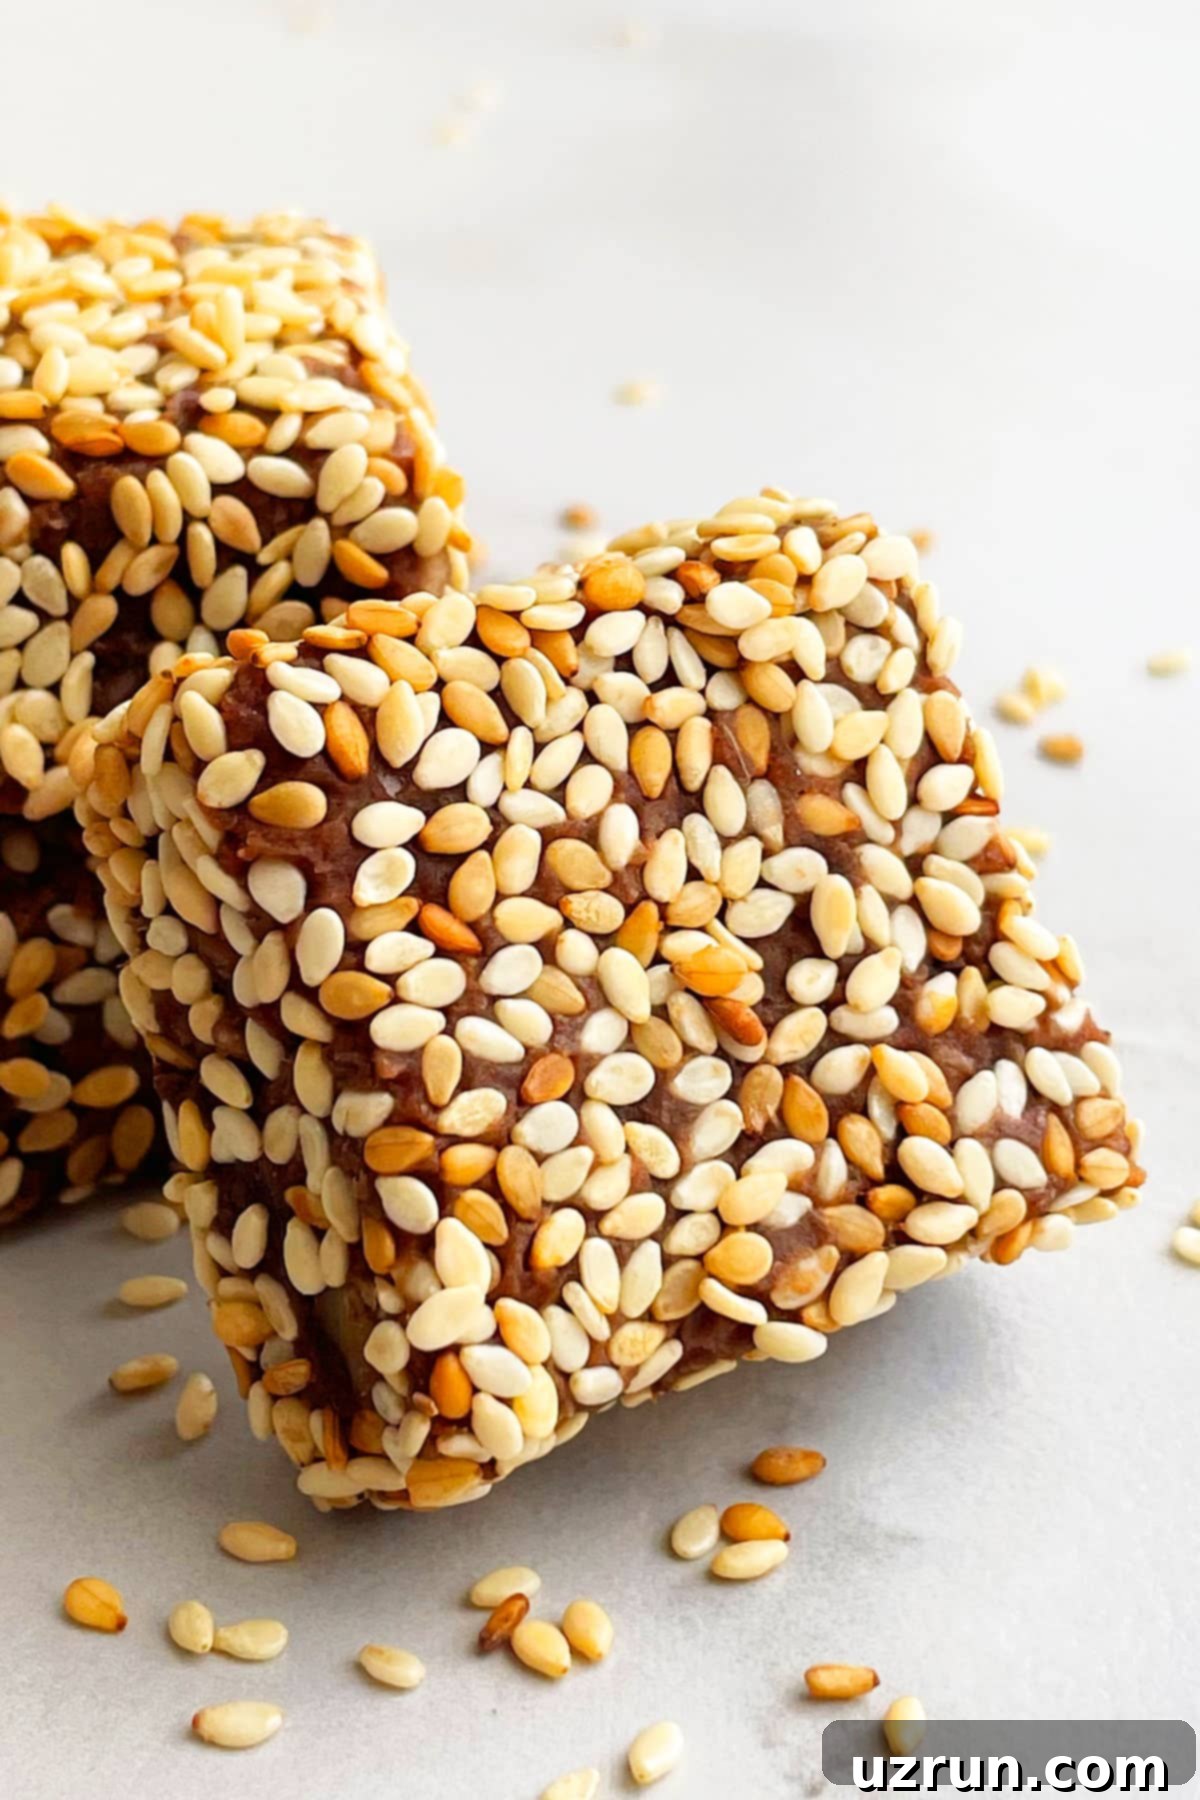
- Toasted Sesame Seeds: These are primarily used as a delicious coating, providing a delightful nutty crunch and an appealing visual finish. Toasting the sesame seeds before using them is a small but impactful step, as it significantly intensifies their flavor and aroma, adding another layer of complexity to these already tasty treats. You can quickly toast them in a dry skillet over medium heat until fragrant.
How to Make Easy No-Bake Date Bars from Scratch?
Creating these wholesome date bars is surprisingly simple, primarily requiring the use of a food processor. Here’s a detailed, step-by-step guide to ensure perfect results every time:
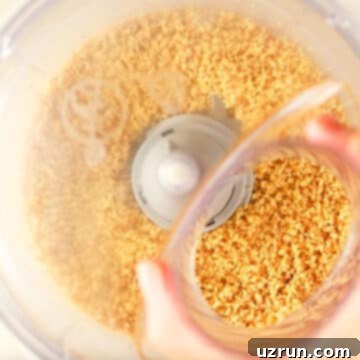
1. Grind Walnuts: Start by placing your walnut halves into the bowl of a food processor. Pulse them a few times until they are finely ground and resemble coarse crumbs or a meal-like consistency. Be very careful not to over-process them, as this will cause the nuts to release their oils and turn into a sticky nut butter, which will alter the texture of your finished bars.
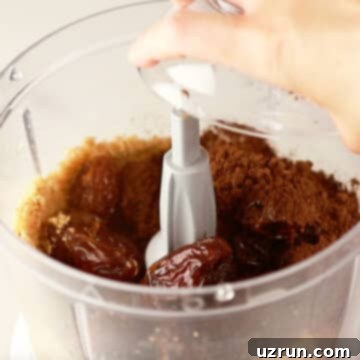
2. Add Other Ingredients: To the ground walnuts in the food processor, add the remaining core ingredients: the pitted Medjool dates, desiccated coconut, and cocoa powder. For best results, ensure your Medjool dates are fresh and soft. If they seem a bit firm, you can soak them in warm water for about 10 minutes, then drain them thoroughly before adding.
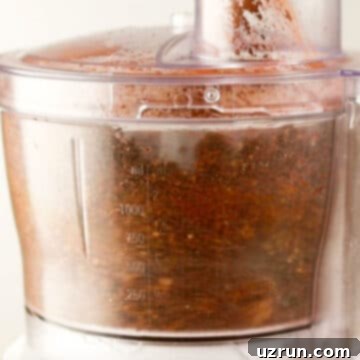
3. Mix Until Combined: Begin pulsing all the ingredients together in the food processor. Continue pulsing, pausing occasionally to scrape down the sides of the bowl with a spatula, until the mixture comes together into a sticky, cohesive mass. It should resemble a thick, pliable dough that holds its shape when you pinch a small amount between your fingers.
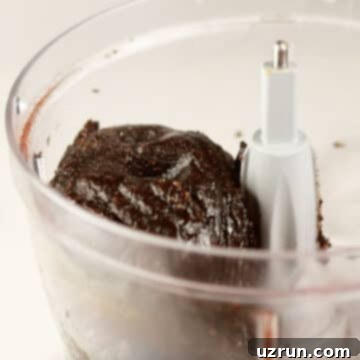
4. Check Consistency & Adjust: After mixing, ensure the dough-like consistency is correct. If the mixture appears too dry and crumbly, add water (or orange juice for extra flavor) one tablespoon at a time, pulsing after each addition, until the desired stickiness is achieved. Conversely, if it’s too wet and doesn’t hold firm, add a little more desiccated coconut, cocoa powder, or finely ground nuts to absorb the excess moisture.
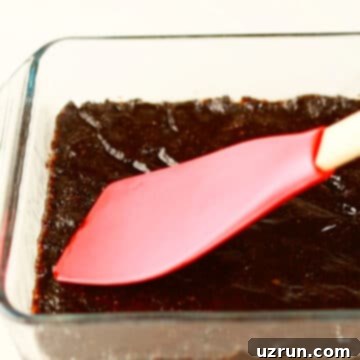
5. Spread Mixture in Pan: Line an 8×8 inch square baking pan with parchment paper or wax paper, ensuring there’s an overhang on all sides. This overhang will act as a sling, making it easy to remove the chilled bars later. Transfer the date mixture into the prepared pan and use the back of a spoon or your lightly dampened fingers to press it down very firmly and evenly across the base of the pan. Compaction is key for well-formed bars.
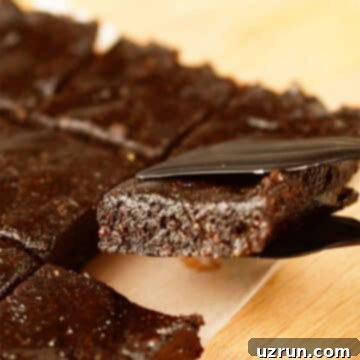
6. Chill and Cut Slices: Place the entire pan in the freezer for 30-40 minutes, or in the refrigerator for 1-2 hours, until the mixture is thoroughly firm. Once chilled, use the parchment paper overhang to carefully lift the solid slab out of the pan. Place it on a clean cutting board and use a sharp knife to cut it into your desired square or bar shapes. A warm knife can help create cleaner cuts.
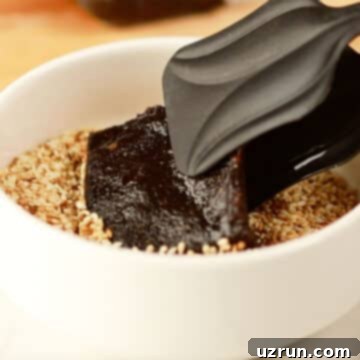
7. Coat One Side: Pour your toasted sesame seeds into a wide, shallow dish. Take each individual cut bar and gently press one side into the sesame seeds, ensuring it’s generously and evenly coated. The natural stickiness of the date mixture will help the seeds adhere perfectly to the bar.
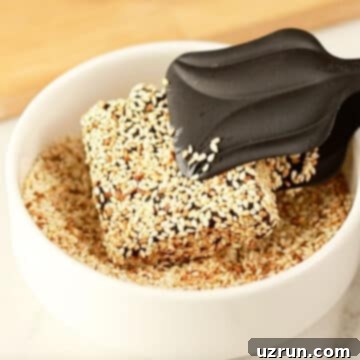
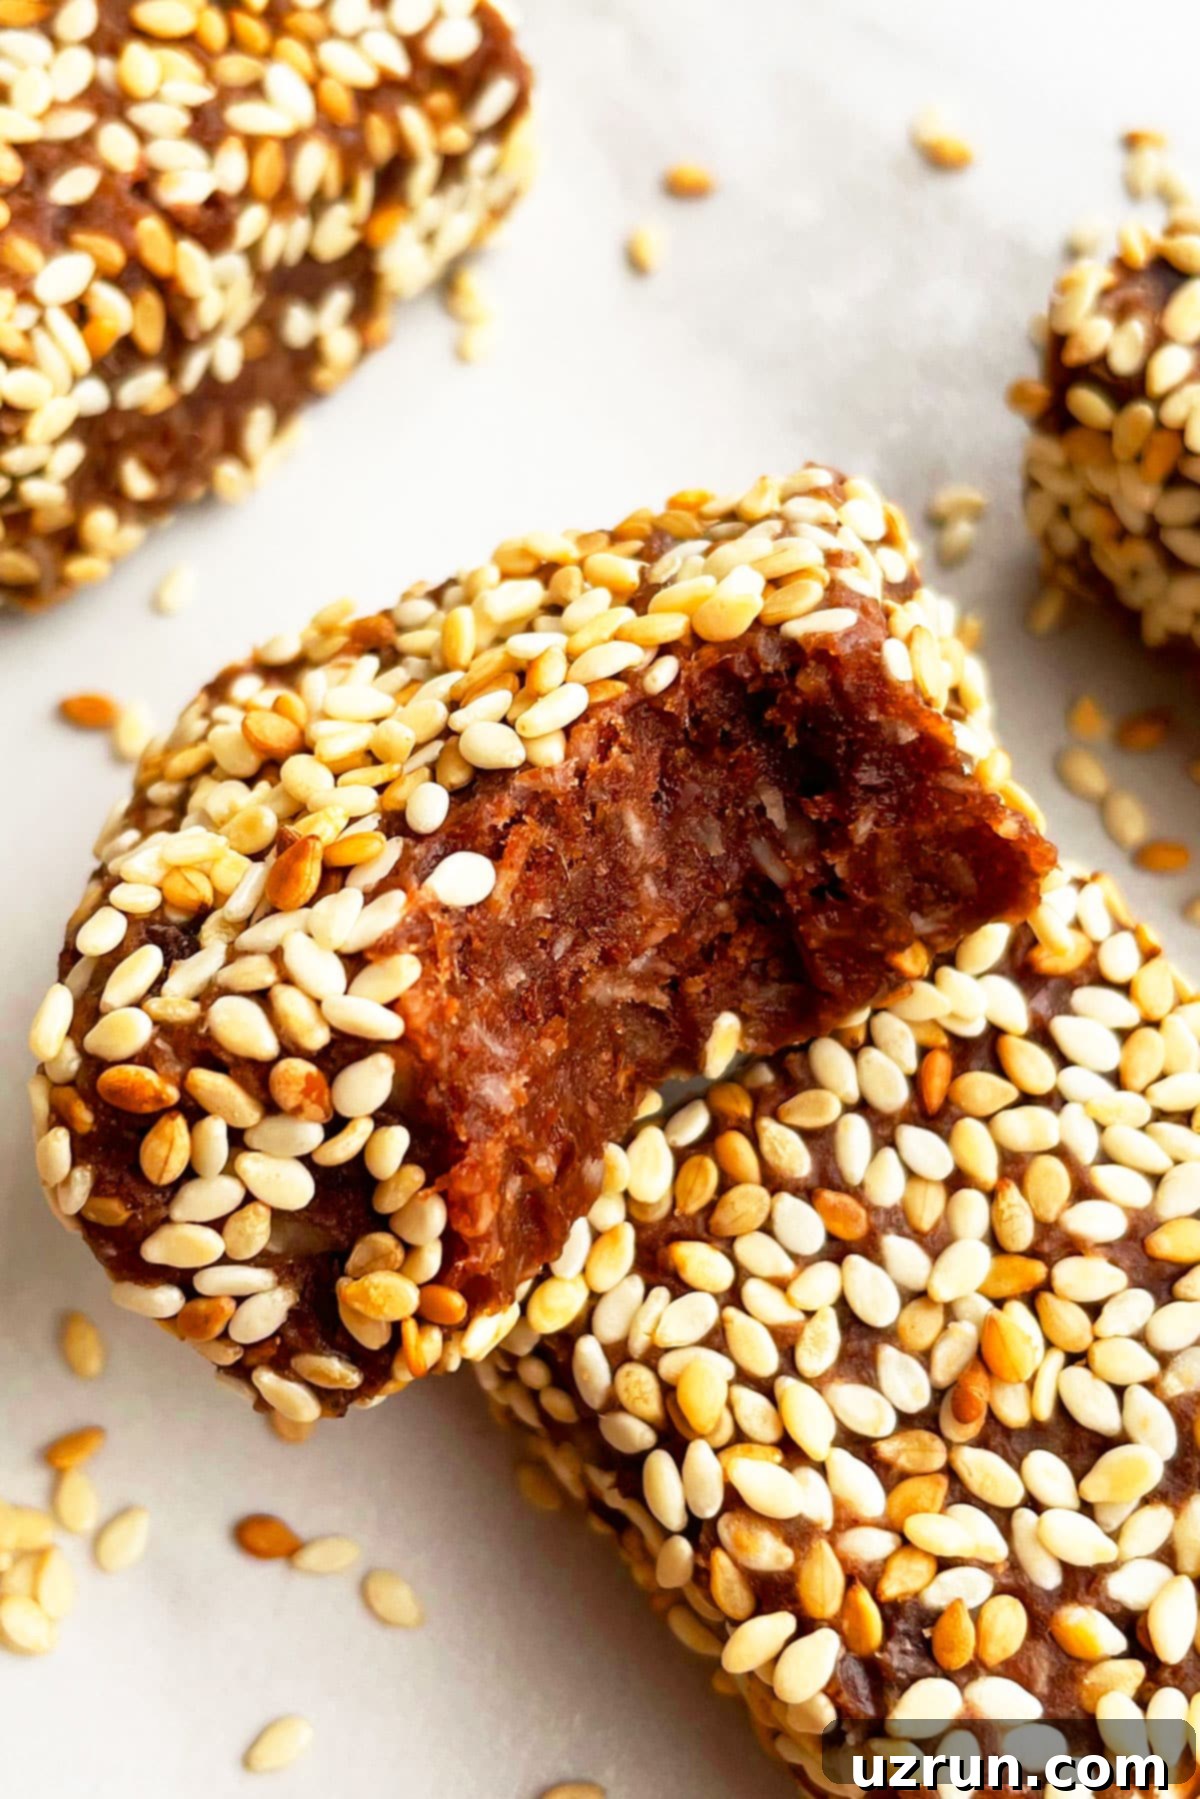
8. Coat Other Side & Final Chill: Flip the bar over and repeat the process, coating the other side in sesame seeds until all exposed surfaces are covered. Arrange the finished, coated bars in an airtight container. If stacking them, place a sheet of wax paper between each layer to prevent sticking. Return the container to the fridge for a final chill of a few hours (or even overnight) to allow them to firm up completely and for the flavors to fully meld. Then, simply enjoy your delicious and energizing no-bake date bars!
Creative Variations for Healthy No-Bake Date Squares
The beauty of these no-bake date bars lies in their incredible versatility. Once you’ve mastered the basic recipe, feel free to unleash your creativity and customize them with these delightful variations:
- Experiment with Other Nuts: While walnuts provide a classic flavor, don’t hesitate to swap them out or use a combination. Pecans offer a rich, buttery note; almonds give a milder flavor; cashews contribute a creamier texture; and pistachios can add a beautiful green hue and unique taste. Roasting nuts beforehand can also intensify their flavor.
- Alternative Coatings: If sesame seeds aren’t your preference, the possibilities are endless! Consider rolling the bars in shredded coconut (toasted or untoasted), finely chopped nuts (like almonds, hazelnuts, or pistachios), cocoa nibs for an extra crunch and a bitter chocolate contrast, hemp seeds for added nutrients, or even a blend of spices like cinnamon sugar.
- Add a Decadent Frosting: For a more indulgent, dessert-like experience, you can skip the sesame seeds entirely and top these bars with a healthy frosting. A homemade Coconut Cream Chocolate Frosting would be an exquisite choice, adding a creamy, rich layer that elevates the bars to a whole new level without relying on refined sugars.
- Infuse with Warm Spices: Dates and cocoa pair wonderfully with warming spices. Stir in a teaspoon of ground cinnamon, a half-teaspoon of ground ginger, a pinch of cardamom, or a blend of pumpkin pie spice into the food processor with the other ingredients. These spices add depth and make the bars feel even cozier and more comforting.
- Give it a Spicy Kick: For an adventurous twist, add a tiny amount of cayenne pepper to the mixture. Start with just an eighth of a teaspoon and adjust to your desired level of heat. The subtle warmth beautifully contrasts the sweetness of the dates and cocoa, creating a sophisticated flavor profile.
- Boost with Rolled Oats: To enhance the texture, fiber content, and overall satiety of these bars, incorporate ¼ to ½ cup of quick-cooking or rolled oats into the food processor mixture. This makes them even more substantial and adds a wholesome, chewy element, perfect for a heartier snack.
- Brighten with Citrus: A teaspoon of finely grated orange or lemon zest, or even a tablespoon of orange juice (added only if the mixture is too dry and needs liquid), can introduce a wonderfully bright, tangy note. Citrus flavors beautifully complement dates and chocolate, cutting through the richness.
- Sprinkle with Flaky Sea Salt: A generous sprinkle of flaky sea salt (or Himalayan pink salt) over the top of the bars before or after coating, or even mixed into the dough, can elevate all the flavors. The sweet-and-salty combination is incredibly addictive and highlights the natural sweetness of the dates.
- Add Extracts: Beyond the basic ingredients, a teaspoon of vanilla extract or almond extract can deepen the flavor profile. For a holiday-inspired twist, a few drops of peppermint extract would create a delightful mint-chocolate experience.
Essential Tips and Techniques for Perfect Date Bars
While this recipe is simple, a few key tips and techniques can ensure your no-bake date bars turn out perfectly every time:
- Avoid Over-Processing the Nuts: This is perhaps the most crucial tip! Pulsing walnuts (or any nuts) for too long will cause them to release their natural oils and turn into a paste, similar to nut butter. For these bars, you want a crumbly, coarse meal consistency. This texture is vital for the structure of the bars, ensuring they are firm and have a pleasant chew, rather than being overly dense or oily.
- Troubleshooting – Mixture Too Dry?: If, after processing, your date mixture seems too crumbly and doesn’t hold together when pressed, don’t worry! This can happen if your dates are a bit drier than usual. Simply add water (or orange juice for extra flavor) one tablespoon at a time, pulsing briefly after each addition, until the mixture reaches that perfect sticky, dough-like consistency.
- Troubleshooting – Mixture Too Wet?: Conversely, if your mixture is overly sticky or wet, it might struggle to set properly. To remedy this, add a little more dry ingredient. Extra finely ground nuts (pulse them separately first), an additional tablespoon of cocoa powder, or more desiccated coconut can help absorb excess moisture and firm up the dough to the right consistency.
- Customize Cocoa Powder to Taste: The recipe suggests ½ to ¾ cup of cocoa powder. This range allows you to adjust the chocolate intensity. Use less for a milder, more date-forward flavor, or lean towards the ¾ cup for a richer, deeper, and slightly more bitter chocolate profile that beautifully balances the dates’ sweetness.
- Always Toast Sesame Seeds: This small step makes a significant impact on the overall flavor. Toasted sesame seeds have a far more intense, nutty, and aromatic flavor compared to raw ones. You can easily toast them yourself in a dry skillet over medium heat for 3-5 minutes, stirring frequently, until they are fragrant and lightly golden.
- Chilling is Non-Negotiable for Structure and Freshness: These no-bake bars rely entirely on chilling to set and firm up. They cannot be stored at room temperature for prolonged periods, as they will soften and lose their shape. Proper chilling in the refrigerator or freezer is essential for maintaining their delightful texture and extending their freshness.
- Line Your Pan Properly: Always line your baking pan with parchment paper or wax paper, leaving a generous overhang on the sides. This simple step is a game-changer! It creates a handy “sling” that allows you to effortlessly lift the entire slab of chilled date mixture out of the pan, making the cutting process much cleaner and easier without any sticking.
- Chill Thoroughly Before Slicing: Resist the temptation to cut the bars immediately after pressing them into the pan. A good chill solidifies the mixture, making it much easier to achieve neat, uniform slices without the bars crumbling, squishing, or sticking to your knife.
- Quality of Dates Matters: The freshness and softness of your Medjool dates will greatly impact the final texture of your bars. Fresh, plump dates blend easily and create a perfectly sticky mixture. Older or drier dates might require a bit more effort in the food processor or benefit from a short soak in warm water before use.
Storage Instructions
Proper storage is essential to maintain the freshness, texture, and deliciousness of your no-bake date bars:
- Refrigerate: Store these date bars in an airtight container in the refrigerator for up to 3 days. If you need to stack layers, place a sheet of parchment paper or wax paper between each layer to prevent them from sticking together. The cool temperature helps maintain their firm consistency.
- Freeze: For longer storage, these bars freeze beautifully! Arrange the cut bars in a single layer on a baking sheet and freeze until solid (about 1-2 hours). Once frozen, transfer them to a freezer-safe airtight container or a heavy-duty freezer bag, again separating layers with parchment paper. They will keep well for up to 1 month. When ready to enjoy, simply thaw individual bars in the fridge for a few hours or at room temperature for about 15-30 minutes for a quick, chilled snack.
- Make Ahead Instructions: These no-bake date bars are an excellent option for meal prepping! You can easily prepare a batch 1 day in advance. Store them in a sealed container in the fridge, and the flavors will actually have more time to meld and deepen, making them even more delightful to serve when you’re ready.
Frequently Asked Questions (FAQs)
Here are answers to some common questions about making and enjoying these no-bake date bars:
- Can I use other types of dates besides Medjool? While Medjool dates are highly recommended for their softness, moisture, and caramel-like flavor, you can use other soft, pitted dates (like Deglet Noor). If your dates seem drier, it’s a good idea to soak them in warm water for 10-15 minutes before blending to help them become more pliable and sticky.
- Are these date bars gluten-free? Yes, this recipe is naturally gluten-free! All the core ingredients – dates, walnuts, coconut, cocoa powder, and sesame seeds – are gluten-free. Just ensure that any specific brands you use (e.g., cocoa powder) are certified gluten-free if you have a severe allergy.
- Are these date bars vegan? Absolutely! This recipe uses only plant-based ingredients, making these no-bake date bars perfectly suitable for a vegan diet. They’re a fantastic cruelty-free treat!
- How do I prevent the mixture from sticking to my hands when pressing it into the pan? The mixture can be quite sticky! To prevent it from adhering to your hands, lightly dampen your hands with water or spray them with a little non-stick cooking spray before pressing the mixture firmly into the pan.
- Can I add protein powder to these bars? Yes, you certainly can! To boost the protein content, mix in 1-2 scoops of your favorite protein powder (vanilla or chocolate flavored works best) along with the dry ingredients. You might need to add an extra tablespoon or two of water or orange juice to maintain the right consistency, as protein powder can absorb moisture.
More Easy No-Bake Desserts You’ll Love
If you enjoyed the simplicity and deliciousness of these no-bake date bars, you’ll definitely want to explore these other fantastic fuss-free dessert recipes:
- Chocolate Rum Balls {No Bake}
- Strawberry Icebox Cake {No Bake}
- Homemade Banana Pudding {No Bake}
- Strawberries and Cream {No Bake}
- Rainbow Cereal Balls {No Bake}
Recipe
Easy No-Bake Date Bars (or Squares)
By Abeer Rizvi
10 mins
30 mins
40 mins
Dessert, Snack
American, Healthy
16 Slices
207 kcal
Ingredients
- 2 cups Walnut halves (Can be replaced with almonds or pecans)
- 2 cups Medjool dates (Pitted)
- 2 tablespoons Desiccated coconut
- ½-¾ cup Cocoa powder (Adjust according to your preference)
- 1 cup Toasted Sesame seeds
Instructions
-
In a food processor, add walnut halves and pulse until they are finely crumbly. Be careful not to over-process into butter.
-
Add the pitted Medjool dates, desiccated coconut, and cocoa powder to the food processor with the walnuts.
-
Pulse all ingredients together until the mixture is sticky and forms a dough-like consistency that holds together when pressed. If the mixture is too dry, add 1-2 tablespoons of water (or orange juice) and pulse again. If it’s too wet, add a little more ground nuts or desiccated coconut.
-
Line an 8×8 inch square pan with parchment paper or wax paper, leaving an overhang on the sides. Spread the mixture evenly into the prepared pan.
-
Press the mixture down very firmly and evenly into the pan using the back of a spoon or lightly dampened fingers. This ensures dense, well-formed bars.
-
Chill the pan in the freezer for 30-40 minutes, or in the refrigerator for 1-2 hours, until the mixture is firm.
-
Once firm, use the paper overhang to lift the slab out of the pan and place it on a cutting board. Cut into desired square or bar slices using a sharp knife.
-
Pour toasted sesame seeds into a wide, shallow dish.
-
Toss each individual slice in the sesame seeds until fully coated on all exposed sides.
-
Place the coated date bars in a sealed container. Make sure each layer is separated by sheets of wax paper if stacking.
-
Chill in the fridge for a few hours (or up to overnight) to allow them to firm up even further and for flavors to meld. Enjoy!
Video Tutorial
Notes
- Be careful not to over-process the walnuts or any nuts, as this will release their oils and turn them into nut butter, which will significantly alter the texture of your bars.
- For additional flavor nuances, consider mixing in a teaspoon of vanilla extract, a pinch of espresso powder to enhance the chocolate, or some fresh citrus zest with the main ingredients.
- Lining your baking pan with parchment paper or wax paper, leaving an overhang, is a crucial step. It prevents the sticky mixture from adhering to the pan and allows for effortless removal and clean slicing.
- This recipe is very flexible! Feel free to replace walnuts with other nuts like almonds, pecans, or cashews to create a different flavor profile and texture.
- Always refer to the detailed “Tips and Techniques” and “Variations” sections above for more helpful advice, troubleshooting solutions, and creative ideas to customize your bars.
- Leftovers should always be stored in a sealed container in the fridge for up to 3 days. For longer preservation, they can be frozen for up to one month.
Nutrition Facts (per serving)
Please note: Nutritional information is an estimate calculated by an automated tool and cannot be guaranteed for accuracy for any recipe on this site.
Tried this recipe?
Leave a comment below or rate and tag @cakewhiz on social!
