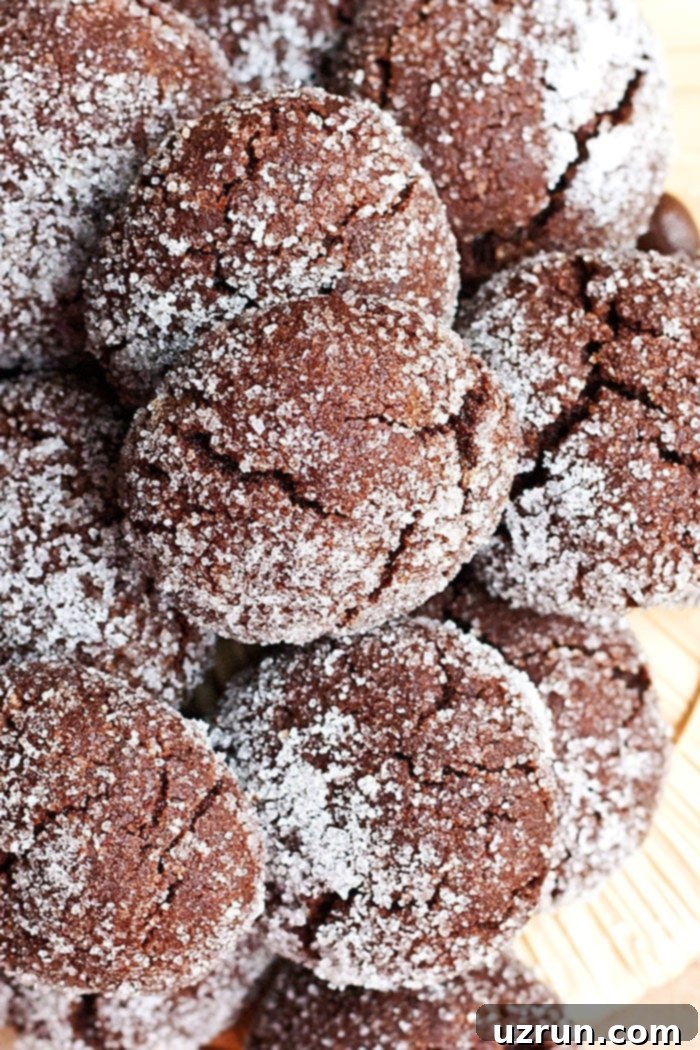
The Best Easy Coffee Cookies Recipe: Irresistible Mocha Espresso Crinkles
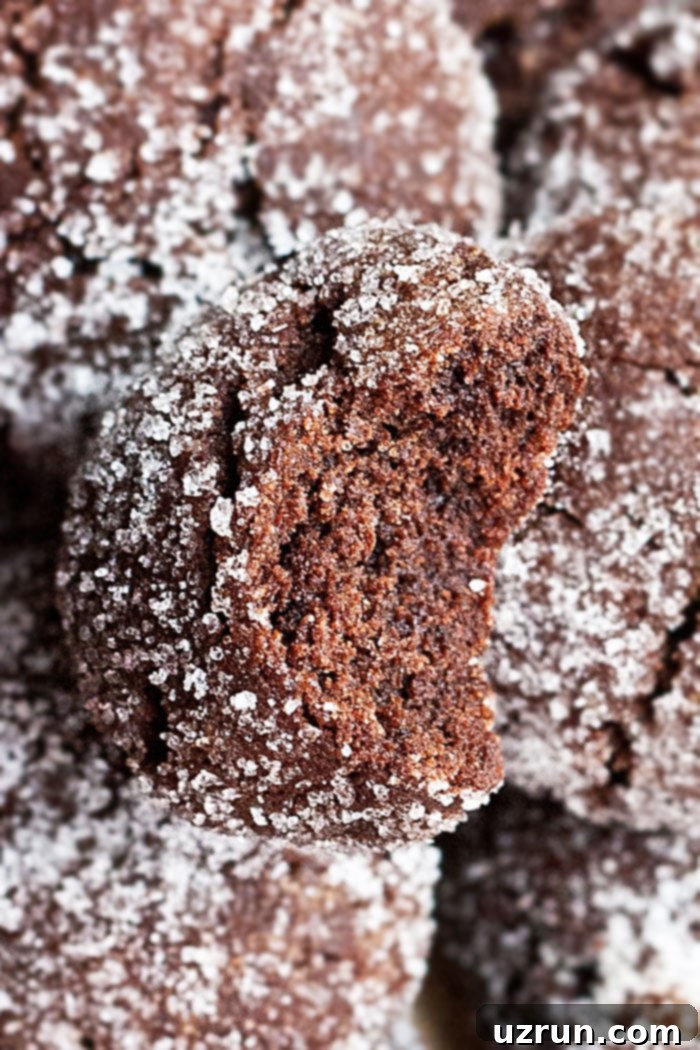
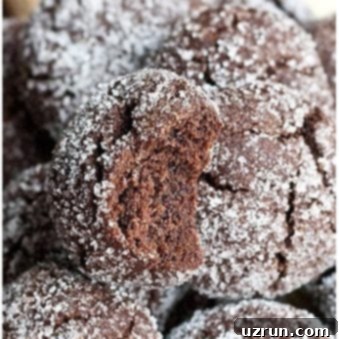
Prepare to fall in love with these quick and easy coffee cookies, a delightful homemade treat crafted with simple, everyday ingredients. These sensational mocha cookies are a dream come true for anyone who adores the rich, complex flavors of cocoa and robust espresso. Each bite offers a captivating contrast: a beautifully crispy, sugary exterior gives way to a wonderfully soft and chewy interior, creating an utterly irresistible texture that will have you reaching for just one more.
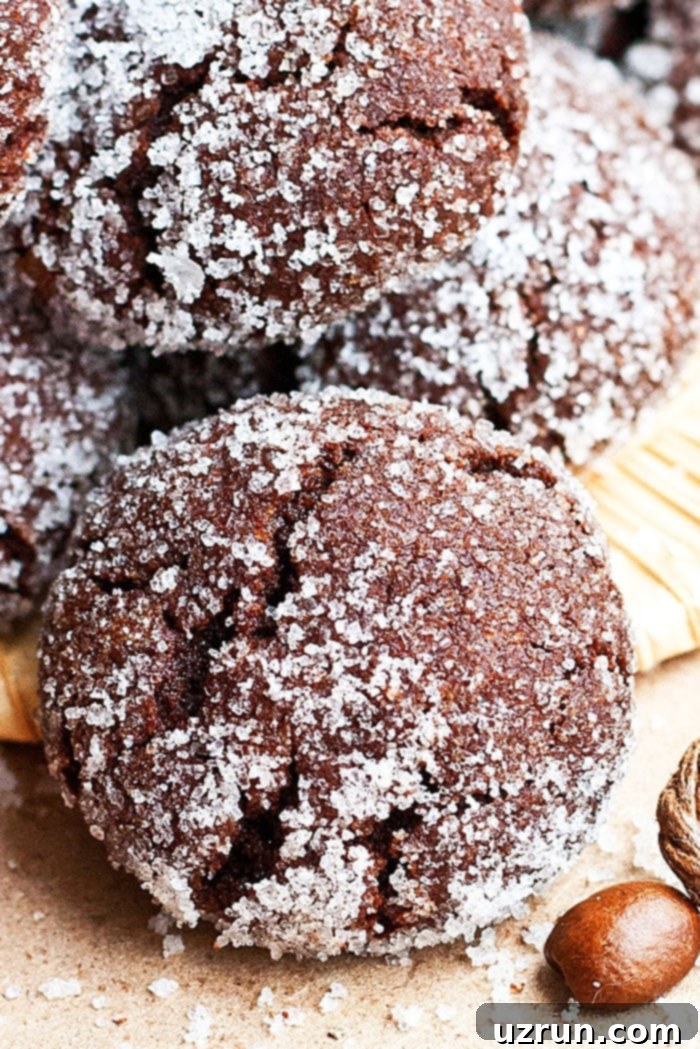
These coffee-infused crinkle cookies have quickly become a household favorite and are, quite frankly, irresistible! If you’re a devoted fan of the classic chocolate and coffee combination, then you simply must whip up a batch of these delectable treats immediately. Their signature crispy, sugary tops and perfectly soft centers make them stand out, offering a gourmet experience with minimal effort. What makes them even better is that they are made from the most basic ingredients found right in your pantry, proving that extraordinary flavor doesn’t require a trip to a specialty store. My family is absolutely obsessed with them, and I’m confident yours will be too!
Beyond being a fantastic personal indulgence, these mocha cookies are also ideal for cookie exchanges, bringing a unique and cherished flavor to any gathering. They also make a thoughtful and delicious homemade gift during Christmas time and the entire Holiday season, spreading joy with every bite. The inspiration for these cookies comes directly from the beloved flavors of a Homemade Mocha Latte and a refreshing Coffee Smoothie {Mocha Smoothie}, essentially transforming those comforting beverage experiences into a delightful cookie form. Consider them a bite-sized homage to your favorite coffee shop creations!
How to Make Easy Coffee Cookies from Scratch?
Creating these delicious coffee cookies is a straightforward process, perfect for bakers of all skill levels. Follow these simple steps to achieve perfect crinkles every time:
- Sift Dry Ingredients: In a medium mixing bowl, combine all-purpose flour, rich cocoa powder, intense espresso powder, a pinch of salt, and baking soda. Sifting these ingredients together ensures they are well combined, prevents lumps, and creates a lighter, airier cookie texture. Set this mixture aside.
- Mix Wet Ingredients: In a separate, larger mixing bowl, cream together the melted unsalted butter, both brown sugar (for moisture and chewiness) and granulated sugar (for crispness and spread), a single egg white (contributing to the unique crinkle texture), and fragrant vanilla extract. Beat these until just combined and slightly chunky, rather than overly smooth.
- Combine Mixtures: Gradually add the sifted dry ingredients into the wet mixture. Mix on low speed until the ingredients are just combined and the mixture appears crumbly. Be careful not to overmix at this stage.
- Knead with Your Hands: Stop the mixer and use your hands to gently knead the crumbly mixture. This helps bring the dough together into a cohesive ball without overdeveloping the gluten, which can lead to tough cookies. If the dough still feels a bit too dry or crumbly, add milk or water one teaspoon at a time until it forms a soft, pliable dough.
- Form Cookie Balls and Roll in Sugar: Take small portions of the dough and roll them into uniform, bite-sized balls. The size of your dough balls will determine the final cookie size. Then, generously roll each dough ball in a plate full of additional granulated sugar. This sugar coating is crucial for achieving the signature crinkled, crispy exterior.
- Bake to Perfection: Arrange the sugar-coated cookie balls on a baking sheet lined with parchment paper, leaving enough space between them for spreading. Bake in a preheated oven at 350 degrees F (175 degrees C) for approximately 8-10 minutes. The cookies are ready when the edges are set and slightly crispy, but the centers still look soft. Avoid overbaking to maintain their delightful chewiness.
What is Espresso Powder? Is it Just Ground Coffee?
Espresso powder is a true game-changer in baking, especially for these coffee cookies. It’s often misunderstood, so let’s clarify: espresso powder is NOT just finely ground coffee. The two are fundamentally different and are not interchangeable in recipes like this one.
Genuine espresso powder starts with espresso beans that have already been brewed, concentrated, and then meticulously dried. This dried concentrate is then ground into an incredibly fine, soluble powder. Because it has already been brewed, it offers an intensely concentrated coffee flavor without the bitterness or grittiness that comes from unbrewed coffee grounds. Its solubility is key; when added to liquids or dough, it fully dissolves, infusing the entire dish with a deep, rich coffee aroma and taste.
In contrast, ground coffee, even finely ground, consists of raw, unbrewed coffee particles. These particles will NOT dissolve in other liquids or within your cookie dough. If you were to use ground coffee in this recipe, it would leave behind grainy, unpleasant coffee grounds in your cookies, which is undesirable for obvious reasons. It would also fail to impart the smooth, robust coffee flavor that espresso powder delivers.
What is Espresso Powder Substitute in Baking?
While espresso powder is ideal for its intense, soluble coffee flavor, there are times when you might need a substitute. The most common and effective alternative in baking is instant coffee powder. It’s important to note that while instant coffee powder works in a pinch, it is not quite the same as espresso powder.
Instant coffee powder is typically made from brewed coffee that has been dehydrated, but it’s often less potent and strong than pure espresso powder. This is sometimes due to the addition of other ingredients like milk solids, fillers, or sugar, depending on the brand. Consequently, you might need to use a slightly larger quantity of instant coffee powder to achieve a similar depth of coffee flavor in your baked goods. Always taste your dough or batter (if safe to do so) to adjust for strength. While it may not deliver the exact same robust intensity as true espresso powder, instant coffee powder is a perfectly viable and convenient substitute that will still give your cookies a lovely coffee essence without the grittiness of regular ground coffee.
Creative Variations for Espresso Cookies
These classic mocha espresso cookies are fantastic on their own, but they also serve as an excellent canvas for creative culinary experimentation. Here are some delightful variations to customize your next batch:
- Dip in Melted Chocolate: Elevate the chocolate factor by dipping the cooled, baked cookies halfway into melted dark, milk, or white chocolate. The contrasting chocolate layer adds another dimension of flavor and a beautiful visual appeal. Place them on wax paper until the chocolate sets completely.
- Add a Chocolate Drizzle: For a more elegant touch, drizzle some melted semisweet chocolate or even white chocolate artistically over the tops of these cookies. This adds a hint of extra sweetness and a professional finish.
- Include an Icing Drizzle: A simple yet effective way to add sweetness and moisture is with an icing drizzle. Consider a classic Glace Icing for a shiny, crackly finish or a smooth Royal Icing for more intricate designs.
- Try Other Extracts: While vanilla is a staple, explore other complementary extracts to introduce new flavor profiles. Almond extract can add a nutty depth, coconut extract a tropical twist, maple a warm sweetness, or caramel for a rich, buttery note.
- Infuse with Spices: Warm spices pair beautifully with coffee and chocolate. Experiment by adding a pinch of ginger, cinnamon, allspice, cardamom, or a blend of your favorite autumn or winter spices to the dry ingredients for an aromatic kick.
- Make Them Spicy: For an adventurous palate, introduce a subtle heat by adding a small amount of chili powder or cayenne pepper. Start with a quarter teaspoon and adjust to your preferred level of spiciness, creating a delightful “Mexican hot chocolate” inspired cookie.
- Create Chocolate Orange Crinkle Cookies: For a bright, citrusy twist, simply omit the espresso powder from the recipe and instead add 1 teaspoon of orange extract or fresh orange zest. This combination of chocolate and orange is a timeless classic that brings a refreshing zing.
Essential Tips and Techniques for Perfect Mocha Cookies
Achieving perfectly crinkled, flavorful mocha cookies is easy with a few key tips and techniques. Pay attention to these details for the best possible results:
- Coconut Oil as an Alternative: If you’re looking for a dairy-free option or a slightly healthier alternative, you can certainly use coconut oil instead of butter. Keep in mind that coconut oil will impart a subtle coconut flavor to your cookies, which some people love, but others might prefer to avoid for a pure coffee-chocolate taste. Ensure it’s melted before incorporating.
- Invest in Quality Espresso Powder: The strength and depth of your coffee flavor will directly depend on the quality of the espresso powder you use. Opt for the best quality instant espresso powder you can find, as a premium product will yield a much richer, more pronounced coffee taste in your cookies, truly enhancing the mocha experience.
- Cookie Yield Varies by Size: The number of cookies you get from this recipe is approximate and will vary based on how large or small you roll your cookie dough balls. For dainty, elegant servings, I prefer to make mine very small and bite-sized, which typically yields more cookies. If you make them larger, you’ll get fewer but more substantial cookies.
- No Chilling of Dough Necessary: One of the beauties of this recipe is that it’s designed for instant gratification! There’s no need to chill the cookie dough before baking. The dough has the right consistency to hold its shape well in the oven, meaning you can mix, roll, and bake without any waiting time.
- Scaling Up for a Crowd: Planning for a large gathering, holiday gifting, or a cookie exchange? This recipe is incredibly easy to double or even triple. Simply adjust your ingredient quantities proportionally. Just ensure you have enough baking sheets and oven space!
- Why Unsalted Butter is Preferred: Always use unsalted butter in baking recipes unless specified otherwise. This allows you to control the exact amount of salt in your cookies, preventing them from becoming too salty. If you only have salted butter, you can reduce the added salt in the recipe by a quarter teaspoon.
- Troubleshooting Flat Cookies: If your cookies spread too much and come out flat, the most common culprit is a dough that is too wet. This can happen if ingredients aren’t measured precisely (especially flour) or if your butter was too warm. Ensure you measure carefully with measuring cups and spoons, and that your butter is just melted, not hot.
- Preventing Hard Cookies: Hard cookies are often a result of two main factors: over-baking or over-mixing the dough. To avoid over-baking, watch your cookies carefully; bake them only until the sides are slightly crispy and golden, but the centers still look soft and slightly puffy. For over-mixing, remember to mix the dry and wet ingredients only until just combined, even if a few small lumps remain. Over-mixing develops gluten, which can lead to a tougher, harder cookie.
Storage Solutions for Your Coffee Cookies
Proper storage ensures your delicious coffee cookies remain fresh and enjoyable for as long as possible. Here’s how to store them:
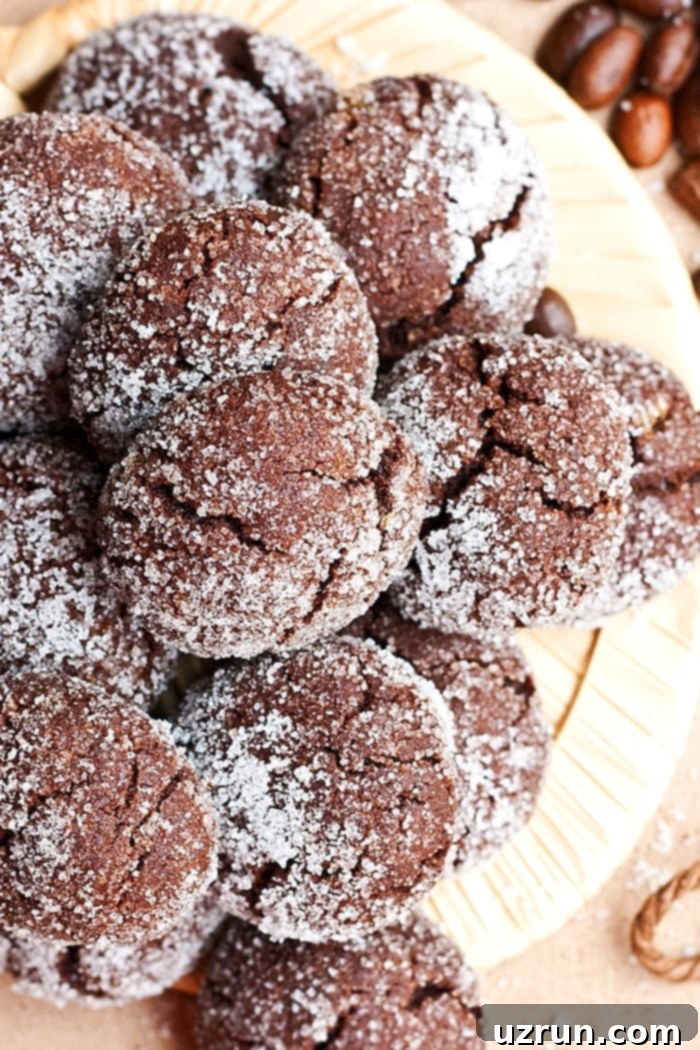
- Room Temperature: For immediate enjoyment, store your baked coffee cookies in an airtight cookie jar or container at room temperature. They will retain their delightful crisp-chewy texture for up to 3 days, perfect for daily treats.
- Refrigerate: To extend their freshness slightly, you can place the cookies in a sealed container and refrigerate them for up to 1 week. Bring them to room temperature before serving for the best flavor and texture.
- Freezing: Due to the sugar coating, I generally do not recommend freezing baked coffee crinkle cookies directly, as the sugar can become sticky and messy upon thawing, affecting the texture and appearance. However, you can successfully freeze the unbaked cookie dough balls! Simply roll the dough into balls as instructed, but do not coat them in sugar yet. Freeze the dough balls on a baking sheet until firm, then transfer them to a freezer-safe bag or container for up to 2-3 months. When ready to bake, thaw them slightly, roll in granulated sugar, and bake from frozen (you may need to add an additional few minutes to the baking time). This method ensures fresh-baked cookies whenever a craving strikes!
More Coffee-Inspired Desserts to Love
If you can’t get enough of coffee in your desserts, explore these other fantastic recipes that celebrate the rich flavor of espresso and mocha:
- Chocolate Coffee Cake
- Coffee Cupcakes (Mocha Cupcakes)
- Coffee Popsicles
- Coffee Brownies (Mocha Espresso Brownies)
- Coffee Cheesecake (Mocha Cheesecake)
- Coffee Pancakes (Mocha Pancakes)
Recipe
Coffee Cookies (Espresso Mocha Cookies)
Abeer Rizvi
Pin Recipe
Want to Save This Recipe?
Enter your email & I’ll send it to your inbox. Plus, get great new recipes from me every week!
By submitting this form, you consent to receive emails from CakeWhiz
Ingredients
- ½ cup All-purpose flour
- ½ cup Cocoa powder
- ¼ cup Granulated sugar +1 tablespoon
- ¼ cup Brown sugar +1 tablespoon
- 1 teaspoon Vanilla extract
- 1 tablespoon Instant espresso powder
- 3 tablespoon Butter Unsalted, Melted
- ¼ teaspoon Salt
- ¼ teaspoon Baking soda
- 1 Egg white From large egg
- 1 cup Additional granulated sugar For rolling cookie dough balls
Instructions
-
In a mixing bowl, add flour, cocoa powder, espresso powder, salt and baking soda. Sift all these ingredients thoroughly to ensure even distribution and a lighter cookie texture, then set aside.
-
In another mixing bowl, add the melted butter, brown sugar, granulated sugar, egg white, and vanilla extract. Mix everything until just combined, resulting in a rough and chunky mixture.
-
Carefully add the sifted flour mixture into the wet ingredients bowl.
-
Continue to mix gently until you have a crumbly mixture. Avoid overmixing to prevent tough cookies.
-
At this point, stop the mixer and gather the mixture with your hands, kneading it lightly to form a cohesive ball of dough. If the dough still feels a little dry and crumbly, add some milk or water (1 teaspoon at a time) to the dough and knead again until it comes together.
-
Take small, uniform portions of the dough and roll them into little, smooth balls.
-
Generously roll each dough ball in a plate full of additional granulated sugar. This coating is essential for the characteristic crinkled surface.
-
Place the sugar-coated cookie balls on a baking sheet lined with parchment paper, ensuring there is enough space between them for expansion during baking. Bake in a preheated oven at 350 degrees F (175 degrees C) for about 8-10 minutes, or until the sides appear slightly crispy and the centers are still soft.
-
Allow these delightful cookies to cool down completely on the cookie tray before handling. Once cooled, store them in an airtight plastic container at room temperature for up to 3 days to maintain their freshness. And just like that, you’re done!
Notes
- For best results and to understand the nuances of this recipe, please read all the detailed tips and techniques provided above the recipe card.
- Leftover cookies can be stored in an airtight cookie jar or container at room temperature for up to 3 days, maintaining their delicious flavor and texture.
Nutrition
An automated tool is used to calculate the nutritional information. As such, I cannot guarantee the accuracy of the nutritional information provided for any recipe on this site.
