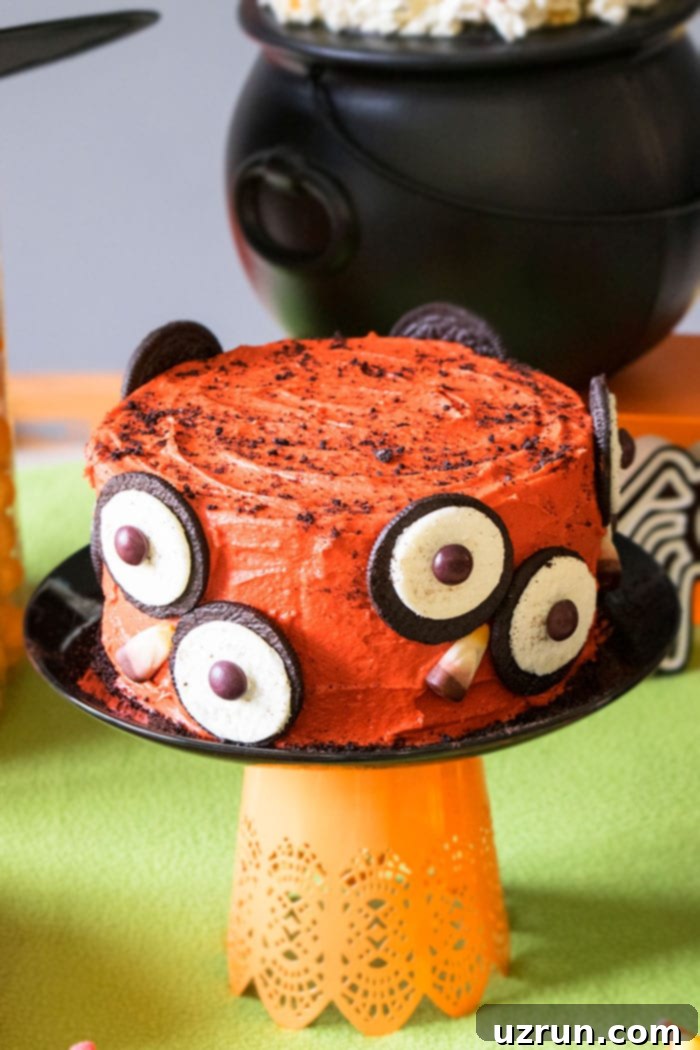
Craft the Perfect Kids’ Halloween Party: Featuring an Adorable Easy Owl Cake!
Halloween is a magical time of year, especially for children. The excitement of costumes, trick-or-treating, and spooky celebrations makes it a favorite holiday for many. If you’re looking to host an unforgettable event for your little goblins and ghouls, this ultimate guide will help you plan a “not-so-scary” Halloween birthday party or simply a fun seasonal gathering. We’ll cover everything from enchanting decorations and thrilling games to a delightful array of food and drinks, all centered around a charming, easy-to-make owl cake that’s sure to be the star of your dessert table.
Inspired by countless creative ideas found in magazines, online searches, and social media, we’ve gathered the best tips and tricks to ensure your Halloween party is an absolute blast. Even if your child’s birthday doesn’t fall on October 31st, a themed Halloween celebration offers endless opportunities for fun and imaginative play. Get ready to transform your home into a whimsical, spooky wonderland with our practical advice and delicious recipes!
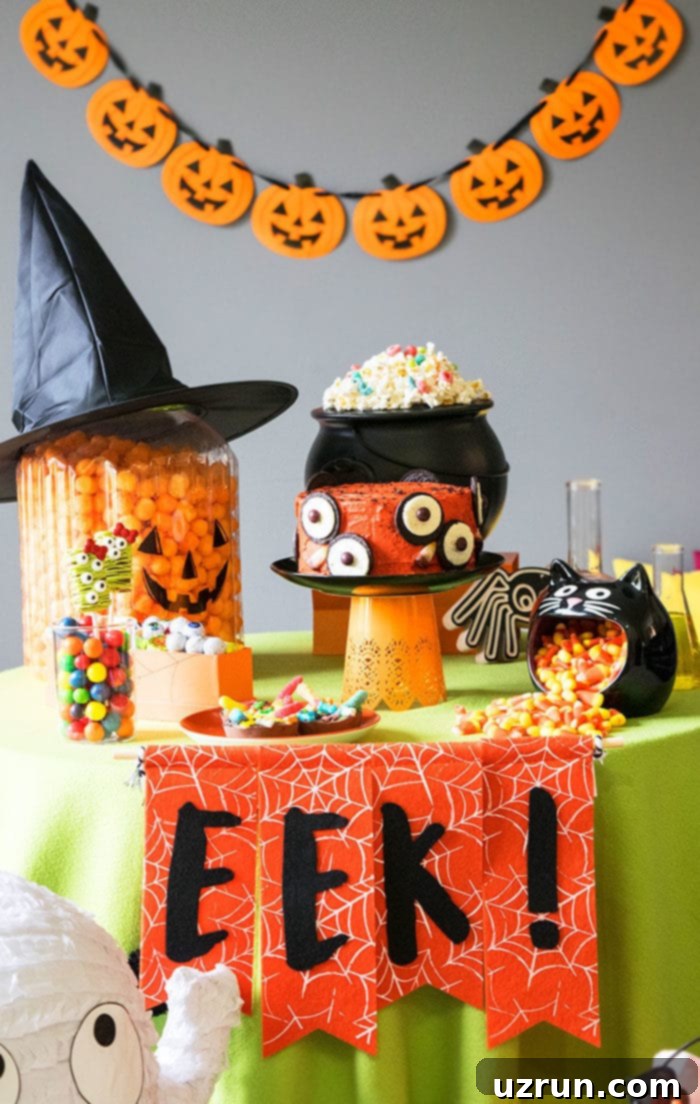
Table of Contents
- What is a Halloween Party?
- How to Plan a Spooktacular Halloween Party
- Essential Shopping List for Your Halloween Bash
- Creative Halloween Party Decorations & Ideas
- Bewitching Halloween Party Food & Desserts
- Spooky Halloween Drinks
- Delicious Halloween Savory Food & Appetizers
- Engaging Halloween Games & Activities
- Delightful Halloween Party Favors
How to Make an Easy Owl Cake with Buttercream Icing
This adorable owl cake is surprisingly simple to create, even for beginner bakers. It makes a fantastic centerpiece for any Halloween dessert table and kids absolutely love its friendly, wide-eyed design. Here’s a quick overview of the steps to bring your owl cake to life, with a more detailed recipe card below.
- Bake and Cool Your Cake: Start by baking your favorite round cake. A chocolate cake provides a lovely contrast for the orange frosting, but any flavor will work beautifully. Ensure it cools completely before you begin decorating, as a warm cake will melt your frosting!
- Cut in Half Lengthwise: Once cooled, carefully slice your cake horizontally through the middle, creating two even layers. A long serrated knife works best for this.
- Assemble the Layers: Place one cake half on your chosen cake stand or serving plate. Spread a generous layer of vibrant orange buttercream icing evenly over the top. Then, gently place the second cake half directly on top of the icing layer, pressing down slightly to secure.
- Frost the Entire Cake: Using a palette knife or offset spatula, cover the entire cake – top and sides – with more of the orange buttercream. Aim for a smooth finish, or create a textured look to mimic owl feathers.
- Craft the Owl Eyes: For the owl’s signature big eyes, take cream-filled Oreo cookies and carefully separate them. You’ll only need the cream-filled halves. Stick a brown M&M candy in the center of the cream filling on each Oreo half.
- Attach Oreo Eyes to the Cake: Position two of these prepared Oreo eyes close together on the front of the cake, near the top, to give your owl its expressive gaze.
- Create a Candy Corn Beak: Below and between the two Oreo eyes, stick a candy corn triangle point-down to form a cute little beak.
- Add Crushed Oreo “Feathers” (Optional): For extra texture and visual appeal, sprinkle some crushed Oreos (from the non-cream filled halves you saved!) over the top of the cake, especially around the edges of the eyes, to resemble fluffy owl feathers.
Key Ingredients for Your Owl Birthday Cake
Simplicity is key when creating this delightful dessert. The magic lies in how readily available ingredients come together to form a charming edible creature. Here’s what you’ll need:
- Cake: A round cake is ideal for this design as it provides the perfect base for the owl’s body. Don’t hesitate to experiment with different flavors! Chocolate, vanilla, or even a funfetti cake would be delicious. For an extra spooky touch, you could color the cake batter itself in Halloween hues like purple, orange, or black.
- Frosting: We recommend a bright orange buttercream frosting, which not only acts as a delicious filling but also covers the entire cake, giving the owl its signature vibrant hue. You can easily make your own or buy store-bought for convenience.
- Oreos and M&M Candies: These are the secret to those large, captivating owl eyes! The cream-filled half of an Oreo provides the perfect white “sclera” for the eye, while a brown M&M forms the pupil.
- Candy Corns: With their distinct triangular shape and classic fall colors, candy corns are perfectly suited to create the owl’s small, pointed beak.
More Spooktacular Halloween Cake Ideas
If you’re looking for more creative cake ideas to complement your owl cake or simply want other options, here are some fun and easy Halloween-themed cakes:
- Easy Spider Cake (Spider Web Cake)
- Easy Candy Cake (With Halloween Leftovers)
- Easy Mummy Cake
- Easy Eyeball Cake
- Easy Candy Corn Cake (With Frosting)
What is a Halloween Party?
A Halloween party is a festive gathering typically held on or around October 31st, celebrating the ancient traditions and playful spookiness of Halloween. While deeply rooted in history, modern Halloween parties, especially for kids, are all about dressing up in costumes, enjoying themed food and drinks, playing fun games, and creating a generally “spooky but not scary” atmosphere. They are incredibly popular in North America, bringing communities together for a night of imaginative fun, but their popularity is growing in many other parts of the world too. For children, it’s an exciting opportunity to transform into their favorite characters, monsters, or superheroes, and share laughter and treats with friends.
How to Plan a Spooktacular Halloween Party
Planning a successful Halloween party requires a touch of creativity and a dash of organization. Follow these steps to ensure your event runs smoothly and creates lasting memories:
- Start with Comprehensive Lists: Organization is your best friend! Begin by creating detailed lists for every aspect of your party. This includes a guest list, a menu plan (with both sweet and savory options), a grocery list, a decor checklist, a list of games and activities, a music playlist, ideas for party favors, and a “chores” list to delegate tasks like cooking, cleaning, and setup. Being well-organized will help prevent last-minute stress.
- Shop Smart and Early: Once your lists are ready, it’s time to hit the stores. Cross off items as you purchase them or complete tasks. Consider shopping for non-perishable decor and supplies well in advance, as popular Halloween items tend to sell out quickly closer to the holiday.
- Send Out Engaging Invitations: Invitations set the tone for your party! You can design custom invitations using software like Photoshop, or find a vast array of affordable and creative options on platforms like Etsy, Amazon, Dollar Stores, Target, and Party City. Make sure your invitations include all essential details: date, time, location, RSVP information, and whether guests should come in costume. Send them out via email, text, or for a classic touch, traditional snail mail.
- Master the Setup: A well-decorated space and an organized layout are crucial for a great party atmosphere. Dedicate specific areas for food, games, and a fun photo booth with props. Ensure music is set up to create the right ambiance, whether it’s spooky sound effects or kid-friendly Halloween tunes. Keep everything tidy and accessible for your guests.
- Relax and Enjoy the Fun: After all your hard work, remember to enjoy the party yourself! Take plenty of pictures to capture the costumes, decorations, and joyful moments. Your goal is to make spook-tacular memories with your loved ones, so immerse yourself in the fun!
Essential Shopping List for Your Halloween Bash
Beyond the food and main decorations, here’s a typical shopping list for basic party supplies to make your Halloween gathering a breeze:
- Tableware: Festive Halloween-themed napkins, paper plates, disposable utensils (forks, spoons, knives), and paper cups are a must for easy cleanup, especially with kids.
- Serving Essentials: Various serving dishes, platters, and bowls to display your delicious treats and savory snacks.
- Party Favors: Small tokens of appreciation for your guests to take home.
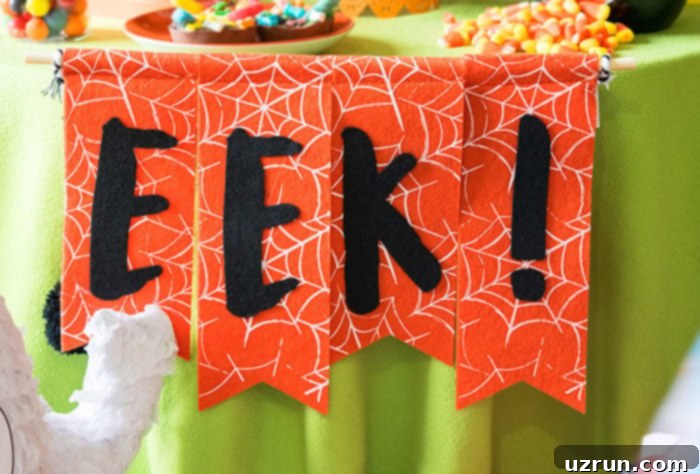
- Decorations: This is where the fun begins! Think balloons (orange, black, purple), streamers, festive banners (“Happy Halloween,” “EEK!”), an abundance of pumpkins and carved Jack O’Lanterns, LED candles (safer than real flames), fake cobwebs, plastic spiders, paper bats, and perhaps a smoke machine for an extra eerie effect.
- Atmosphere Enhancers: Spooky sound effects or a curated Halloween music playlist.
- Table Covers: Disposable plastic or themed fabric table covers to protect your surfaces and add to the decor.
- Food & Drinks: Ingredients for your chosen menu items, including snacks, desserts, and beverages (more details below!).
Creative Halloween Party Decorations & Ideas
Decorations are essential for setting the Halloween mood! You can go as elaborate or as simple as you like, but for kids’ parties, we recommend keeping it fun, lively, and imaginative rather than overly terrifying. Bright colors and friendly monster themes often work best.
Embrace a mix of classic and creative elements. Use a variety of colorful balloons, streamers, and banners that announce “Happy Halloween” or “EEK!” Scatter plastic spiders and stretch fake spider webs across corners and furniture for that haunted house feel. A smoke machine can add a dramatic, misty effect to your entrance or food table (always use safely and with good ventilation). Incorporate plenty of pumpkins and carved Jack O’ Lanterns, lit with battery-operated candles for safety. Drape cloth ghosts from ceilings or trees, and use spooky red, green, or purple lights to cast an eerie glow.
Consider adding touches like fake blood (non-staining, of course!), cauldrons (perfect for holding candy or punch), lanterns, and inflatable yard decorations. Hanging decorations, such as paper lanterns adorned with spooky faces, fake eyeballs, or plastic teeth, can create a playful yet eerie canopy. A dedicated photo booth area with fun props (witch hats, oversized glasses, monster masks) is always a hit, allowing guests to capture hilarious memories.
For a cohesive look, use a banner in front of your food table and another on the wall behind it. This creates a fantastic backdrop for your culinary creations and photo opportunities. Remember to use colors that complement each other – bright oranges, deep purples, vibrant greens, and classic blacks are perfect for a festive, kid-friendly Halloween palette. Avoid anything too gory or genuinely scary for young attendees.
Bewitching Halloween Party Food & Desserts
This is often the most exciting category for any party, and Halloween offers endless possibilities for creative and delicious treats! Think of your favorite cakes, cupcakes, cookies, brownies, and bars, all given a spooky, festive makeover. Here are some fantastic dessert ideas to get you started:
- Halloween Pudding Cups (Layered with crushed cookies for “dirt” and gummy worms for a creepy effect!)
- Chocolate Spider Web Cupcakes (Easy to achieve with melted chocolate in a piping bag!)
- Halloween Donuts (Spider and Monster) (Decorate plain donuts with candy eyes and pretzel legs!)
- Caramel Corn (A sweet and crunchy classic, perfect for a fall celebration.)
Chocolate is a wonderfully versatile ingredient for Halloween. Try these Rolo Chocolate Spiders or Rolo Chocolate Monsters, or create decadent Chocolate Caramel Apples. For a truly eerie touch, whip up some Homemade Candy Eyeballs.
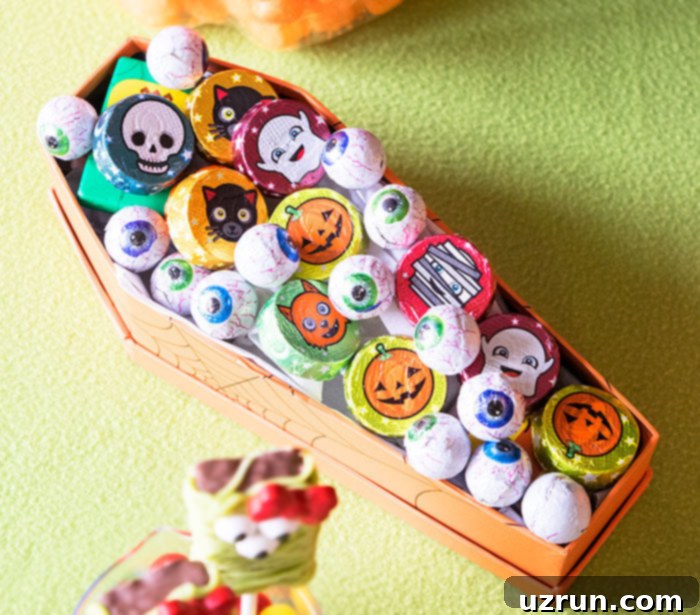
Presentation is key! Serve various chocolates and candies in themed containers. A small coffin box, easily found at a dollar store, makes for a perfectly macabre candy display.
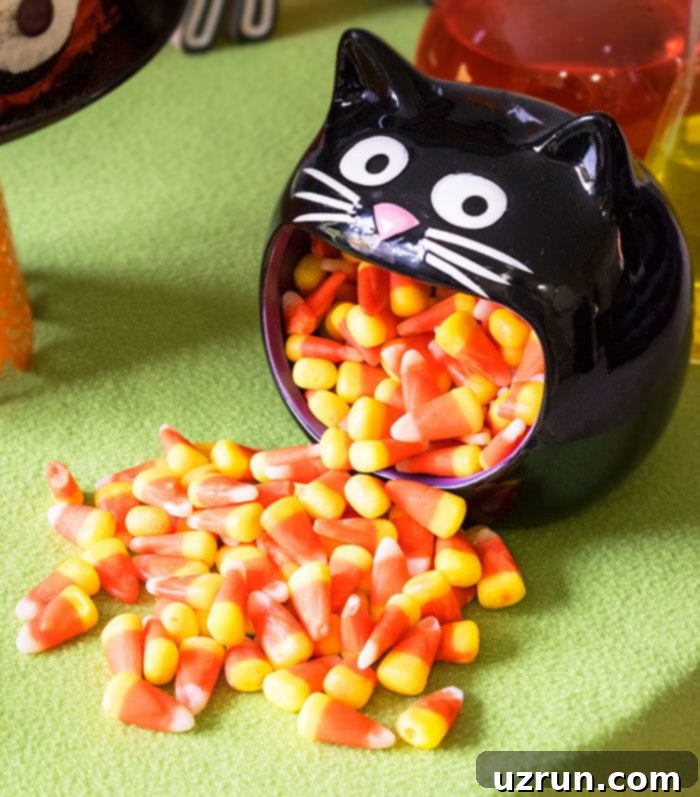
Or, for a laugh, find a creepy cat container and fill its mouth with candy corns, creating the illusion that the cat is “puking” sweets – a gross-out hit with kids!
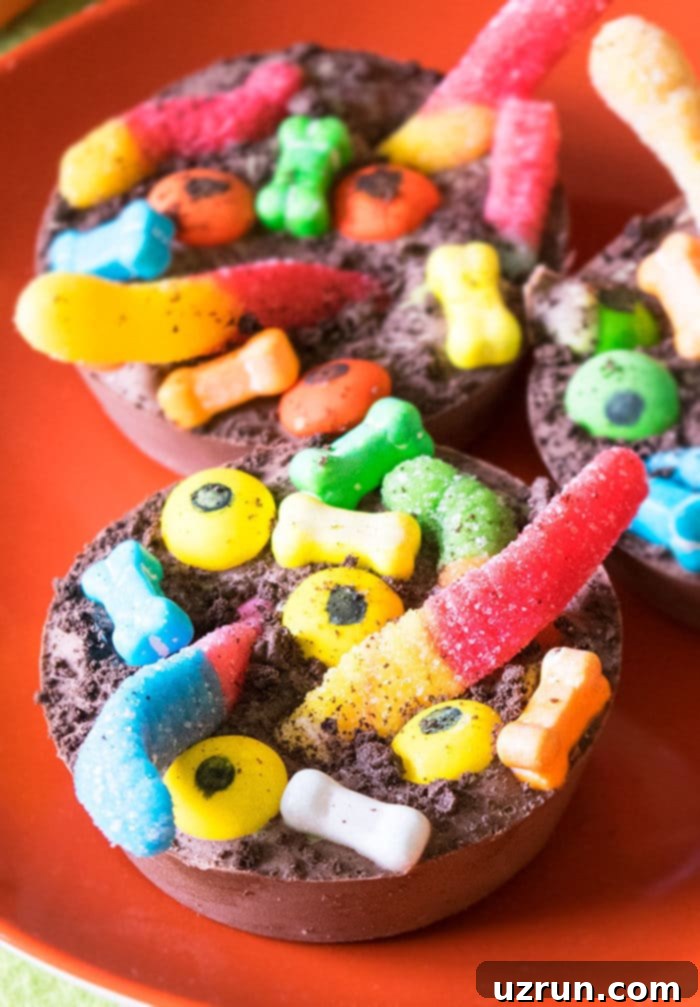
Here’s another simple yet effective idea: fill silicone cupcake molds with melted chocolate and then press in a variety of spooky candies like gummy worms, plastic bones, and candy eyeballs. Let them set, then pop them out of the molds for delightful “spooky chocolate clusters” that are both easy to make and fun to eat!
Cookies are an effortlessly versatile addition to any party. While elaborate piping can create stunning designs, there are many easier ideas that require no special skills: Spider Cookies (simply add pretzel legs and candy eyes to chocolate cookies), Monster Cookies (use colorful frosting and candy eyes), Dracula Cookies (Vampire Cookies) (chocolate wafers with marshmallow fangs), Leftover Halloween Candy Cookies (press assorted candies into fresh cookies), or Frankenstein Cookies (green frosting and chocolate chip features).
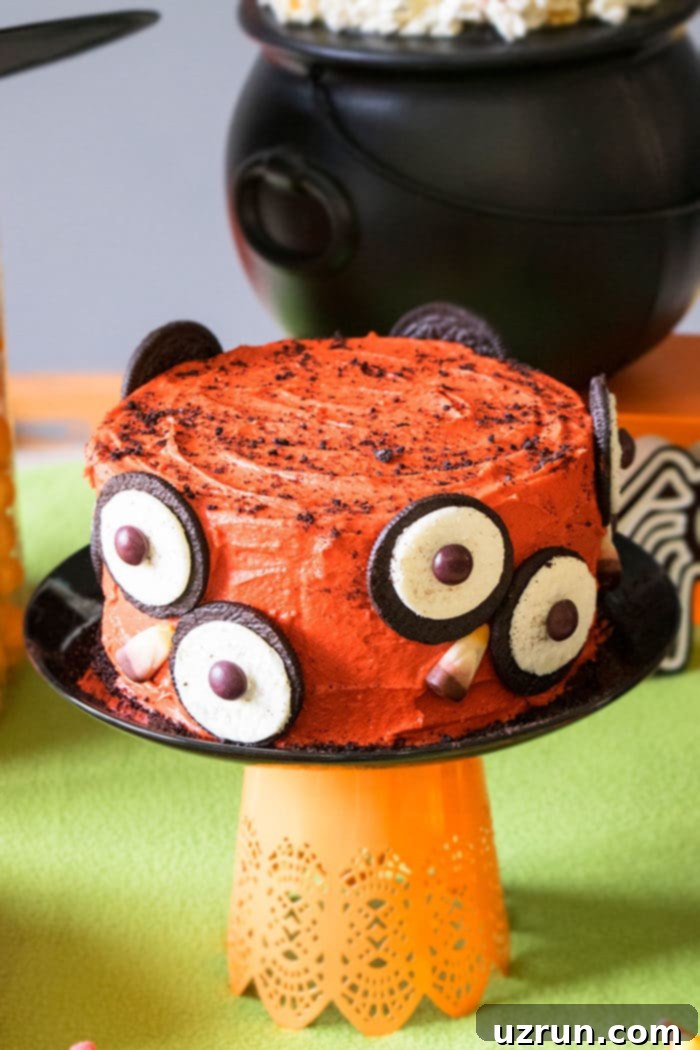
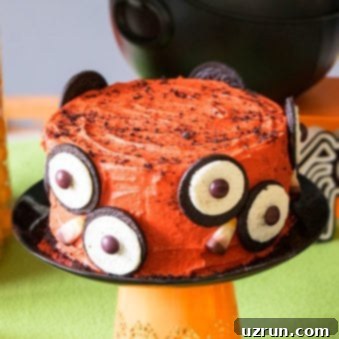
As mentioned, Cakes are often the main feature of any party and dessert table. While there are countless cool ideas, our easy owl cake is a standout for its simplicity and kid-friendliness. Just frost a round cake in orange icing and adorn it with Oreo halves and candy corns around the sides to mimic those captivating “owl eyes.”
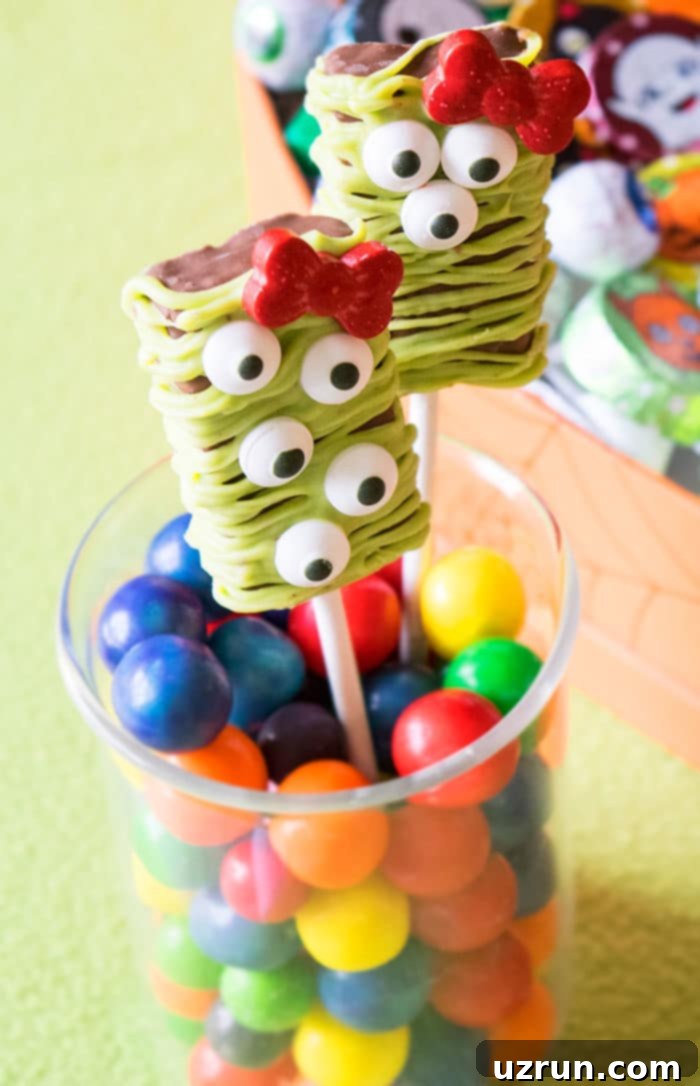
Desserts on a stick continue to be a super popular trend for parties. Try making cake pops, or for an even easier option, use store-bought granola bars. Simply push a lollipop stick through them, drizzle with green melted chocolate, and stick on some playful eyeball candies. You can even add cute bow sprinkles (like those from Wilton) for an extra touch of whimsy, creating adorable “monster desserts on a stick.”
Spooky Halloween Drinks
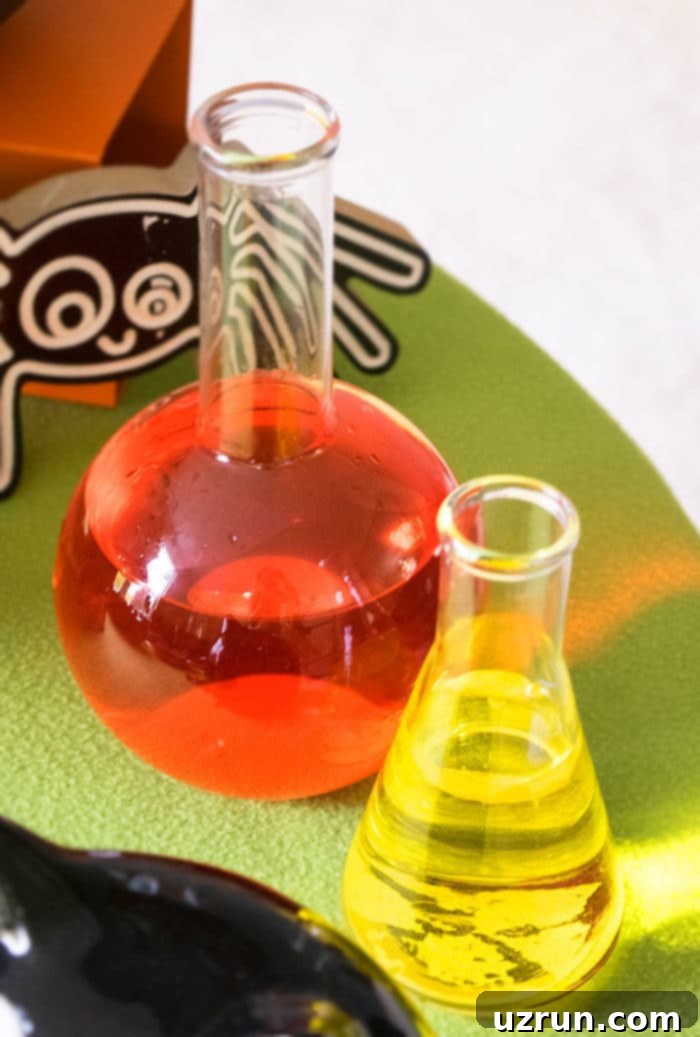
Quench the thirst of your little monsters with some fantastically fun Halloween drinks. Glow-in-the-dark punch or other vibrantly colored beverages are always a hit. To make a glow-in-the-dark effect, simply use tonic water (which contains quinine, causing it to glow under a blacklight) as a base for your punch, then add fruit juice or food coloring for flavor and color. For an extra touch of scary magic, use dry ice to create a captivating, bubbling smoke effect (always handle dry ice with extreme caution and ensure proper ventilation). Serve these concoctions in unique containers like glass beakers, test tubes, or flasks to give your drink station a mad scientist’s lab vibe!
Delicious Halloween Savory Food & Appetizers
For savory options, finger foods and easy-to-eat appetizers are best, allowing guests to mingle and enjoy the party without needing a full sit-down meal. Here are some ghoulishly good ideas:
- Pizza: Get creative with pizza! Cut it into the shape of a Frankenstein monster or a Jack O’Lantern before baking. Or, after baking, arrange black olives to create small spiders all over the cheese.
- Sandwiches and Sliders: Make mini sandwiches or sliders with various fillings. Cut them into fun Halloween shapes like ghosts, bats, or pumpkins using cookie cutters. Stick funky Halloween toothpicks through them for easy handling and extra flair.
- Fries and Chips: Look for limited edition Halloween-shaped or colored fries and chips at your grocery store. Serve them in themed bowls.
- Breadsticks: Transform ordinary breadsticks into witch fingers by adding an almond slice for a “nail” at one end before baking. You can also use gel food coloring to dye the dough green, orange, red, or black for a truly spooky effect.
- Dips and Tortillas: Use Halloween cookie cutters to cut plain tortillas into fun shapes, then bake them until crispy for homemade chips. Alternatively, buy seasonal tortilla chips that come in cool shapes and colors. If serving a white dip (like ranch or hummus), consider adding a few drops of red or green food coloring to make it look like a monster’s concoction or swamp goo.
- Chicken Nuggets: Many grocery stores offer Halloween-shaped chicken nuggets during the season – a guaranteed kid-pleaser!
- Deviled Eggs: Give deviled eggs a spooky makeover by coloring the filling black (with activated charcoal or black food coloring) or blood red. You can even pipe spider web designs on top.
- Salads: For a healthier option, serve individual salad cups in seasonal Halloween-themed cups. Easy to grab and eat!
- Pigs in a Blanket: Turn this classic into mummies! Wrap strips of puff pastry around hot dogs, leaving a gap for the “face,” then bake until golden. Use mustard dots for eyes.
- Cheese and Crackers: Cut slices of cheese with Halloween cookie cutters (ghosts, bats, pumpkins) and serve them alongside a variety of crackers.
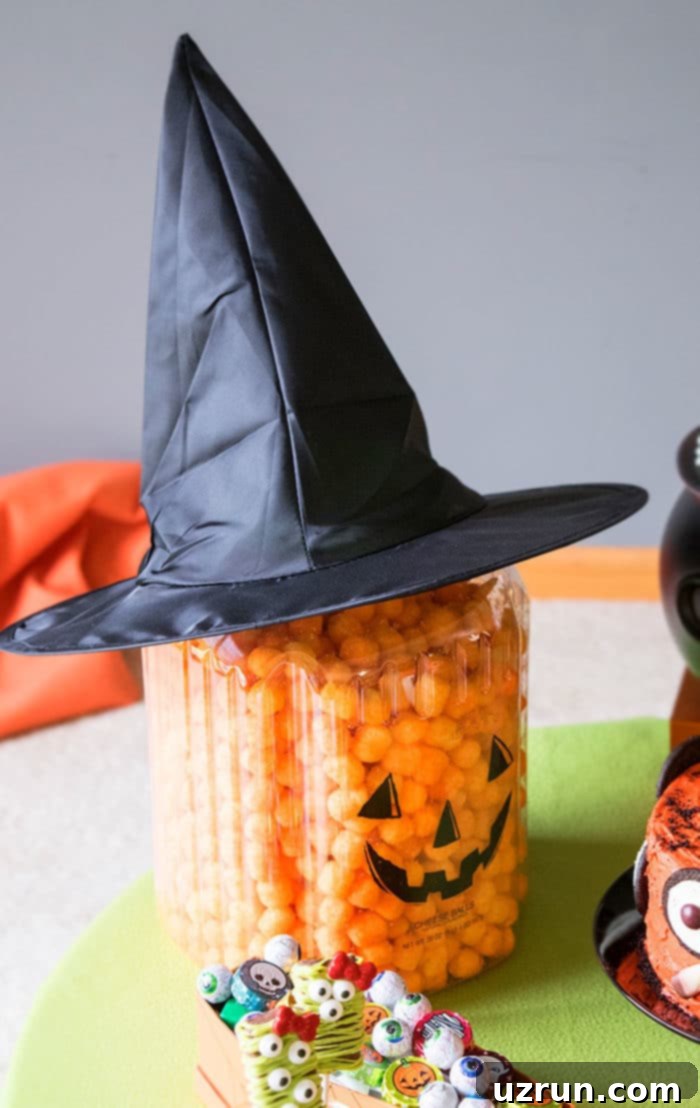
- Cheese Balls: Mold a large cheese ball into a fun Halloween shape like a pumpkin, a mummy, a ghost, Frankenstein’s head, or a bat. For an even easier idea, buy a big container of cheese balls and decorate the container itself with a Sharpie marker to make it look like a Jack O’Lantern. Don’t forget to put a miniature witch hat on top for a comical touch!
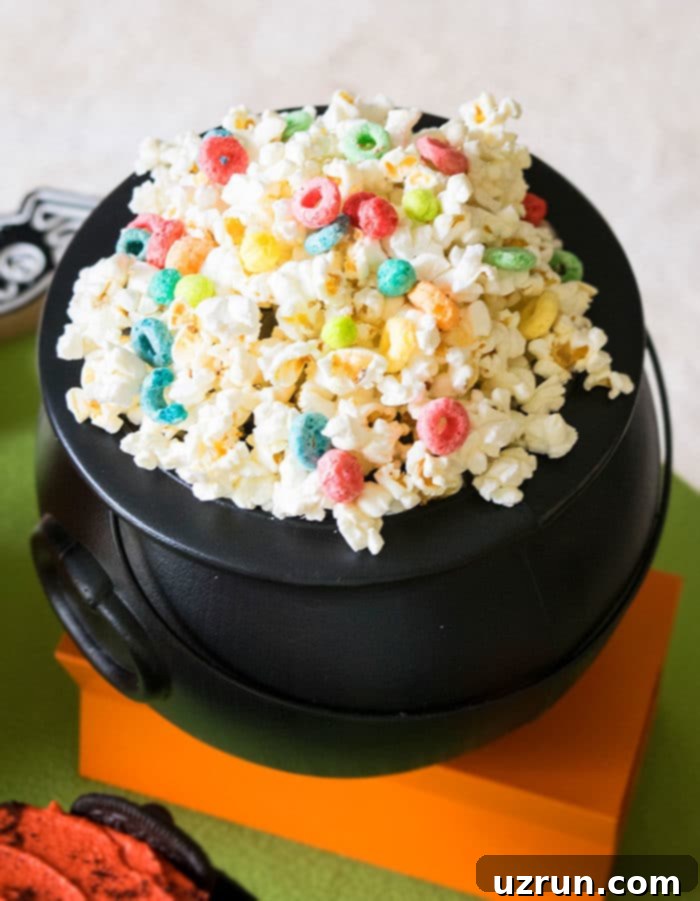
For a crowd-pleasing snack mix, fill a large cauldron with “popcorn munch” – a delicious combination of popcorn, various cereals, pretzels, and an assortment of candies. Kids absolutely adore this sweet and salty treat!
Engaging Halloween Games & Activities
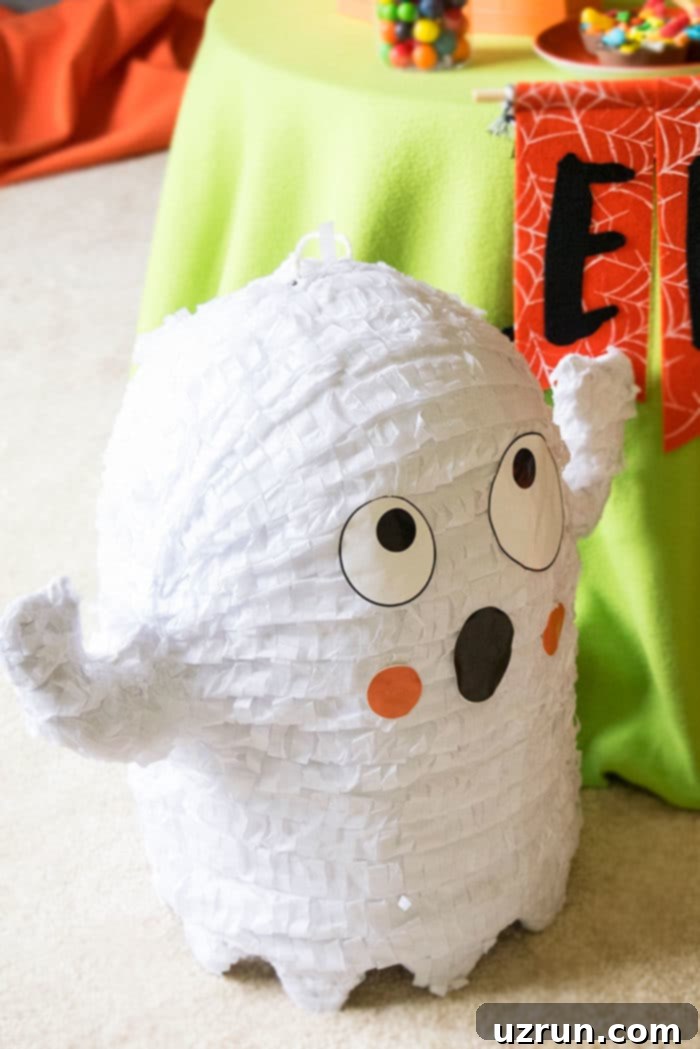
Keep the little ones entertained with a variety of fun and age-appropriate Halloween games. A classic ghost piñata is always a massive hit, providing an exciting activity where kids can take turns trying to break it open for candy treasures. You can also set up a dedicated coloring station with Halloween-themed coloring pages and crayons, offering a quieter activity for children to relax and express their creativity. Board games are another excellent option for small groups.
Beyond these, consider games like “Mummy Wrap” (using toilet paper to wrap a friend), “Donut Eating Contest” (donuts hung on strings, no hands allowed!), “Pin the Spider on the Web,” or a “Witch’s Hat Ring Toss.” A scavenger hunt for hidden Halloween treats or toys can also add an element of adventure to the party.
Delightful Halloween Party Favors
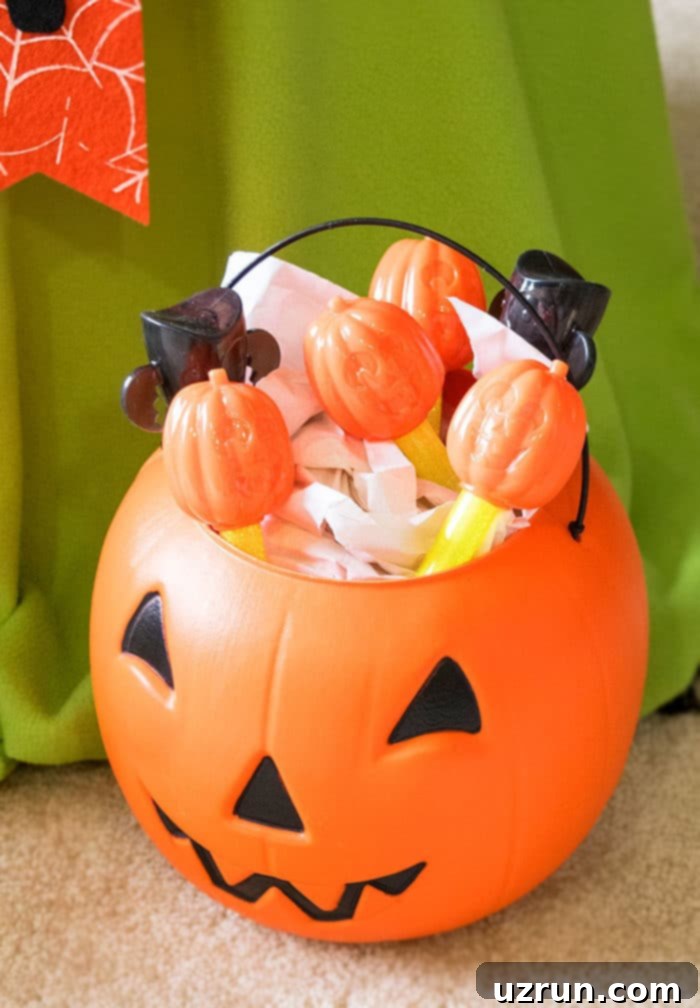
Send your guests home with a little memento of the fun! Party favors don’t have to be extravagant; simple and thoughtful items are often appreciated the most. For my party, I kept it simple and gave each child these fun light-up pumpkins and bats, which they loved. Other great ideas include small bags of themed candies, Halloween stickers, temporary tattoos, mini spooky notebooks, or small craft kits. You can also get creative and make these Halloween Treat Bags (Gloves), filling plastic gloves with popcorn and tying them off to look like spooky hands.
Recipe
Easy Owl Cake (For Kids Halloween Party)
Abeer Rizvi
Pin Recipe
Want to Save This Recipe?
Enter your email & I’ll send it to your inbox. Plus, get great new recipes from me every week!
By submitting this form, you consent to receive emails from CakeWhiz
Ingredients
- 1 Chocolate cake
- 3 cups Orange frosting
- 20 Oreos Split in half. You will only use the cream filled side of the cookie for this cake. Keep the other non-cream filled side of the cookie in a sealed bag for another dessert
- 10 Brown m&m candies
- 10 Candy corns
Instructions
-
Bake the cake and allow it to cool completely.
-
Cut the cake in half.
-
Place one half of the cake on a cake stand.
-
Spread orange icing on top.
-
Place the other half of the cake on top of the icing and press gently.
-
Frost the entire cake smoothly in icing.
-
To make owl eyes, stick brown m&m candies on the centers of the cream filled Oreos.
-
Stick these prepared Oreos on the cake- 2 should be placed close together to create the illusion of eyes.
-
Stick the candy corns below the eyes to create a small beak.
-
Sprinkle some crushed Oreos on top of the cake, if you like. Enjoy!
Notes
- Leftovers can be stored in a sealed container in the fridge for up to 3 days.
Nutrition
An automated tool is used to calculate the nutritional information. As such, I cannot guarantee the accuracy of the nutritional information provided for any recipe on this site.
