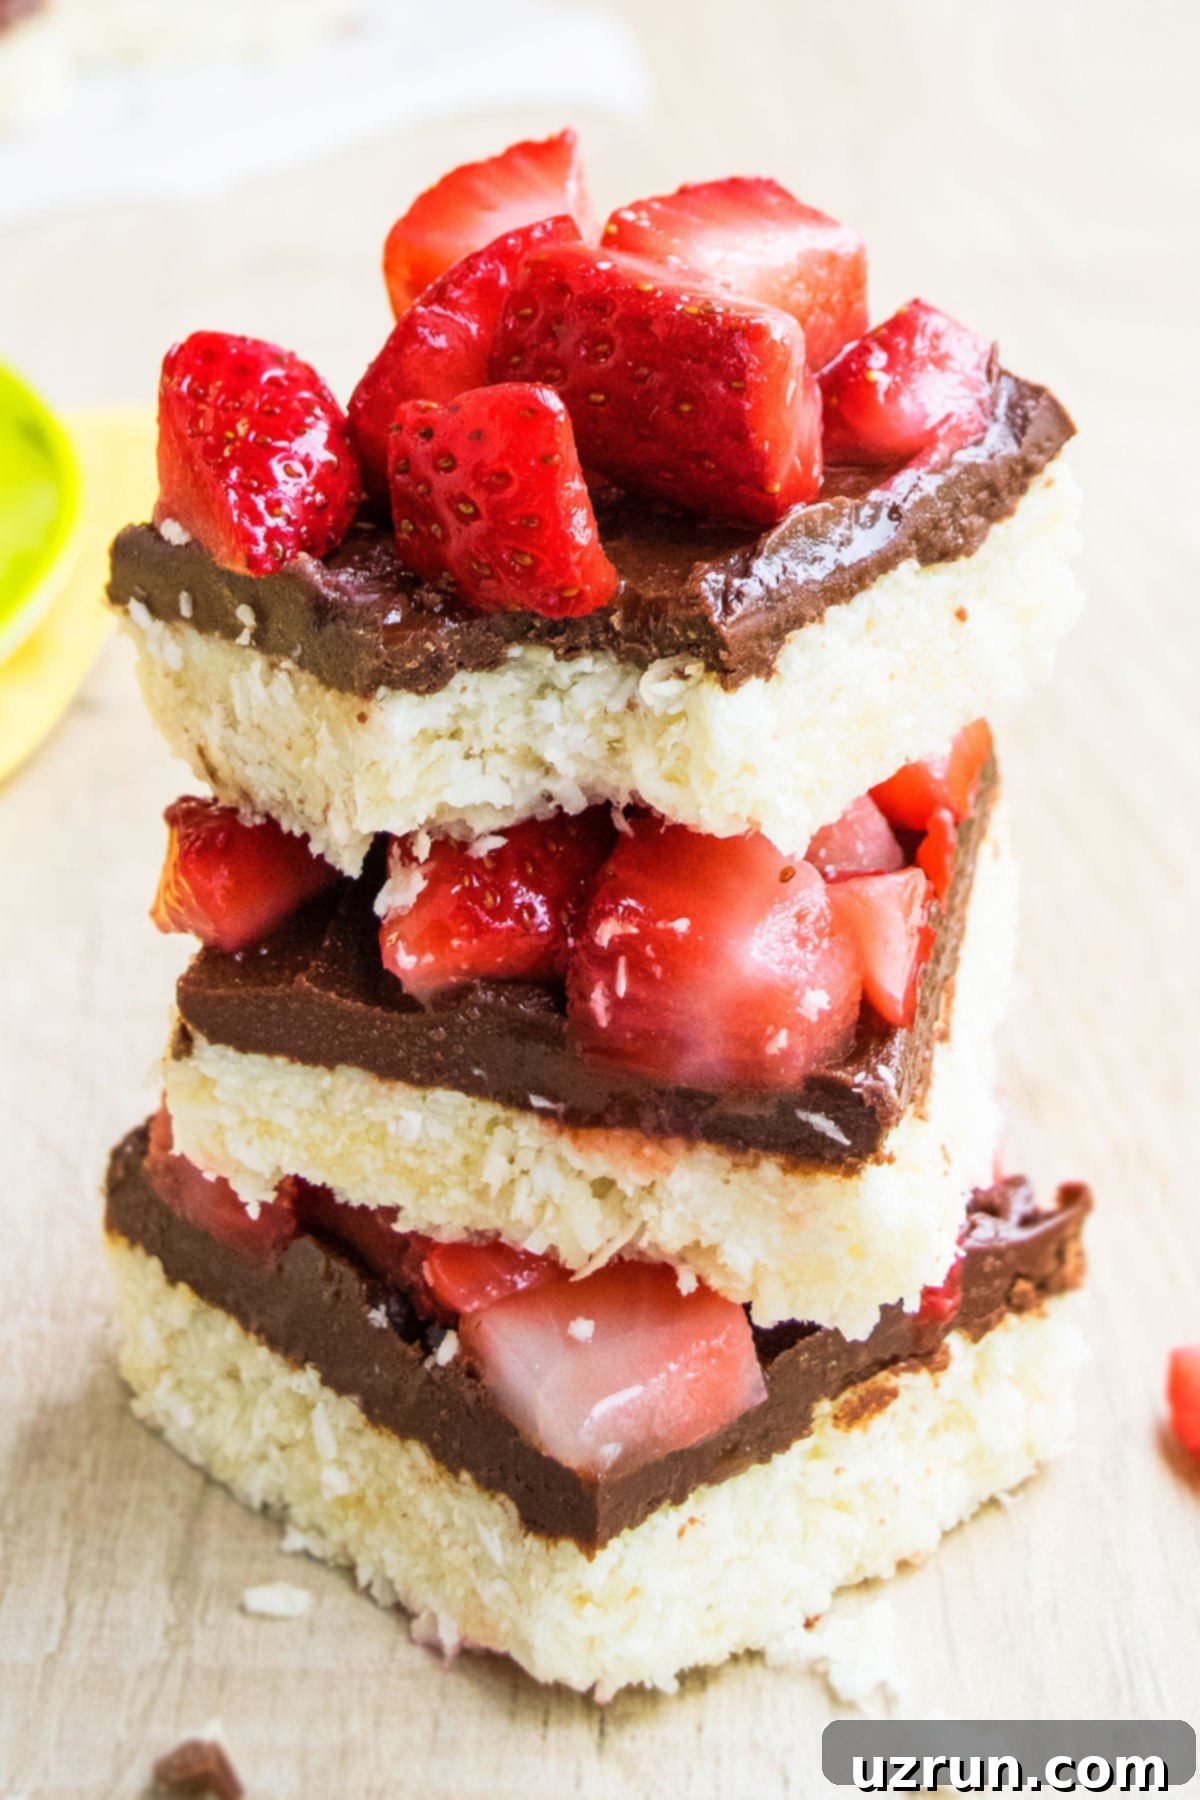
Irresistible No-Bake Chocolate Coconut Bars with Fresh Strawberries (Macaroon Style!)
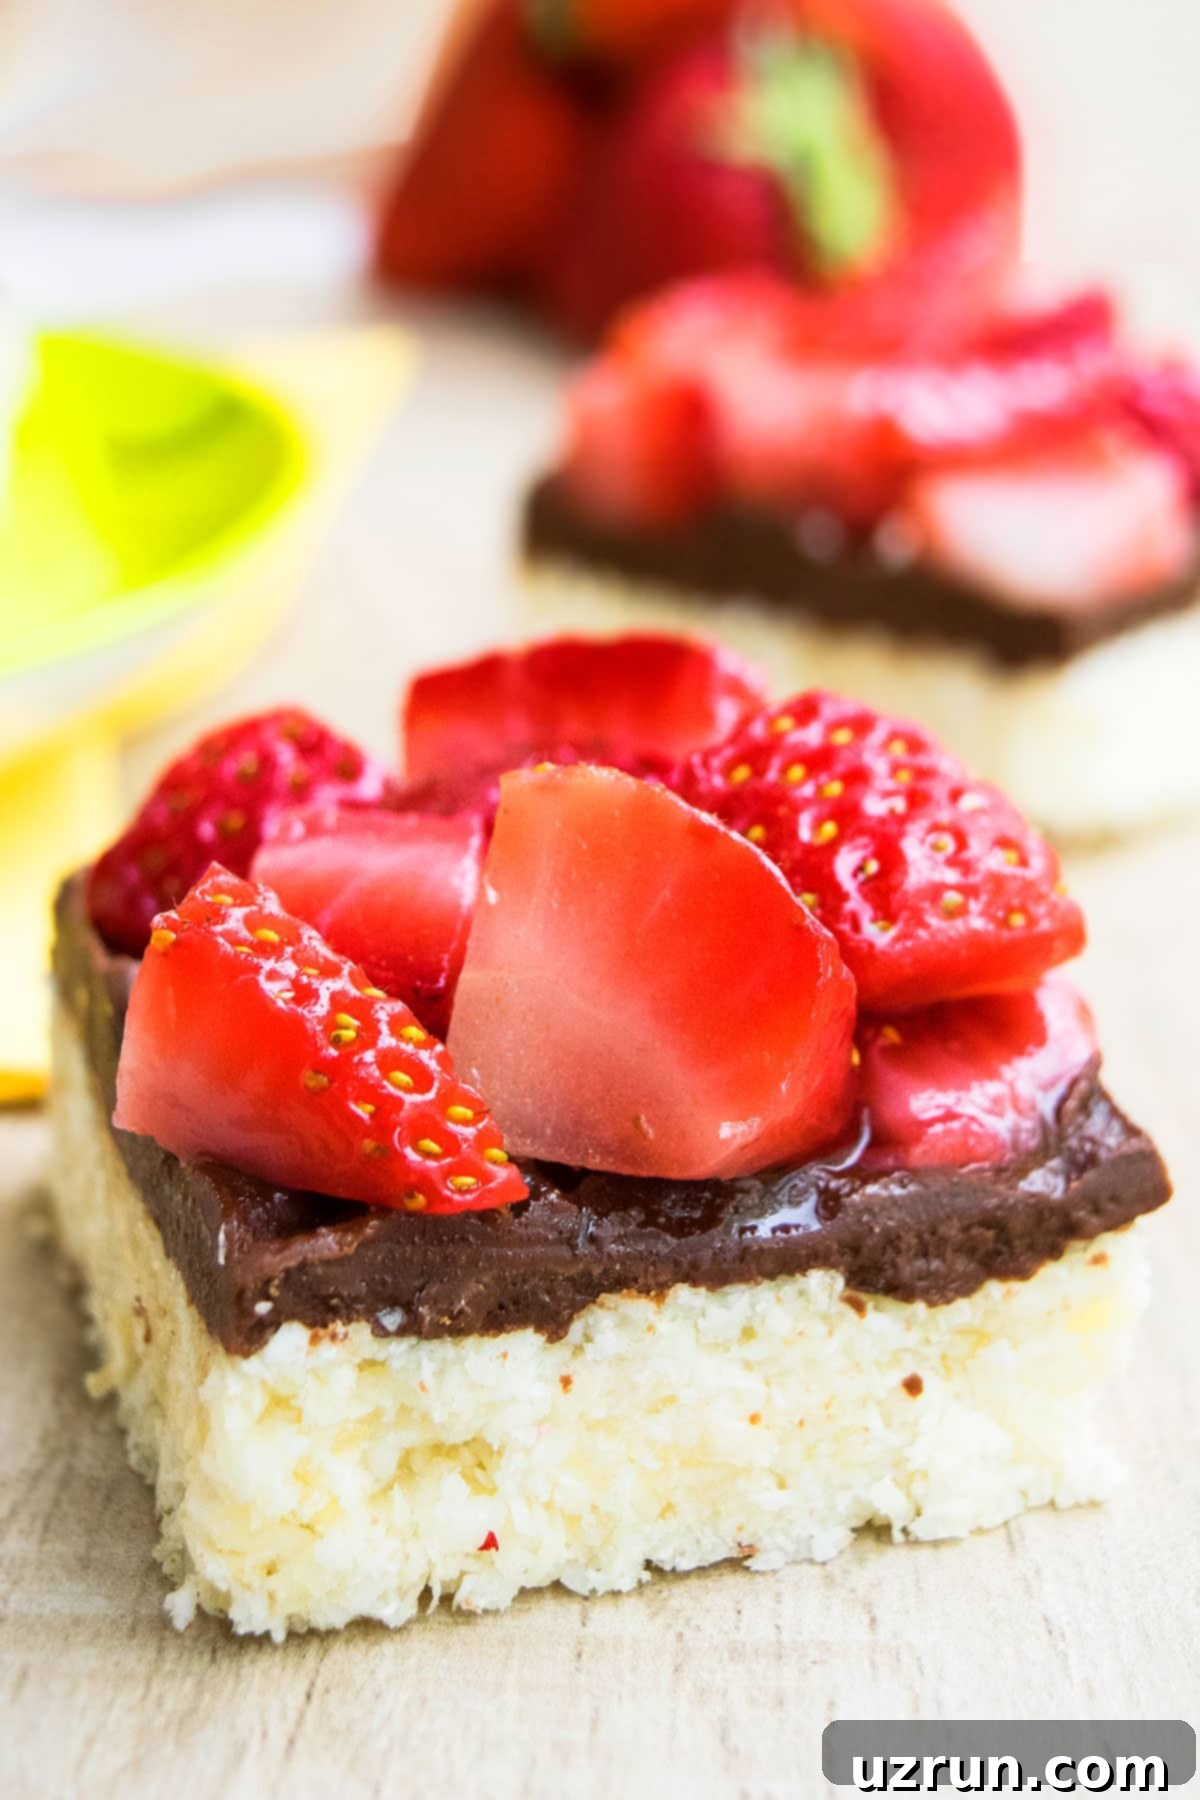
Get ready to indulge in these incredibly easy and utterly delicious no-bake chocolate coconut bars! Crafted with simple, wholesome ingredients, these delightful treats feature a soft and chewy macaroon-style base, topped with a rich chocolate ganache and vibrant fresh strawberries. They’re the perfect dessert for any occasion – quick to prepare, requires no oven, and packed with flavor. We’ve even included multiple variations to spark your culinary creativity!
*A special thank you to Vital Proteins for sponsoring this post, allowing me to share this fantastic recipe with all of you. All opinions, as always, are genuinely my own.*
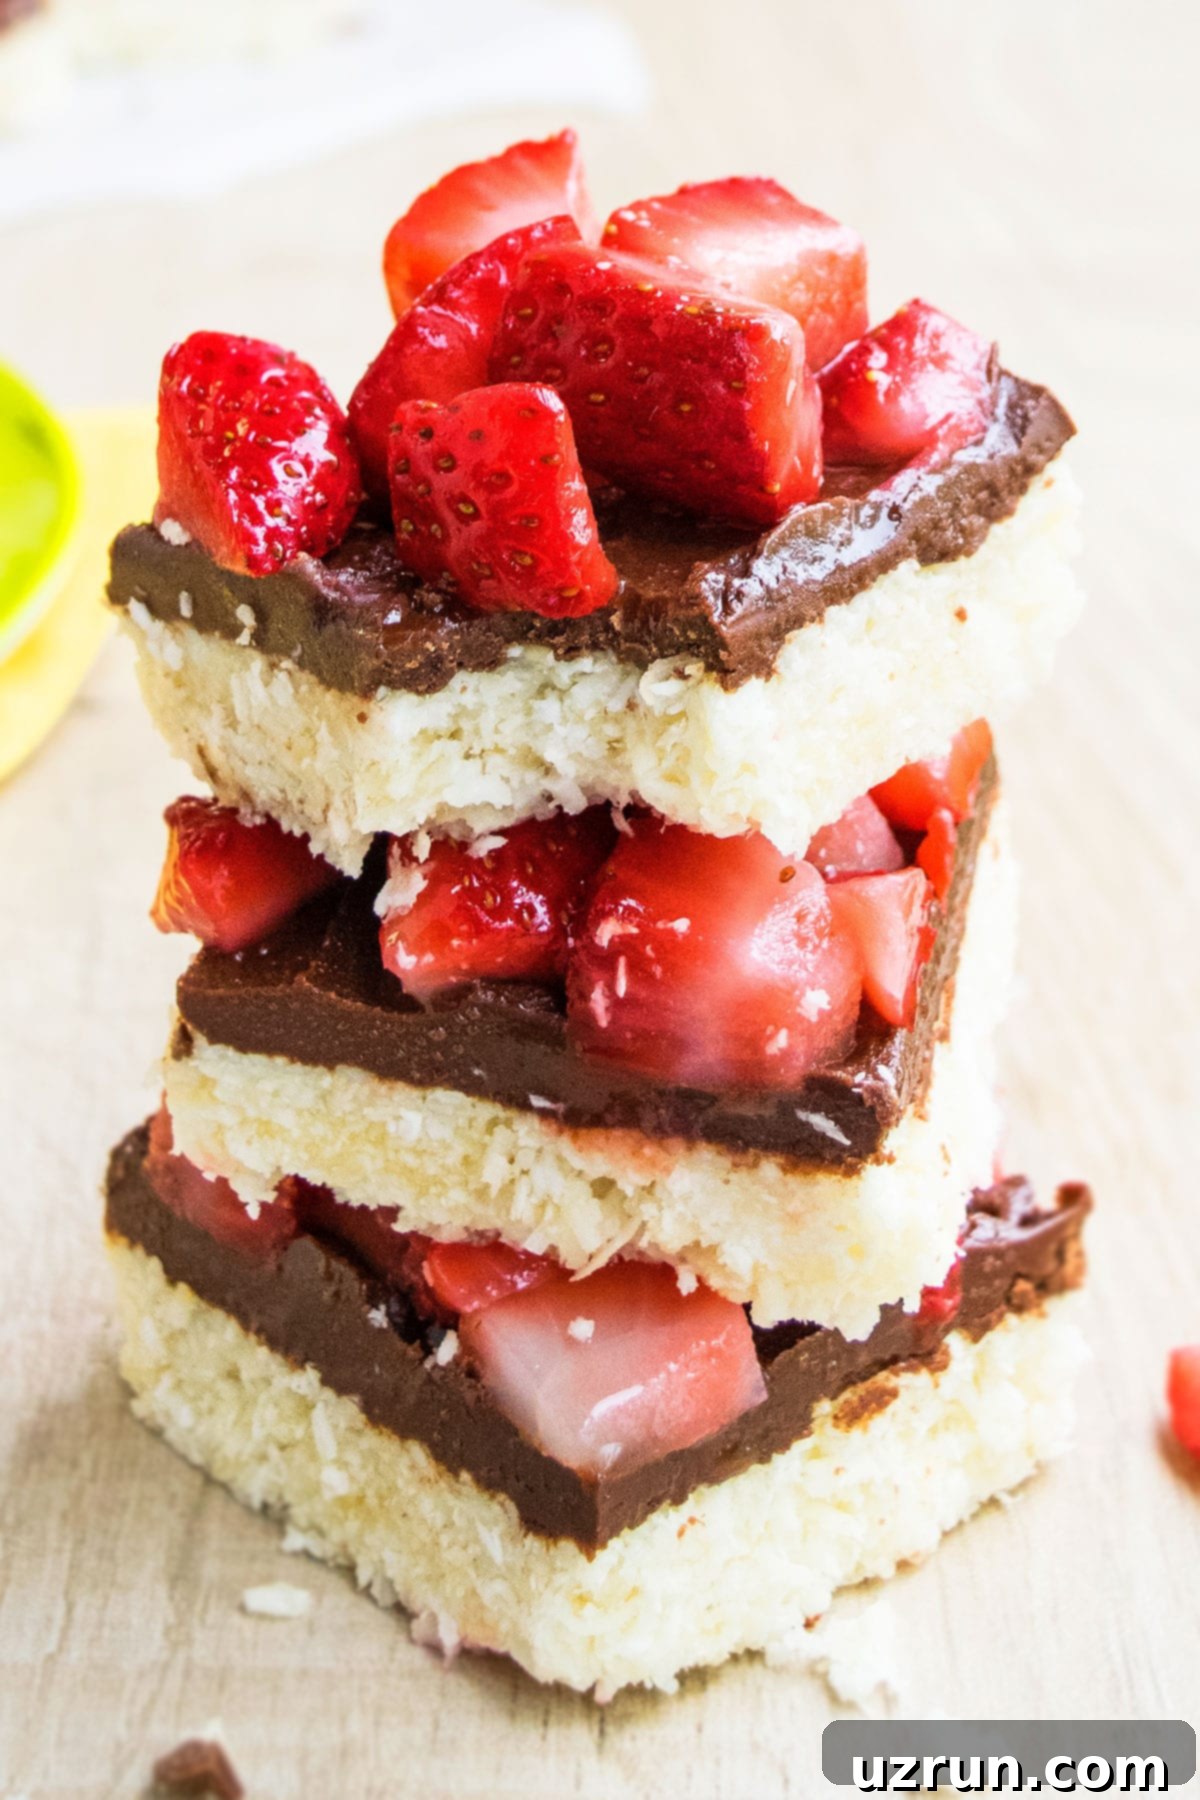
Picture this: a recent grocery run led me to a treasure trove of plump, juicy strawberries – some as big as my fist! Their irresistible sweetness immediately inspired me to create a dessert that would highlight their fresh flavor. That’s how these spectacular no-bake chocolate coconut bars came to life. Much like my popular No Bake Peanut Butter Bars and Chocolate Crunch Bars, this recipe is a testament to how healthy, no-bake, and utterly delicious desserts can be.
Why You’ll Love These No-Bake Macaroon Bars
- Effortlessly Easy: No baking required! These bars come together quickly with minimal fuss.
- Simple Ingredients: You likely have most of these common pantry staples already.
- Customizable: Easily adapt flavors, toppings, and even add healthy boosters.
- Perfect Texture: A delightful combination of a soft, chewy coconut base and a smooth, rich chocolate topping.
- Crowd-Pleaser: Ideal for parties, picnics, or a simple family treat. Everyone loves them!
- Health-Conscious Option: Made with natural sweeteners and optional collagen peptides for an added wellness boost.
- Fresh Flavors: The bright, sweet tang of fresh strawberries perfectly balances the rich coconut and chocolate.
Key Ingredients for the Perfect Chocolate Coconut Bars
Crafting these amazing no-bake chocolate coconut bars relies on a few key ingredients. Here’s a closer look at what you’ll need and why each component is essential:
- Coconut: We use a combination of shredded and desiccated coconut. Shredded coconut provides a lovely texture and chew, while desiccated coconut helps bind the base and adds a finer coconut flavor. You can choose sweetened or unsweetened varieties; I prefer unsweetened to control the overall sweetness with honey.
- Coconut Oil: This acts as the primary binder for our no-bake base. It needs to be in its melted form to properly coat the coconut and allow the bars to set firmly when chilled.
- Honey: A natural sweetener that also helps create that sticky, chewy texture in the coconut base. For a vegan alternative or a different flavor profile, maple syrup works wonderfully.
- Strawberries: The star fruit topping! Ensure your strawberries are ripe, firm, and cut into small pieces. It’s crucial to pat them thoroughly dry to prevent excess moisture from affecting the chocolate ganache layer.
- Chocolate Chips: The foundation of our luscious ganache. I opted for semisweet chocolate chips, which offer a balanced sweetness, but feel free to use dark chocolate for a more intense flavor, milk chocolate for extra creaminess, or even white chocolate for a different aesthetic.
- Coconut Milk: This is vital for achieving a smooth, pourable chocolate ganache. I highly recommend using full-fat canned coconut milk, as it’s much thicker and richer than the carton varieties, yielding a more luxurious ganache that sets beautifully.
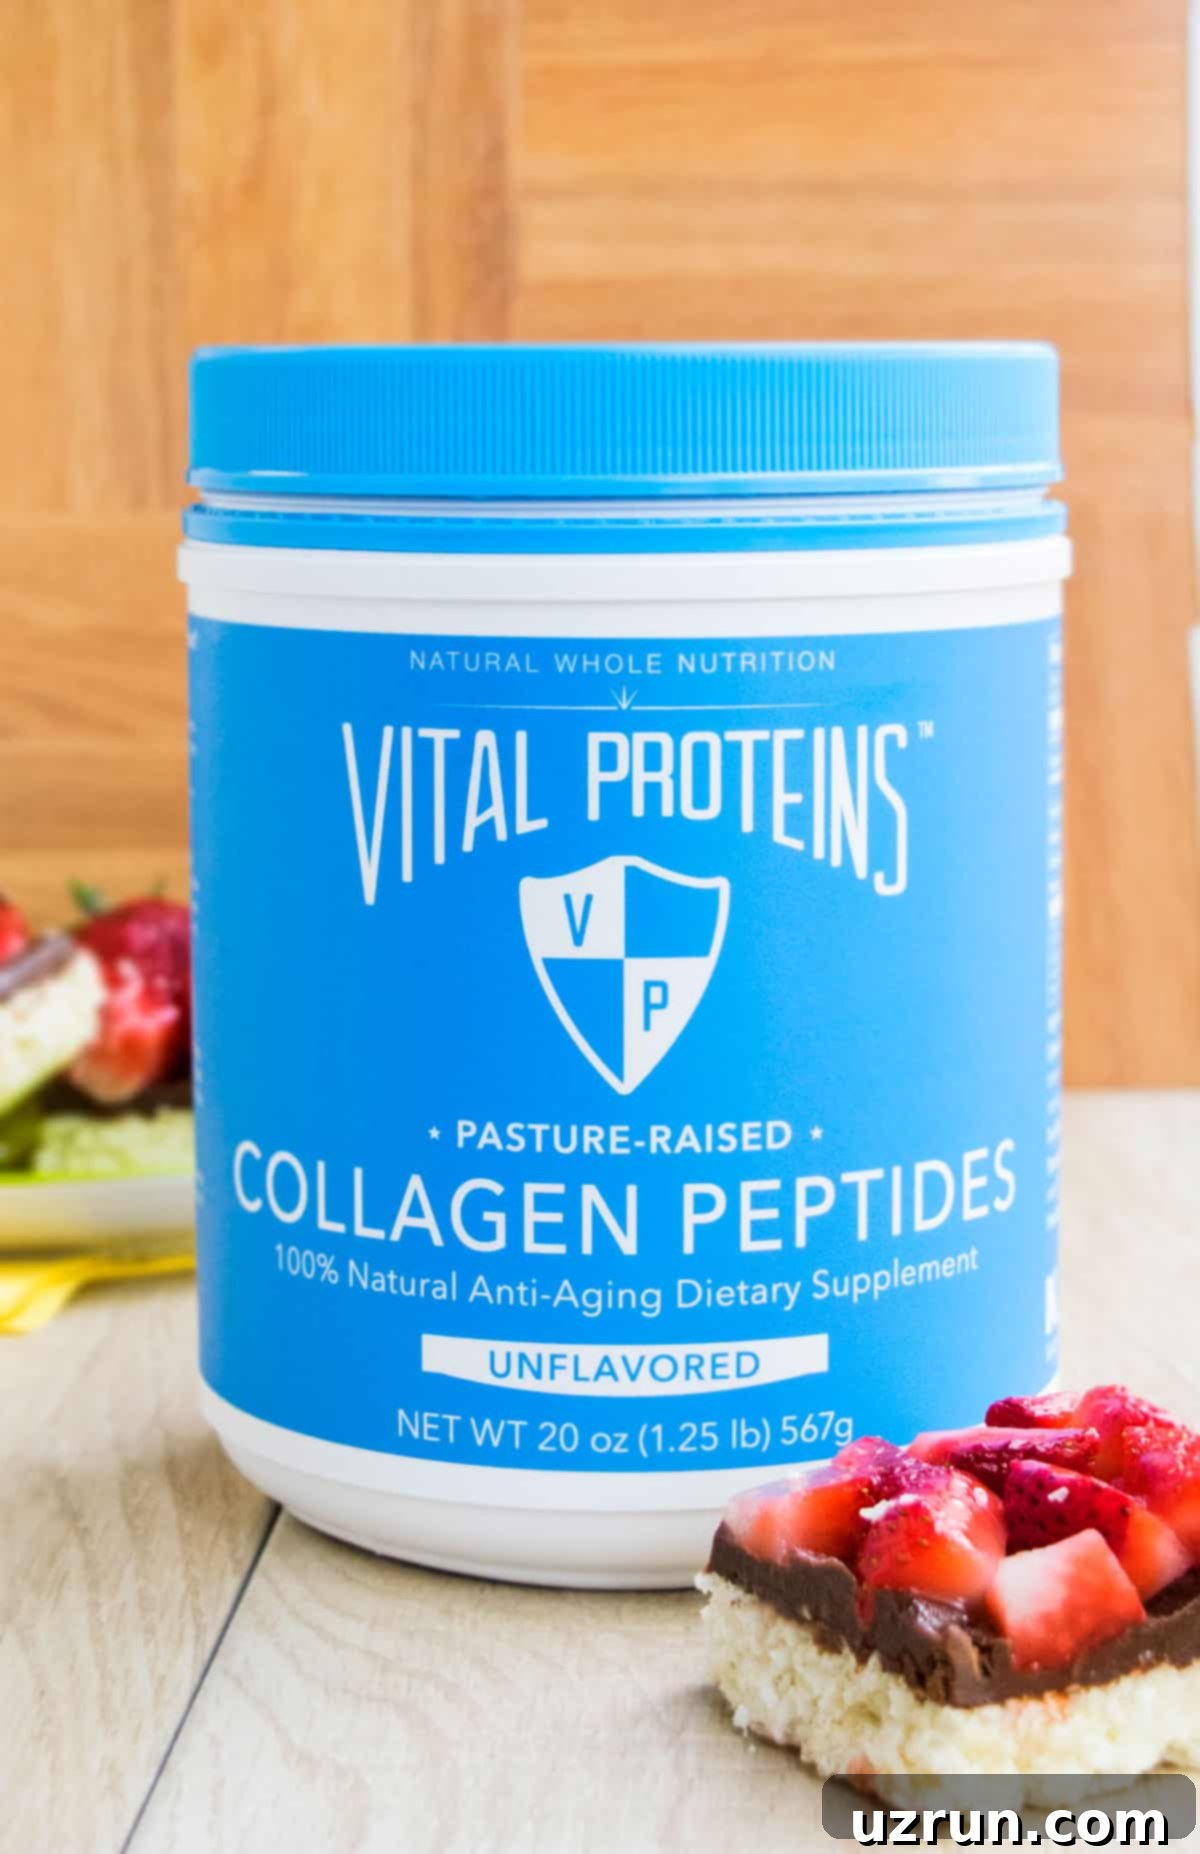
- Collagen Peptides (Optional): For an added nutritional boost, I often include Vital Proteins collagen peptides. They are completely flavorless, colorless, and odorless, meaning they won’t alter the taste or texture of your delicious bars.
How to Make Easy Chocolate Coconut Bars from Scratch
Creating these delightful no-bake bars is surprisingly straightforward. The process involves two simple layers: a sweet, sticky coconut base and a smooth chocolate ganache, all crowned with fresh strawberries. Here’s a step-by-step guide to making them:
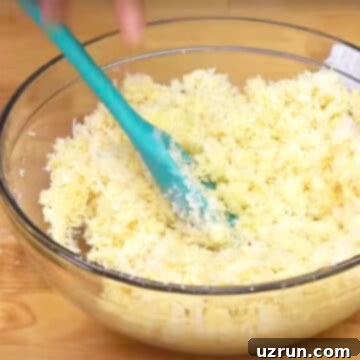
1. Mix Ingredients for the Coconut Base: In a large bowl, combine the shredded coconut, desiccated coconut, collagen peptides (if using), honey, and melted coconut oil. Stir thoroughly until all the coconut is evenly coated and the mixture is sticky and cohesive. Start with ½ cup of coconut oil and add more if the mixture feels too dry.
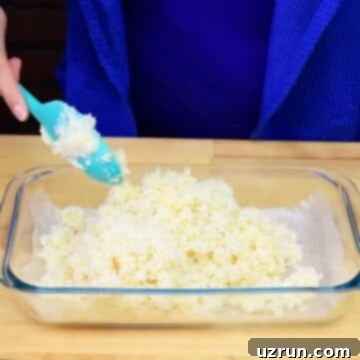
2. Prepare the Dish: Line a square or rectangle baking dish (an 8×8 inch pan works well) with parchment paper or wax paper, leaving an overhang on the sides. This makes lifting the chilled bars out incredibly easy.
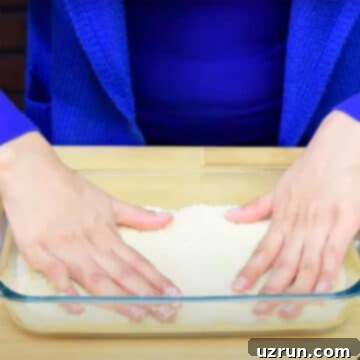
3. Press and Chill the Coconut Layer: Transfer the coconut mixture into the prepared dish. Using the palm of your hands or the back of a spoon, press the mixture down very firmly and evenly across the bottom of the pan. This compaction is key for a stable base. Once pressed, chill the dish in the refrigerator or freezer until the coconut layer is firm, about 20-30 minutes.
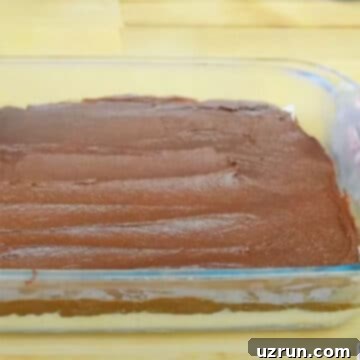
4. Prepare the Chocolate Topping: While the coconut layer chills, melt your chocolate chips. You can do this in a microwave-safe bowl in 30-second intervals, stirring between each, until smooth. Alternatively, use a double boiler. Once melted, stir in the canned coconut milk until you have a smooth, glossy chocolate ganache. Pour this over the chilled coconut layer and spread it evenly with an offset spatula.
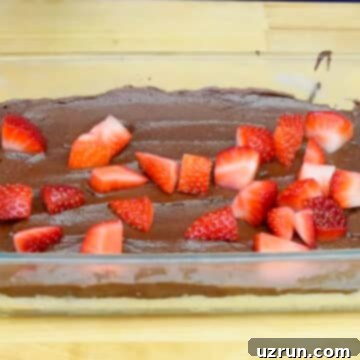
5. Add Fresh Strawberry Topping: Arrange your pat-dried strawberry slices evenly over the still-wet chocolate layer. Gently press them down so they adhere to the chocolate. This creates a beautiful and flavorful topping.
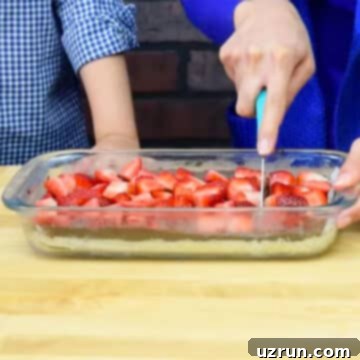
6. Final Chill, Slice, and Enjoy: Return the dish to the refrigerator for at least 20-30 minutes, or until the chocolate layer is completely set. Once firm, use the parchment paper overhang to lift the entire slab out of the pan. Place it on a cutting board and slice into your desired square or rectangular pieces. Enjoy these delectable no-bake chocolate coconut bars!
Creative Variations for Your Coconut Bars
These no-bake chocolate coconut bars are incredibly versatile! Feel free to experiment with these delicious variations to suit your taste or occasion:
- Add Citrus Zests: Elevate the flavor profile by mixing 1 teaspoon of fresh lime or lemon zest into the coconut mixture. The citrusy zing provides a fantastic contrast to the sweetness.
- Transform into Truffles: Instead of bars, roll the prepared coconut mixture into bite-sized balls. Chill them for an hour, then dip them in melted chocolate for elegant coconut truffles. You can also press the mixture into candy molds for fun shapes, similar to my Easy Pumpkin Truffles.
- Experiment with Different Berries: While strawberries are delightful, other fruits like blueberries, raspberries, or even blackberries make excellent alternatives for the topping.
- Go Simple with No Fruit: If you prefer a simpler, classic chocolate coconut bar, simply omit the fruit topping altogether. The bars are equally delicious without it!
- Swirl in Jam: For a burst of concentrated fruit flavor, swirl a few spoonfuls of Homemade Strawberry Jam (or any jam you love) over the chocolate layer before it sets.
- Alternate Sweeteners: While honey is a wonderful choice, you can replace it with maple syrup or agave syrup. Be aware that this might slightly alter the final taste and texture.
- Nut Butter Swirl: For added richness, healthy fats, and protein, swirl your favorite nut butter – such as peanut butter or almond butter – onto the chocolate layer before it fully sets.
- Flavor Extracts: Introduce new aromas and tastes by adding a teaspoon of vanilla, almond, peppermint, or caramel extract to the coconut mixture.
- Caramel Drizzle: Drizzle homemade Homemade Caramel Sauce over the chocolate layer before adding the strawberries for an extra layer of indulgent sweetness.
- Crunchy Toppings: After adding the chocolate and strawberries, sprinkle with flaky sea salt, crushed pretzels for a salty crunch, chopped Oreos, or pieces of your favorite candy bars.
- Creamy Frosting: For an extra decadent treat, replace the chocolate ganache with a layer of Swiss Meringue Buttercream Frosting or Easy Honey Frosting.
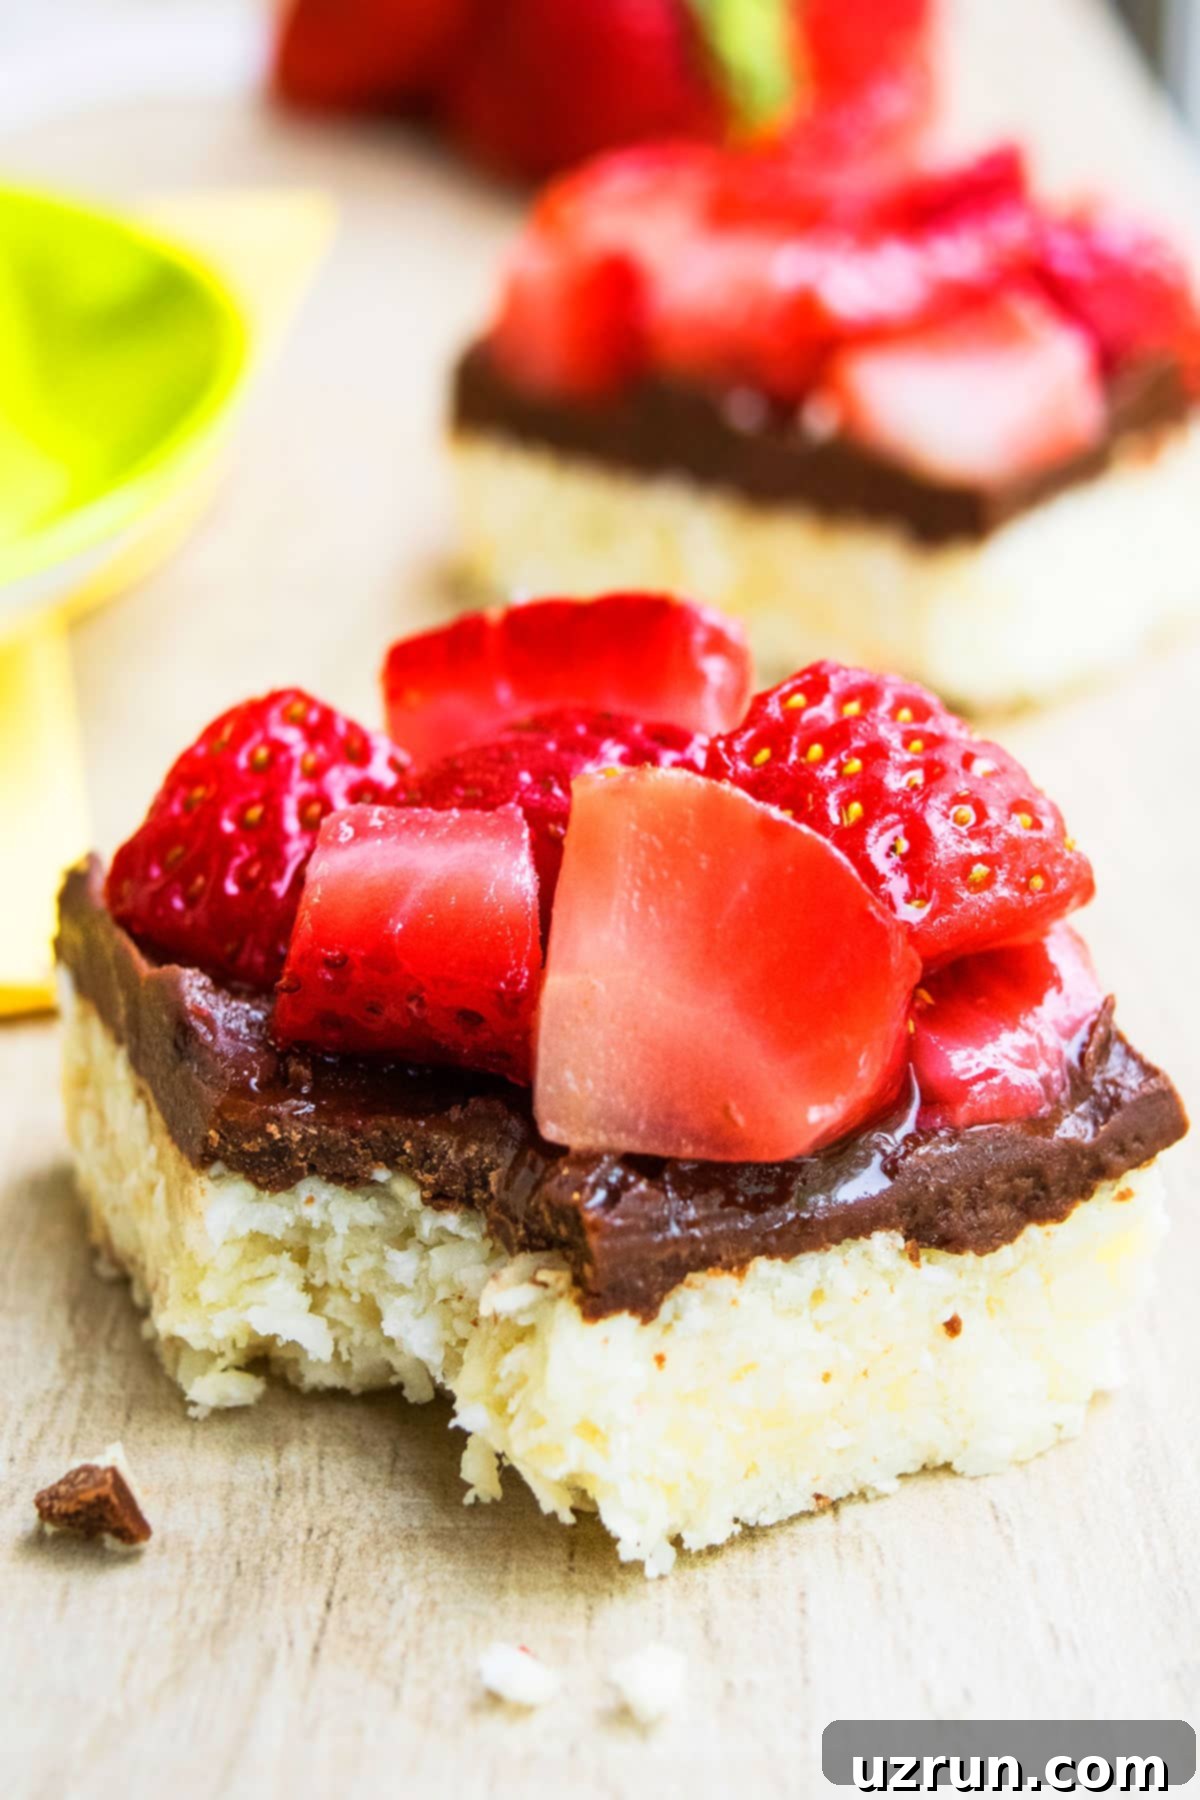
Expert Tips for Perfect No-Bake Macaroon Bars
Achieving perfectly set and delicious no-bake chocolate coconut bars is easy with a few simple techniques. Keep these tips in mind for the best results:
- Utilize a Food Processor: For a smoother, more uniform coconut base texture, you can pulse all the coconut mixture ingredients in a food processor until well combined. This is a great option if you prefer a less chunky bar.
- Always Line Your Pan: Lining your baking pan with parchment paper or wax paper, with an overhang on the sides, is absolutely crucial. This allows you to easily lift the entire slab of chilled bars out of the pan, making clean slicing effortless.
- Sweetened vs. Unsweetened Coconut: Both types of coconut will work. My personal preference is unsweetened coconut, as it allows me to precisely control the sweetness level of the bars by adjusting the amount of honey. If using sweetened coconut, you might want to slightly reduce the honey.
- Coconut Milk for Ganache: For the chocolate ganache, always opt for full-fat canned coconut milk. Its thick, creamy consistency is essential for a rich ganache that sets beautifully. Avoid using regular milk or carton coconut milk, as they are too thin and can cause the melted chocolate to seize or result in a runny topping.
- The Importance of Double Chilling: These no-bake bars require two distinct chilling periods. First, chill the coconut mixture until it is firm and holds its shape. Second, chill the bars again after adding the chocolate and strawberry topping until the ganache is completely set. Patience during chilling ensures firm, sliceable bars.
- Pat Strawberries Dry: Excess moisture from fresh strawberries can make the chocolate topping watery or prevent it from setting properly. Always wash and then thoroughly pat your strawberry slices dry with paper towels before adding them.
- Accurate Measurements: While these bars are forgiving, using measuring cups and spoons for ingredients like coconut oil, honey, and coconut milk will ensure your bars have the correct consistency – not too crumbly and not too wet.
The Power of Vital Proteins Collagen Peptides
By now, many of you know about my deep admiration for Vital Proteins products. Their collagen peptides are simply fantastic, and I love incorporating them into recipes like these no-bake chocolate coconut bars. For those unfamiliar, collagen peptides are celebrated for their incredible benefits for skin health, nail strength, and hair vitality. I’ve personally noticed a significant positive difference since adding them to my diet.
The truly remarkable aspect of this powder is its neutral profile: it’s flavorless, colorless, and odorless. This means you can add a few scoops to your recipes without affecting the taste or texture in the slightest. It’s an effortless way to boost your daily collagen intake!
Many of my most popular recipes secretly contain this wonderful powder, and no one can ever tell. Just take a look at my Fudgy Vegan Eggless Brownies, this delightful Easy Raspberry Mousse, and even these scrumptious Carrot Cupcakes. Consider it our little secret for adding a wellness boost to your favorite treats!
Recipe FAQs
If your bars are crumbly, it’s usually because the coconut mixture is too dry. This means you need more liquid to bind it together. Add an additional tablespoon or two of melted coconut oil or honey until the mixture feels sticky and cohesive, allowing it to be pressed firmly without falling apart.
The easiest way to melt chocolate is in a microwave-safe bowl. Heat it in 30-second intervals, stirring thoroughly after each interval, until the chocolate is smooth and fully melted. Alternatively, you can use a double boiler, stirring constantly until melted.
Bars that are too wet and soft typically haven’t set completely, or too much liquid was added to the coconut mixture. It’s crucial to use accurate measurements and avoid eyeballing ingredients, especially the coconut oil and honey. Most importantly, these bars absolutely need sufficient chilling time in the refrigerator to firm up properly. Ensure both the coconut layer and the chocolate layer have adequate time to set.
Yes, you can substitute honey with maple syrup or agave syrup. Keep in mind that these substitutions might slightly alter the flavor profile and potentially the texture, but they generally work well in no-bake recipes.
Always line your pan with parchment paper or wax paper, ensuring there’s an overhang on all sides. This creates a non-stick surface and allows you to easily lift the entire chilled slab out of the pan before slicing, preventing any sticking issues.
Storage Instructions for Chocolate Coconut Bars
Proper storage ensures your no-bake chocolate coconut bars stay fresh and firm for as long as possible:
- Refrigerate: Store leftover bars in an airtight container in the refrigerator for up to 5 days. For best results and to prevent sticking, separate layers of bars with sheets of parchment or wax paper.
- Freeze: For longer storage, freeze the bars in a sealed, freezer-safe container, again separating layers with wax paper, for up to 1 month. When you’re ready to enjoy them, thaw them overnight in the refrigerator.
- Room Temperature: These bars contain coconut oil and a chocolate ganache that softens at warmer temperatures. They will lose their firmness if left at room temperature for longer than 30 minutes, especially on a warm day. Always store them chilled.
- Make Ahead: These bars are an excellent make-ahead dessert. Prepare them up to 1 day in advance and store them in the refrigerator until you are ready to serve.
More Easy No-Bake Desserts You’ll Love
If you’re a fan of quick and delicious desserts that don’t require an oven, be sure to check out these other fantastic no-bake recipes:
- Date Bars or Squares (No Bake)
- S’mores Bars (No Bake)
- Chocolate Chip Cookie Dough Bars (No Bake)
- Peanut Butter Cookie Dough Bars (Eggless)
Recipe
Chocolate Coconut Bars (Macaroon Style!)
Abeer Rizvi
Pin Recipe
10 minutes
1 hour
1 hour
10 minutes
Dessert
American
12
Bars
321
kcal
Want to Save This Recipe?
Enter your email & I’ll send it to your inbox. Plus, get great new recipes from me every week!
By submitting this form, you consent to receive emails from CakeWhiz
Ingredients
Bars
- 2 cups Shredded coconut Sweetened or unsweetened. I prefer unsweetened to control the sugar level.
- ⅓ cup Desiccated Coconut Unsweetened is recommended.
- ½-¾ cup Coconut oil Melted. Start with ½ cup and add more if the mixture is too dry.
- ⅓ cup Honey Or use maple syrup for a vegan option.
- 2 packets Collagen Peptides / Protein powder Optional, for a healthy boost.
Topping
- 1 cup Strawberries Washed, thinly sliced, and thoroughly patted dry.
- 2 cups Semisweet chocolate chips Melted. Dark, milk, or white chocolate can also be used.
- 2 tablespoons Canned coconut milk Use full-fat canned coconut milk for best results, as it’s thicker.
Instructions
-
In a large, deep bowl, combine the shredded coconut, desiccated coconut, collagen peptides (if using), honey, and melted coconut oil. Mix everything thoroughly with a spoon or your hands until all the coconut is coated and you have a sticky, cohesive mixture.
Note: Begin with ½ cup of melted coconut oil. Only add more if the mixture appears too dry and doesn’t stick together when pressed. Some brands of coconut can be drier than others, requiring additional oil.
-
Line an 8×8 inch square dish (or a similar rectangular dish) with parchment paper, allowing some overhang on the sides. Transfer the coconut mixture into the lined dish.
-
Press the mixture down very firmly and evenly across the bottom of the dish using the palm of your hands or a flat-bottomed glass. This is crucial for a well-set base. Chill the dish in the refrigerator or freezer until the coconut mixture hardens, about 20-30 minutes.
-
While the coconut base chills, prepare the chocolate topping. Melt the chocolate chips in a small microwave-safe bowl (in 30-second bursts, stirring between) or over a double boiler. Once melted and smooth, stir in the canned coconut milk until fully combined and glossy.
-
Pour this melted chocolate ganache evenly over the chilled and firm coconut mixture in the dish. Spread it gently with an offset spatula if needed.
-
Immediately scatter the fresh, pat-dried strawberry slices on top of the still-wet chocolate layer. Gently press them into the chocolate to ensure they adhere.
-
Return the dish to the refrigerator and chill for at least another 20-30 minutes, or until the chocolate layer is completely set and firm to the touch.
-
Once fully set, use the parchment paper overhang to carefully lift the entire slab of bars out of the dish and onto a cutting board. Slice into your desired square or rectangular pieces with a sharp knife, and enjoy your delicious no-bake chocolate coconut bars!
Video
Notes
- Line your baking pan with parchment paper or wax paper, leaving an overhang, as this is essential for easy removal and clean slicing.
- Chilling these no-bake bars thoroughly is crucial to allow both the coconut mixture and the chocolate topping to set and become firm.
- Always wash and then pat your strawberry slices completely dry with paper towels to prevent excess moisture from affecting the chocolate layer.
- The addition of collagen peptides or protein powder is entirely optional and can be omitted without altering the core recipe.
- Feel free to experiment with your chocolate choice; semisweet chocolate can be easily replaced with dark chocolate for a bolder flavor, milk chocolate for a sweeter profile, or even white chocolate.
- For an enhanced flavor experience, consider adding a teaspoon of your favorite extracts (like vanilla or almond) or citrus zests (lemon or lime) to the coconut mixture.
- Refer to the “Creative Variations” and “Expert Tips” sections above for more ideas and helpful advice to customize and perfect your bars.
- Leftover bars should be stored in an airtight container in the refrigerator for up to 5 days to maintain their freshness and firmness.
Nutrition
Calories:
321
kcal
Carbohydrates:
24
g
Protein:
1
g
Fat:
26
g
Saturated Fat:
21
g
Sodium:
7
mg
Potassium:
147
mg
Fiber:
2
g
Sugar:
20
g
Vitamin C:
7.6
mg
Calcium:
9
mg
Iron:
1.2
mg
An automated tool is used to calculate the nutritional information. As such, I cannot guarantee the accuracy of the nutritional information provided for any recipe on this site.
Tried this recipe?
Leave a comment below or rate and tag @cakewhiz on social
