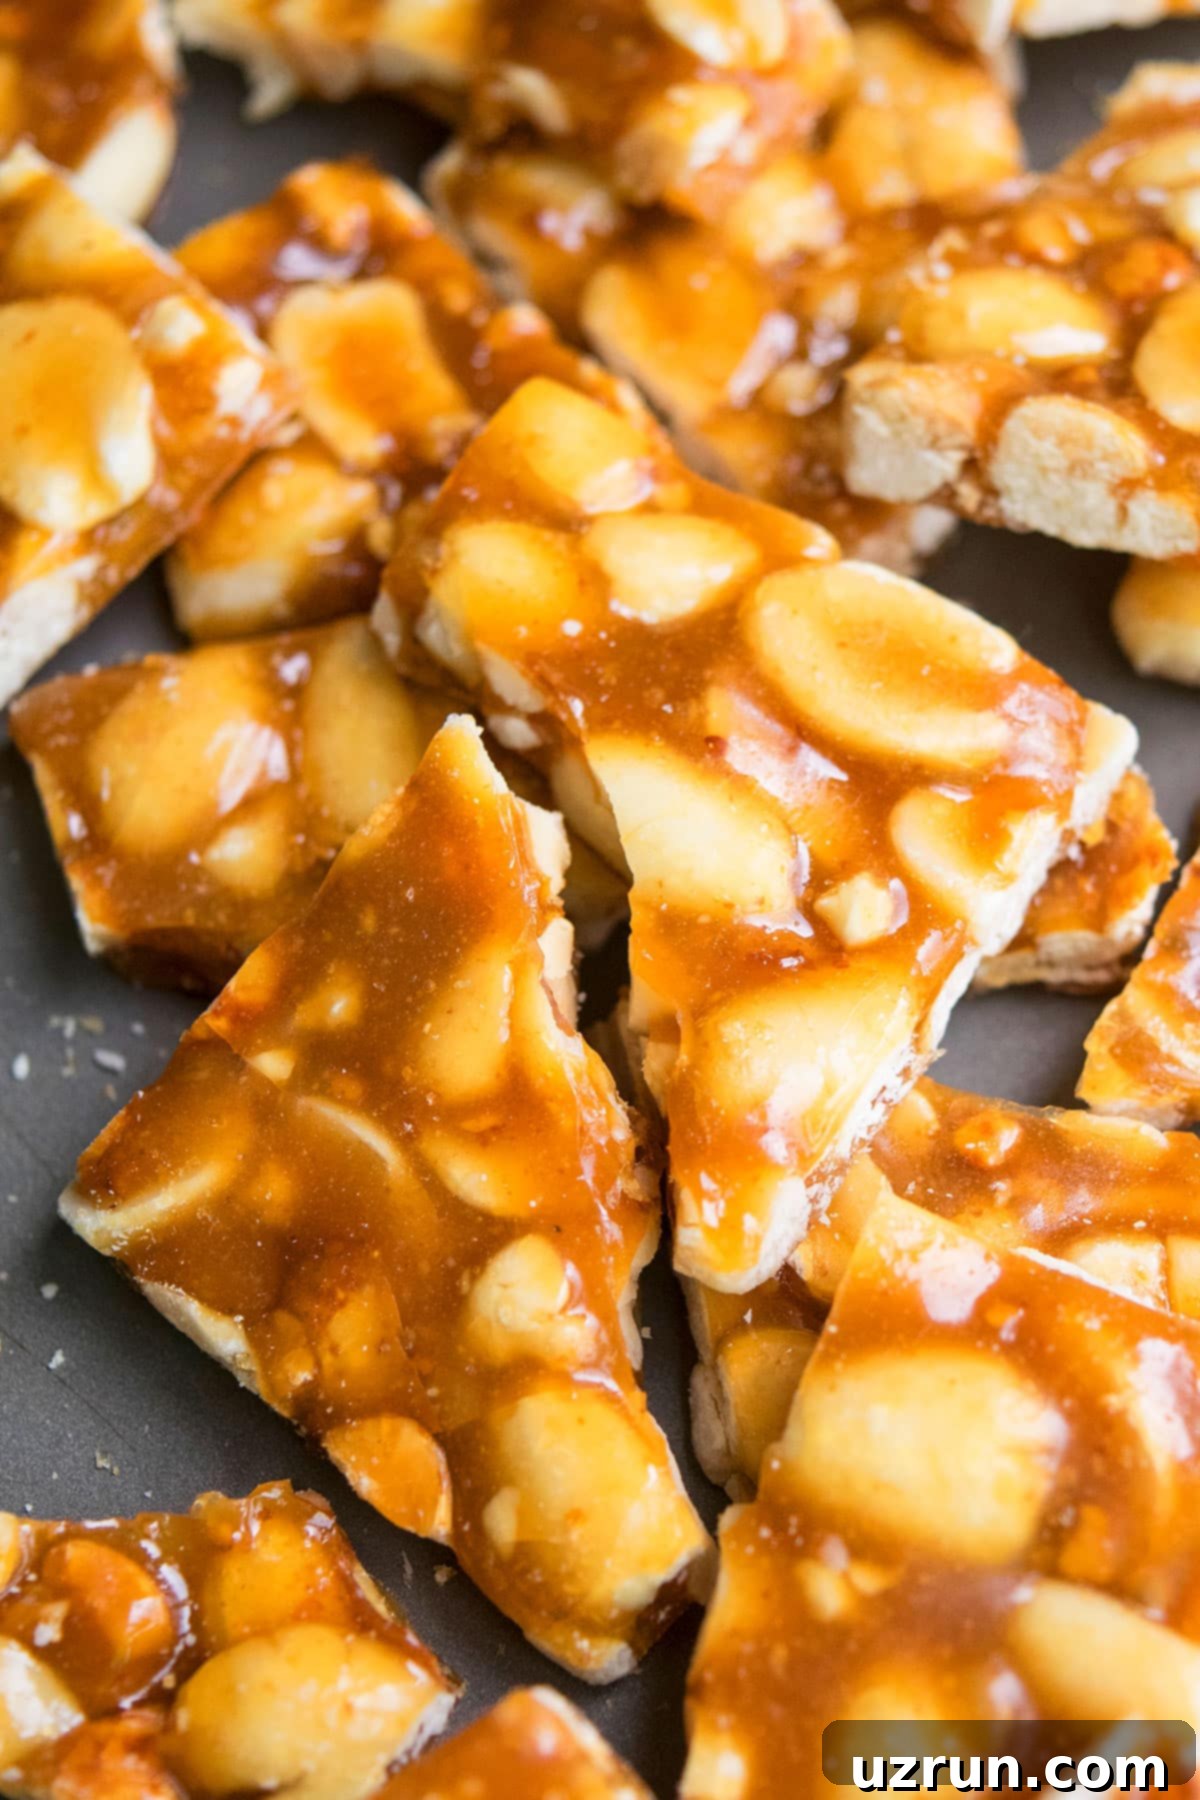
Easy Microwave Peanut Brittle: Homemade, Quick, and No Candy Thermometer Needed
Discover the secrets to crafting incredibly quick and easy microwave peanut brittle right in your own kitchen. This beloved homemade candy recipe requires no special equipment like a candy thermometer, making it accessible for everyone. With just a few simple ingredients, you can create a perfectly balanced sweet, salty, and wonderfully crunchy treat that’s a classic favorite, especially during the festive Christmas holidays. Imagine that satisfying snap and rich peanut flavor – all achievable in minutes!
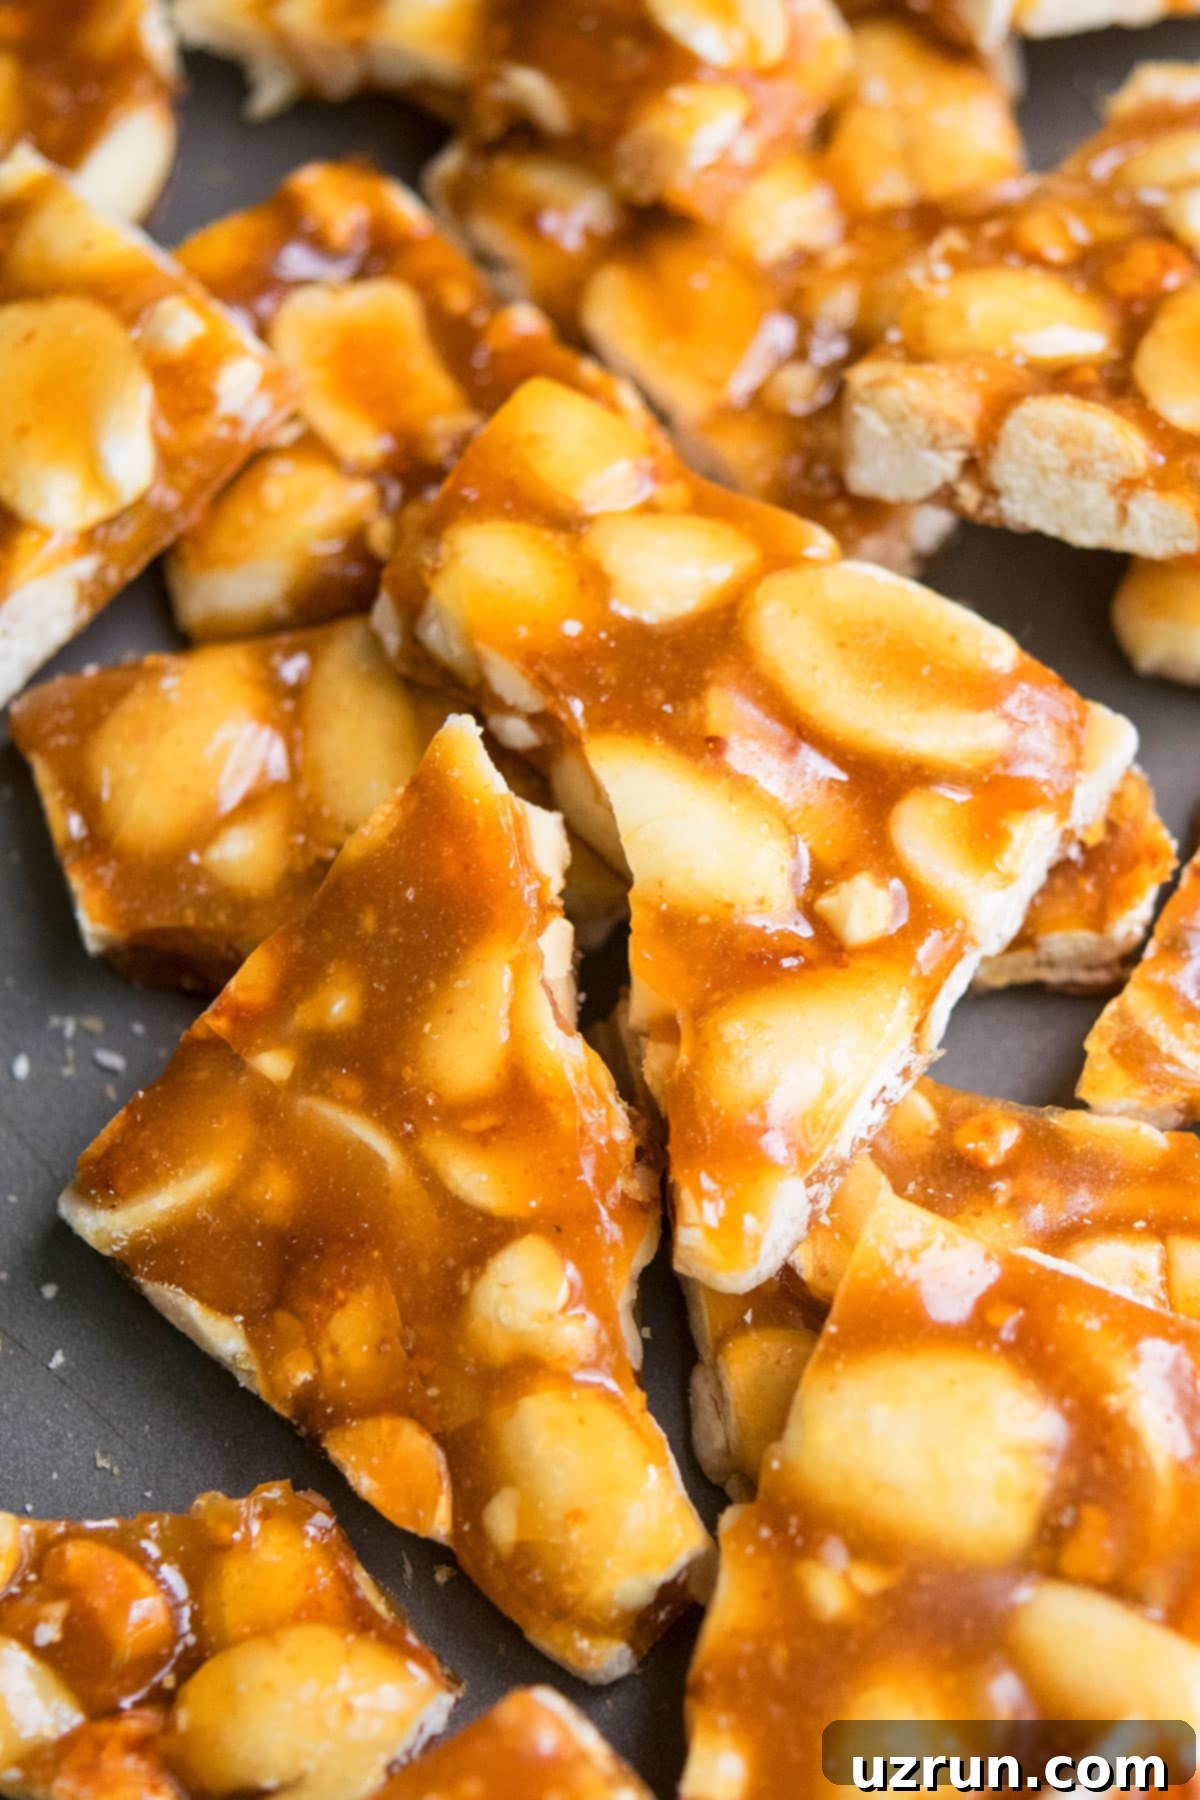
There’s something uniquely satisfying about peanuts in desserts and candies that I absolutely adore. My kitchen often features these versatile legumes, transforming them into irresistible treats. Perhaps you’ve enjoyed my Peanut Butter Fudge (3 Ingredients), a surprisingly simple delight, or indulged in the classic Easy Buckeye Recipe (Peanut Butter Balls). And for special occasions, these festive Peanut Butter Eggs always disappear fast. These recipes aren’t just personal favorites; they’re incredibly popular with my family, friends, and, of course, wonderful readers like you!
Growing up, my grandparents would meticulously prepare peanut brittle on the stovetop, a time-honored tradition that filled our home with sweet aromas. While their method produced delicious results, it was often a lengthy and somewhat tricky process. Thankfully, my Mom introduced me to the microwave version of today’s recipe, which, in my humble opinion, is not only much easier but yields an equally (if not more) superior brittle. This microwave method truly simplifies the art of candy making, delivering a brittle that, I believe, rivals even the finest candies you might purchase from specialty stores like See’s candy.
Why Microwave Peanut Brittle is a Game-Changer
If you’ve ever been intimidated by candy making, particularly the precise temperatures required for traditional stovetop methods, then microwave peanut brittle is about to become your new best friend. This modern approach takes all the guesswork out of the equation. No more fussing with candy thermometers, no constant stirring over a hot stove, and significantly less cleanup. It’s perfect for busy individuals or anyone new to making confections. The microwave method ensures a consistent cook, allowing you to achieve that perfect “hard crack” stage with surprising ease and speed. It’s a true revelation for anyone seeking a quick, delicious, and foolproof way to make homemade brittle.
Table of contents
- Key ingredients for best homemade brittle candy
- Variations
- How to make old fashioned easy peanut brittle recipe from scratch in microwave?
- Tips for easy peanut brittle recipe:
- Recipe FAQs
- Storage
- More Candy Recipes
Key Ingredients for Best Homemade Brittle Candy
Crafting the perfect peanut brittle relies on a precise combination of ingredients, each playing a vital role in achieving that signature sweet, salty, and crunchy texture. Here’s a closer look at what you’ll need:
- Granulated sugar: This is the backbone of our sweet treat. It’s the essential ingredient that caramelizes to form the brittle’s hard, glassy base. Do not attempt to substitute it with other sugars like brown sugar, as it will drastically alter the texture and flavor profile.
- Corn syrup: Use light corn syrup. This ingredient is crucial for preventing the sugar from crystallizing, which can result in a grainy texture. It also helps achieve that desirable chewiness before the brittle hardens. There are no direct substitutes that will give the same consistent results, so stick with light corn syrup.
- Peanuts: For the absolute best flavor, ensure your peanuts are both roasted and salted. The roasting process intensifies their nutty aroma and taste, while the salt perfectly balances the sweetness of the candy. If you only have raw peanuts, you can roast them gently in an oven or on the stovetop before adding them.
- Butter: Unsalted butter is preferred to give you control over the overall saltiness of your brittle. It adds a rich, creamy flavor and helps to prevent the mixture from sticking too much to your pan and spoon. A little fat also contributes to the brittle’s smooth finish.
- Baking soda: This might seem like an unusual addition to candy, but baking soda is fundamental to peanut brittle’s unique porous and airy texture. When added to the hot sugar mixture, it reacts to create tiny air bubbles, making the brittle lighter and easier to bite into. Do not confuse it with baking powder; they produce entirely different results.
- Vanilla extract: A dash of vanilla extract beautifully compliments and enhances the rich peanut flavor, adding warm, aromatic undertones that elevate the overall taste experience. Use a good quality pure vanilla extract for the best results.
Unleashing Creativity: Variations & Customization
While classic peanut brittle is undeniably delicious, this recipe serves as an excellent foundation for a myriad of creative variations. Don’t be afraid to experiment and personalize your brittle to suit your taste or occasion!
- Explore different nuts: The beauty of brittle is its versatility. Instead of peanuts, try almonds for a delicate flavor, pistachios for a vibrant color, or cashews for a buttery richness. Macadamias, pecans, or walnuts also work wonderfully. You can even create a custom blend by using a combination of multiple nuts for a more complex flavor profile.
- Add a chocolatey twist: For an extra layer of indulgence, once your brittle has cooled and broken into pieces, dip each piece halfway into melted chocolate. Dark, white, semisweet, or milk chocolate all offer unique complements to the salty-sweet brittle. Consider using quality chocolate, or even try making your own Homemade Chocolate Bars to melt down.
- Perfect ice cream topping: Elevate your favorite ice cream by chopping the brittle into small, sprinkle-sized pieces. The crunchy, sweet, and salty bits add an incredible textural and flavor contrast to any scoop.
- Cake decoration and crunch: Use larger shards of brittle as elegant decorations on top of cakes or cupcakes. For a delightful surprise in every bite, crush the brittle into finer pieces and sprinkle it over frosted cakes or even within cake layers for an added crunch.
- Experiment with extracts: Beyond vanilla, other extracts can dramatically change the flavor of your brittle. Try maple extract for a warm, autumnal note, coconut extract for a tropical twist, or almond extract to enhance nuttiness in almond brittle. The possibilities are endless!
- Consider raw peanuts: While roasted peanuts are generally recommended for their deeper, more intense “nutty” flavor, raw peanuts can also be used. If you opt for raw, they will toast slightly during the cooking process in the microwave, offering a slightly different, milder flavor. Just ensure they are fresh.
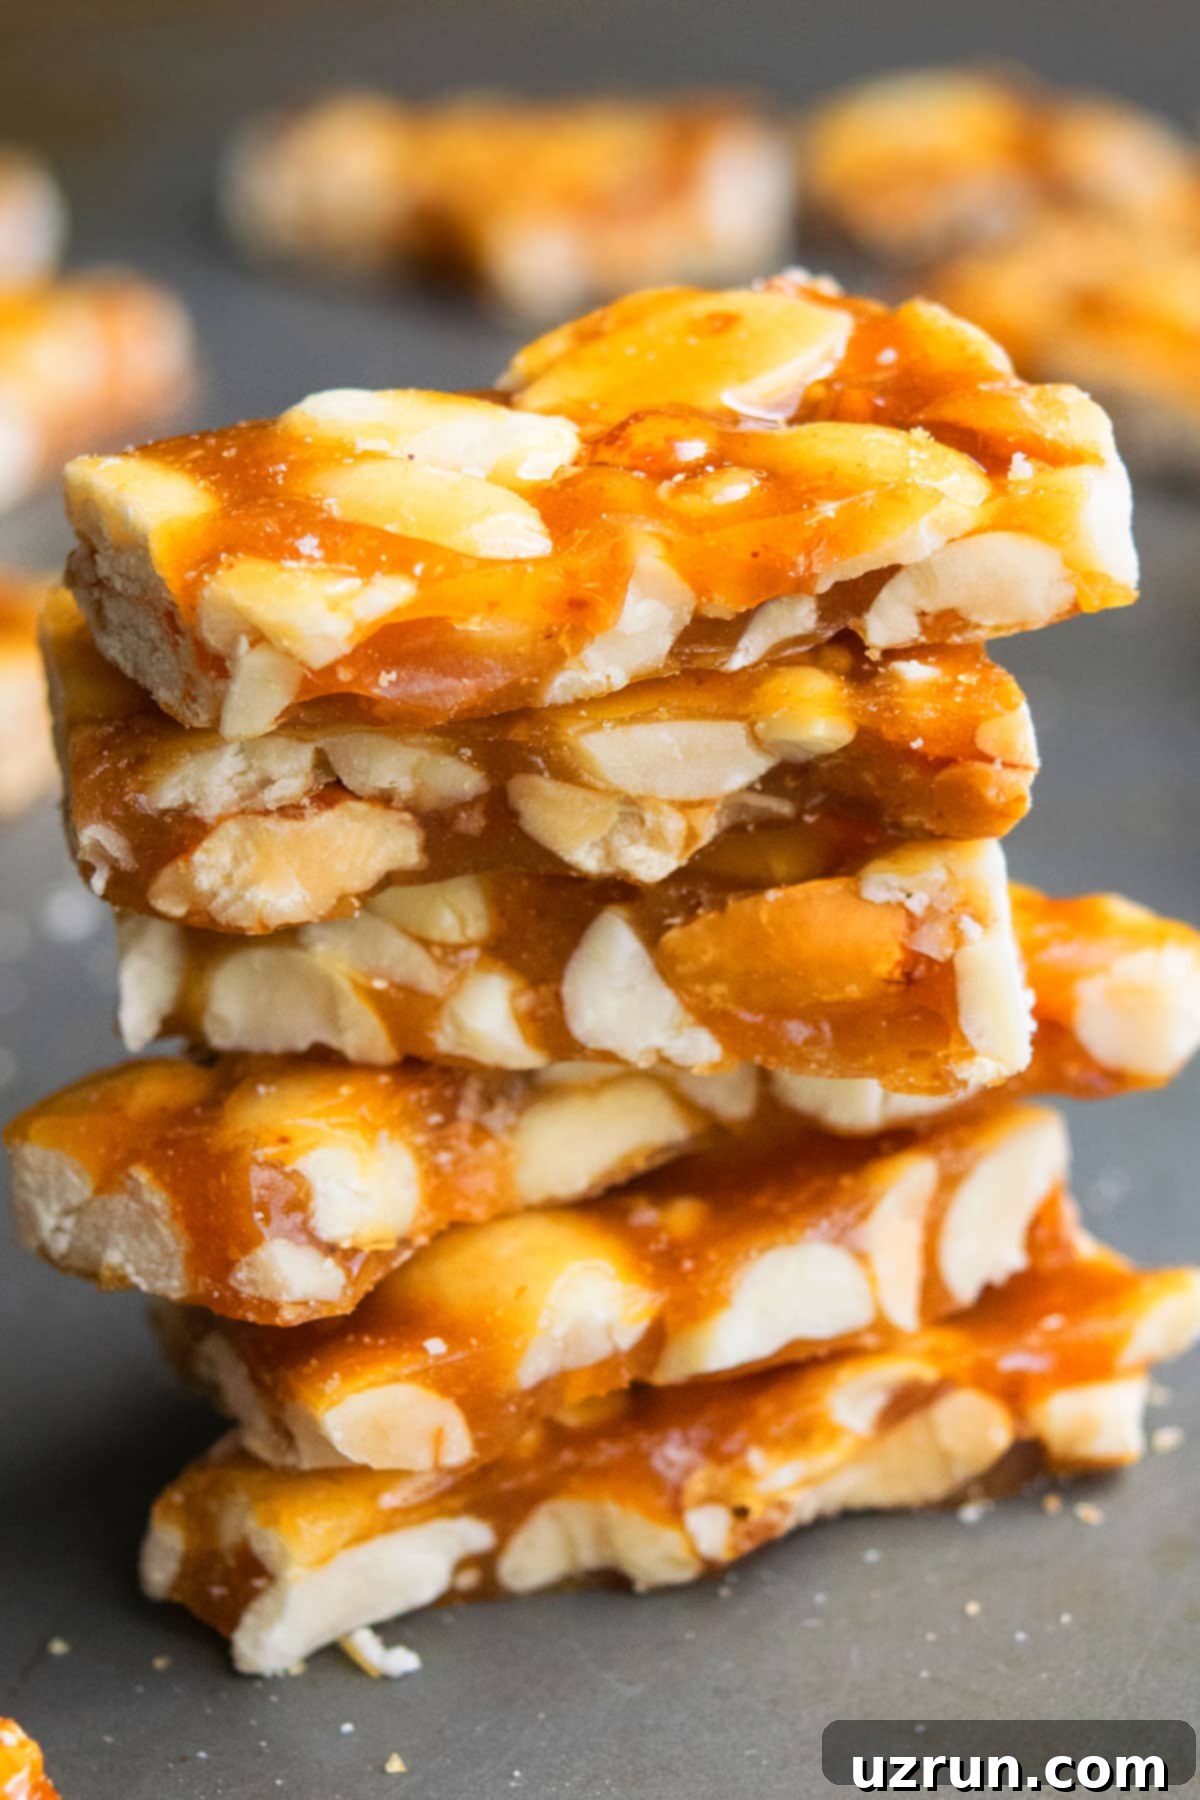
How to Make Old-Fashioned Easy Peanut Brittle from Scratch in the Microwave
Making homemade peanut brittle has never been simpler, thanks to the microwave method. Follow these straightforward steps for a delicious, crunchy candy:
- Combine sugar and corn syrup: In a microwave-safe glass bowl, mix the granulated sugar and light corn syrup thoroughly until well combined. The mixture will be quite stiff, but don’t worry, that’s perfectly normal.
- First microwave heating: Place the uncovered bowl in the microwave and heat on high power. This initial heating begins the caramelization process, and you’ll notice it starts to bubble vigorously.
- Incorporate peanuts and butter: Carefully remove the hot bowl from the microwave. Quickly stir in the roasted and salted peanuts along with the unsalted butter. It’s crucial to work fast here, as the mixture will start to cool and become harder to stir if you delay. Ensure everything is well combined.
- Second microwave heating: Return the bowl to the microwave and heat again on high power. Keep a very close eye on it during this stage; you’re looking for the mixture to transform into a beautiful medium-brown caramel shade. This is when the sugar reaches its “hard-crack” stage.
- Add vanilla and baking soda: Once the desired color is achieved, remove the bowl from the microwave. Immediately stir in the vanilla extract and baking soda. The mixture will bubble up significantly due to a chemical reaction – this is exactly what we want for that airy brittle texture! Mix quickly until fully incorporated.
- Pour and spread: Quickly pour the hot brittle mixture onto a prepared cookie tray. Make sure the tray is lined with parchment paper or lightly greased with oil to prevent sticking. Working swiftly, spread the mixture as evenly as possible to achieve a consistent thickness.
- Cool and harden: Allow the brittle to cool completely and harden at room temperature. Resist the urge to place it in the fridge or freezer, as this can affect its texture.
- Break and enjoy: Once fully cooled and firm (typically after about an hour), break the brittle into smaller, irregular pieces. Now it’s ready to be enjoyed or shared!
Essential Tips for Brittle Perfection
Achieving the perfect homemade peanut brittle is easy with these helpful tips and tricks. Following these guidelines will ensure a delicious, crunchy outcome every time, and help you avoid common pitfalls.
- Enjoy in moderation: While undeniably delicious, peanut brittle is a sweet treat. It’s not a health food, and like all candies, it should be enjoyed in balance with a varied diet. Savor each piece without guilt!
- Corn syrup is non-negotiable: Seriously, don’t even think about making this without corn syrup. It’s the secret weapon that prevents sugar crystallization, which would otherwise result in a grainy, rather than smooth and glassy, brittle. It’s crucial for both flavor and texture.
- Use a microwave-safe glass bowl: Safety first! The sugar mixture will become incredibly hot during the microwaving process. Plastic bowls can warp or even melt, potentially leaching chemicals into your food. Always opt for a sturdy, microwave-safe glass bowl.
- Work quickly between steps: Timing is everything when making brittle. The mixture cools and hardens rapidly, especially after adding the peanuts and butter. Be prepared to move swiftly between mixing, heating, and spreading to ensure a smooth, uniform candy.
- Baking soda, not baking powder: These two leavening agents are not interchangeable in this recipe. Baking soda creates the airy, porous texture characteristic of brittle by releasing carbon dioxide bubbles when it reacts with the hot sugar syrup. Baking powder contains additional acids that will give different, undesirable results.
- Ensure fresh baking soda: An old or expired batch of baking soda won’t provide the necessary chemical reaction, leading to brittle that’s too hard and dense. Always use fresh baking soda for the best, airy texture. You can test its freshness by mixing a little with vinegar; it should fizz vigorously.
- Granulated sugar is key: Stick to granulated sugar. Brown sugar contains molasses, which will alter the flavor profile and, more importantly, the final texture of your brittle, making it less crisp and more chewy.
- Patience during cooling: While it might seem to harden quickly, allow at least 30 minutes for the brittle to fully set. To be absolutely safe and ensure maximum crispness, I recommend leaving it untouched for a full hour at room temperature.
- Avoid chilling in the fridge or freezer: Do not attempt to speed up the cooling process by placing your brittle in the refrigerator or freezer. The moisture and humidity in these environments can cause the brittle to become sticky, chewy, and lose its desirable snap. Brittle is very sensitive to moisture.
- Microwave uncovered: When heating the mixture, ensure your bowl is uncovered. The sugar syrup needs space and air to bubble and cook properly. Covering it can trap steam, leading to an uneven cook or, in extreme cases, a messy overflow.
- Embrace the bubbles: When you add the baking soda and vanilla extract, the mixture will bubble up dramatically. This is a normal and essential chemical reaction that creates the brittle’s signature light and porous texture. Don’t be alarmed, just mix it quickly until everything is combined.
- Properly line or grease your tray: To prevent your brittle from sticking and making it difficult to break into pieces, ensure your baking tray is thoroughly lined with parchment paper or lightly greased with a neutral oil or non-stick spray.
- Spread evenly: After pouring the mixture onto the tray, spread it as evenly as possible. This ensures a consistent thickness throughout, so all pieces harden uniformly and have the same satisfying crunch.
- Oil your wooden spoon: When mixing the initial ingredients, spray your wooden spoon with a little oil spray. This simple trick makes stirring the sticky sugar and corn syrup mixture much easier and prevents excessive sticking to the spoon.
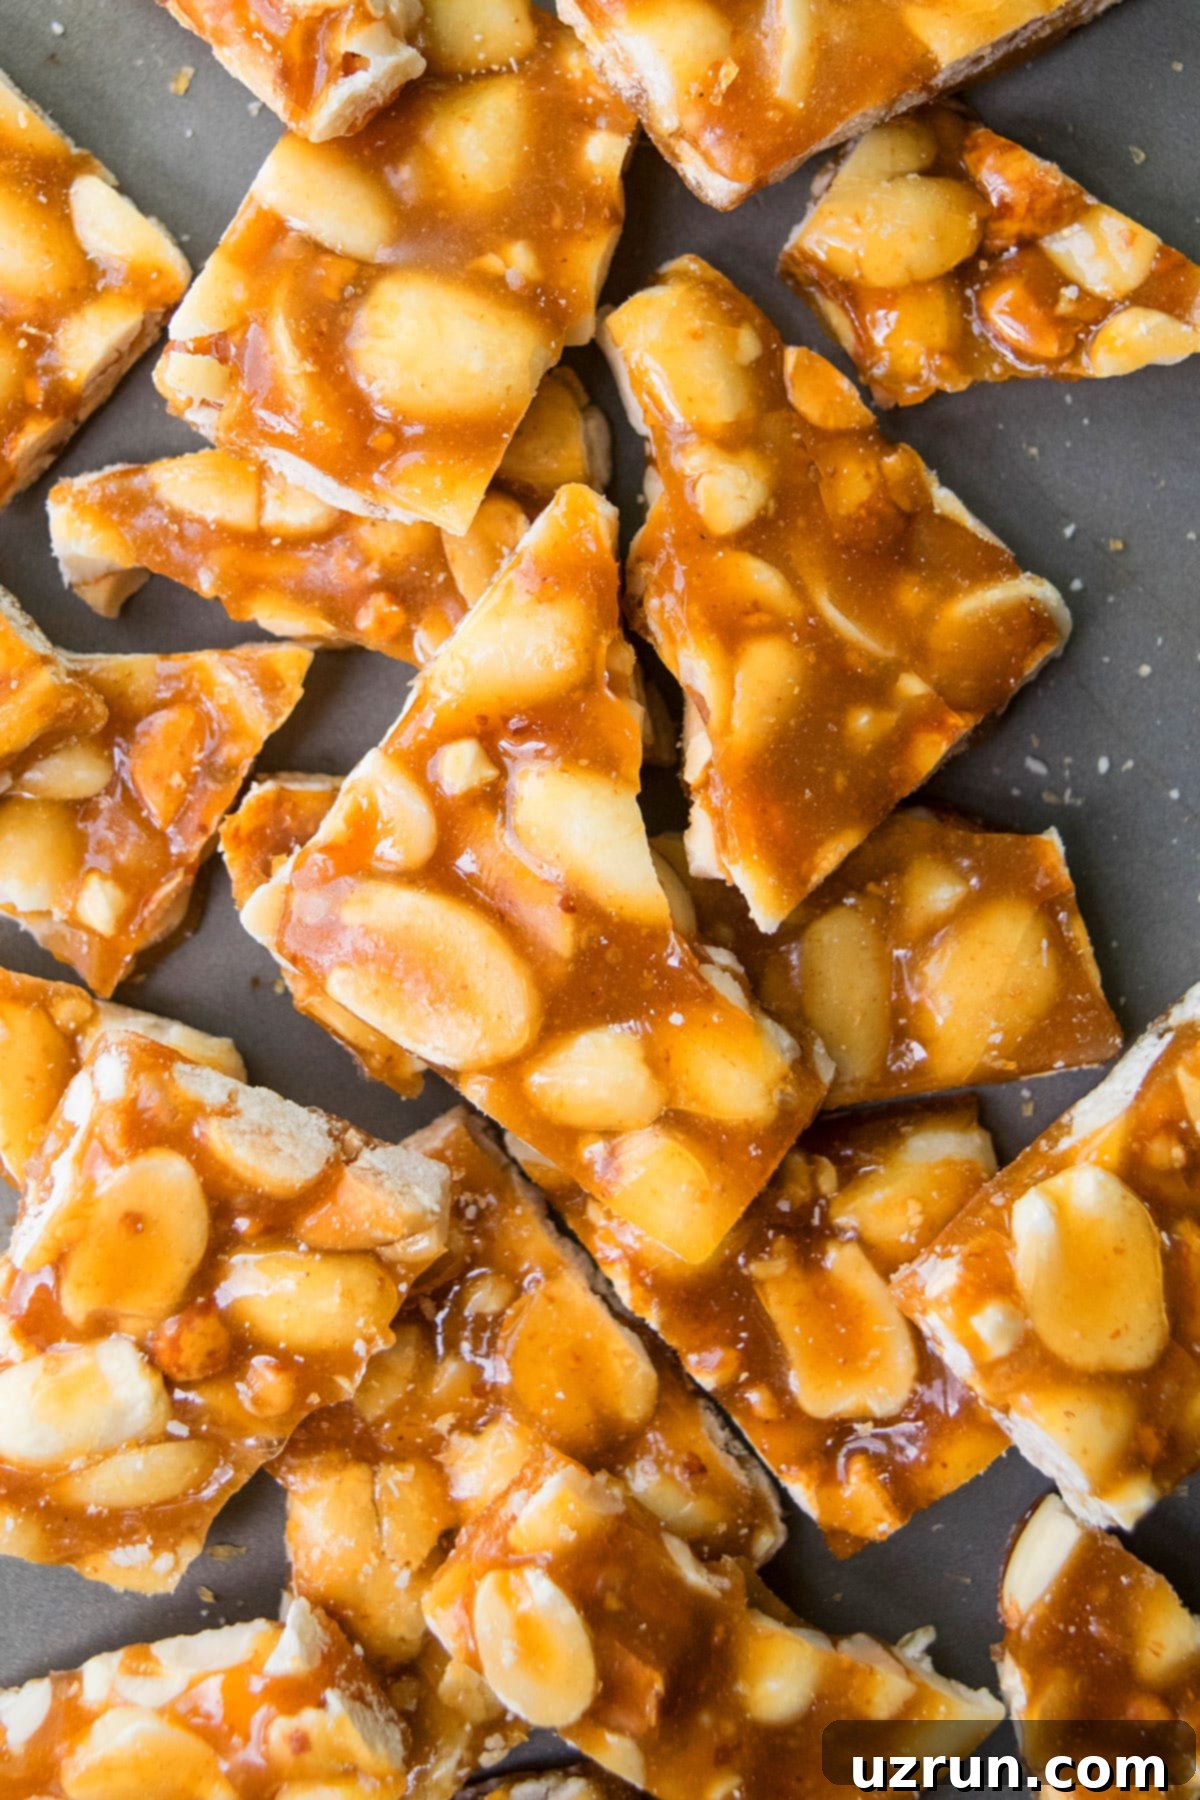
Recipe FAQs: Troubleshooting Common Brittle Issues
Even with an easy recipe, questions can arise. Here are answers to some of the most common issues people encounter when making microwave peanut brittle:
This is a very common issue, usually stemming from one of two reasons: either the ingredients were not measured properly (precision is key in candy making), or, more likely, the mixture wasn’t cooked long enough. The sugar needs to reach the “hard-crack” stage, which is crucial for it to become dry and break easily. If it’s removed from the microwave too early, it will remain soft and sticky.
If your brittle turns out excessively hard and dense, rather than light and airy, the primary culprits are usually related to the baking soda. Either your baking soda was old and expired, meaning it didn’t activate properly, or not enough baking soda was used in the first place. The baking soda is essential for creating those air bubbles that give brittle its delicate, porous structure.
A dark color indicates that the mixture was microwaved for too long and became over-cooked. Sugar burns quickly once it reaches a certain temperature, and this can impart a bitter, burnt taste to your brittle. Keep a very close eye on the color, especially during the second microwave interval.
Baking soda is a magical ingredient in peanut brittle! When you add it to the hot sugar syrup, it undergoes a chemical reaction, releasing tiny air bubbles. These bubbles get trapped in the rapidly cooling sugar, giving the brittle its characteristic airy, porous, and delicate texture. Without baking soda, the brittle would be a much harder, denser sheet of caramelized sugar.
This is the classic “cold water test” for candy making! Take a very small cup of cold water (ice water is best). Drop a tiny amount of the hot sugar mixture into the water. If it dissolves into the water, it’s not ready. If it forms a hard, brittle thread that snaps when bent, then it has reached the hard-crack stage (around 300-310°F or 149-154°C) and is ready.
Proper Storage for Lasting Freshness
Storing your homemade peanut brittle correctly is crucial to maintain its crispness and prevent it from becoming sticky. Brittle’s worst enemies are moisture and humidity, so keeping it dry is paramount.
- Make ahead: This is a fantastic make-ahead treat! You can prepare batches of peanut brittle up to 3-4 weeks in advance. To store, simply place the cooled, broken pieces in a covered box or an airtight container. Make sure to separate layers of brittle with wax paper to prevent them from sticking together. Always keep it away from any source of humidity.
- Room temperature storage: For day-to-day storage, keep the brittle pieces in an airtight container at room temperature. Again, use wax paper to create layers and prevent sticking. It’s essential to keep this container away from moisture, any sources of humidity (like open windows on a damp day), and even heat radiating from your stove, as warmth can soften it. Stored properly, it will retain its quality for up to 1 month.
- Refrigeration: This is generally not recommended. The refrigerator is a humid environment, and that moisture can seep into the brittle, causing it to absorb water and become sticky or chewy, losing its desirable crisp texture.
- Freezing: Similar to refrigeration, freezing is also not recommended. The extreme humidity and subsequent thawing process in the freezer can severely alter the brittle’s texture, making it unpleasantly sticky or, ironically, so brittle it shatters into overly hard shards that could be tough on your teeth. It’s best enjoyed and stored at room temperature.
More Candy Recipes to Satisfy Your Sweet Tooth
If you’ve enjoyed making this easy microwave peanut brittle, you might be interested in exploring other delicious homemade candy recipes:
- Candied Orange Peel and Slices
- Chocolate Chip Cookie Dough Bars
- Lemon Fudge (2 Ingredients)
- Chocolate Mint Truffles
- Red Velvet Truffles
- Peanut Butter Cookie Dough Bars (Eggless)
- Chocolate Peanut Butter Bark
- Fantasy Fudge (Marshmallow Creme)
Recipe
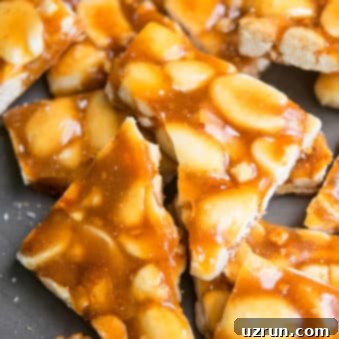
Easy Peanut Brittle (Microwave)
Abeer Rizvi
Pin Recipe
Want to Save This Recipe?
Enter your email & I’ll send it to your inbox. Plus, get great new recipes from me every week!
By submitting this form, you consent to receive emails from CakeWhiz
Ingredients
- 1 cup Granulated sugar
- ½ cup Corn syrup Light
- 1.5 cups Peanuts Roasted and salted
- 1 tablespoon Butter Unsalted
- 1 teaspoon Baking soda
- 1 teaspoon Vanilla extract
Instructions
-
Lightly spray a wooden spoon with an oil spray. This will help prevent the sticky mixture from adhering to it during stirring.
-
In a large, microwave-safe glass bowl (avoid plastic, as it gets extremely hot), combine the granulated sugar and corn syrup. Stir diligently with your oiled wooden spoon until these two ingredients are as well combined as possible. The mixture will be quite stiff and somewhat challenging to stir, which is normal.
-
Place the uncovered bowl into the microwave. Heat on high power for 5 minutes. During this time, the mixture will begin to heat up, melt, and start bubbling vigorously.
-
Carefully remove the hot bowl from the microwave using oven mitts. Immediately add the roasted and salted peanuts, along with the unsalted butter. Mix everything together quickly and thoroughly. Speed is important here, as the mixture will rapidly begin to cool and thicken, making it much harder to incorporate the ingredients evenly.
-
Return the bowl to the microwave. Heat again on high power for 2 to 4 minutes. This is a critical stage, so keep a very close watch after the 2-minute mark. You are looking for the mixture to reach a beautiful medium-brown caramel color. This signifies that the sugar has reached the “hard-crack” stage, essential for brittle’s crunch.
-
Once the desired color is achieved, remove the bowl from the microwave for the final time. Immediately stir in the baking soda and vanilla extract. The mixture will aggressively bubble and foam – do not be alarmed, this is a normal and vital chemical reaction that gives the brittle its unique airy texture. Mix quickly until all ingredients are fully combined and the mixture is uniformly bubbly.
-
Without delay, pour this hot, bubbly mixture onto your prepared baking tray. Ensure your tray is either lined with parchment paper or lightly greased with oil to prevent sticking. Working very quickly, use your oiled spoon or a heat-safe spatula to spread the mixture as evenly and thinly as you can across the tray. A consistent thickness helps ensure even cooling and texture.
-
Allow the brittle to cool completely and set at room temperature. This typically takes about 1 hour. It’s crucial not to rush this process by placing it in the fridge or freezer, as this can introduce moisture and make the brittle sticky.
-
Once fully hardened, break the brittle into smaller, irregular pieces using your hands or a blunt object. Now your homemade microwave peanut brittle is ready to be enjoyed!
Notes
- Feel free to replace peanuts with any other nuts of your choice, such as almonds, cashews, or pecans, for a delightful variation.
- Always use baking soda, not baking powder, for this recipe. Ensure your baking soda is fresh and not expired to achieve the best airy, porous texture.
- For safety, always use a sturdy, microwave-safe glass bowl (never plastic!) because the sugar mixture will reach extremely high temperatures.
- Do not attempt to cool the brittle in the fridge or freezer. Rapid cooling and the high humidity can make the brittle sticky and ruin its crisp texture. Let it set at room temperature.
- For additional insights, creative ideas, and detailed troubleshooting, refer to the “Variations” and “Tips for Easy Peanut Brittle Recipe” sections above.
- Leftover brittle can be stored beautifully at room temperature for up to 1 month. Keep the pieces in an airtight container with layers separated by wax paper to prevent sticking. Crucially, keep it away from any moisture or humidity!
Nutrition
Carbohydrates: 12g
Protein: 1g
Fat: 4g
Cholesterol: 1mg
Sodium: 50mg
Potassium: 54mg
Sugar: 11g
Vitamin A: 10IU
Calcium: 8mg
Iron: 0.3mg
An automated tool is used to calculate the nutritional information. As such, I cannot guarantee the accuracy of the nutritional information provided for any recipe on this site.
