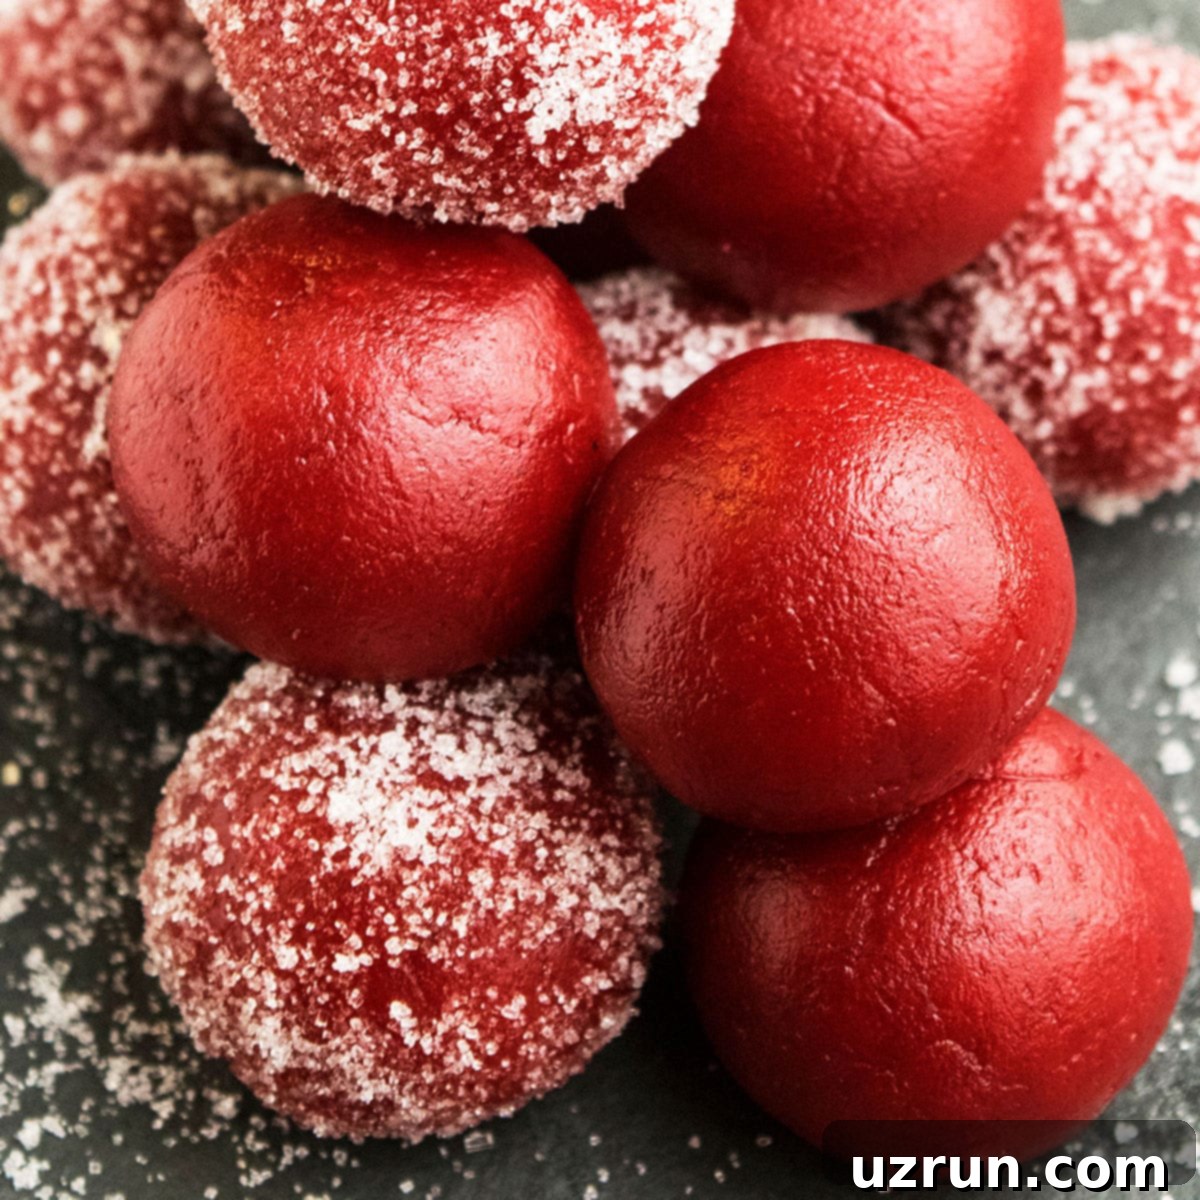
Easy No-Bake Red Velvet Truffles with Cake Mix: Your Go-To Dessert!
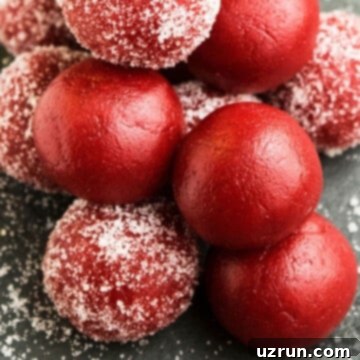
Indulge in the simplest, most delightful treat with this quick and easy no-bake red velvet truffles recipe. Also known as cake truffles, these irresistible bite-sized desserts are made effortlessly with a boxed cake mix and luscious cream cheese, delivering a rich, creamy texture that melts in your mouth. Perfect for satisfying sweet cravings or impressing guests with minimal effort!
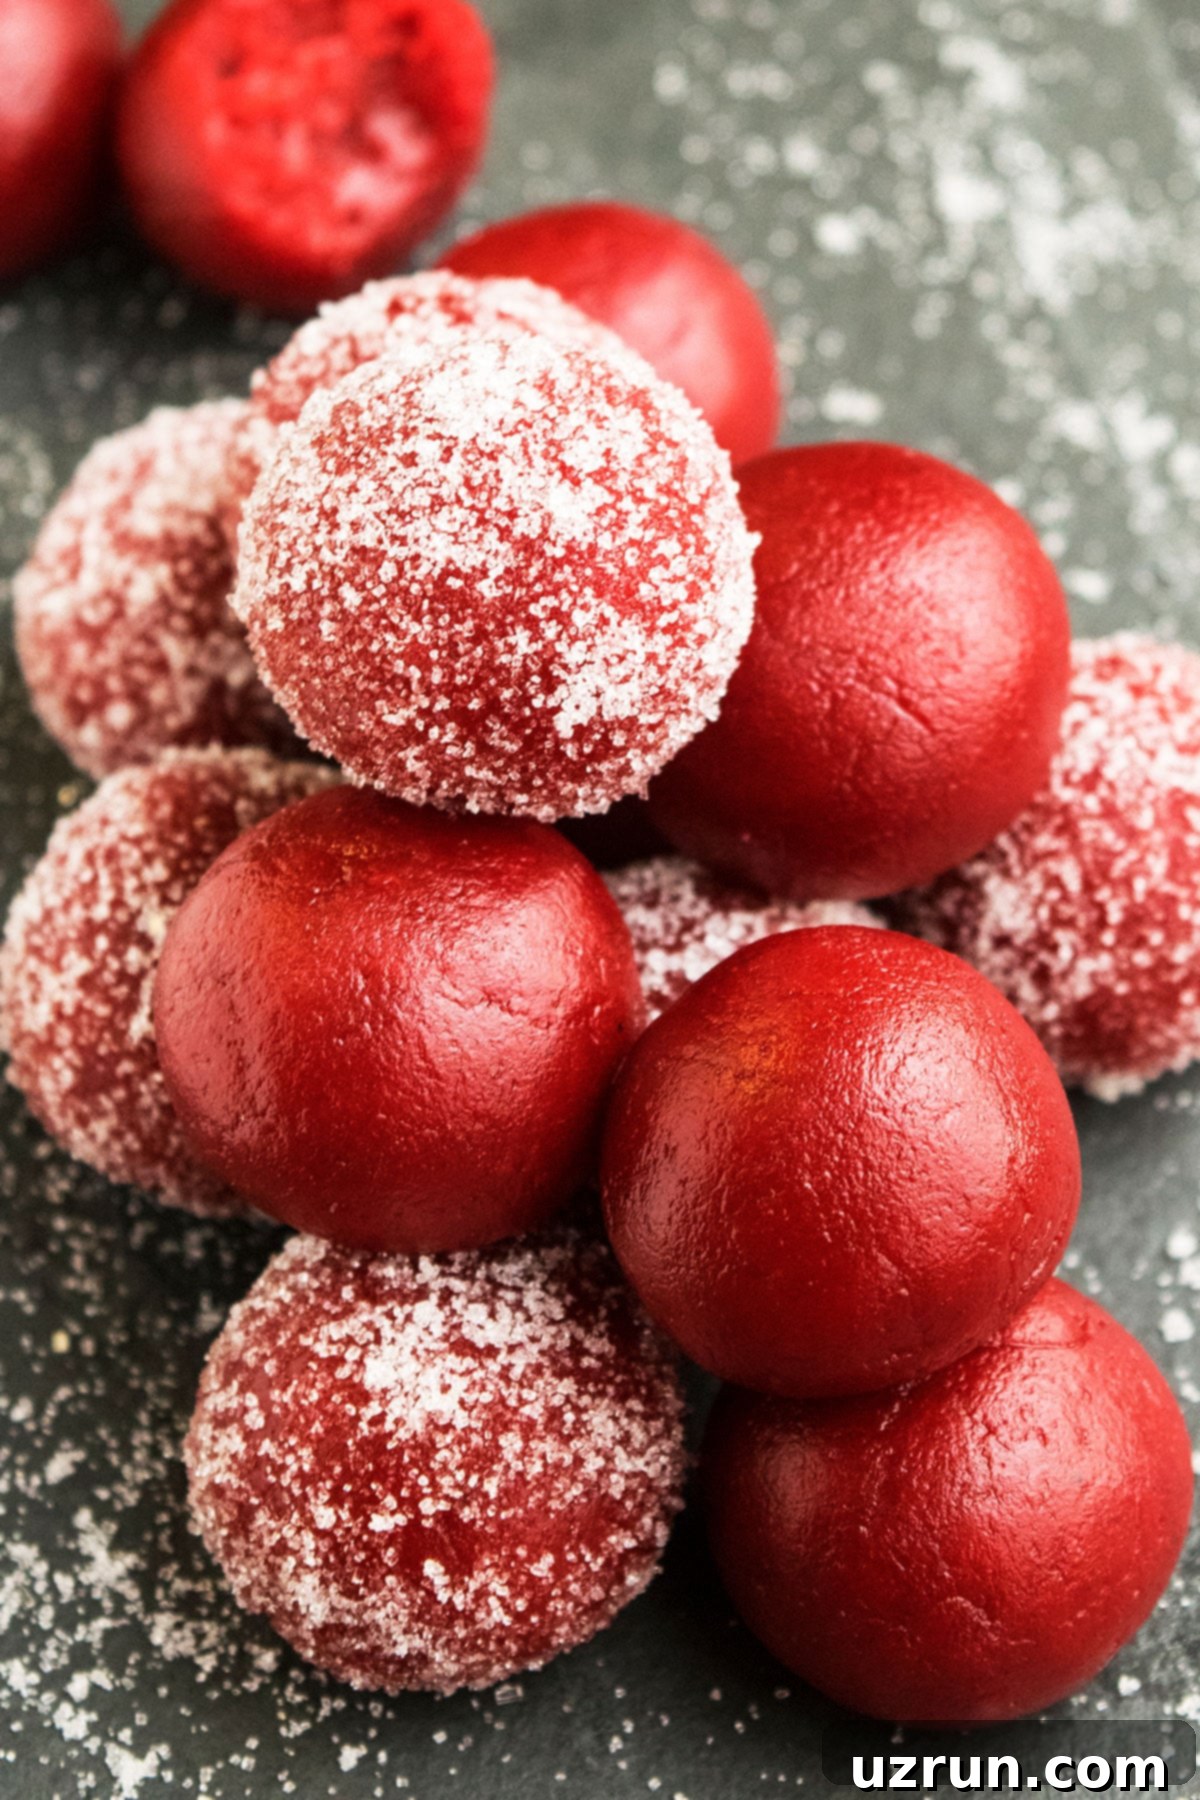
If you’re a fan of the classic Moist Red Velvet Cake, or if you’ve enjoyed my Chocolate Chip Cookie Dough Truffles (Eggless) and the elegant White Chocolate Truffles Recipe, then prepare to fall in love with these vibrant red velvet candies. They are the ultimate solution for a last-minute Valentine’s Day or Mother’s Day dessert because they require absolutely no baking. With just a handful of simple ingredients, you can whip up a batch in less than 30 minutes. The stunning color and unforgettable taste make them a showstopper every time, proving that delicious desserts don’t always need hours in the kitchen. Dive into the world of effortless elegance with these homemade red velvet cake balls!
These truffles aren’t just for holidays; they’re perfect for potlucks, parties, or simply a sweet treat to enjoy with your afternoon coffee. The vibrant red hue, characteristic of red velvet, combined with the smooth, tangy cream cheese base, creates a flavor profile that is both sophisticated and comforting. Their small size makes them ideal for portion control, though you might find it hard to stop at just one! Whether you’re a seasoned baker or a kitchen novice, this recipe is designed to be foolproof, ensuring a perfectly delicious result every single time. Get ready to impress with minimal fuss!
[feast_advanced_jump_to]
Key Ingredients for Perfect No-Bake Truffles
Crafting these delectable red velvet truffles requires only a few essential ingredients, making them incredibly accessible and convenient. Each component plays a vital role in achieving that signature taste and texture. Let’s take a closer look at what you’ll need:
- Red Velvet Cake Mix: This is the star of our no-bake recipe! Using a boxed red velvet cake mix streamlines the process significantly. While red velvet is highly recommended for its classic flavor and stunning color, you can experiment with other cake mix flavors for different variations (though the “red velvet” aspect would change). Ensure you’re using the dry mix straight from the box, as we won’t be baking it.
- Cream Cheese: The binder and the source of that irresistible tang and creamy texture. Opt for full-fat cream cheese, softened to room temperature, as it provides the richest flavor and the ideal consistency for forming the truffle balls. Low-fat alternatives may result in a less luxurious texture.
- Toppings: These are crucial for adding an extra layer of flavor, a delightful textural contrast, and visual appeal. From simple powdered sugar to elaborate sprinkles, your choice of topping can transform the truffles into a personalized masterpiece. We’ll explore a wide range of ideas shortly!
How to Make Easy No-Bake Red Velvet Truffles with Cake Mix
Making these no-bake red velvet truffles is incredibly straightforward, involving just a few simple steps. You’ll be amazed at how quickly you can create such an elegant dessert:
- Mix Ingredients: Begin by combining the dry red velvet cake mix powder with powdered sugar and softened cream cheese in a large mixing bowl. It’s best to use an electric mixer to ensure everything is thoroughly incorporated and to achieve a smooth, dough-like consistency. Mix on low speed initially to prevent the dry mix from flying out, then increase to medium until a cohesive ball of dough forms.
- Form Balls: Once your truffle dough is ready, scoop out small, equal portions. A small cookie scoop (about 1 tablespoon in size) works wonderfully for ensuring uniformity. Roll each portion between your palms to create perfectly round balls. Aim for a consistent size for even presentation.
- Roll in Topping: The final touch! Roll your freshly formed truffle balls in your chosen topping. This step allows for immense creativity, as you can select toppings that complement the red velvet flavor or simply add a pop of color and texture. Once coated, your delightful truffles are ready to be enjoyed immediately or chilled for later!
Remember, patience and a little chilling time can elevate your truffles from good to exceptional. Don’t rush the process, and feel free to get creative with your toppings and fillings.
Creative Truffle Topping and Coating Ideas
The beauty of these red velvet truffles lies not only in their ease of preparation but also in the endless possibilities for customization, especially when it comes to coatings. Here are some fantastic ideas to elevate your truffles, adding an extra layer of flavor, texture, and visual appeal:
- Chopped Nuts: For a delightful crunch and earthy flavor, roll your truffles in finely chopped toasted pecans, walnuts, cashews, almonds, hazelnuts, pistachios, or peanuts. Toasting the nuts beforehand brings out their natural aroma and deepens their flavor.
- Dried Fruit: Add a chewy texture and a burst of tart-sweetness with finely chopped dried cranberries or cherries. Their vibrant colors also provide a lovely contrast to the red velvet.
- Chocolate: A classic pairing! Dust your truffles with high-quality cocoa powder for an intense chocolate hit, or opt for delicate chocolate shavings for an elegant look. For a decadent finish, dip them entirely in melted white, milk, or dark chocolate, letting the excess drip off before setting.
- Sugar: Keep it simple yet effective with powdered sugar for a delicate, melt-in-your-mouth coating, or use coarse sanding sugar for a beautiful sparkle and subtle crunch.
- Sprinkles: Unleash your inner child! Classic jimmies add a fun texture, while themed sprinkles (like these Homemade Confetti Sprinkles or holiday-specific designs) can instantly adapt your truffles for any celebration.
- Freeze-Dried Fruit Powder: For an intense, natural fruit flavor and a pop of color, roll truffles in freeze-dried strawberry or raspberry powder. This offers a unique tang that complements the cream cheese beautifully.
- Shredded Coconut: Whether sweetened, unsweetened, or desiccated, shredded coconut provides a tropical flavor and a lovely textural coating. Toast it lightly for an enhanced nutty aroma.
- Peppermint: Perfect for the festive season! Crush candy canes or round peppermints into fine pieces for a refreshing, minty crunch that’s both invigorating and delicious.
- Crushed Cookies: Create a delicious crumb coating using crushed Oreos (especially red velvet Oreos if you can find them!), graham crackers, or your favorite chocolate cookies for an added layer of flavor and texture.
- Mini Chocolate Chips: A scattering of mini white, dark, or semisweet chocolate chips adds a subtle chocolate flavor and a pleasing visual texture without overpowering the truffle.
Delightful Truffle Filling Ideas
While the truffles are delicious on their own, adding a small surprise in the center can elevate them to an even more exciting level. These fillings offer a delightful contrast in texture and an unexpected burst of flavor. Remember, when adding fillings, a single small piece is usually enough to maintain the truffle’s integrity and provide that “surprise” element.
- Nuts: A single whole almond, hazelnut, or pistachio tucked into the center provides a delightful hidden crunch. It’s a subtle way to introduce a different texture and flavor.
- Fruit: For a fresh and juicy surprise, place a fresh raspberry or a sweet maraschino cherry (patted dry) in the middle of each truffle. The burst of fruitiness pairs wonderfully with the red velvet.
- Marshmallow: Mini marshmallows are ideal for this. Their soft, chewy texture adds a sweet, fluffy core. If you only have larger marshmallows, simply cut them into mini pieces.
- Mini Cookie: Imagine biting into a truffle and finding a tiny Oreo, Chips Ahoy, or Nilla wafer inside! These mini cookies provide a fantastic textural contrast and an extra layer of cookie flavor.
- Chopped Pretzels: For those who love a sweet and salty combination, a small piece of chopped pretzel in the center offers a wonderful crunch and savory balance to the sweetness of the truffle.
- Chopped Up Candy Bars: Turn your truffles into a treasure trove! A small piece of a Twix, Snickers, or Kit Kat bar creates a fun and unexpected burst of caramel, chocolate, or wafer goodness.
- Coffee Bean: For the coffee lovers, a whole coffee or espresso bean can create a sophisticated mocha-flavored truffle with a subtle bitter note that complements the sweetness.
- Leftover Brownie: If you have any brownie scraps, a tiny piece can be incorporated into the center for a double-chocolate delight and an even fudgier interior.
- Cookie Dough: For an ultimate indulgence, use a small amount of eggless cookie dough (like this Chocolate Chip Cookie Dough Truffles (Eggless)) as a soft, chewy filling. Ensure it’s an eggless version for safe consumption.
- M&M’s: A plain, peanut, caramel, or even a brownie M&M makes for a colorful and satisfying chocolatey crunch inside each truffle.
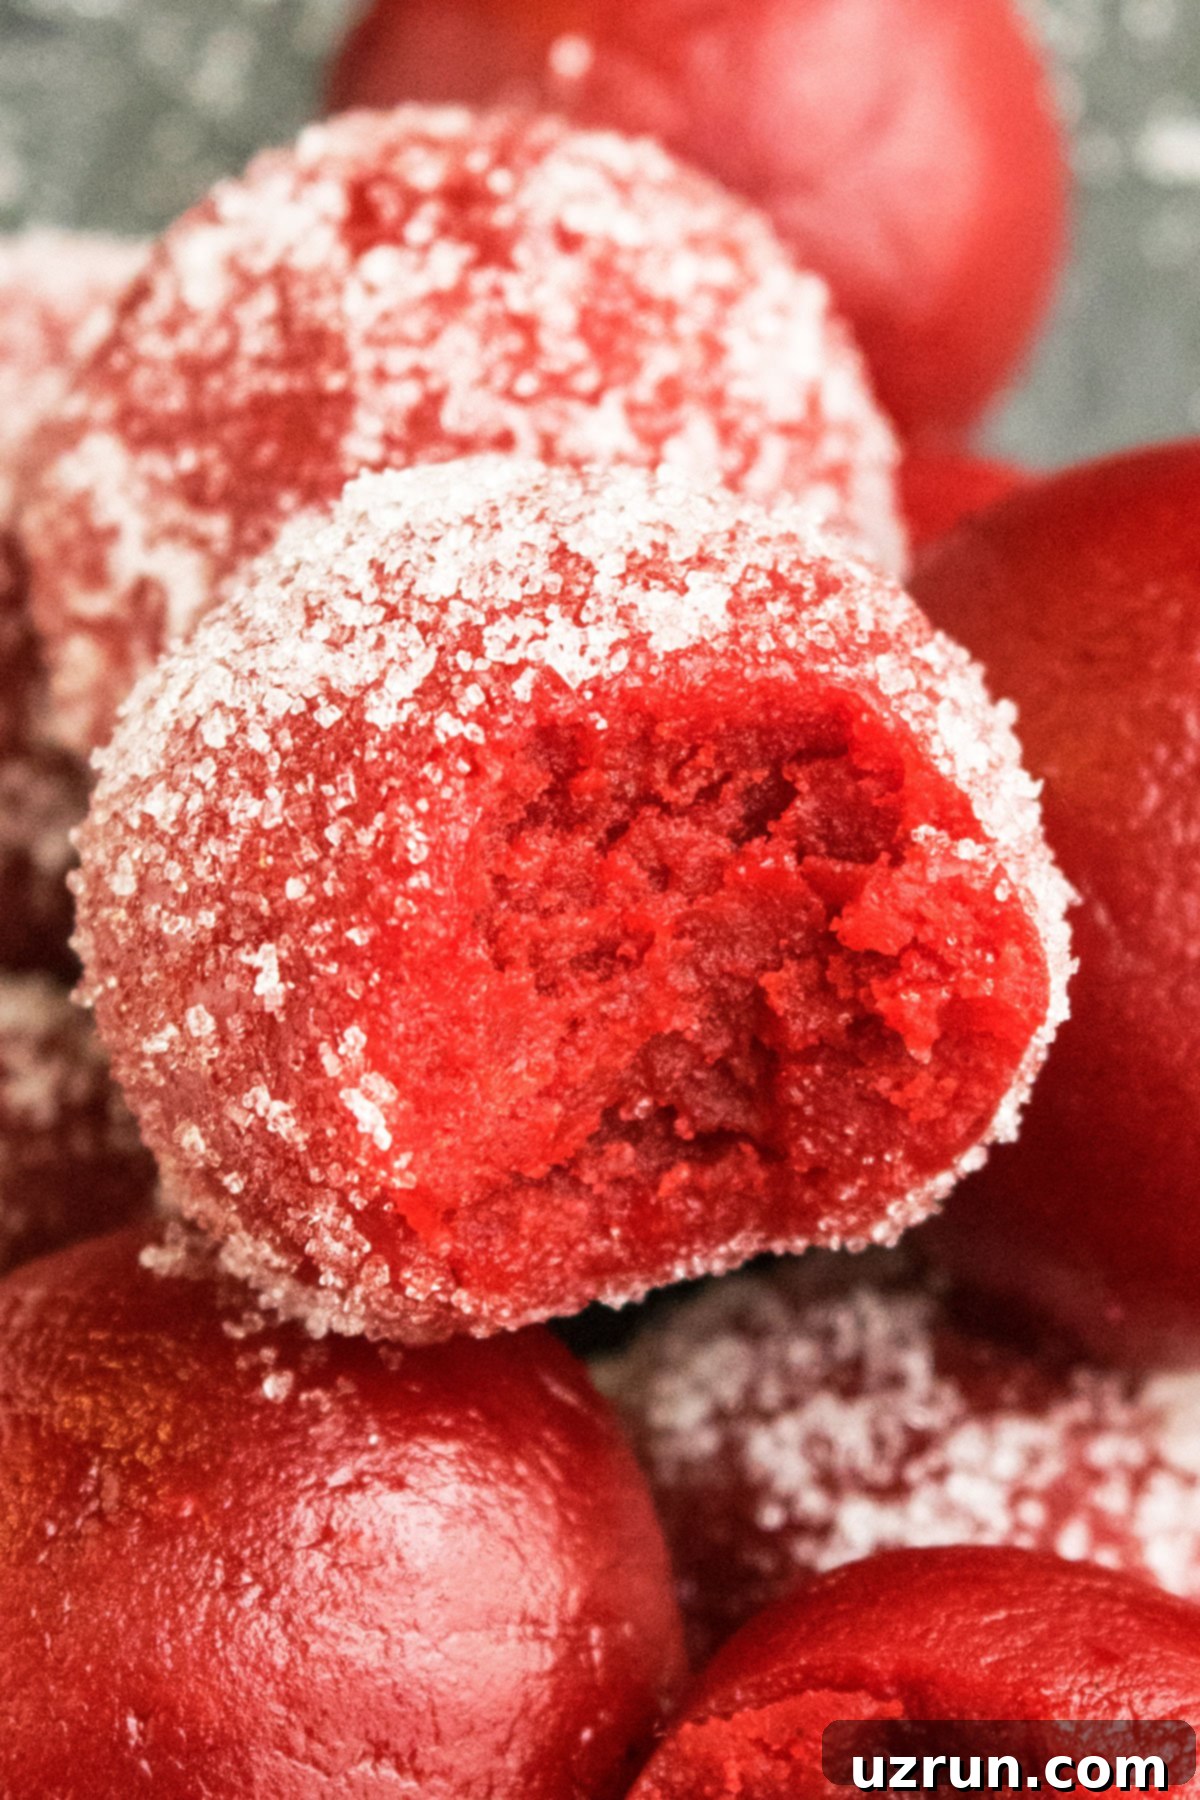
Exciting Red Velvet Truffle Variations to Try
This basic no-bake red velvet truffle recipe is incredibly versatile, offering a fantastic base for numerous creative variations. Don’t be afraid to experiment and personalize your truffles to suit any taste or occasion:
- Red Velvet Oreo Balls: This seasonal delight is a must-try! When red velvet Oreo cookies are available (they’re often seasonal), crush them finely in a food processor until they resemble fine crumbs. Mix these crumbs with cream cheese frosting until you achieve a smooth, dough-like consistency. Roll the mixture into small balls, chill them thoroughly, and then dip them in melted white or dark chocolate for an irresistible treat. This method is also a wonderful way to make classic Oreo Truffles.
- Red Cake Pops: Transform your truffle mixture into festive cake pops! Refer to my detailed How to Make Cake Pops and Cake Balls guide for comprehensive instructions. First, prepare the cake balls as described in this recipe. Place them on a cookie tray lined with wax paper. Dip the end of a lollipop stick into melted chocolate (this acts as an edible glue) and then gently push it into each cake ball. Freeze the assembled pops for about 30 minutes to ensure they become firm. Once firm, dip each pop into your choice of melted chocolate, allowing any excess to drip off. You can then stand them upright in a Styrofoam cube or lay them on wax paper until the chocolate sets. These are fantastic for parties and celebrations!
- Use a Cream Cheese Alternative: While cream cheese provides a classic flavor, you can certainly experiment with other frosting bases for unique results. Consider using my creamy Sour Cream Frosting (Vanilla) for a slightly tangier and lighter truffle, or indulge in the silky smoothness of Swiss Meringue Buttercream Frosting (SMBC). For a nutty twist, my Almond Buttercream Frosting would also work beautifully. Each alternative will impart its distinct flavor and texture, allowing you to get truly creative with your truffle creations.
- Utilize Leftover Red Velvet Cake: If you happen to have baked red velvet cake scraps or crumbs, this is an excellent way to use them up! Instead of dry cake mix, crumble leftover red velvet cake finely and mix it with a small amount of cream cheese frosting (or any preferred frosting) until a moist, pliable dough forms. This method results in a truffle with a slightly different, more cake-like texture compared to the cake mix version. It’s a delicious and resourceful approach to reducing food waste while still enjoying these delightful candies.
Expert Tips and Techniques for Flawless Truffles
Achieving perfect red velvet truffles is easy, but a few key tips and techniques can make all the difference, ensuring your truffles are consistently delicious and beautifully presented:
- Always Use Full-Fat Cream Cheese: This is a non-negotiable for the best results. Full-fat cream cheese is crucial because it contributes significantly to the truffles’ rich, creamy texture and deep, tangy flavor. Lower-fat versions may result in a stiffer, less luxurious dough and a compromised taste.
- Chill the Dough for at Least 30 Minutes: Before you even start shaping, it’s highly recommended to chill your prepared dough in the refrigerator for at least 30 minutes. This essential step prevents the dough from becoming too soft, sticky, and difficult to form into neat, round balls. A chilled dough is much easier to work with and holds its shape better.
- What to Do if the Mixture is Crumbly?: Sometimes, depending on the cake mix or cream cheese brand, your mixture might turn out a bit too dry and crumbly. Don’t worry! Simply add milk, a little at a time (start with 1 tablespoon), and mix until the dough reaches a consistency that is easy to roll into smooth balls. Avoid adding too much at once, as you can always add more but can’t easily remove it.
- Chill Truffles Before Dipping in Melted Chocolate: If you plan to coat your truffles in melted chocolate, it’s absolutely vital to chill them in the freezer for about 30 minutes beforehand. This ensures the truffles are firm and cold, which helps them hold their shape and prevents them from falling apart when dipped into the warm chocolate. It also allows the chocolate coating to set quickly and smoothly.
- Ensure Ingredients are Mixed Properly: Take your time to thoroughly mix all the ingredients. Proper mixing guarantees that there are no dry lumps of cake mix or streaks of unmixed cream cheese, resulting in a perfectly smooth, uniform dough. This ensures a consistent texture and flavor throughout all your truffles.
- How Many Truffles Will This Recipe Yield?: From this recipe, you can expect to make approximately 35 truffles. However, the exact number will entirely depend on the size of the balls you choose to make. For fewer, larger truffles, scoop more dough per ball. For a greater quantity of smaller, bite-sized treats, make your balls smaller.
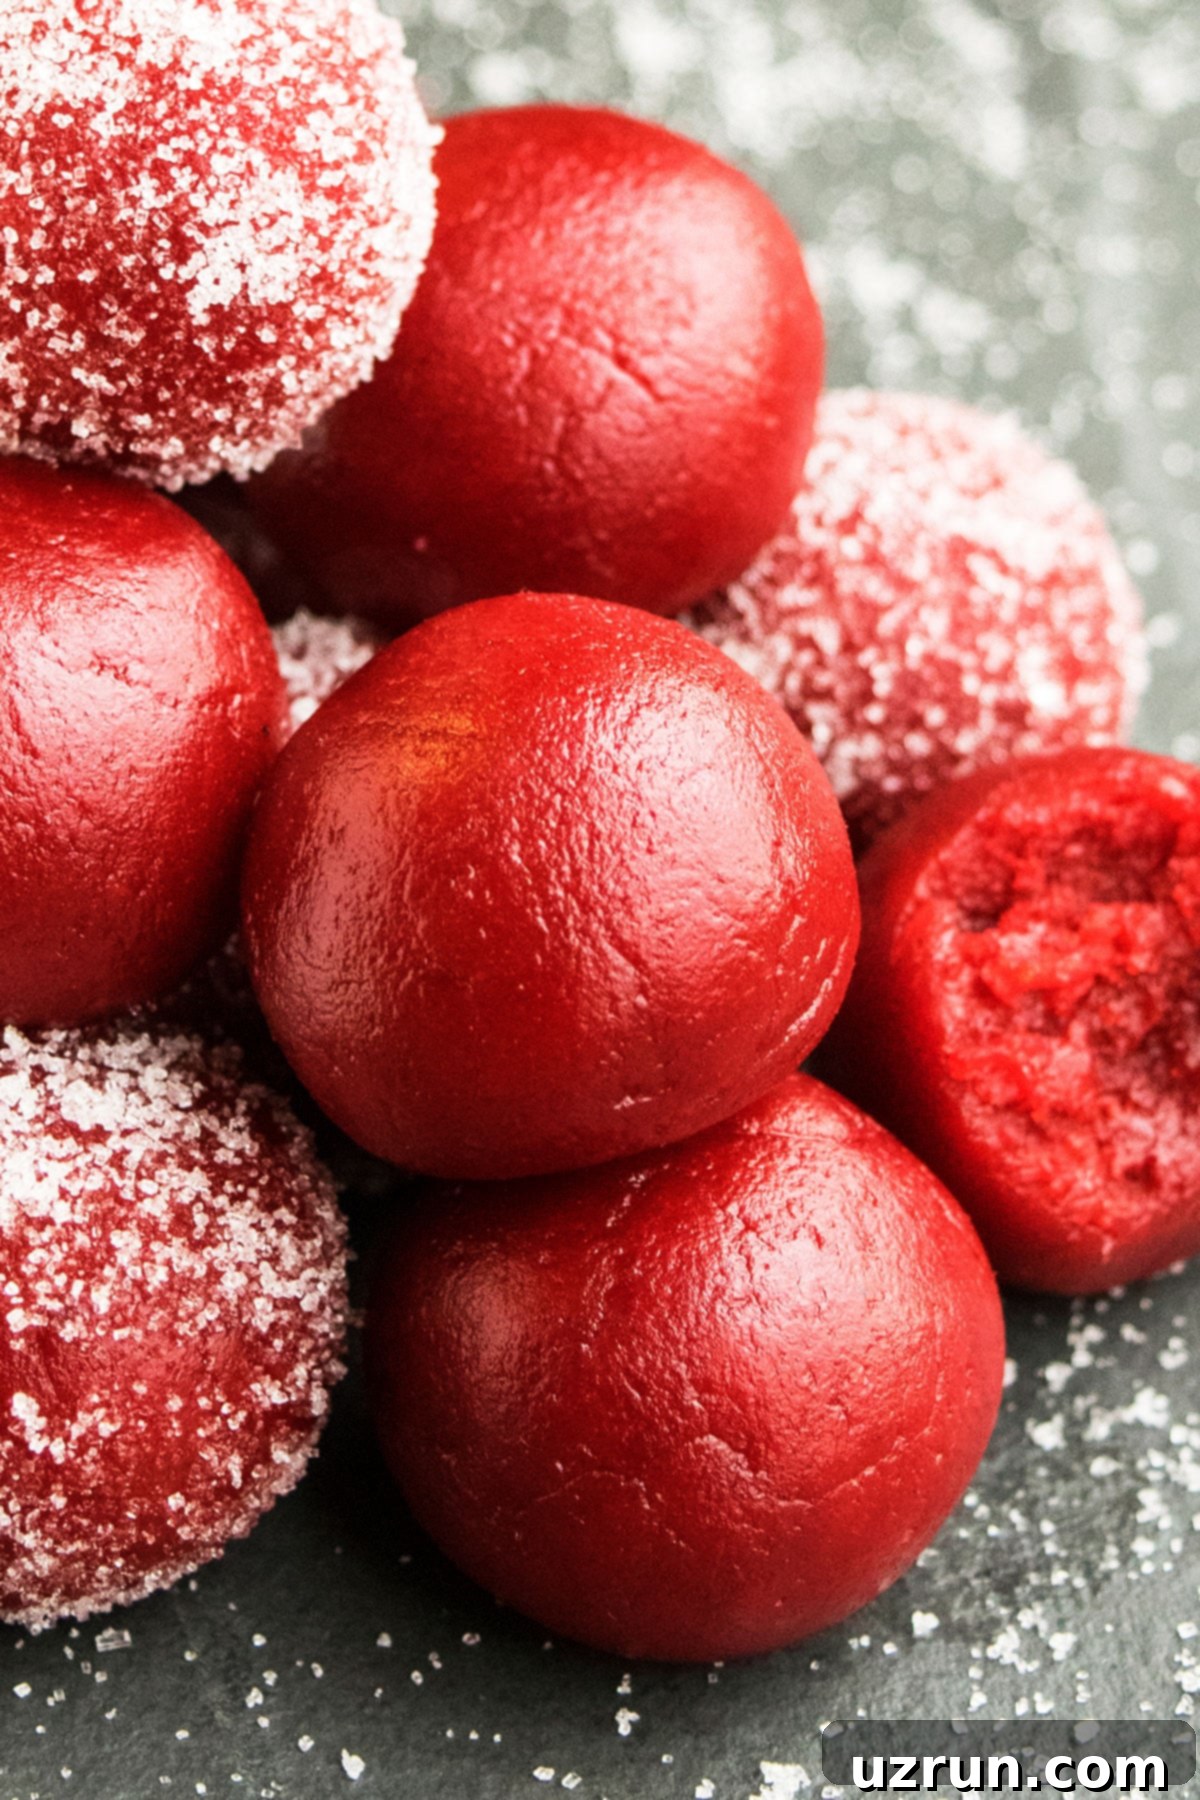
Red Velvet Truffle Recipe FAQs
Cake truffles are delightful, bite-sized dessert balls. They are incredibly versatile and can be made in two primary ways: either with raw, dry cake mix combined with a binder like cream cheese (as in this no-bake recipe), or by mixing baked cake scraps and crumbs with frosting. After the ingredients are thoroughly mixed and formed into small balls, they are typically dipped in melted chocolate or rolled in various toppings for an extra layer of flavor and texture. They offer all the deliciousness of cake in a convenient, portable form.
While the risks associated with consuming raw flour or dry cake mix are generally considered low, some people prefer to take an extra precaution, especially when making no-bake treats. To heat treat your cake mix powder, simply spread it thinly and evenly on a baking sheet. Bake it in a preheated oven at 350°F (175°C) for approximately 5 minutes. This brief heat exposure is enough to neutralize any potential bacteria without toasting the flour. Allow the cake mix to cool completely before incorporating it into your truffle mixture.
Storage Guidelines for Homemade Truffles
Proper storage is key to keeping your homemade red velvet truffles fresh and delicious. Follow these simple guidelines:
- Refrigerate: Store your truffles in a sealed, airtight container in the refrigerator for up to 3 days. This maintains their firm texture and prevents them from spoiling.
- Freeze: Freezing is generally not recommended for these specific truffles. The texture of the cream cheese base can change upon thawing, potentially becoming grainy or watery, which detracts from their smooth, creamy appeal.
- Make Ahead: These truffles are an excellent make-ahead dessert! You can easily prepare them 1-2 days in advance and store them in an airtight container in the refrigerator. This allows them to firm up perfectly and frees up your time on the day you plan to serve them.
More Irresistible No-Bake Candy Recipes
If you’ve enjoyed the simplicity and deliciousness of these no-bake red velvet truffles, you’ll love exploring these other effortless candy creations that require no oven time:
- Cake Truffles (With Cake Mix): Discover more easy and versatile cake truffle creations using various cake mix flavors, perfect for any occasion.
- Easy Pumpkin Truffles: A seasonal delight, these pumpkin truffles capture the cozy flavors of autumn in a delicious, bite-sized form.
- Chocolate Mint Truffles: Indulge in the refreshing combination of rich chocolate and cool mint with these elegant and simple truffles.
- Chocolate Rum Balls (No Bake): A classic adult treat, these no-bake rum balls are packed with flavor and perfect for festive gatherings.
Recipe
Red Velvet Truffles (With Cake Mix)
Abeer Rizvi
Pin Recipe
Want to Save This Recipe?
Enter your email & I’ll send it to your inbox. Plus, get great new recipes from me every week!
By submitting this form, you consent to receive emails from CakeWhiz
Ingredients
- 1 box Red velvet cake mix
- 1 cup Powdered sugar
- 8 oz Cream cheese Full fat, softened
- 1-4 tablespoon Milk As needed, for consistency
- 1 cup Toppings Such as granulated sugar, sanding sugar, powdered sugar, sprinkles, chopped nuts, shredded coconut, melted white chocolate, etc.
Instructions
-
In a large mixing bowl, add the dry red velvet cake mix powder, powdered sugar, and softened cream cheese. Mix thoroughly with an electric mixer or by hand until a uniform, dough-like ball forms.
-
Tip: If the dough feels too crumbly or dry, add milk one tablespoon at a time until it becomes pliable and easy to roll into balls. This ensures a smooth consistency.
-
Scoop out small, even portions of the dough (a small cookie scoop is ideal) and roll them between your palms to form neat, little balls. For best results, chill the formed balls in the refrigerator for at least 30 minutes before coating.
-
Roll the chilled truffles in your topping of choice, such as powdered sugar, granulated sugar, sprinkles, or dip them in melted chocolate. Let the coating set (if using melted chocolate), then serve and enjoy your delicious no-bake red velvet truffles!
Notes
- For the best texture and flavor, always use full-fat cream cheese.
- Chilling the dough before forming and chilling the balls before dipping in chocolate are crucial steps for successful truffles.
- The yield of truffles can vary depending on the size you roll them. Adjust accordingly to your preference.
- Store leftover truffles in a sealed, airtight container in the refrigerator for up to 3 days to maintain freshness.
Nutrition
An automated tool is used to calculate the nutritional information. As such, I cannot guarantee the accuracy of the nutritional information provided for any recipe on this site.
