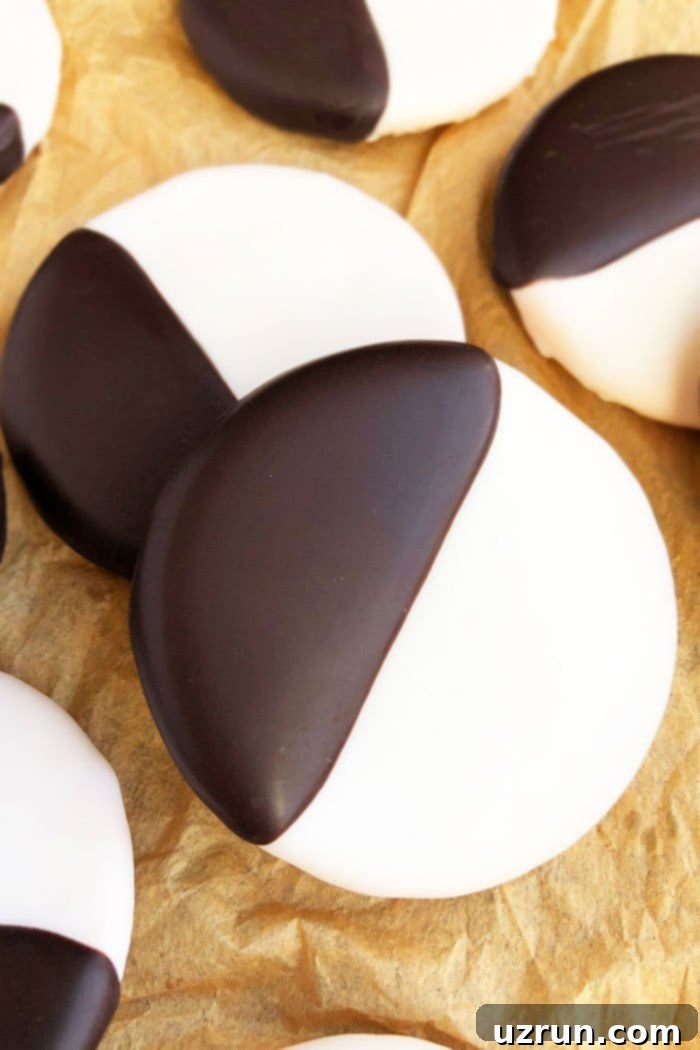
Classic Homemade NYC Black and White Cookies: An Easy Recipe for This Iconic American Treat
There’s an undeniable charm and a distinct taste that comes with a classic Black and White Cookie. A true New York City icon, these delightful treats, also affectionately known as “half and half cookies,” “half moon cookies,” or even “Seinfeld black and white cookies” due to their memorable appearance on the beloved show, are a must-try for any baking enthusiast. This recipe brings you the best classic, easy NYC Black and White Cookies, made right in your own kitchen with simple, wholesome ingredients. Expect soft, wonderfully moist, cake-like cookies generously frosted in contrasting vanilla and rich chocolate icing, creating that signature dual-toned masterpiece that’s as pleasing to the eye as it is to the palate.
These cookies boast a rich history, deeply woven into the culinary fabric of New York City for over a century. Their enduring popularity has cemented their status as a beloved tradition. The famous “Seinfeld” episode, where Jerry discusses the philosophical approach to eating them – starting from either the black or white side – only added to their legendary status and introduced them to a wider audience. For many families, Black and White Cookies have become a cherished classic holiday cookie, standing proudly alongside festive favorites like these Jumbo Gingerbread Men Cookies or the delicate Snowball Cookies (Wedding Cookies). Get ready to bake a piece of New York history and create a new family favorite!
What Are NYC Black and White Cookies? The Iconic American Treat Explained
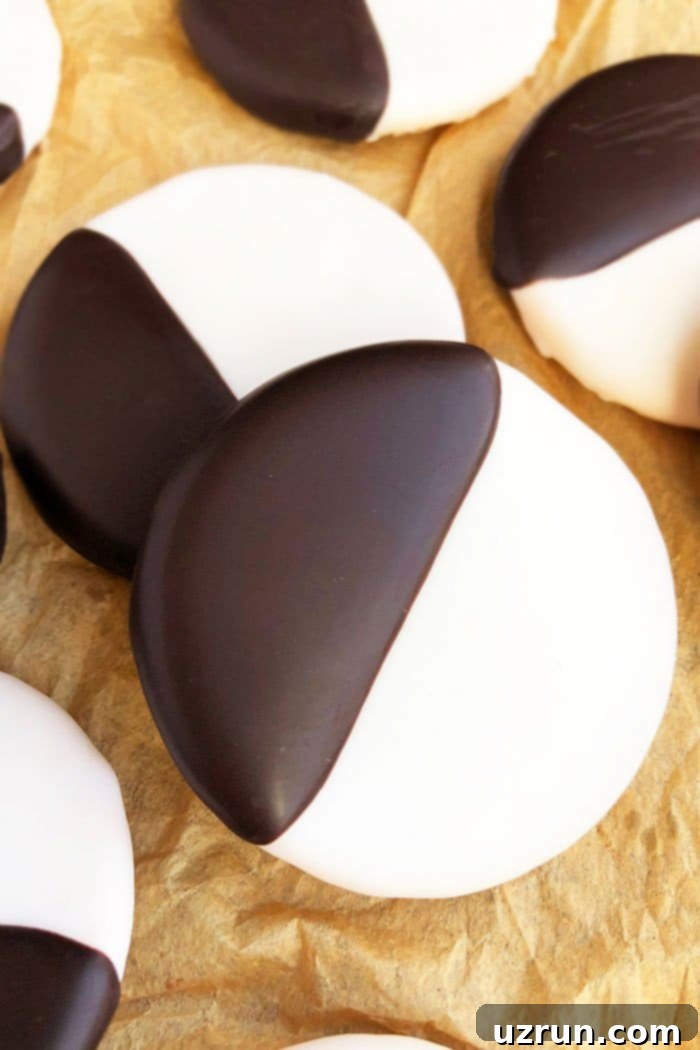
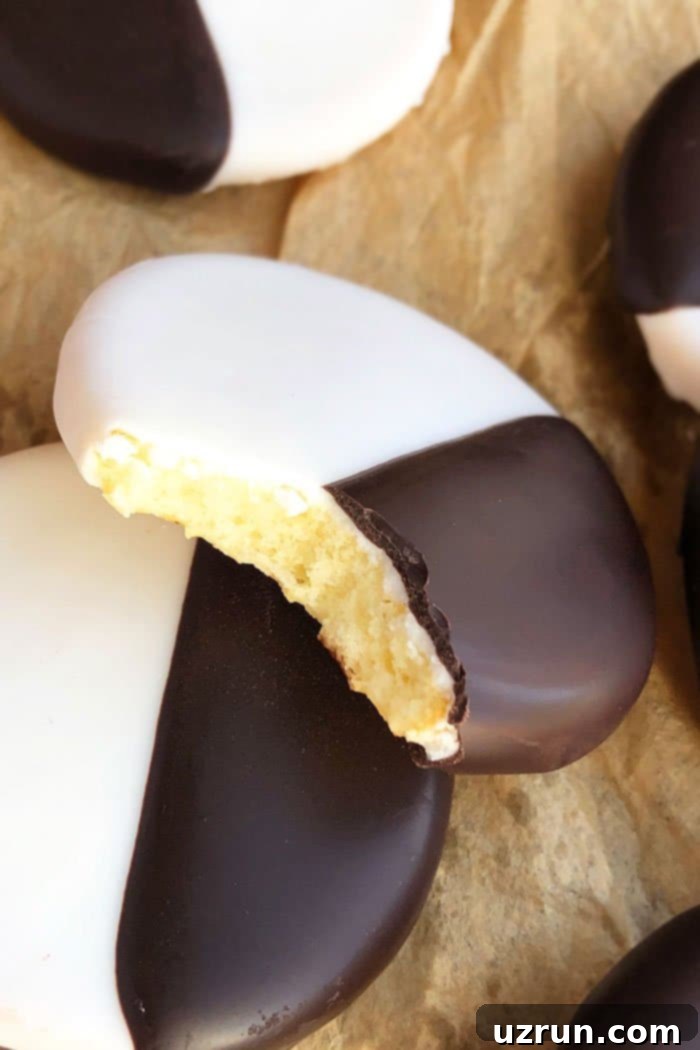
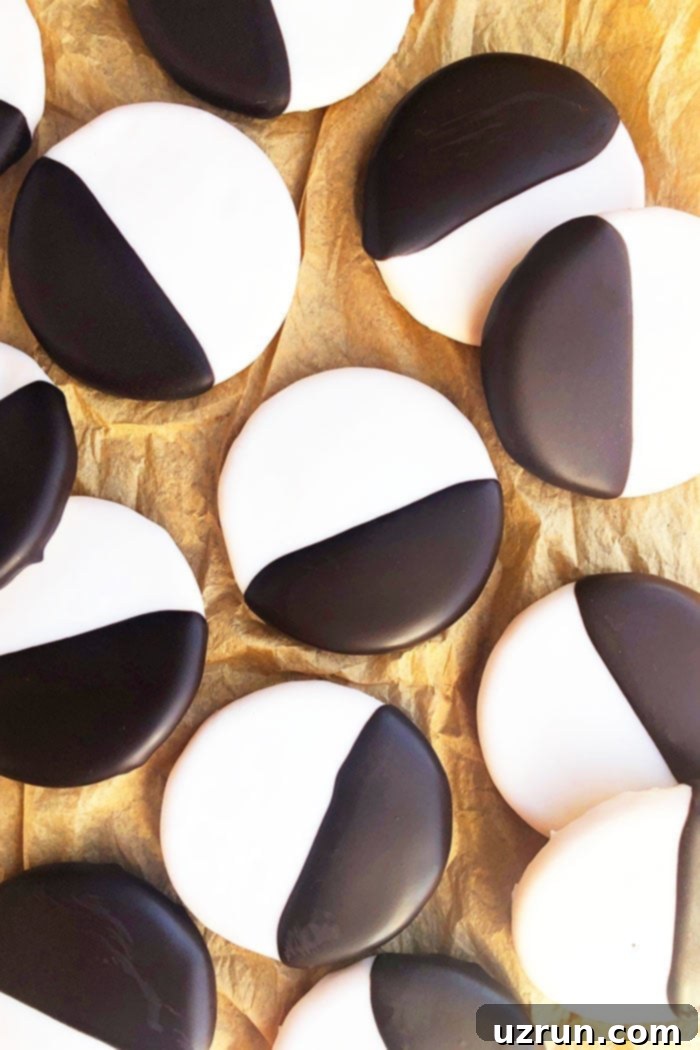
Often referred to as “Amerikaners,” these unique cookies are more akin to small, round cakes than traditional crisp cookies. Their origin is believed to trace back to 1902 at Glaser’s bakery in Manhattan, where they quickly became one of their most popular menu items. What sets these cookies apart is their distinct soft, cake-like texture and, of course, their signature dual frosting. Each cookie is artfully glazed half with rich black (chocolate) icing and half with smooth white (vanilla) icing, creating a visually striking and delicious contrast.
The cookie base itself is typically a tender, slightly sweet sugar cookie. While vanilla is the most popular flavor for the cookie base these days, some traditional recipes incorporate a subtle hint of lemon, adding a bright counterpoint to the sweet frostings. This delightful combination of soft cake, sweet vanilla, and rich chocolate makes the Black and White Cookie a true comfort food and an unmistakable symbol of New York City’s diverse culinary landscape. They’re not just a cookie; they’re an experience, offering a perfect bite of both classic flavors in every single piece.
How to Make Black and White Cookies from Scratch: A Step-by-Step Guide
Crafting these classic New York delicacies at home is a rewarding experience, and surprisingly straightforward. This recipe guides you through each step to ensure your homemade Black and White Cookies are as perfect as those from your favorite bakery. Follow these instructions carefully for the best results:
- Cream Butter and Sugar: Begin by creaming together softened butter and granulated sugar until the mixture becomes light, fluffy, and pale in color. This crucial step incorporates air, which contributes to the cookies’ signature cake-like texture.
- Mix in Wet Ingredients: Next, beat in the egg, vanilla extract, and full-fat sour cream. The sour cream adds an incredible richness and moisture, making the cookies exceptionally tender. Continue mixing until all wet ingredients are well combined and smooth.
- Combine Dry Ingredients: In a separate bowl, whisk together the all-purpose flour, baking powder, and baking soda. Gradually add these dry ingredients to the wet mixture, mixing until just combined. Be careful not to overmix, as this can lead to tough cookies. The dough will be quite thick, which is exactly what you want for the right texture.
- Bake the Cookies: Using a cookie scoop or two spoons, drop portions of the thick dough onto prepared baking sheets, leaving ample space (about 4-5 inches) between each mound. These cookies will expand significantly during baking. Bake until the edges are lightly golden brown and the centers are set.
- Prepare the Vanilla Icing: While the cookies cool, prepare the base icing. In a bowl, whisk together powdered sugar, milk, corn syrup, and vanilla extract until completely smooth and glossy. The corn syrup is key for that beautiful shine and smooth consistency.
- Split and Flavor Icing: Transfer half of the prepared vanilla icing to a separate bowl. To this half, add dark cocoa powder and mix thoroughly until you achieve a smooth, rich chocolate icing. If the chocolate icing is too thick, add a tiny bit more milk, a teaspoon at a time, until it reaches a spreadable consistency.
- First Icing Application (Vanilla): Once the cookies are completely cool, spread the vanilla icing evenly over half of the flat (underside) side of each cookie. This flat surface provides the best canvas for the frosting.
- Chill to Set: Place the partially iced cookies on a baking sheet lined with wax paper and chill them in the refrigerator for about 15-20 minutes, or until the vanilla icing has fully set. This prevents the colors from bleeding when the second icing is applied.
- Second Icing Application (Chocolate): Remove the cookies from the fridge. Now, carefully spread the chocolate icing over the remaining un-iced half of each cookie.
- Chill Again: Return the cookies to the refrigerator for another 30 minutes, or until the chocolate icing is completely set. This ensures both frostings are firm and ready for handling.
- Enjoy: Your homemade Black and White Cookies are now ready to be savored! Serve them fresh and enjoy this iconic New York treat.
The Art of Icing Black and White Cookies: Achieving Perfection
Icing Black and White Cookies is a unique process that differs slightly from typically frosting other cookies, primarily because it involves two distinct colors and flavors that need to remain separate and pristine. The key to achieving that iconic, clean line and professional look lies in a specific technique and a bit of patience.
You will always be icing the *flat side* of the cookie, not the domed top. The flat underside provides a stable, even surface for the frosting to adhere smoothly without sliding off. Start by carefully spreading the vanilla icing over exactly half of this flat surface. It’s important to be precise to create a clean demarcation. Once the vanilla side is complete, place the cookies in the refrigerator and chill them until the icing is completely set. This critical step prevents the chocolate icing from mixing with the vanilla, which would create a messy, unappealing swirl instead of the desired sharp contrast.
After the vanilla icing is firm, remove the cookies from the fridge. Then, spread the chocolate icing on the remaining un-iced half of the cookie. Again, try to maintain a clean line where the two colors meet. Once the chocolate icing is applied, return the cookies to the refrigerator to chill once more until this layer is also fully set. Only then are your perfectly iced Black and White Cookies ready to be enjoyed.
For those looking for a slightly easier or less traditional approach, an alternative method of icing is discussed in the recipe card below. This method offers a simpler way to achieve the two-toned effect, especially if you’re new to making these cookies, and can even result in both the dome and flat sides being iced.
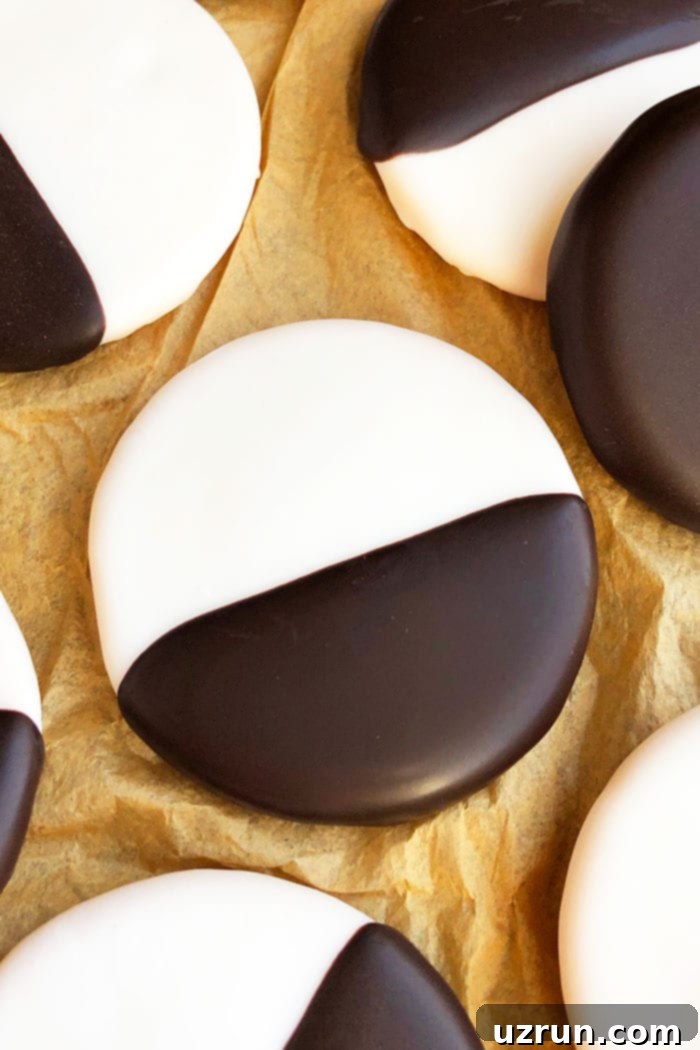
Exciting Variations for Half Moon Cookies
While the classic Black and White Cookie is a beloved staple, there’s always room to experiment and put your own spin on this iconic treat. Here are some delightful variations to explore:
- Unique Icing Designs: If you’re feeling creative and don’t strictly adhere to the traditional look, you can have a lot of fun with the frosting. Instead of just spreading, fill piping bags with both chocolate and vanilla icing. Drizzle them over the cookies in intricate stripes, playful zigzag patterns, or elegant swirls. This can be particularly fun for themed parties or special occasions, allowing for a personalized touch that, while not classic, is certainly eye-catching.
- Chocolate Cookie Base: For the ultimate chocolate lover, transform the cookie base itself. Incorporate 2-3 tablespoons of unsweetened cocoa powder into the cookie dough mixture. You can also fold in a handful of mini chocolate chips for an extra burst of chocolatey goodness and varied texture. This creates a deeply rich foundation that perfectly complements the dual frosting.
- Add Other Flavor Extracts: The base cookie flavor is typically vanilla, but you can easily introduce other delightful essences. Lemon extract, coupled with some fresh lemon zest, is a wonderfully popular choice that adds a bright, zesty note. Alternatively, consider almond extract for a delicate, nutty flavor, coconut extract for a tropical twist, or caramel extract for a rich, buttery depth. Experiment to find your favorite!
- Peppermint Perfection: For a festive twist, especially around the Christmas holidays, infuse your cookies with peppermint. Add a few drops of peppermint extract to both the vanilla and chocolate icings, or even mix a small amount into the cookie dough for an all-over minty flavor. This pairs beautifully with the chocolate for a refreshing seasonal treat.
- Sprinkle Fun: Before the icing has completely set, add a pop of color and texture with sprinkles! This is a fantastic way to customize the cookies for birthdays, holidays, or any celebration. Choose classic rainbow sprinkles, themed holiday sprinkles, or even simple nonpareils for a touch of elegance. Just be sure to apply them while the icing is still wet enough for them to adhere.
Storage Tips for Optimal Freshness
Proper storage is essential to keep your homemade Black and White Cookies fresh, moist, and delicious for as long as possible. Here’s how to best store them:
- Refrigerate: For maximum freshness, especially in warmer climates or if your home is warm, store the iced cookies in a sealed, airtight container in the refrigerator for up to 5 days. To prevent the delicate frosting from sticking together or smudging, make sure to separate each cookie with a sheet of wax paper. This keeps them looking perfect and tasting great.
- Freeze (Unfrosted): If you plan to make a large batch or prepare ahead, unfrosted cookie bases can be frozen. Once baked and completely cooled, arrange them in a single layer in an airtight container, separated by wax paper if stacking. They can be frozen for up to 1 month. When you’re ready to enjoy them, thaw the cookies overnight in the refrigerator, then prepare and apply the icing as directed.
- Room Temperature: For shorter storage, Black and White Cookies can be kept at room temperature for up to 3 days. Store them in a cookie jar or a covered box/container. Again, it’s crucial to place pieces of wax paper between each cookie to prevent the icing from sticking or smudging, maintaining their pristine appearance. Choose a cool, dry spot away from direct sunlight.
Essential Tips and Techniques for Perfect Black and White Cookies
Achieving the perfect Black and White Cookie requires attention to a few key details. These tips and techniques will help you create cookies that are just as delicious and visually appealing as those from a professional bakery:
- Cookie Dough Consistency: The cookie dough will be noticeably thick, and this is intentional. Do not be tempted to thin it out by adding extra milk or water, as this will fundamentally alter the texture of the finished cookie, making it less cake-like and more crumbly.
- Proper Spacing on Baking Trays: These cookies spread significantly during baking. To prevent them from melding into one giant cookie, ensure ample space—about 4-5 inches—between each scoop of dough on your baking trays. This might mean using multiple trays or baking in batches.
- Frost the Flat Undersides: Always frost the flat, uniform undersides of the cookies, rather than their domed tops. The flat surface provides a stable and even canvas, allowing the icing to spread smoothly and set cleanly without sliding off, which is a common issue with the rounded top.
- Embrace Full-Fat Ingredients: For the richest flavor, moistest texture, and most luxurious mouthfeel, use full-fat dairy ingredients such as full-fat sour cream and whole milk. These ingredients contribute significantly to the overall quality and deliciousness of this classic dessert.
- Room Temperature Ingredients are Key: Ensure all your cold ingredients, like butter, egg, and sour cream, are at room temperature before you begin mixing. This allows them to emulsify and blend together smoothly and evenly, creating a uniform batter and a consistently tender cookie.
- Use Dark Cocoa Powder: To achieve that striking, almost-black chocolate icing that contrasts beautifully with the white vanilla, use a good quality dark cocoa powder. This deep color is crucial for the iconic “black” half of the cookie.
- Sour Cream Substitutes: If you don’t have sour cream on hand, a fantastic replacement that will still deliver richness and moisture is full-fat Greek yogurt. It provides a similar tangy flavor and creamy texture.
- Opt for Unsalted Butter: Using unsalted butter gives you complete control over the salt content in your cookies. This prevents the cookies from becoming overly salty, allowing the delicate vanilla and chocolate flavors to shine.
- Don’t Omit Corn Syrup in Icing: Corn syrup is not just for sweetness; it’s the secret ingredient for a perfectly glossy and shiny icing. It also helps prevent the icing from crystallizing, keeping it smooth and beautiful.
- Chill Between Icing Layers: This is a non-negotiable step. If you apply both the vanilla and chocolate icings at the same time without chilling in between, the colors will bleed into each other, resulting in a messy appearance. Chilling ensures a crisp, clean line between the two halves.
- Both Baking Powder and Baking Soda are Necessary: This recipe calls for both baking powder and baking soda because they work together to create the ideal rise and cake-like texture. Baking soda reacts with the acidic sour cream, while baking powder provides additional lift, ensuring a light and airy cookie base.
- Line Baking Pans with Parchment Paper: Always line your cookie pans with parchment paper, not wax paper, for baking. Parchment paper is heat-resistant and prevents your cookies from sticking to the pan, ensuring easy removal and perfectly shaped bases. Wax paper is not suitable for baking at high temperatures.
More Unique Classic Cookie Recipes to Try
If you enjoyed baking these iconic Black and White Cookies, you’ll surely love exploring other unique and classic cookie recipes. Expand your baking repertoire with these delightful treats:
- Church Window Cookies: Beautiful, colorful, and perfect for the holidays.
- Oatmeal Lace Cookies: Delicately crisp and buttery, a truly elegant cookie.
- Easy Meringue Cookies: Light-as-air, melt-in-your-mouth confections.
- Easy Stained Glass Cookies: Visually stunning and fun to make, especially with kids.
- Christmas Pinwheel Cookies: Festive and fun, with a beautiful spiral design.
- Cotton Candy Cookies: A whimsical and delightfully sweet treat.
Recipe
Easy Black and White Cookies
Abeer Rizvi
Pin Recipe
Want to Save This Recipe?
Enter your email & I’ll send it to your inbox. Plus, get great new recipes from me every week!
By submitting this form, you consent to receive emails from CakeWhiz
Ingredients
Cookies
- 10 tablespoon Butter Unsalted, Room temperature, ½ cup +2 tbsp
- 1 cup Granulated sugar
- 1 Egg Large
- 2 teaspoon Vanilla extract
- ⅓ cup Sour cream Full fat
- 2 cups All-purpose flour
- ½ teaspoon Baking powder
- ¼ teaspoon Baking soda
Icing
- 6 cups Powdered sugar
- 5-6 tablespoon Milk Whole or 2%
- 2 tablespoon Corn syrup
- 1 teaspoon Vanilla extract Use clear extract to prevent the white icing from becoming discolored
- 3-4 tablespoon Dark cocoa powder
Instructions
-
In a large mixing bowl, cream together the softened butter and granulated sugar until the mixture is light and fluffy. This step is crucial for incorporating air and creating a tender cookie base.
-
Add the large egg, vanilla extract, and full-fat sour cream to the creamed mixture. Mix until everything is well combined and smooth, ensuring no lumps remain.
-
Incorporate the dry ingredients: flour, baking powder, and baking soda. Mix until just combined. It’s important not to overmix the batter, and please note that it will be VERY thick – this is the correct consistency for these cake-like cookies.
-
Scoop out uniform portions of the thick batter and drop them as mounds onto a cookie tray, which should be lined with parchment paper. Remember to use multiple cookie trays and leave significant space (about 4-5 inches) between each cookie, as they will expand substantially during baking.
-
Bake at 350 degrees F (175 C) for approximately 15-18 minutes, or until the edges appear slightly firm and are a light golden brown. The centers should still feel soft.
-
Allow the baked cookies to cool down completely in the cookie trays before attempting to handle them or apply icing. They are delicate when warm.
-
While the cookies are cooling, prepare the vanilla icing. In a mixing bowl, combine powdered sugar, milk, corn syrup, and vanilla extract. Whisk until the mixture is entirely smooth and glossy.
-
Transfer half of the prepared icing to a separate bowl. To this half, add the dark cocoa powder and mix thoroughly until you have a smooth, rich chocolate icing. If needed, add a tiny bit more milk to adjust the consistency.
-
Once the cookies are completely cool, carefully spread the vanilla icing on only half of the flat (underside) side of each cookie. Place these partially iced cookies on a clean baking tray, lined with wax paper, for chilling.
-
Chill the cookies in the fridge for 15-20 minutes, or until the vanilla icing has fully set and is firm to the touch. This prevents the colors from bleeding.
-
Remove the cookies from the fridge. Now, carefully spread the chocolate icing on the remaining un-iced half portion of each cookie. Return them to the lined baking tray.
-
Chill the cookies in the fridge for a final 30 minutes, or until both icings have completely set. Once firm, your delicious homemade Black and White Cookies are ready to be served and enjoyed!
Note on Alternative Icing Method: For a slightly less traditional yet easier approach, you can dip each cooled cookie halfway into the white icing first. Let it set by chilling. Afterward, dip the remaining un-iced half into the chocolate icing and allow it to set again. This method often results in both the dome and flat sides of the cookie being iced and can be less messy than spreading for some bakers.
Notes
- For comprehensive advice and deeper insights, please read all the tips and techniques provided in the sections above the recipe card.
- Leftover Black and White Cookies can be stored in a sealed, airtight container in the fridge for up to 5 days. If storing at room temperature, they will remain fresh for about 3 days; ensure they are kept in a covered container with wax paper separating the layers.
Nutrition
An automated tool is used to calculate the nutritional information. As such, I cannot guarantee the accuracy of the nutritional information provided for any recipe on this site.
