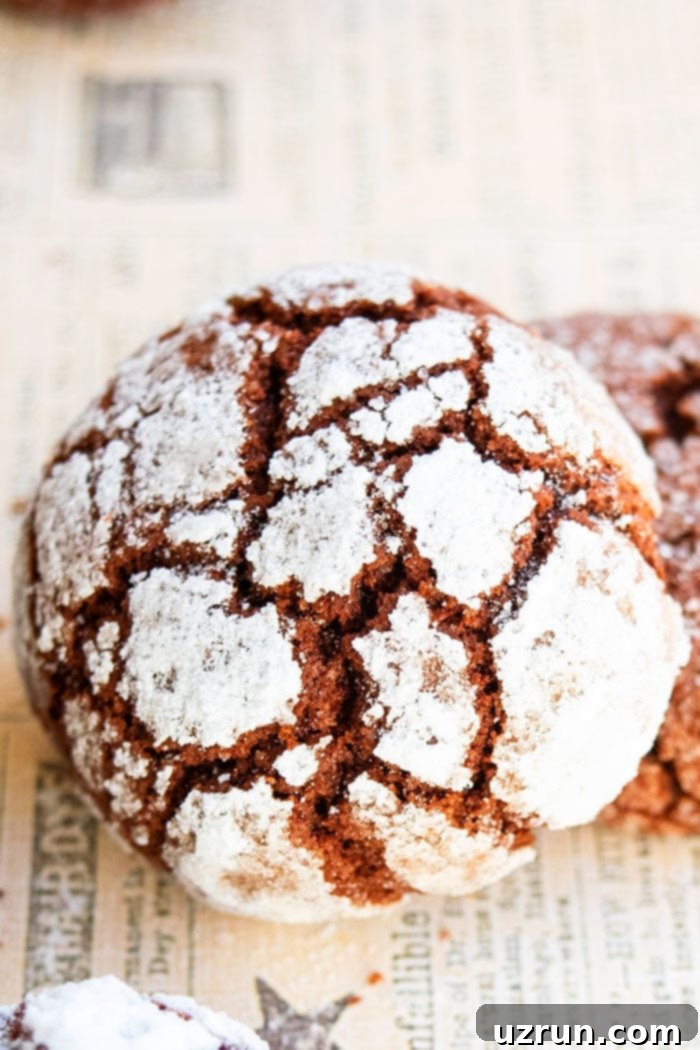
The Ultimate Easy Cake Mix Chocolate Crinkle Cookies: Soft, Fudgy & Perfectly Crinkled
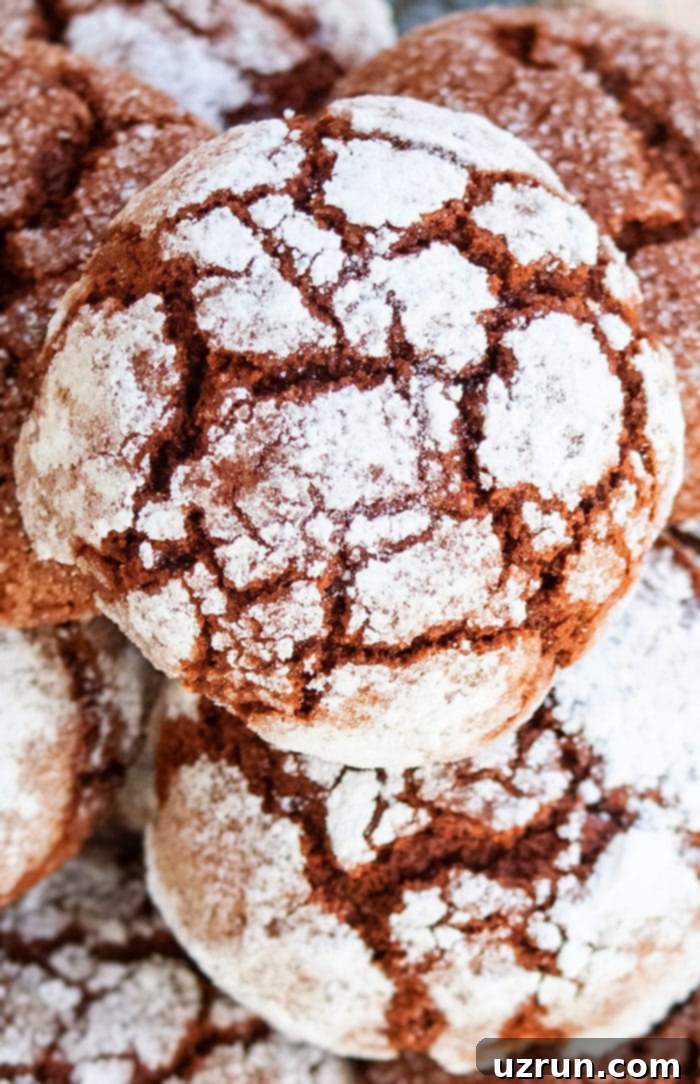
Discover the absolute best, classic, old-fashioned, yet incredibly quick and easy chocolate crinkle cookies recipe. This homemade delight is crafted with minimal, simple ingredients, starting with a convenient chocolate cake mix. The result is a truly rich, delightfully soft, irresistibly fudgy, and wonderfully puffy cookie, each bite bursting with deep chocolate flavor and that iconic snowy, cracked appearance that makes them a holiday favorite.
When the festive season arrives, certain classic cookies become instant crowd-pleasers. Just like these vibrant Red Velvet Crinkle Cookies, the comforting Snickerdoodles, or the ever-popular Easy Peanut Butter Blossoms, today’s chocolate crinkles are a staple during Christmas holidays. Their festive look and delicious taste make them ideal for cookie exchanges, bake sales, or even as a thoughtful homemade gift for friends and family. What sets this recipe apart is its incredible simplicity and consistent results; many agree they are even better than most chocolate crinkle recipes made entirely from scratch, thanks to the magic of a cake mix base.
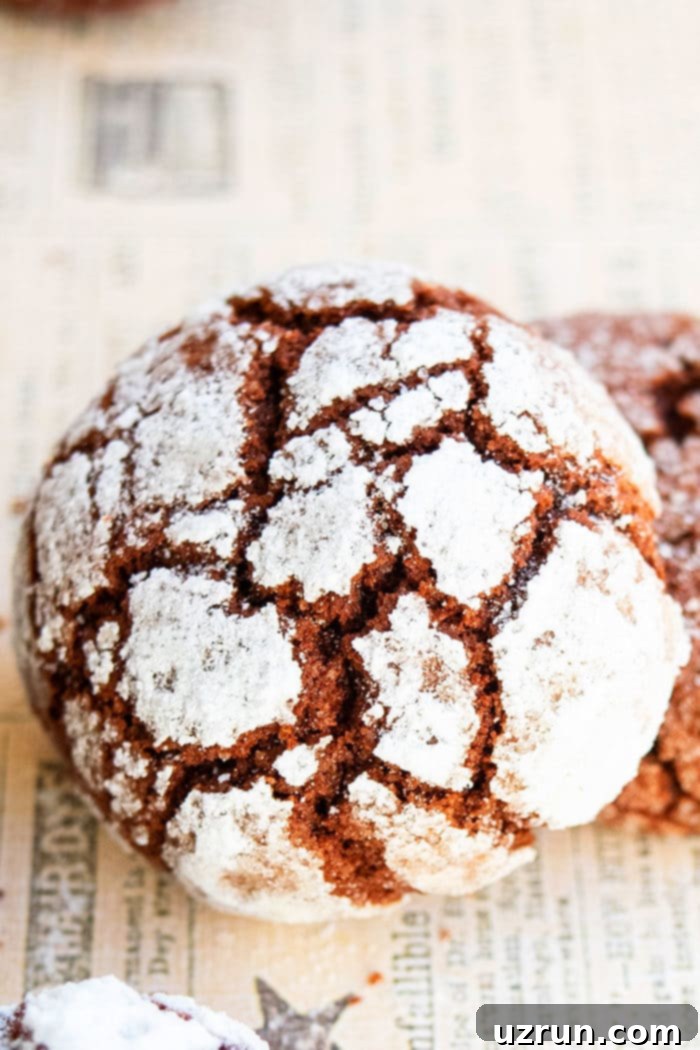
How to Make Perfect Chocolate Crinkle Cookies (Chocolate Crinkles)
Crafting these beautiful crinkle cookies is surprisingly straightforward, especially with a cake mix as your starting point. Follow these easy steps to achieve that perfect soft, fudgy texture and stunning powdered sugar crackle:
- Prepare the Wet Ingredients: In a spacious mixing bowl, combine the eggs and oil. Whisk them thoroughly until they are completely smooth and well-integrated. This liquid base will ensure your dough comes together beautifully.
- Incorporate the Dry Ingredients: Gradually add the chocolate cake mix and baking powder to your wet mixture. Mix until everything is just combined. Be careful not to overmix, as this can lead to tougher cookies. A few small lumps are perfectly fine! The baking powder helps to give these cookies that signature puffy, soft texture.
- Chill the Dough for Success: This crucial step makes all the difference! Cover your bowl with plastic wrap and refrigerate the dough for a minimum of 15-20 minutes. Chilling firms up the dough, making it much less sticky and significantly easier to scoop and roll into perfect balls. This also helps prevent excessive spreading during baking, ensuring your crinkles hold their shape.
- Form the Cookie Balls: Once chilled, use a small cookie scoop or a tablespoon to portion out uniform amounts of dough. Roll each portion gently between your palms to create smooth, consistent balls. Uniform size is key for even baking.
- Coat Generously in Powdered Sugar: Pour a generous amount of powdered sugar into a shallow bowl. Thoroughly roll each cookie dough ball in the powdered sugar, ensuring it’s completely coated. This thick layer of sugar is what creates the beautiful, contrasting “crackle” effect as the cookies bake and expand.
- Bake to Perfection: Arrange the sugar-coated cookie balls on a baking sheet lined with parchment paper, leaving enough space between them for spreading. Bake in a preheated oven at 350 degrees F (175°C) for just 8-10 minutes. The key is to remove them when the edges are set but the centers still look slightly soft. They will continue to set as they cool.
- Cool and Enjoy: Allow the freshly baked cookies to cool on the baking sheet for a few minutes before transferring them to a wire rack to cool completely. This helps them firm up without becoming hard. Once cooled, it’s time to dig in and savor these delightful chocolate crinkle cookies!
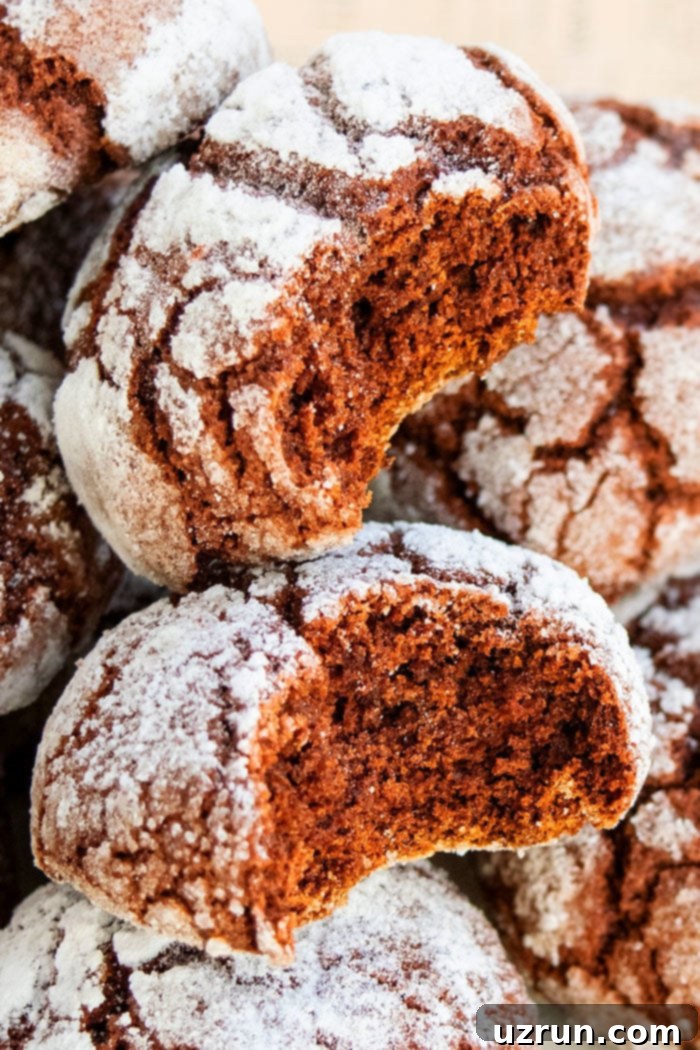
Can Chocolate Crinkle Cookie Dough or Baked Cookies Be Frozen?
Freezing can be a fantastic way to prepare for future baking endeavors or to store leftover treats, but it’s important to do it correctly with chocolate crinkle cookies to preserve their signature appearance.
Freezing Baked Cookies: Unfortunately, baked chocolate crinkle cookies do not freeze well. The beautiful powdered sugar coating, which is essential to their crinkled charm, tends to absorb moisture during the thawing process. This results in a sticky, dissolved mess that will completely ruin their lovely white, cracked exterior. For this reason, it’s best to enjoy baked crinkles within a few days of baking.
Freezing Cookie Dough Balls: Good news! You can absolutely freeze the cookie dough balls, making these an excellent make-ahead option. To do so, prepare your dough as instructed, then scoop and roll the cookie balls. However, **do NOT roll them in powdered sugar before freezing.** Instead, place the plain dough balls on a baking sheet lined with parchment paper and freeze them until solid. Once frozen, transfer the solid dough balls to an airtight, freezer-safe container or a heavy-duty freezer bag. They can be stored for up to 1 month.
When you’re ready to bake, remove the desired number of frozen cookie dough balls from the freezer. Allow them to sit at room temperature for about 15-20 minutes, then roll them generously in powdered sugar just before baking. You will need to increase the baking time slightly, typically by 2-4 minutes, since the dough is starting from a frozen state. This method ensures you get that fresh-baked taste and perfect crinkle every time, without sacrificing the appearance.
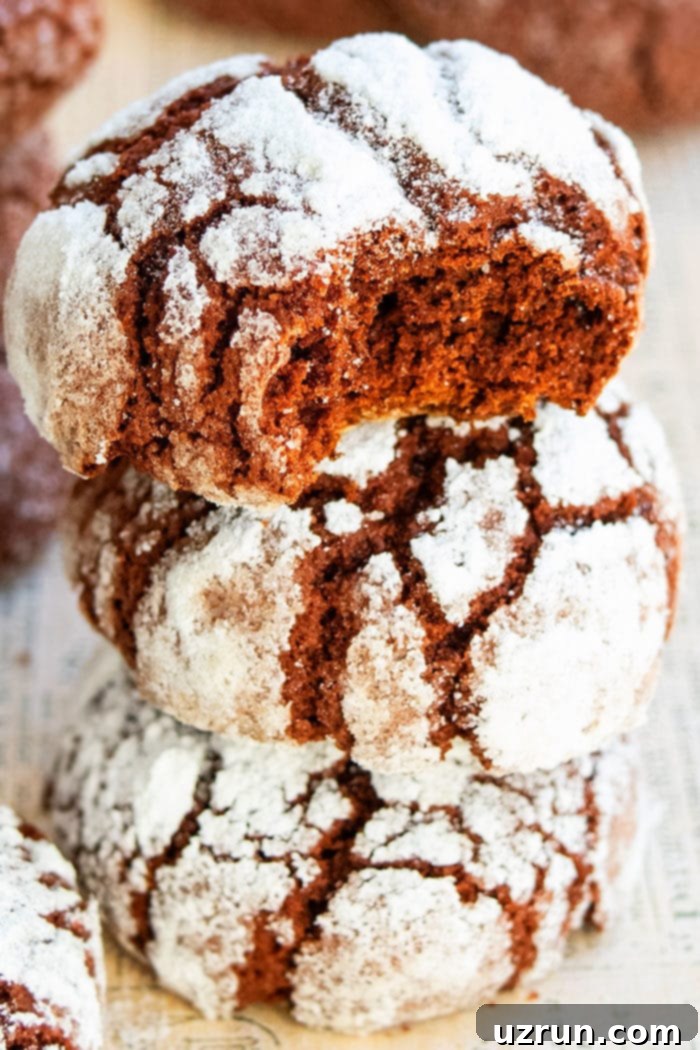
Delicious Variations to Elevate Your Crinkle Cookies
While the classic chocolate crinkle is a timeless favorite, these cookies are incredibly versatile! Here are some creative variations to customize your crinkle cookies and impress your taste buds:
- Lemon Crinkle Cookies: For a bright and zesty twist, follow a recipe similar to these Easy Lemon Cookies. The key is to substitute granulated sugar for powdered sugar when coating the dough balls. For an extra pop of flavor, consider adding a teaspoon of lemon zest to the dough.
- Cookie Sandwiches: Transform your crinkle cookies into delightful sandwiches! Once completely cooled, spread a layer of creamy filling between two cookies. Think vanilla buttercream, a tangy cream cheese frosting, raspberry jam, or even a rich chocolate ganache for an indulgent treat.
- Dip Them in Melted Chocolate: After the cookies have fully cooled, dip them halfway into melted chocolate. You can use white, dark, or milk chocolate, depending on your preference. Before the chocolate sets, sprinkle with colorful sprinkles, chopped nuts, or edible glitter for an extra festive touch. A drizzle of contrasting chocolate can also create an elegant finish.
- Double Chocolate Crinkles with Chocolate Chips: For the ultimate chocolate lover, fold in ½ cup of mini chocolate chips (or regular-sized chips, if you prefer chunkier bits) into the batter. This adds an extra layer of chocolatey goodness and varying textures to your fudgy crinkles.
- Spiced Crinkle Cookies: Infuse your crinkles with warm, aromatic spices. Add ½ to 1 teaspoon of ground ginger, cinnamon powder, nutmeg powder, or cardamom powder to the dry cake mix. For a unique sweet and spicy kick, a tiny pinch of cayenne pepper can be a surprisingly delicious addition. These are perfect for autumn or winter gatherings.
- Festive Christmas Crinkle Cookies: To make these truly sing “holiday,” add ½ teaspoon of peppermint extract to the dough alongside the other wet ingredients. After baking and cooling, consider dipping each cookie in melted white chocolate and then sprinkling them with crushed peppermint candies for a minty, crunchy, and visually stunning Christmas treat.
- Different Cake Mix Flavors: Don’t limit yourself to chocolate! Experiment with other cake mix flavors like red velvet, strawberry, butter pecan, or even funfetti for a colorful surprise. The possibilities are endless for creating a variety of crinkle cookie flavors.
Essential Tips and Techniques for Perfect Chocolate Crinkles
Achieving the ideal soft, fudgy texture and beautiful crinkled appearance is easy with these insider tips:
- Avoid Over-mixing the Cookie Dough: This is paramount for tender cookies. Over-mixing develops gluten in the flour, which can lead to tough, chewy cookies rather than soft, fudgy ones. Mix only until the ingredients are just combined, even if a few small lumps remain. The less you work the dough, the softer your cookies will be.
- Ensure All Ingredients are at Room Temperature: For optimal blending and a smooth, consistent dough, make sure your eggs and oil (or butter, if substituting) are at room temperature. This allows them to emulsify properly, creating a uniform batter and preventing a lumpy or separated dough.
- Don’t Skip Chilling the Cookie Dough: This step is non-negotiable! Chilling the dough for at least 15-20 minutes in the refrigerator solidifies the fats, making the dough less sticky and much easier to handle and roll into balls. More importantly, it prevents the cookies from spreading too much during baking, ensuring they maintain a nice thickness and develop those beautiful crinkles.
- Choosing the Right Cake Mix Flavor: For an intensely rich chocolate flavor, Devil’s food cake mix or a standard chocolate cake mix are your best bets. However, feel free to get creative! You can swap out the chocolate cake mix for any other flavor you love – lemon, red velvet, yellow, or even spice cake mix – to create a wide array of crinkle cookie flavors.
- Cake Mix Brand Matters (Slightly): While most brands work well, I’ve had consistent success with popular brands like Pillsbury, Betty Crocker, and Duncan Hines. The key is to use a standard-sized box (usually 15.25 oz or 18.25 oz, depending on the brand and type).
- Do Not Over-bake These Cookies: This is perhaps the most critical tip for achieving a soft, fudgy texture. Over-baking will dry them out and make them hard. You want them to retain their moist, brownie-like chewiness. Remove them from the oven when the edges appear firm but the centers are still slightly soft and puffy. They will continue to bake slightly from residual heat on the baking sheet. Some bakers even prefer to under-bake them for an extra ooey-gooey, brownie-like center.
- Butter vs. Oil Substitution: You can absolutely use unsalted butter instead of oil in this recipe. Melted unsalted butter will provide a richer, more buttery flavor profile. Ensure it’s melted and cooled slightly before incorporating. The ratio typically remains the same.
- The Magic of Powdered Sugar for Crinkles: Always roll your cookie dough balls generously in powdered sugar (also known as confectioners’ sugar). If you use granulated sugar, the cookies will develop a crunchier exterior and will not achieve the same distinct, white, crinkly appearance that powdered sugar provides. The fine texture of powdered sugar creates that iconic crackle as the cookie expands.
- Use Parchment Paper: Lining your baking sheets with parchment paper or a silicone baking mat prevents sticking and ensures easy cleanup. It also helps with even baking.
- Cooling Process: Allow cookies to cool on the baking sheet for a few minutes before transferring them to a wire rack. This helps them firm up enough to handle without breaking, while also preventing them from becoming soggy on the bottom.
More Classic Cookie Recipes to Love
If you’re a fan of these easy and delicious chocolate crinkle cookies, you’ll surely love exploring these other timeless cookie recipes from our collection:
- Chocolate Spritz Cookies: Elegant and buttery, perfect for holiday cookie presses.
- Easy Soft and Chewy Sugar Cookies: A versatile base for decorating, wonderfully soft.
- Easy Gingerbread Cookies (With Cake Mix): Spiced perfection, simplified with a cake mix.
- Chocolate Chunk Cookies: Rich, gooey, and packed with generous chocolate pieces.
- Cut Out Chocolate Sugar Cookies: Fun to decorate, with a deep chocolate flavor.
- Best Chocolate Chip Cookies: The ultimate classic, perfectly soft and chewy.
- Classic No Bake Cookies: Quick, easy, and satisfying, with no oven required.
- Chocolate Thumbprint Cookies: Sweet and tender, with a delicious chocolate center.
- Small Batch of Cut Out Sugar Cookies: Perfect for when you need just a few delightful cookies.
Recipe: Cake Mix Chocolate Crinkle Cookies
Cake Mix Chocolate Crinkle Cookies
Abeer Rizvi
Pin Recipe
Want to Save This Recipe?
Enter your email & I’ll send it to your inbox. Plus, get great new recipes from me every week!
By submitting this form, you consent to receive emails from CakeWhiz
Ingredients
- 2 Large Eggs at room temperature
- ⅓ cup Vegetable Oil or melted unsalted butter
- 1 box Devil’s Food Cake Mix (approx. 15.25 oz), or any chocolate cake mix
- 1 teaspoon Baking Powder to ensure extra puffiness
- 1 cup Powdered Sugar for rolling cookie dough balls and creating the crinkle effect
Instructions
-
In a large mixing bowl, combine the room temperature eggs and oil. Whisk them together until the mixture is completely smooth and evenly incorporated.
-
Add the chocolate cake mix and baking powder to the wet ingredients. Mix on low speed, or by hand, until everything is just combined and no dry streaks of flour remain. Be careful not to overmix.
-
Cover the bowl with saran wrap and chill the cookie dough in the fridge for a minimum of 15-20 minutes. This chilling step is essential as it makes the dough less sticky and much easier to handle and form into balls.
-
Once chilled, scoop out small, uniform portions of the cookie dough (about 1 tablespoon each) and roll them gently between your palms to create smooth, round balls.
-
Pour the powdered sugar into a shallow bowl. Generously roll each cookie dough ball in the powdered sugar, ensuring it is completely and thoroughly coated on all sides. This thick coating creates the beautiful crinkle effect.
-
Place the sugar-coated cookie balls on a cookie tray lined with parchment paper, leaving about 2 inches of space between each cookie to allow for spreading.
-
Bake in a preheated oven at 350 degrees F (175°C) for 8-10 minutes. The cookies are done when the edges are firm but the centers still appear slightly soft. Do not over-bake them to maintain their fudgy texture.
Notes
- For comprehensive guidance and additional insights, please refer to all the detailed tips and techniques provided in the sections above. These will help you troubleshoot and achieve the best possible results.
- If you prefer a slightly flatter cookie with a more pronounced crinkle, gently flatten the cookie balls with the palm of your hand after rolling them and before coating them in powdered sugar. Then proceed with the powdered sugar coating and place them on your cookie tray.
- Leftover baked chocolate crinkle cookies are best stored in an airtight cookie jar or container at room temperature. They will maintain their freshness and soft texture for up to 3 days. For longer storage, consider freezing the dough as described in the dedicated section above.
- For an extra burst of flavor, you can add ½ teaspoon of vanilla extract along with the wet ingredients.
- Ensure your oven temperature is accurate by using an oven thermometer, as consistent heat is crucial for proper baking and crinkle development.
Nutrition
An automated tool is used to calculate the nutritional information. As such, I cannot guarantee the accuracy of the nutritional information provided for any recipe on this site.
Until next time, tata my lovelies!
