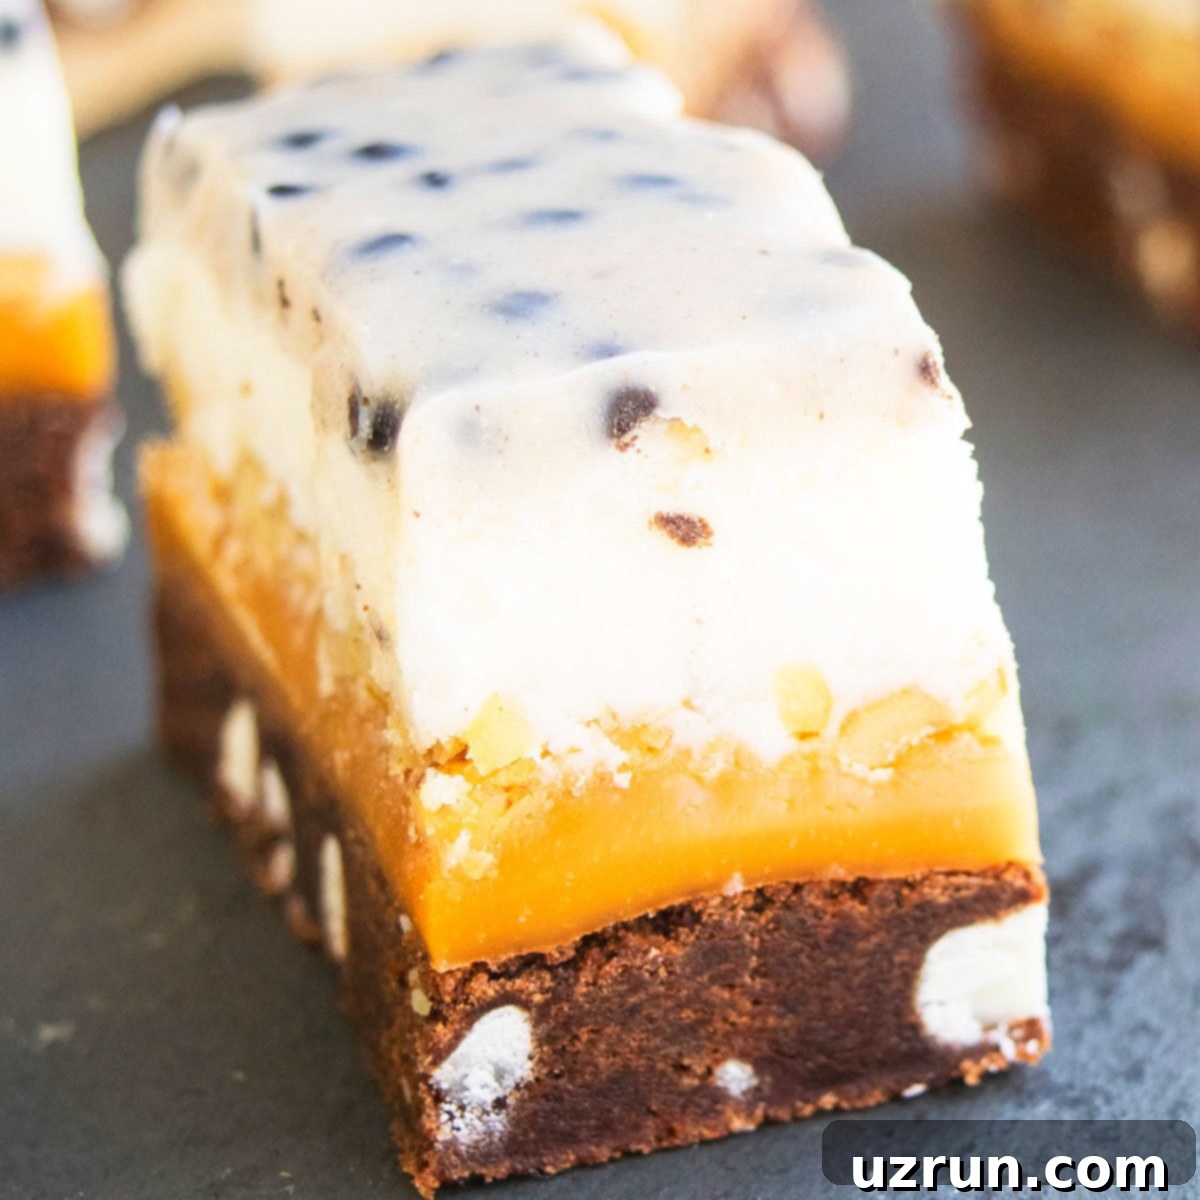
Irresistible 5-Layer Chocolate Cookie Bars: Your Ultimate Dessert Recipe
Prepare to amaze your taste buds with these incredibly easy and utterly decadent chocolate cookie bars! This sensational recipe creates a dessert masterpiece, boasting five distinct layers of pure delight. Crafted with simple, readily available ingredients, these dessert bars are a symphony of textures and flavors, packed with rich cookies, gooey caramel, crunchy pecans, velvety buttercream, and a luscious chocolate top coat. They are designed to impress without requiring hours in the kitchen, making them perfect for any occasion.
*Thank you Pillsbury for sponsoring today’s post. As always, all opinions are mine.*
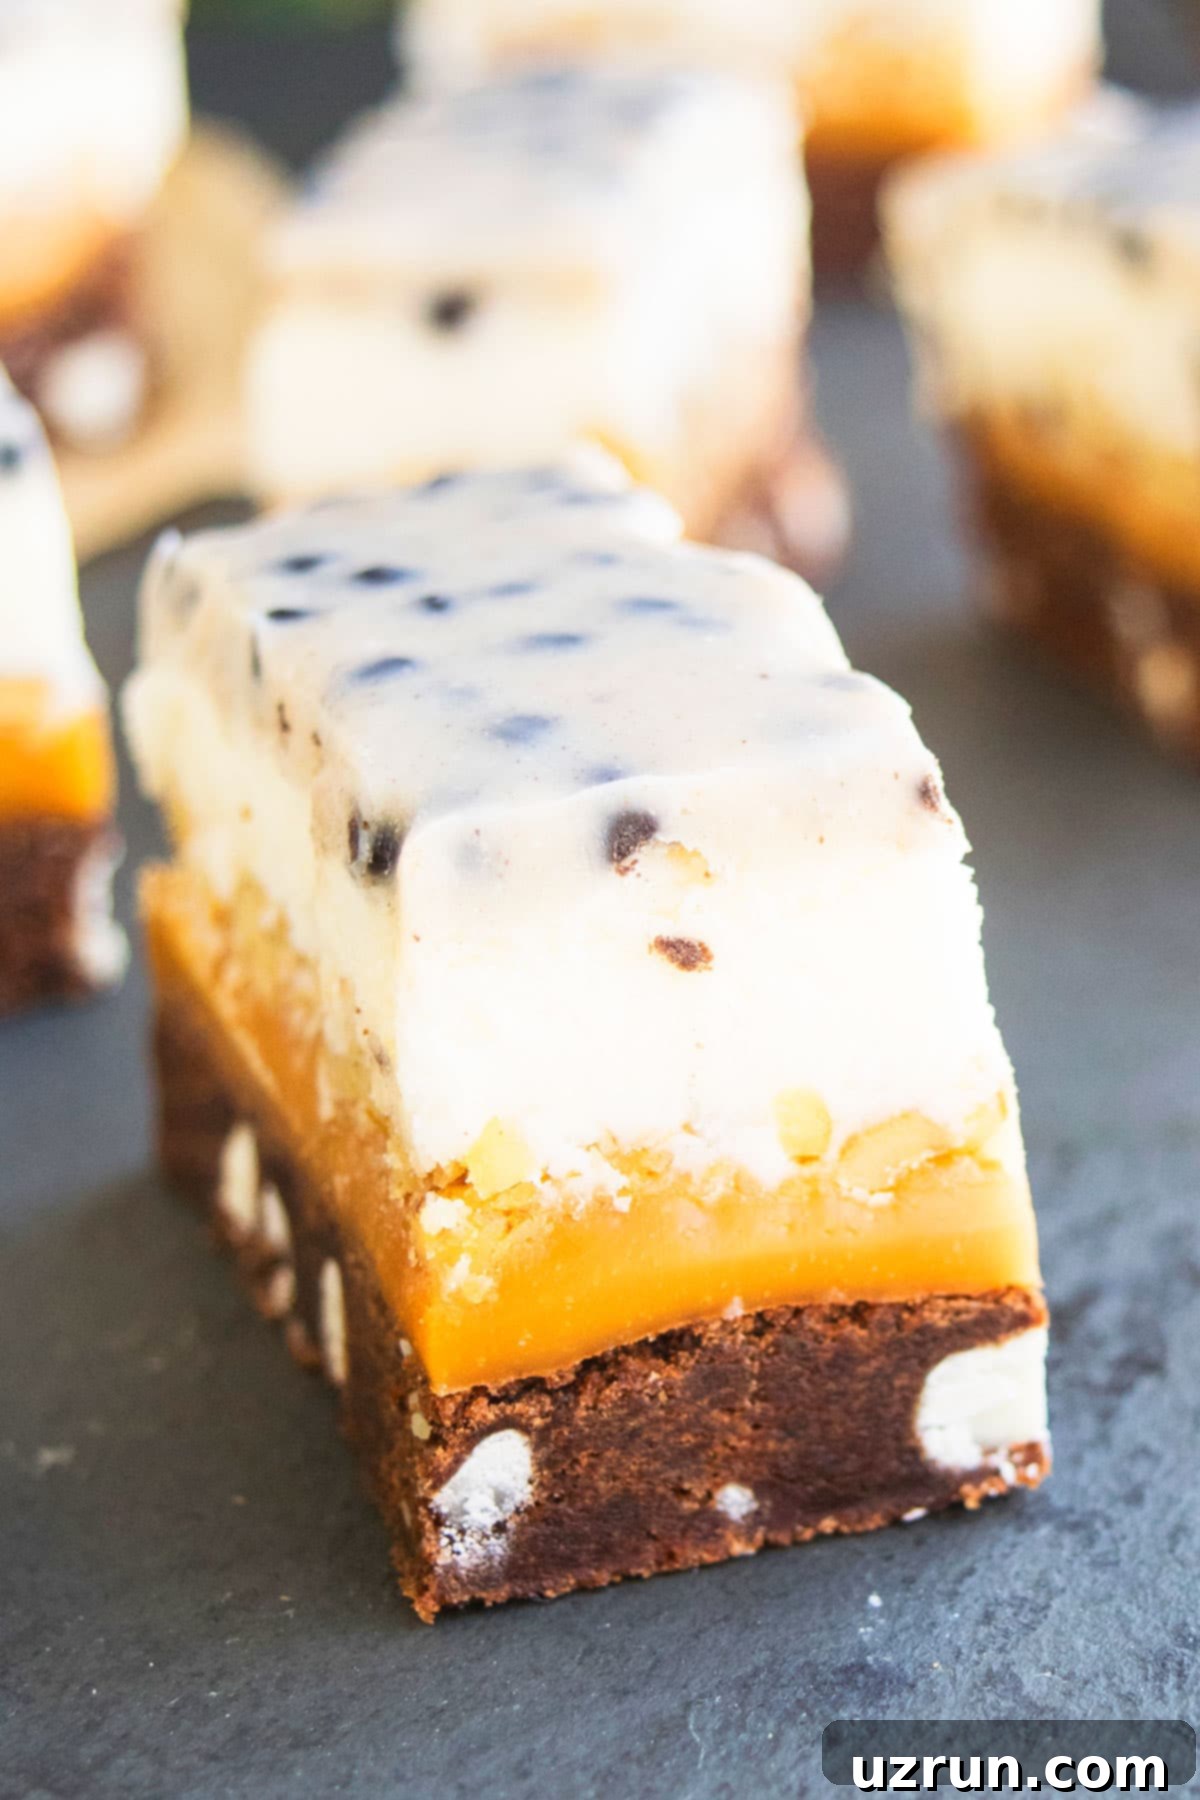
You may already be familiar with my simple Cake Mix Cookie Bars recipe, a fan favorite that proves how easy dessert bars can be. But for those who crave an extra layer of indulgence and a truly show-stopping treat, I wanted to create an even more spectacular version with multiple, distinct layers. These 5-layer dessert bars were an absolute smash hit at a recent party – I made a batch last weekend, and not a single crumb was left!
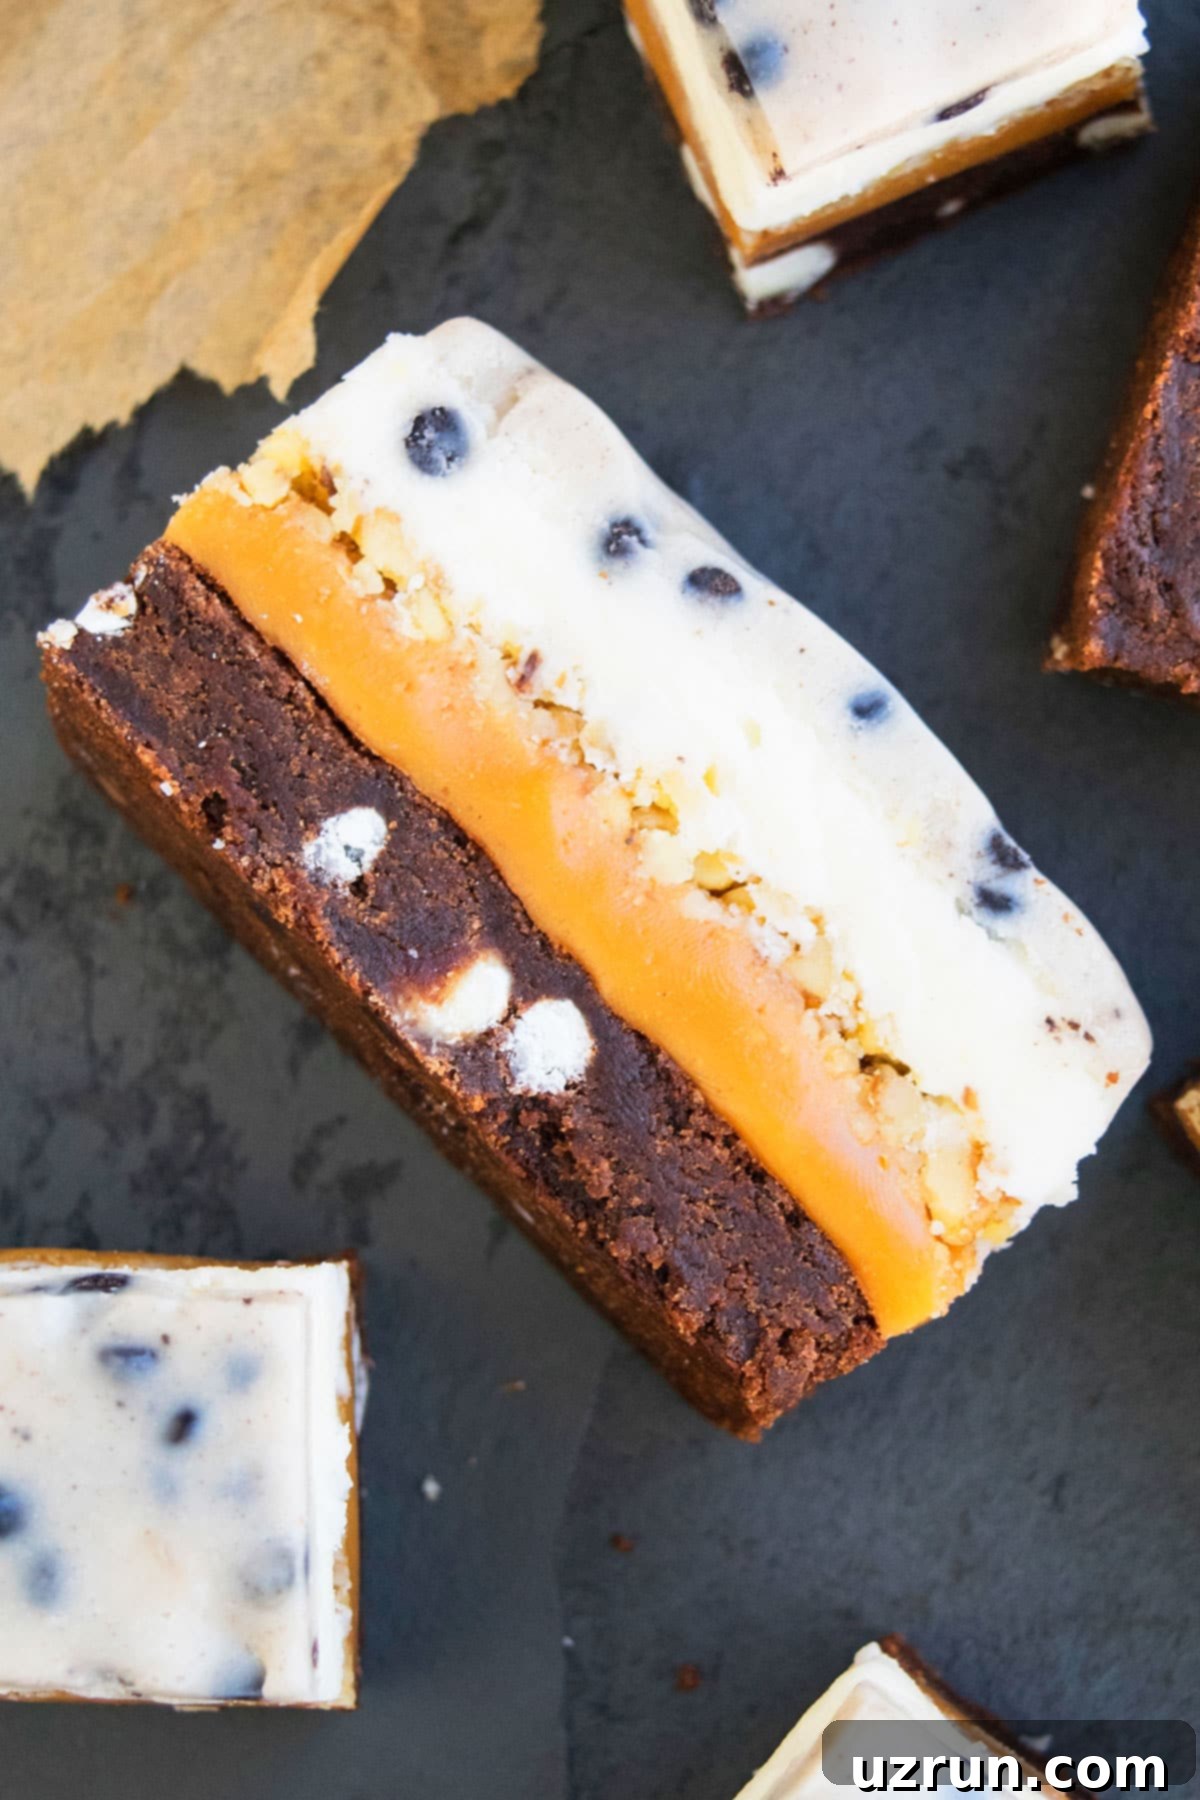
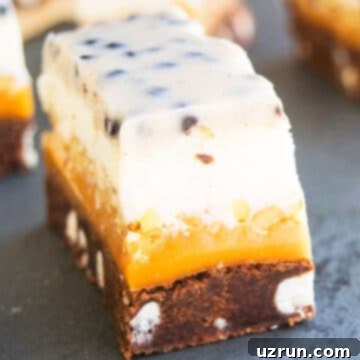
Each bar is a delightful journey through five incredible components:
- A rich, chocolatey cookie base provides the perfect foundation.
- A generous layer of luscious caramel adds a sticky, sweet depth.
- Crunchy chopped pecans are scattered over the caramel, introducing a fantastic nutty texture and flavor.
- A smooth, homemade buttercream frosting creates a creamy counterpoint.
- Finally, a decadent melted cookies and cream chocolate coating crowns the entire creation, locking in all the goodness.
The result is a bar that is incredibly rich, fudgy, and harmoniously balanced. Every bite offers a perfect blend of sweet, salty, crunchy, and creamy – a true delight for the senses. These impressive bars are not only perfect for everyday snacking but also make an exceptional treat for special occasions, especially for festive gatherings like Halloween or the upcoming holidays. Their vibrant layers and incredible taste are sure to be the star of any dessert table.
This award-winning recipe actually hails from Sandy Reiter, who clinched victory in the “No-Fuss Desserts” category at the 48th Pillsbury Bake Off Contest. Sandy’s passion for baking shines through, as she’s always keen to experiment in the kitchen and bring new flavors to life. Her original “Cookies and Cream Caramel Layer Bars” were a legendary hit at her children’s school bake sales, always selling out in record time. Sandy often speaks about her creative process, revealing that she has tweaked this recipe countless times over the years. She’s experimented with various cookie bases, different types of nuts, and an array of candy flavors, constantly adapting it based on what ingredients she has on hand. This adaptability and her knack for creating delicious, yet simple desserts are truly inspiring, making this recipe a testament to home baking ingenuity.
[feast_advanced_jump_to]
Key Ingredients for These Decadent Layer Bars
Crafting these amazing 5-layer chocolate cookie bars begins with selecting the right ingredients. Each component plays a vital role in achieving the perfect balance of flavor and texture. Here’s a closer look at the key elements:
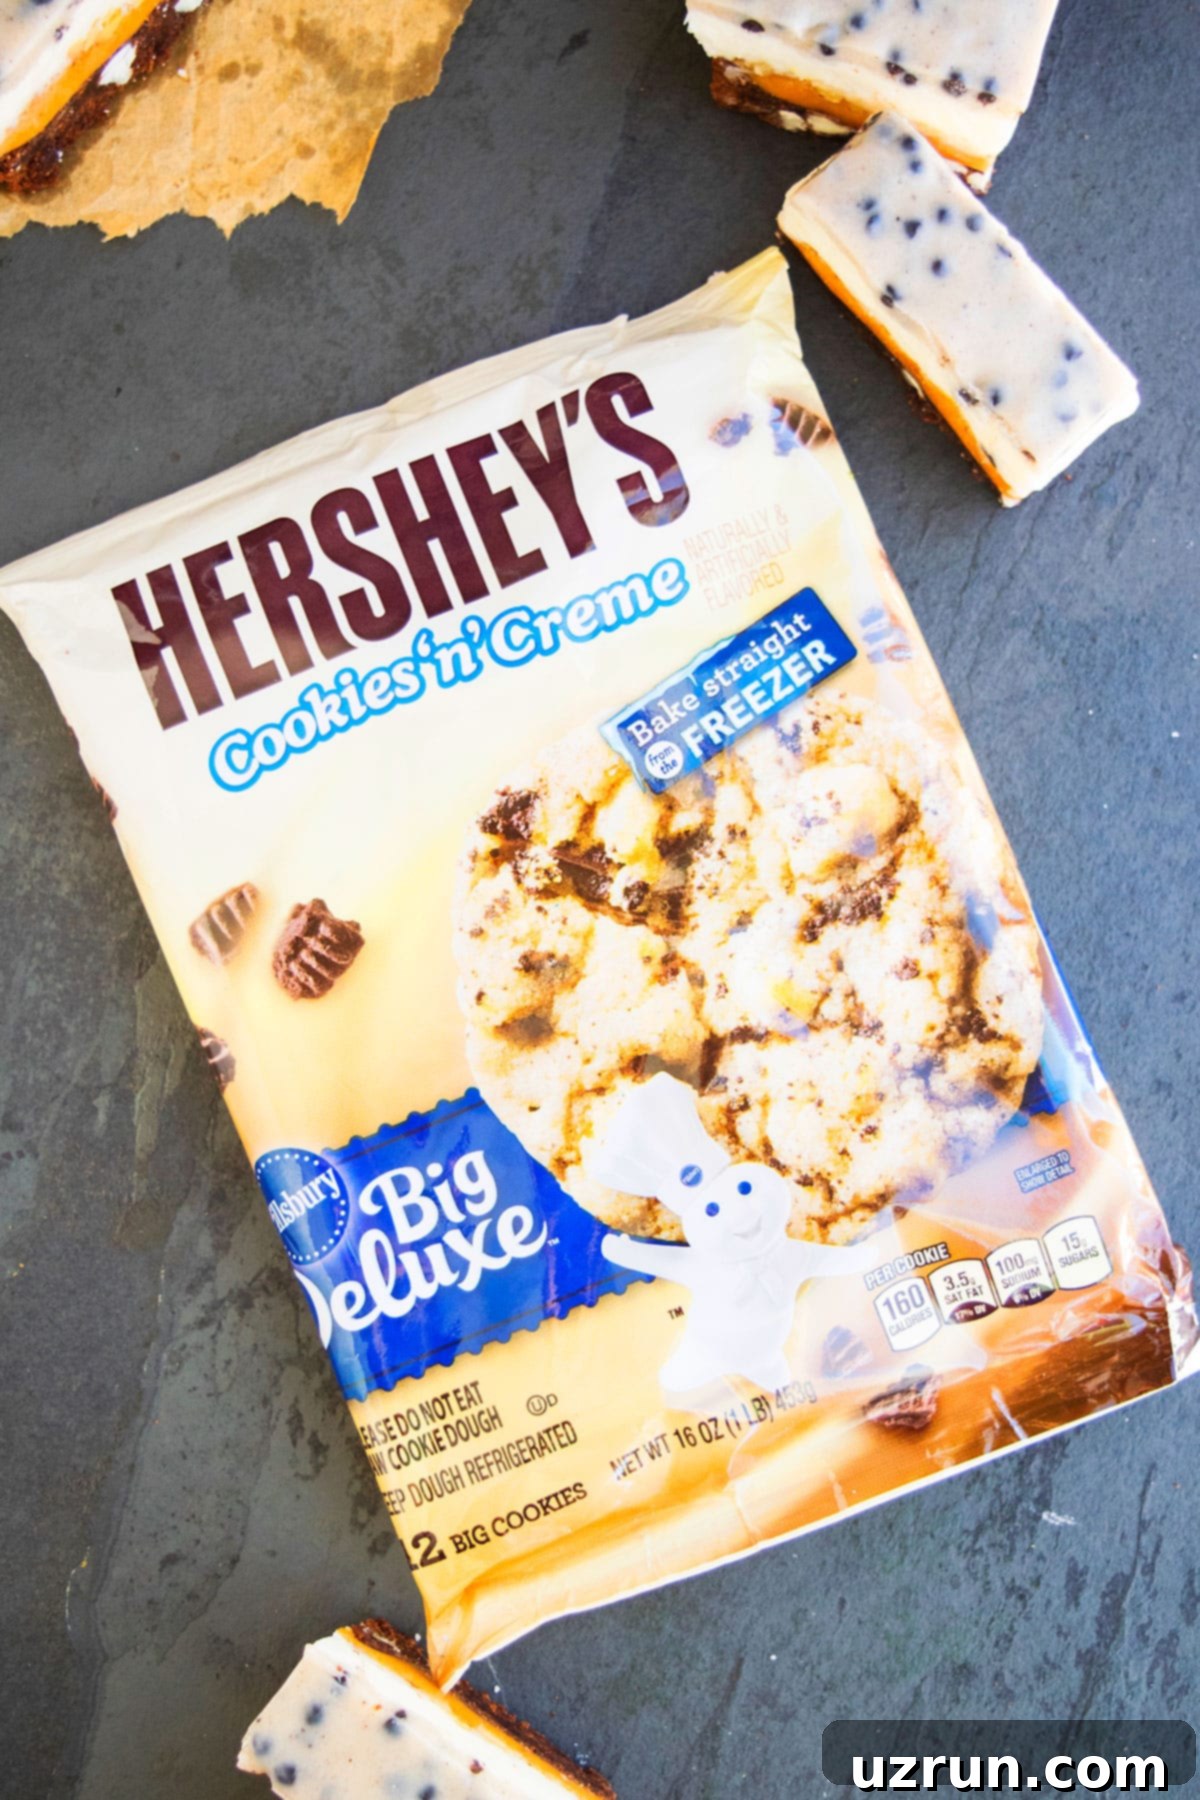
- Cookie dough: For ultimate convenience and consistent results, I highly recommend using a high-quality refrigerated cookie dough, such as the Pillsbury brand. Its ease of use drastically cuts down prep time, allowing you to focus on assembling the delicious layers.
- Cocoa powder: This is where the rich chocolate flavor of the base comes from. Opt for a good quality unsweetened cocoa powder; the better the quality, the deeper and more luxurious the chocolate taste will be in your cookie base.
- Butter: Unsalted butter is crucial for both the buttercream and the chocolate topping. Using unsalted butter allows you to control the saltiness of the overall dessert, ensuring a perfectly balanced sweet and slightly salty profile.
- Caramel: The star of the middle layer, providing that irresistible ooey-gooey texture. It’s essential to use caramel bits that melt down into a thick, firm-setting layer, not a thin caramel sauce (more on this in the tips section!).
- Heavy cream: This ingredient is vital for creating the rich, creamy consistency of both the caramel layer and the luscious buttercream frosting. Its high-fat content ensures a stable and decadent result.
- Pecans: Roughly chopped pecans add a wonderful textural contrast and a delightful nutty flavor that complements the chocolate and caramel beautifully. Toasting them lightly beforehand can enhance their aroma and crunch.
- Sugar: Regular granulated sugar is used in the caramel, while powdered sugar is essential for the smooth, melt-in-your-mouth buttercream frosting.
- Candy bars: For the top layer, I used Hershey’s Cookies ‘n’ Cream bars, which provide a fantastic creamy white chocolate and cookie crunch. However, feel free to get creative and choose your favorite white chocolate or a similar candy bar for a personalized touch.
Delicious Variations to Customize Your Cookie Bars
One of the best things about these 5-layer chocolate cookie bars is their versatility. While the original recipe is divine, don’t hesitate to get creative and customize them to your liking. Here are some exciting variations to inspire your next batch:
- Peanut Butter Perfection: For all the peanut butter lovers out there, this variation is a dream! Simply swap the chocolate cookie dough base for refrigerated peanut butter cookie dough. Then, replace the traditional buttercream with my rich and creamy Peanut Butter Frosting. The combination of peanut butter and chocolate layers creates an unbelievably satisfying treat.
- Sweet Sugar Cookie Option: If you prefer a lighter, sweeter base, use refrigerated sugar cookie dough. A classic sugar cookie base provides a delightful contrast to the rich caramel and chocolate layers. For a completely homemade touch, try my Easy Sugar Cookie (Soft and Chewy) Recipe for the base layer.
- Rich Brownie Base: Craving an even deeper chocolate experience? Replace the cookie base with a fudgy brownie layer. This will transform the texture entirely, making it more decadent and extra rich – a true chocolate lover’s fantasy!
- Chocolate Chip Cookie Dough: If you’re a fan of classic chocolate chip cookies, you can easily adapt the base. I’ve personally made these with my Best Chocolate Chip Cookie dough, and the results are absolutely phenomenal. The hints of chocolate chips throughout the base add another layer of flavor and texture.
- Oatmeal for Chewiness: To introduce an additional chewy texture and a wholesome flavor, mix some quick oatmeal into your cookie dough base. This adds a rustic charm and a satisfying chew that pairs wonderfully with the other layers.
- Load It Up with Extras: Don’t be shy about adding more goodies! Toss some colorful M&Ms, crunchy toffee bits, or extra mini chocolate chips into one of the layers – perhaps over the caramel or mixed into the buttercream – for an explosion of flavor and an extra chocolatey crunch.
- Salted Caramel Dream: Elevate the caramel layer by adding a sprinkle of flaky sea salt on top before it sets. This creates a sophisticated sweet and salty flavor profile that perfectly balances the richness of the bars.
- Explore Different Nuts: While pecans are fantastic, feel free to experiment with other nuts. Walnuts offer a slightly more bitter, earthy flavor, almonds provide a delicate crunch, and pistachios add a beautiful color and unique taste. Choose your favorite to customize the crunch and flavor profile.
How to Make Easy 5-Layer Chocolate Cookie Bars
Making these impressive 5-layer chocolate cookie bars is simpler than you might think. Follow these step-by-step visual instructions to create a dessert that looks and tastes like it came from a gourmet bakery!
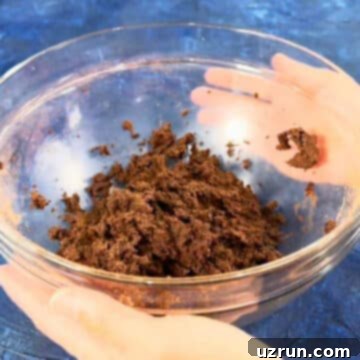
1. Prepare the Chocolate Cookie Dough: In a mixing bowl, combine the refrigerated cookies ‘n’ creme cookie dough with cocoa powder. Crumble the dough and knead it thoroughly until the cocoa powder is completely incorporated, resulting in a uniformly dark and chocolatey mixture. This forms the delicious base of your bars.
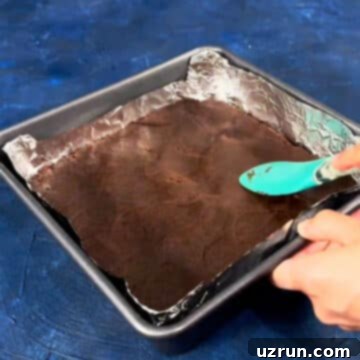
2. Pat Down the Mixture: Once your chocolate cookie dough is mixed, use a rubber spatula or the back of a spoon to press the mixture evenly into your prepared 8-inch square baking pan. Ensure the layer is compact and extends to all corners for a uniform base.
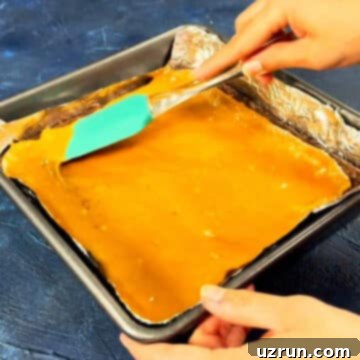
3. Pour Thick Melted Caramel: After baking and cooling your cookie base, prepare the luscious caramel layer. Carefully pour the thick, melted caramel evenly over the cookie base. Spread it gently to cover the entire surface, ensuring every bite will have that irresistible gooey sweetness.
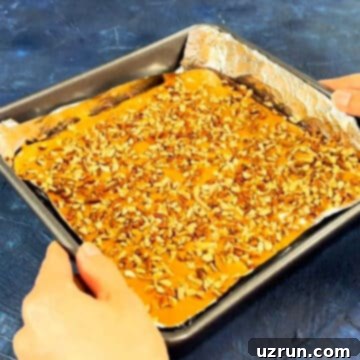
4. Toss with Pecans and Set: Generously sprinkle the roughly chopped pecans over the warm caramel layer. Gently press them down so they adhere to the caramel. Allow this layer to cool and set, which will firm up the caramel and secure the nuts, adding a delightful crunch. This is a critical step for defined layers.
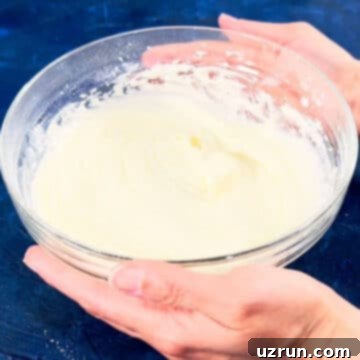
5. Mix Together Frosting Ingredients: In a clean bowl, combine the melted butter, heavy whipping cream, and powdered sugar. Beat these ingredients together until they form a thick, smooth, and creamy buttercream frosting. The consistency should be spreadable yet firm enough to hold its shape.
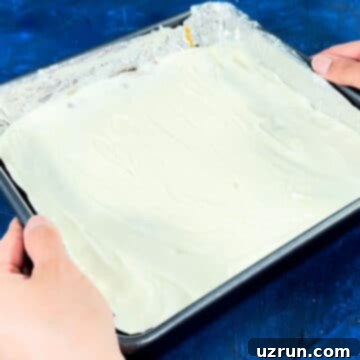
6. Spread the Frosting: Once the caramel and pecan layer has completely set, gently spread the prepared buttercream frosting evenly over it. Take your time to create a smooth, beautiful layer. Allow this frosting layer to chill and set fully before proceeding to the final step.
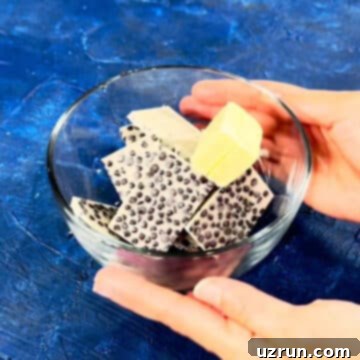
7. Melt Butter and Candy Bars: For the final layer, break the cookies ‘n’ creme candy bars into pieces and combine them with the remaining butter in a microwave-safe bowl. Microwave in short intervals, stirring every 30 seconds, until the mixture is completely smooth and melted. This creates a rich, pourable topping.
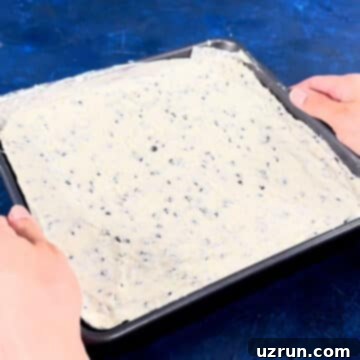
8. Spread as the Top Layer and Chill: Pour the melted candy bar and butter mixture evenly over the set buttercream layer. Spread it smoothly to create a beautiful, glossy finish. Once complete, refrigerate the entire pan for a minimum of 2 hours, or until the center is completely firm. This final chill is essential for clean slicing and perfectly set layers.
Expert Tips and Techniques for Perfect Layer Bars
Achieving perfectly layered, delicious cookie bars is all about paying attention to a few key details. These tips and techniques will help you avoid common pitfalls and ensure your chocolate cookie bars turn out flawlessly every single time:
- Use Unsalted Butter: Always opt for unsalted butter in baking unless the recipe specifically calls for salted. This allows you to control the exact amount of salt in your recipe, preventing your bars from becoming overly salty and maintaining the intended sweet balance.
- Heavy Cream is Non-Negotiable: For the creamy textures in both the caramel and buttercream, heavy cream is essential. Do not substitute it with any other kind of milk, such as evaporated milk or half and half. These alternatives have a lower fat content and will not provide the necessary richness or setting properties, leading to a runny, unsuccessful result.
- Caramel Bits, Not Sauce: This is a critical distinction! For the caramel layer to set firmly and hold its shape, you must use melted caramel bits (like Kraft Caramels). Caramel sauce, while delicious, is designed to remain liquid or soft and will result in a messy, unset layer.
- Chill Completely Before Slicing: Patience is key! It’s absolutely crucial to chill the bars completely until all layers are firm before you attempt to slice them. If you cut into them too soon, the layers will smudge, blend together, and create a messy, unappealing presentation.
- Allow Each Layer to Set: Similarly, allow each individual layer to set firmly before adding the next one. This progressive chilling is what creates those beautiful, distinct lines between your 5 layers. Rushing this process will cause the layers to bleed into each other, compromising the visual appeal and texture.
- Do Not Use Hot Cocoa Powder: Cocoa powder (unsweetened baking cocoa) and hot cocoa powder are entirely different products. Hot cocoa powder contains sugar, milk solids, and often other additives, which will drastically alter the taste and texture of your cookie base. Always use unsweetened baking cocoa for this recipe.
- Microwaving Ingredients Safely: When microwaving ingredients like caramel or chocolate, always use a microwave-safe bowl. To ensure even melting and prevent burning, microwave in short bursts (e.g., 30-second intervals) and stir thoroughly after each interval until the mixture is smooth.
- Proper Pan Preparation: Line your baking pan with parchment paper, leaving an overhang on the sides. This creates “handles” that will make it incredibly easy to lift the entire slab of cooled bars out of the pan for clean slicing. Lightly grease the pan before adding parchment for extra security.
Frequently Asked Questions About Layered Cookie Bars
Have questions about making these incredible 5-layer chocolate cookie bars? Here are answers to some of the most common queries to help you achieve perfect results!
For immaculate, clean slices, ensure your bars are thoroughly chilled and firm. Next, run a sharp knife under hot water, then immediately wipe it completely dry with paper towels. Make your first cut, then repeat the hot water and drying process for each subsequent cut. This prevents sticking and ensures each bar looks professional and neat.
There are a couple of common reasons for unset bars. Firstly, it’s crucial to allow ample time for each individual layer to set and firm up before adding the next one. Rushing this process can lead to soft, muddy layers. Secondly, ensure you’re using caramel bits that are designed to set, rather than a liquid caramel sauce. Always follow the recipe precisely, measuring all ingredients accurately, and you should have perfectly set, delightful bars!
No, caramel sauce will not work for this recipe. Caramel sauce is formulated to remain soft or liquid, which means it will not set firmly enough to create a distinct, stable layer in your bars. You absolutely must use melted caramel bits (like Kraft Caramels) to ensure the caramel layer becomes firm and holds its shape within the stacked dessert.
Absolutely! These 5-layer chocolate cookie bars are fantastic for making in advance. You can prepare them up to 3 days ahead of time. Just make sure to store them properly in a sealed, airtight container in the refrigerator to maintain their freshness and texture.
While Pillsbury cookies ‘n’ creme cookie dough is recommended for convenience and a specific flavor profile, you can certainly experiment with other refrigerated chocolate chip or sugar cookie doughs, or even a homemade chocolate cookie dough. Just ensure it’s a dough that bakes up relatively firm to form a sturdy base for the layers.
Storage and Shelf Life
Proper storage is key to keeping these delectable 5-layer chocolate cookie bars fresh and delicious for as long as possible. Here’s how to best store your leftovers:
- Make Ahead: These bars are an excellent option for meal prep or party planning! You can bake and assemble them up to 3 days in advance. Just be sure to keep them stored in a sealed, airtight container in the refrigerator to maintain their optimal freshness and prevent them from drying out.
- Room Temperature: Due to the fresh ingredients like butter and heavy cream in the buttercream, these bars are not recommended for extended storage at room temperature. They can be left out for a maximum of 5 hours, but beyond that, they should be refrigerated to ensure food safety and maintain their structure.
- Refrigerate: For best results and to preserve their rich flavor and distinct layers, always store any leftover bars in an airtight container in the refrigerator. They will stay fresh and delicious for up to 3 days. Ensure the container is truly airtight to prevent any freezer burn or absorption of other fridge odors.
- Freeze: Unfortunately, these particular 5-layer bars do not freeze well. The various layers, especially the caramel and buttercream, tend to change texture upon thawing, often becoming grainy or overly soft. For the best eating experience, it’s best to enjoy them fresh from the fridge within a few days.
More Delightful Dessert Bar Recipes
If you love the convenience and deliciousness of dessert bars, you’re in luck! Here are some other fantastic bar recipes from my collection that are sure to satisfy your sweet cravings:
- Chocolate Oatmeal Bars (Crumb Bars): A hearty and comforting bar with a delicious crumbly topping.
- Homemade Granola Bars (No Bake): Perfect for a quick, healthy-ish snack without turning on the oven.
- Snickerdoodle Bars: All the warm, cinnamon-sugar goodness of snickerdoodle cookies in an easy bar format.
- Date Bars or Squares (No Bake): A sweet, chewy, and naturally flavorful treat that’s incredibly simple to make.
- Best Rice Krispie Treats: The ultimate classic, perfectly chewy and always a crowd-pleaser.
Recipe
Chocolate Cookie Bars (5 Layers)
Abeer Rizvi
Pin Recipe
Want to Save This Recipe?
Enter your email & I’ll send it to your inbox. Plus, get great new recipes from me every week!
By submitting this form, you consent to receive emails from CakeWhiz
Ingredients
- 1 package Refrigerated cookies ‘n’ creme cookie dough 16 oz, Pillsbury brand
- ¼ cup Cocoa powder
- 11 oz Caramel bits
- 8 tablespoon Heavy cream
- ¾ cup Pecans Roughly chopped
- 8 tablespoon Butter Unsalted
- 3 cups Powdered sugar
- 3 bars HERSHEY’S cookies ‘n’ creme candy 1.55 oz each
Instructions
-
Preheat your oven to 350 degrees F (175 degrees C).
-
In a mixing bowl, crumble the refrigerated cookies ‘n’ creme cookie dough and knead in the cocoa powder until the mixture is thoroughly combined and uniformly chocolatey.
-
Press this prepared cookie dough mixture evenly into the bottom of an 8-inch square baking dish that has been lined with parchment paper, ensuring it covers the entire base.
-
Bake for 18 to 20 minutes, or until the cookie base is fully set and lightly golden at the edges. Remove from oven and let it cool completely for at least 20 minutes on a wire rack.
-
In a microwavable bowl, combine the caramel bits and 2 tablespoons of heavy whipping cream. Microwave uncovered on High for 1 ½ to 2 ½ minutes, stirring thoroughly every 30 seconds, until the caramel is completely smooth and melted.
-
Carefully pour the thick, melted caramel mixture evenly over the cooled cookie bar base. Use a spatula to spread it to the edges.
-
Generously sprinkle the chopped pecans over the caramel layer. Let the bars cool at room temperature for about 20 minutes, or until the caramel has set and become firm.
-
In a separate microwavable bowl, microwave 6 tablespoons of the unsalted butter uncovered on High for 30 to 40 seconds, or until it is completely melted.
-
Add the powdered sugar and the remaining 6 tablespoons of heavy whipping cream to the melted butter. Beat with an electric mixer or whisk until the mixture is smooth, thick, and creamy, forming a perfect buttercream frosting.
-
Pour and spread this buttercream frosting evenly over the pecan and caramel layer. Refrigerate for about 1 hour, or until the frosting layer has fully set and is firm to the touch.
-
In a small microwavable bowl, combine the broken pieces of the HERSHEY’S cookies ‘n’ creme candy bars and the remaining 2 tablespoons of unsalted butter. Microwave uncovered on Medium (50% power) for 1 minute to 1 minute 30 seconds, stirring every 30 seconds, until the mixture is smooth and fully melted.
-
Carefully spread this melted chocolate mixture evenly over the set buttercream layer, creating the final, glossy top.
-
Refrigerate the entire pan for at least 2 hours, or until the very center of the bars is completely firm. This prolonged chilling is essential for clean cuts.
-
Once fully chilled, remove the bars from the pan using the parchment paper overhang. Cut into 8 rows by 4 rows (or desired size) with a sharp, hot knife (wiping it clean after each cut for best results). Enjoy your perfectly layered, delicious chocolate cookie bars!
Video
Notes
- Cocoa Powder vs. Hot Cocoa Powder: Always use unsweetened baking cocoa powder, not hot cocoa powder. Hot cocoa powder contains sugar and other additives that will alter the recipe’s intended flavor and texture.
- Heavy Cream is Essential: Please do not attempt to replace heavy cream with evaporated milk or half-and-half. I’ve tried this, and it was not successful, as these substitutes do not provide the necessary fat content to create stable, creamy layers.
- Patience for Perfect Slices: Do not even attempt to cut slices until all the layers have completely set and become firm. This requires significant chilling time. Cutting too early will result in a sticky, crumbly mess where layers blend together.
- Customizable Cookie Base: Feel free to experiment with other flavors of cookie dough for the base. This can include store-bought refrigerated dough or even your favorite homemade-from-scratch cookie dough recipe.
- Alternate Nut Options: While pecans offer a classic flavor, try other nuts for a different taste profile. Walnuts, almonds, or pistachios can all add unique crunch and flavor to your bars.
- Additional Tips and Variations: Remember to read the “Tips and Techniques” and “Variations” sections above for more ideas on customization and ensuring successful results.
- Storing Leftovers: Leftover bars can be stored in a sealed, airtight container in the fridge for up to 3 days. Freezing is not recommended as the texture of the layers can degrade upon thawing.
Nutrition
An automated tool is used to calculate the nutritional information. As such, I cannot guarantee the accuracy of the nutritional information provided for any recipe on this site.
