Easy Homemade Chocolate Caramel Apples: Your Ultimate Fall Dessert Recipe
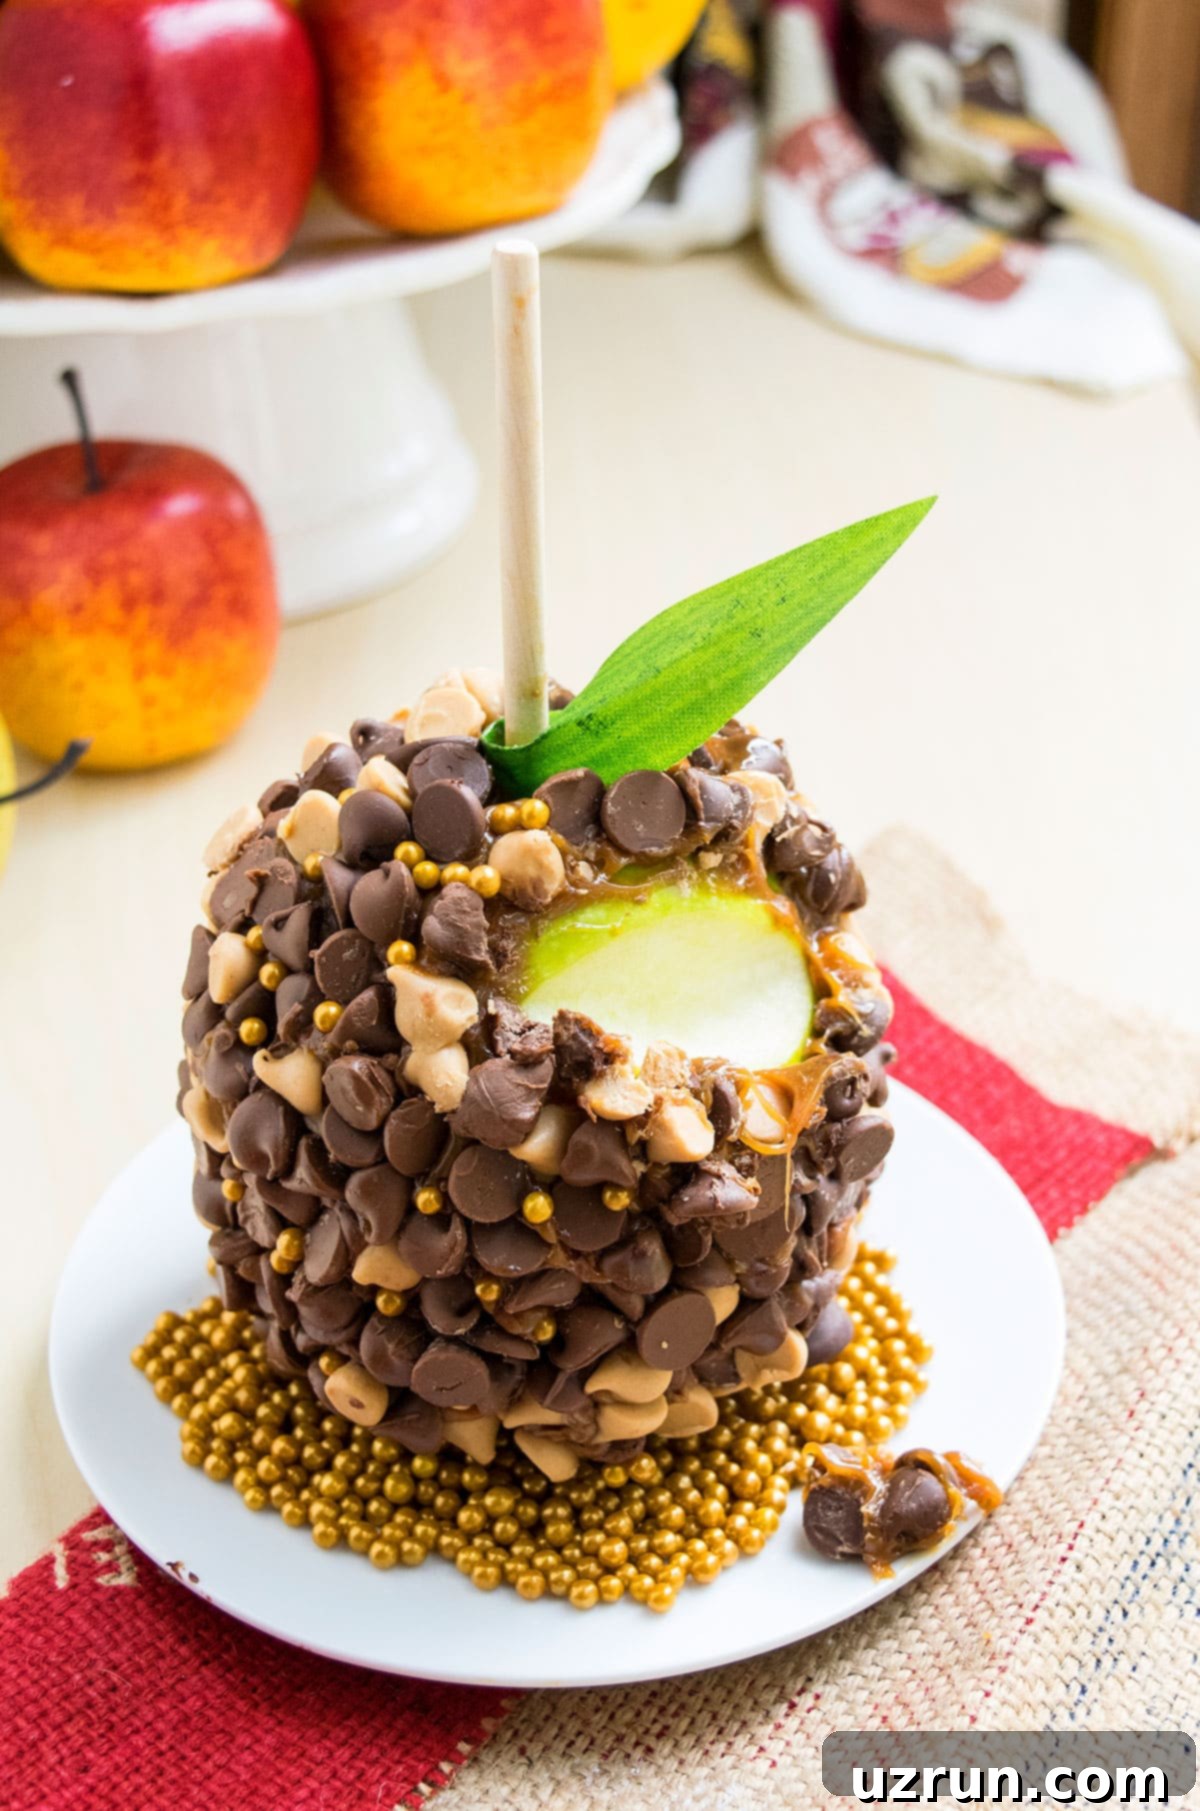
Step into the delightful world of autumn flavors with this incredible recipe for homemade chocolate caramel apples. This indulgent treat effortlessly combines the crisp, refreshing taste of fresh apples with the rich, chewy embrace of caramel, all enveloped in a generous layer of luscious, melt-in-your-mouth chocolate. Forget store-bought; these gourmet dipped apples rival those from your favorite confectionery, like the ones you’d find at Rocky Mountain Chocolate Factory, but with the added warmth and satisfaction of a homemade creation. They are truly a showstopper for any Fall gathering, Halloween celebration, or Thanksgiving feast, and make for a wonderfully thoughtful homemade gift.
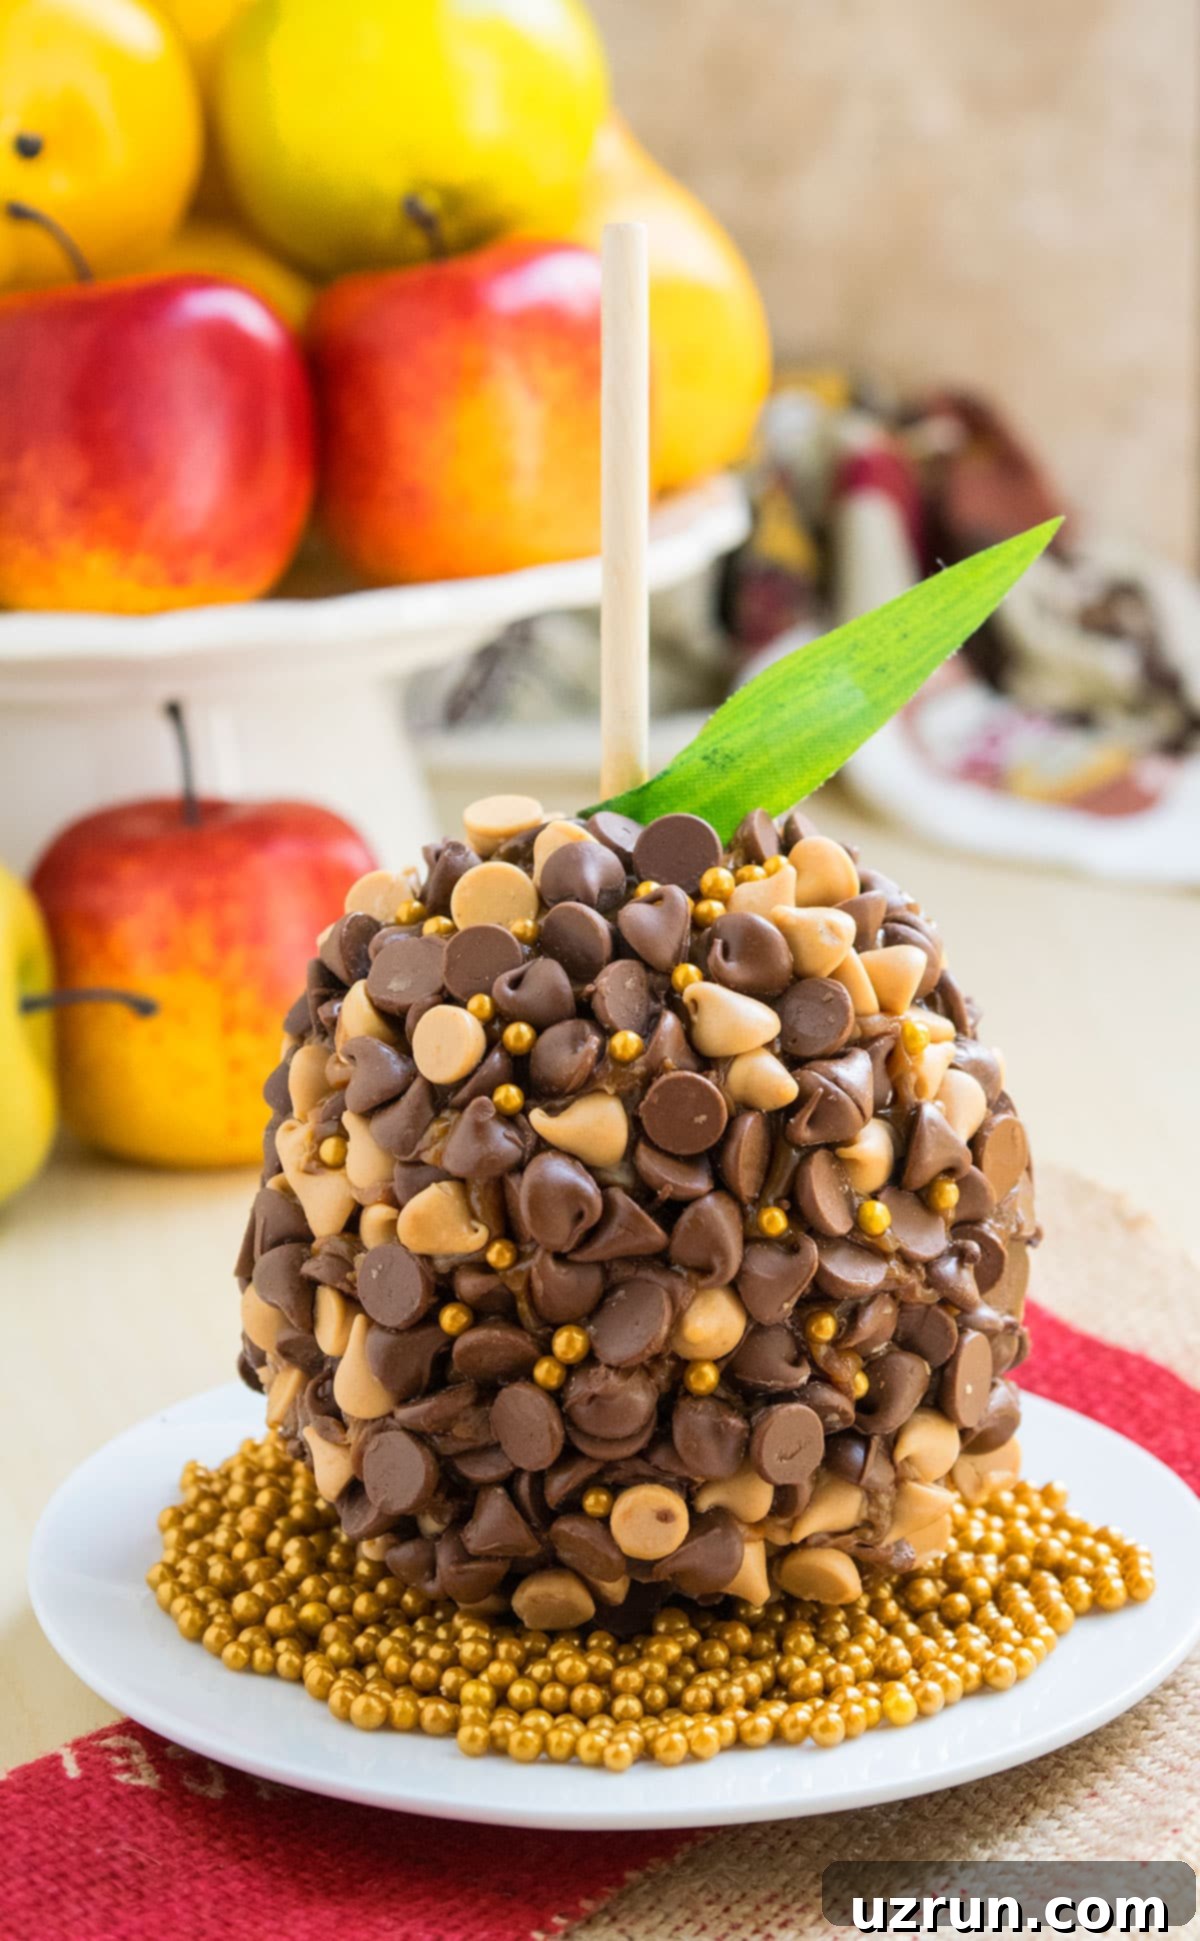
This recipe is not only a fantastic way to enjoy the bountiful apple harvest of the season but also an enjoyable activity for the whole family. The beauty of making your own chocolate caramel apples lies in the endless possibilities for customization, allowing you to create personalized treats that cater to every taste bud. Whether you prefer a simple coating or an elaborate ensemble of toppings, these apples are guaranteed to be a hit. In my family, these gourmet apples are always eagerly anticipated alongside other autumnal favorites like Apple Nachos and delightful Mini Apple Strudels. Get ready to impress your guests and satisfy your sweet cravings with this ultimate fall dessert!
Table of contents
- Key Ingredients for Perfect Caramel Apples
- How to Make Easy Homemade Caramel Apples from Scratch
- Irresistible Topping Options for Gourmet Dipped Apples
- Expert Tips and Techniques for Success
- Storage Solutions for Taffy Apples
- More Delicious Apple Desserts
Key Ingredients for Perfect Caramel Apples
Creating truly gourmet chocolate caramel apples starts with selecting the right ingredients. Here’s a closer look at what you’ll need:
- Caramel: The secret to a perfect, thick, and chewy caramel coating is consistency. While making caramel from scratch can be rewarding, I highly recommend using readily available soft and chewy caramel candies (like Kraft caramels) for this recipe. Melting them down provides a consistently thick texture that adheres beautifully to the apples without being too sticky or running off. This method saves significant time and ensures a foolproof result every time. My Homemade Caramel Sauce Recipe is delicious, but its thinner, syrup-like consistency is not ideal for dipping whole apples.
- Apples: The foundation of this treat! For the best balance of flavors, opt for good quality, firm apples. Granny Smith apples are a classic choice due to their tartness, which perfectly cuts through the richness of the caramel and chocolate. Honeycrisp apples are another excellent option, offering a delightful sweet-tart flavor profile and a satisfying crunch. Ensure your apples are free from blemishes and have a firm texture.
- Chocolate Chips: The quality of your chocolate makes a huge difference in the final taste. Invest in high-quality chocolate chips or melting wafers. Semi-sweet chocolate is a popular choice, but feel free to experiment with dark chocolate for a more intense flavor, milk chocolate for a sweeter profile, or white chocolate for a creamy contrast. For an extra touch of fun, I sometimes add peanut butter chips for a delightful flavor combination.
- Edible Pearls: While optional, edible pearls or sprinkles add a beautiful, professional touch, transforming your homemade apples into truly gourmet gifts. These come in various colors and sizes, allowing for creative decoration.
- Wooden Lollipop Sticks: Crucial for ease of dipping and eating! Make sure to choose sturdy wooden sticks that can support the weight of a fully coated apple.
How to Make Easy Homemade Caramel Apples from Scratch?
Making these indulgent treats is simpler than you might think! Follow these easy steps for delicious results:
- Prepare the Apples: Start by thoroughly washing and drying all your apples. This step is critical to remove any waxy residue that might prevent the caramel from sticking. Pat them completely dry with paper towels.
- Insert Sticks: Carefully push a sturdy wooden stick into the core of each apple. Push firmly but gently, ensuring the stick is securely lodged, as the apples will become quite heavy once coated.
- Melt the Caramel: Melt your thick caramel candies. You can do this using a double boiler for even heat or in a heat-safe bowl in the microwave, stirring frequently until smooth and completely melted. Use a deep bowl to make dipping easier and ensure a good coating.
- Dip in Caramel: Holding the apple by its stick, dip it into the melted caramel, rotating to ensure an even coating. Allow any excess caramel to drip off before placing the apple on a parchment-lined baking sheet.
- Chill to Set Caramel: Transfer the caramel-dipped apples to the refrigerator for about 15-20 minutes. This chilling period helps the caramel set firmly, creating a stable base for the chocolate and toppings.
- Add Chocolate and Toppings: Once the caramel is set, melt your chocolate chips using the same method as the caramel. Dip the caramel-coated apples into the melted chocolate, or drizzle the chocolate over them, covering as much or as little as you desire. Immediately after dipping in chocolate, apply your chosen toppings (like additional chocolate chips or edible pearls) before the chocolate sets.
- Final Chill: Return the fully decorated apples to the refrigerator for another 30-45 minutes to allow the chocolate and toppings to set completely. Once firm, they are ready to serve or store.
Irresistible Topping Options for Gourmet Dipped Apples
This is where you can truly let your creativity shine! Dipped apples are a blank canvas for a myriad of delicious and visually appealing toppings. Here are some fantastic ideas to elevate your gourmet apples:
- Nuts: A classic choice for a reason!
- Peanuts: Whether salted or unsalted, chopped peanuts add a satisfying crunch and a savory contrast to the sweet coatings.
- Almonds: Sliced or slivered almonds offer a delicate crunch. Lightly toasting them beforehand enhances their nutty flavor.
- Pistachios: Roughly chopped pistachios provide a beautiful green color and a distinct, slightly sweet flavor.
- Walnuts: Coarsely chopped walnuts contribute a robust flavor and a hearty crunch.
- Pecans: Small pecan bits or chips are perfect for sticking to the apple and offer a buttery, earthy taste.
- Sprinkles and Sugar Crystals: Super fun and endlessly versatile! Choose colors and shapes to match any holiday or theme. Colored sugar crystals sparkle beautifully, especially on white chocolate. Larger sprinkles can add a festive touch for occasions like Halloween or Christmas.
- Coconut: Shredded coconut pieces, sweetened or unsweetened, provide a lovely texture and tropical hint. Adjust based on your desired sweetness level.
- White Chocolate: Drizzle melted white chocolate over dark or milk chocolate for an elegant contrast, or use white chocolate chips as a textural topping.
- Cinnamon Sugar: A simple yet incredibly effective topping. Mix 1 tablespoon of ground cinnamon with ¼ cup of granulated sugar for the perfect ratio. Sprinkle this mixture over the apple while the caramel or chocolate is still wet. This pairs exceptionally well with white chocolate.
- Candies: Get playful with crushed candies!
- Crushed Peppermints: Ideal for a festive winter treat, offering a cool, minty crunch.
- Nerds or Mini M&Ms: Add a burst of color and a delightful textural pop.
- Chopped Candy Bars: Crush your favorite chocolate bars (Snickers, Heath, Butterfinger) for a truly decadent experience.
- Chopped Oreos: Crushed Oreo cookies (with or without the cream filling, depending on how sweet you like it) offer a rich chocolatey flavor and a satisfying texture. Ensure the pieces are small enough to adhere well.
- Graham Crackers: Crushed graham crackers, regular or cinnamon-flavored, add a cozy, comforting crunch reminiscent of s’mores.
- Pretzels: For a delicious salty-sweet combination, crush some pretzels and sprinkle them over the chocolate layer.
- Dried Fruits: Finely chopped dried cranberries, cherries, or apricots can add a chewy texture and fruity tang.
Expert Tips and Techniques for Success
Achieving perfectly coated, gourmet chocolate caramel apples is easier with a few insider tips:
Remember to wash apples properly: This is perhaps the most crucial step! Apples often have a waxy coating that can prevent the caramel and chocolate from adhering. To remove this, you can simply use organic apples that typically have less wax. For conventional apples, a quick dip in a mixture of 1 cup of boiling water with ½ teaspoon of white vinegar for 4-5 seconds will do the trick. Immediately after, dry them thoroughly with kitchen towels. Any moisture or wax can lead to the coatings sliding off.
Use good quality ingredients: The flavor of your finished apple treat is directly proportional to the quality of your ingredients. Ripe, crisp apples, high-quality caramel candies, and premium chocolate chips will yield the most delicious results.
Use thick wooden popsicle sticks: Do not underestimate the weight of a fully coated apple! Thin plastic lollipop sticks or straws are prone to bending and breaking, making the dipping process frustrating and the eating experience messy. Sturdy wooden sticks are essential for a good grip and support.
If you have leftover melted chocolate or caramel: Don’t let it go to waste! These delicious leftovers are perfect for dipping other treats. Try large marshmallows, Oreo cookies, or graham crackers. Speaking of crackers, you absolutely must try these Chocolate Covered Graham Crackers – they are mind-blowing and a great way to use up any excess!
Adjust chocolate and caramel quantities: The amount of chocolate and caramel you’ll need can vary based on the size of your fruit. I prefer using larger apples, and I often end up with a bit of leftover sauce. However, I always advise having more on hand than you think you’ll need. It’s much less stressful to have extra for dipping other items than to run out midway through and have to melt more.
Why did my caramel coating get hard? If your caramel coating becomes glass-like and brittle, it’s typically a sign that the caramel was cooked for too long or at too high a temperature. When melting caramel candies, use gentle heat and stir frequently to prevent scorching and over-thickening. For homemade caramel, using a candy thermometer is key to achieving the perfect consistency.
Consider using apple slices for ease: For a less messy, bite-sized option, cut your apples into thick wedges. Insert a small stick into each slice, then dip each slice halfway into caramel, followed by melted chocolate, and finally add your favorite toppings. Arrange these “apple lollipops” on a serving dish lined with wax paper or parchment paper. They are incredibly easy to eat and perfect for parties.
Apple lollipops for kids: Smaller apples are fantastic for making “apple lollipops,” which are much more manageable and enjoyable for children. They still offer the gourmet appeal but in a kid-friendly size.
Get creative with other fruits: Don’t limit yourself to just apples! This dipping technique works wonderfully with other fruits. Try pears, pineapple wedges, orange slices, or even whole bananas. If you love bananas, you absolutely must try these Frozen Chocolate Covered Bananas!
Recipe FAQ
For best results, melt caramel candies using a double boiler to ensure gentle, even heating and prevent scorching. Alternatively, you can melt them in a heat-safe bowl in the microwave, heating in 30-second intervals and stirring thoroughly after each, until smooth and fully liquid. Using a deep bowl will make the dipping process much easier.
The key is proper apple preparation! Make sure to thoroughly rinse and dry the apples. Apples naturally have a waxy coating that can repel liquids. Removing this wax (see “Tips and Techniques” above for the vinegar method) and ensuring the apples are completely dry before dipping will help the caramel adhere perfectly.
Granny Smith apples are an excellent choice due to their tartness, which provides a wonderful contrast and balances the sweetness of the caramel and chocolate. Another fantastic option is Honeycrisp apples, known for their delightful sweet-tart notes and crisp texture that beautifully complements the rich toppings. Firm, fresh apples are always preferred.
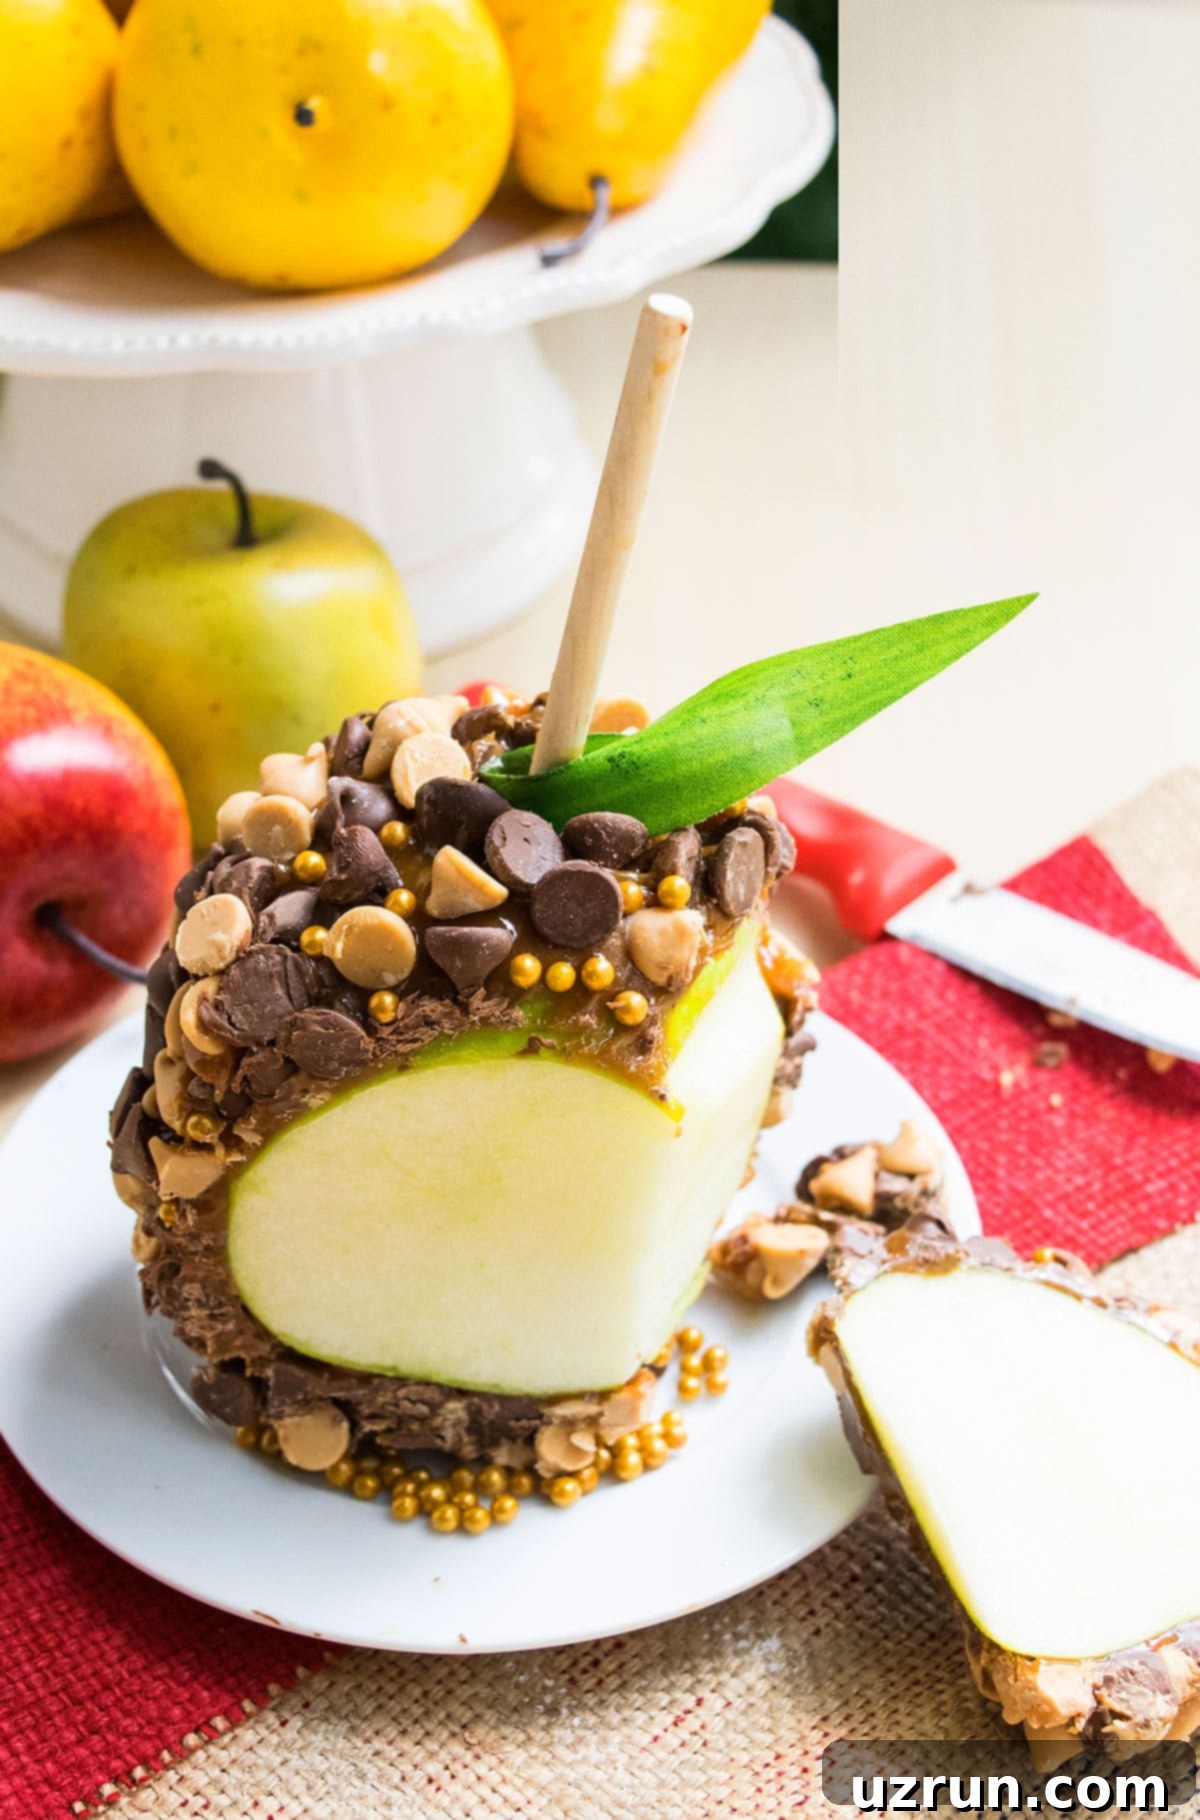
You can certainly embrace the fun and messiness by eating the whole loaded apple as is! Alternatively, for a more refined and less messy experience, use a sharp knife to carefully cut slices around the central core. This makes them much easier to enjoy and serve.
Yes, chocolate caramel apples can be made a day or two in advance. Store them in the refrigerator as outlined in the storage section. For best results, allow them to sit at room temperature for 15-20 minutes before serving to soften the caramel slightly.
Storage Solutions for Taffy Apples
Proper storage ensures your delicious chocolate caramel apples stay fresh and enjoyable for longer:
- Room Temperature: I would only recommend leaving these out at room temperature for 1-2 days at most. Because the apple has been punctured by the stick, it will start to degrade more quickly if not refrigerated.
- Fridge: The best place to store your chocolate caramel apples is in the refrigerator. Place them in a box or an airtight container to protect them from absorbing other odors and to prevent the coatings from sticking to each other. Personally, I love taking them out of the fridge and letting them sit at room temperature for 15-20 minutes before indulging. This allows the caramel to soften slightly, making it wonderfully ooey-gooey! Since the apples are punctured, they are best consumed within 3 days when stored in the refrigerator.
- Freezer: Do not freeze chocolate caramel apples. Apples do not thaw well; they become mealy and soft, compromising the texture of your delightful treat.
More Delicious Apple Desserts You’ll Love
If you’re an apple enthusiast, you’ll love exploring these other fantastic apple dessert recipes:
- Easy Applesauce Cake (With Cake Mix)
- Autumn Cake (Fall Cake)
- Apple Pie Cake (With Pie Filling)
- Easy Applesauce Muffins
- Apple Cranberry Crisp
- Easy Apple Cobbler
- Easy Apple Crisp
- Slow Cooker Fried Apples
- Sauteed Cinnamon Apples
- Baked Apple Cider Donuts
- Apple Fritters
- Easy Apple Crumble Pie
- Easy Apple Cake (With Cake Mix)
Recipe

Chocolate Caramel Apples
Abeer Rizvi
Pin Recipe
Want to Save This Recipe?
Enter your email & I’ll send it to your inbox. Plus, get great new recipes from me every week!
By submitting this form, you consent to receive emails from CakeWhiz
Ingredients
- 5 Apples Granny Smith or Honeycrisp apples, firm and crisp
- 2 bags Soft and chewy caramel candy 11 oz. bags each, such as Kraft Caramels, melted
- 5 cups High-quality Chocolate chips semi-sweet, milk, or dark chocolate
- ½ cup Edible pearls or other desired toppings like chopped nuts or sprinkles
- 5 Sturdy wooden lollipop sticks
- Green craft paper leaves optional, for decoration
Instructions
-
Thoroughly wash your apples to remove any waxy coating, and then pat them completely dry with paper towels. Ensure there is no moisture left.
-
Carefully push a sturdy wooden lollipop stick into the stem end of each apple, making sure it is securely placed in the core.
-
Melt the caramel candies in a deep, heat-safe bowl, either in the microwave (stirring every 30 seconds) or using a double boiler or saucepan over low heat, stirring until smooth and fluid. The deep bowl will facilitate easy dipping.
-
Holding each apple by its stick, dip it into the melted caramel, rotating to cover the entire apple or as much as desired. Allow any excess caramel to drip back into the bowl.
-
Place the caramel-dipped apples onto a cookie tray lined with wax paper or parchment paper.
-
Transfer the tray to the fridge for approximately 15 minutes to allow the caramel to firm up and set.
-
While the caramel sets, melt your chocolate chips using the same method as the caramel. Remove the apples from the fridge and dip them into the melted chocolate, or drizzle generously. Immediately after, before the chocolate sets, sprinkle with edible pearls or your chosen toppings.
-
Return the tray of chocolate and caramel-coated apples to the fridge for another 30-45 minutes, allowing both the caramel and chocolate to fully set and harden.
-
Prior to serving, if desired, gently stick a small craft paper leaf onto the top of each apple, next to the stick. The slight stickiness of the caramel will help it adhere. Enjoy your beautiful and delicious gourmet chocolate caramel apples!
Notes
- Always wash apples very well to remove any waxy residue. Alternatively, using organic apples can reduce this issue as they often have a less waxy layer.
- Ensure apples are dried thoroughly with kitchen towels. Any water droplets can prevent the chocolate and caramel from sticking properly.
- The exact amount of caramel sauce and melted chocolate you need may vary slightly depending on the size of your apples. It’s always better to have a bit extra to ensure full coverage.
- For additional detailed guidance, especially if you’re new to making dipped apples, please refer to the “Tips and Techniques” section earlier in this post.
- Store any leftover chocolate caramel apples in an airtight container in the refrigerator and aim to enjoy them within 3 days for the best quality and freshness.
Nutrition
An automated tool is used to calculate the nutritional information. As such, I cannot guarantee the accuracy of the nutritional information provided for any recipe on this site.
