The Ultimate Guide to Easy Homemade Buttermilk Biscuits: Fluffy, Flaky, and Ready in 30 Minutes
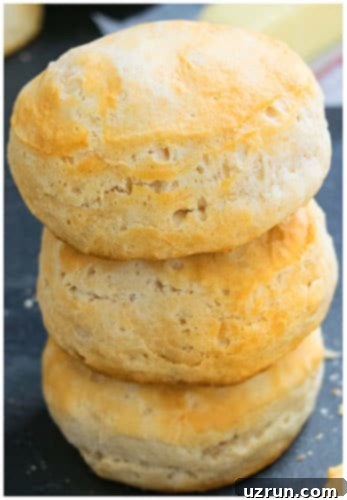
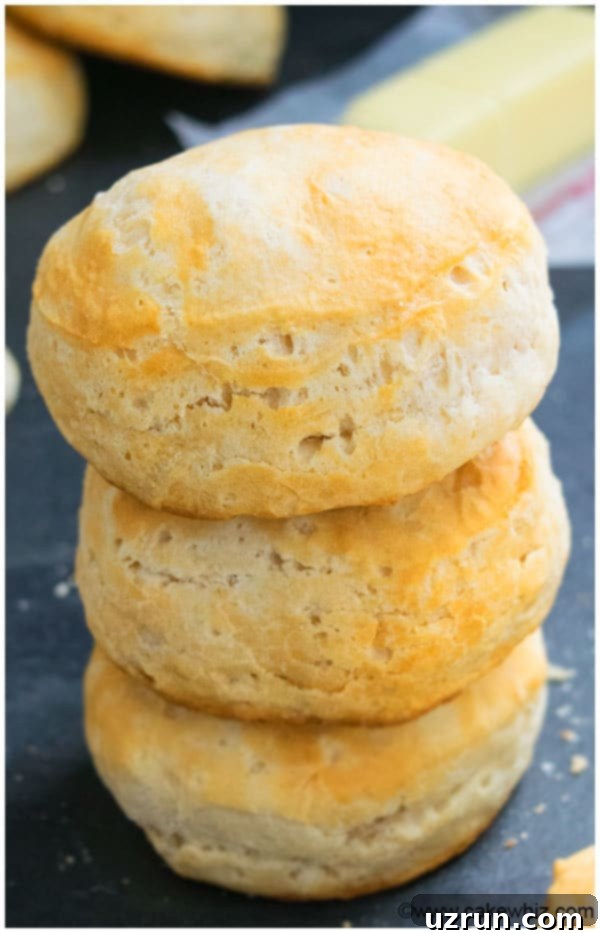
Imagine a warm, golden-brown biscuit, perfectly risen, with a crisp exterior that gives way to a soft, fluffy, and incredibly flaky interior. Now, imagine achieving this perfection in just 30 minutes, right in your own kitchen! This isn’t a dream; it’s the reality with our easy homemade buttermilk biscuit recipe. Designed for both novice bakers and seasoned pros, this no-fail recipe consistently delivers rave reviews and is sure to become a cherished family favorite.
Forget the intimidation factor often associated with baking from scratch. Our guide simplifies the process, ensuring that every batch of these delightful buttermilk biscuits is a success. Whether you’re craving a comforting breakfast, a hearty side for dinner, or a simple yet satisfying snack, these light and fluffy homemade biscuits are versatile enough to complement any meal. Get ready to bake the best buttermilk biscuits you’ve ever tasted!
Why These Homemade Buttermilk Biscuits Are a Must-Try
There’s something uniquely comforting about a freshly baked biscuit. Our easy buttermilk biscuit recipe stands out for several reasons, making it a staple in countless homes. Unlike many recipes that result in dense or dry biscuits, ours promises an exceptionally light, tender, and flaky texture every single time. The secret lies in a careful balance of ingredients and specific techniques that we’ll walk you through, ensuring a delightful eating experience that will have everyone asking for more.
Beyond their irresistible texture, these homemade biscuits boast a rich, tangy flavor thanks to the buttermilk, which also contributes to their incredible softness. They’re quick to prepare, requiring minimal effort for maximum reward, making them perfect for busy mornings or last-minute additions to any meal. This recipe is not just about making biscuits; it’s about creating moments of warmth and deliciousness that your family and friends will adore. From a simple breakfast treat with jam to a hearty accompaniment for savory dishes, these biscuits are a testament to how easy and rewarding homemade baking can be.
The Secret to Perfectly Fluffy & Flaky Buttermilk Biscuits
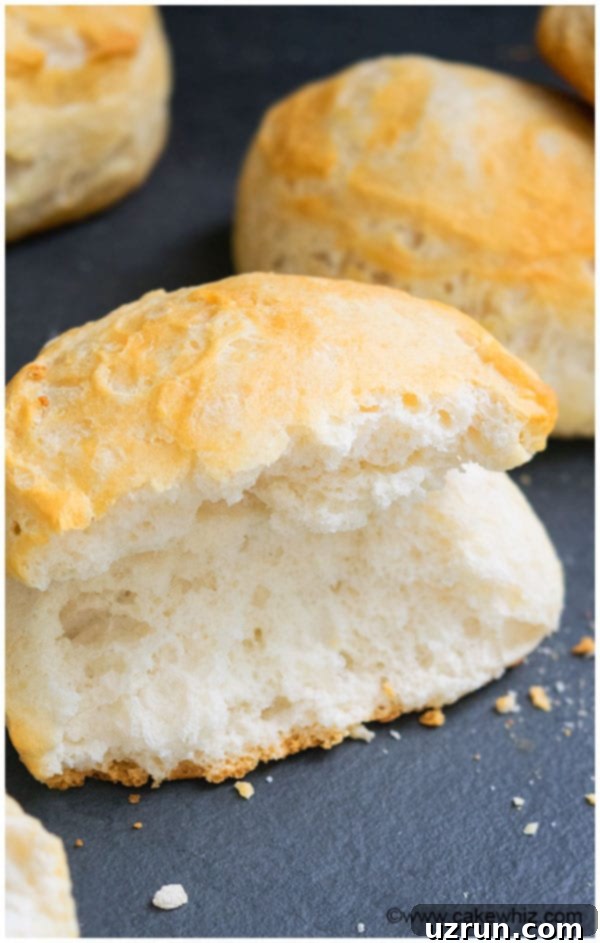
Achieving those coveted layers and a melt-in-your-mouth tenderness in homemade biscuits might seem like a culinary mystery, but it’s simpler than you think. Our recipe focuses on a few key principles that transform basic ingredients into extraordinary buttermilk biscuits. We prioritize using cold fats and gentle handling of the dough, which are crucial for developing the signature flaky texture. The cold butter creates pockets of steam during baking, pushing the layers apart and creating that desirable flakiness that defines a great biscuit.
Furthermore, the magic of buttermilk cannot be overstated. Its acidity reacts with the baking powder, producing gas that helps the biscuits rise beautifully, resulting in a lofty, airy crumb. This combination of cold butter, proper dough handling, and the leavening power of buttermilk is the foundation of our no-fail approach. Follow these simple yet effective steps, and you’ll consistently bake biscuits that are both visually appealing and incredibly delicious, making every bite a delightful experience.
Essential Tips for Flawless Buttermilk Biscuits
Baking perfect buttermilk biscuits is an art, but with these expert tips, you’ll master it in no time. Each detail plays a significant role in achieving that sought-after fluffy and flaky texture, ensuring your homemade biscuits are nothing short of spectacular.
Understanding Your Ingredients for Optimal Results
- Keep Your Butter Cold: The Flakiness Factor. This is perhaps the most critical tip for achieving truly flaky buttermilk biscuits. Cold butter, cut into small cubes, is essential. When the cold butter hits the hot oven, the water within it quickly turns into steam, creating distinct pockets that separate the layers of dough. This process is what yields those beautiful, airy layers. If your butter is melted or too soft, it will blend into the flour too much, resulting in a dense, cake-like biscuit rather than a light, flaky one. For the best results, you can even chill your butter in the freezer for 10-15 minutes before using it.
- The Butter Blend: A Flavorful Secret. While not strictly necessary for success, using a thoughtful combination of both salted and unsalted butter can significantly elevate the flavor profile of your biscuits. The unsalted butter allows you to precisely control the amount of salt in the overall recipe, preventing it from becoming too salty, while a small amount of salted butter can add a subtle depth and richness that enhances the overall taste, making your biscuits even more irresistible.
- Stick to All-Purpose Flour. Our easy buttermilk biscuit recipe is specifically developed for all-purpose flour because its particular protein content provides the perfect balance for a tender yet structured biscuit. Substituting with other types of flour, such as whole wheat (which can be too dense) or self-rising (which has its own leavening agents), will significantly alter the texture and may lead to tougher or less predictable results. For consistent success, all-purpose flour is your best bet.
- Buttermilk is Non-Negotiable. This is a crucial ingredient; do not replace buttermilk with regular milk. Buttermilk is a key player for both flavor and leavening. Its acidity reacts with the baking powder to create abundant air pockets, which are vital for the biscuits’ rise and their characteristic tenderness. Furthermore, buttermilk imparts a distinct tangy flavor that is characteristic of classic Southern biscuits, adding a delicious richness that regular milk simply cannot replicate. If you don’t have buttermilk on hand, you can create a simple substitute by adding 1 tablespoon of lemon juice or white vinegar to a measuring cup and then filling the rest with regular milk. Let it sit for 5-10 minutes until it slightly curdles, then use it as directed.
- Butter Over Oil: The Flavor and Texture Difference. While shortening or certain oils can be used in some biscuit recipes, butter is undeniably preferred for our light and fluffy buttermilk biscuits. Butter not only contributes significantly to the superior flaky texture but also infuses the biscuits with an unparalleled rich, creamy flavor that oil simply cannot replicate. The subtle difference in fat content and composition makes butter the star for truly exceptional, gourmet-quality biscuits.
- Sugar vs. Honey: A Matter of Taste. Our recipe calls for granulated sugar to provide just a touch of sweetness without overpowering the natural, savory-tangy flavors of the biscuit. Replacing sugar with honey, while an interesting substitution in some other baked goods, introduces a distinct floral or earthy flavor profile that typically isn’t appreciated in traditional buttermilk biscuits. For the authentic, classic buttermilk biscuit taste, it’s best to stick with granulated sugar.
Mastering the Dough & Cutting Technique for the Perfect Rise
- Do Not Over-Mix the Dough. This is another critical piece of advice that cannot be stressed enough. Over-mixing the dough develops the gluten in the flour too much, leading to tough, chewy biscuits instead of the desired light, tender, and melt-in-your-mouth ones. Mix the ingredients only until they are just combined and form a sticky ball. A few lumps are perfectly fine and even desirable for a rustic texture. Gentle handling and minimal mixing are key to achieving that delicate crumb structure.
- Use a Sharp Cutter, and Don’t Twist! When cutting out your round biscuits, always use a sharp biscuit cutter or even a sharp-edged cookie cutter. Press straight down firmly without twisting the cutter. Twisting the cutter inadvertently seals the edges of the biscuit dough, which unfortunately inhibits them from rising properly and forming those beautiful, tall, separate layers in the oven. A clean, straight cut allows the layers to expand upwards freely during baking. For the best rise and easy release, ensure your cutter is well-floured to prevent sticking to the dough.
Customizing Your Biscuits: Adding a Personal Touch
- Get Creative with Seasonings and Cheese. While delicious on their own, buttermilk biscuits are wonderfully adaptable and serve as an excellent base for various flavor additions. Feel free to incorporate about 1 tablespoon of your favorite savory seasonings, such as garlic powder, onion powder, a blend of Italian herbs, or fresh chopped chives or rosemary, directly into the dry ingredients. For an even more savory and indulgent twist, you can also fold in ½ cup of shredded cheese (cheddar, Parmesan, or a spicy pepper jack work wonderfully) into the dough just before forming and cutting the biscuits. These simple additions can transform your classic homemade biscuit into a unique culinary delight perfect for any occasion.
Frequently Asked Questions About Buttermilk Biscuits
Here are some common questions and detailed answers to help you master the art of making and enjoying your homemade buttermilk biscuits.
How to Make Homemade Biscuits from Scratch?
Our recipe provides a straightforward and highly effective approach to making delicious homemade biscuits from scratch. The process typically involves combining dry ingredients (flour, baking powder, sugar, salt), cutting in cold butter until the mixture resembles coarse crumbs, then adding buttermilk to form a sticky dough. The dough is then gently folded and rolled a few times to create layers before being cut into rounds. A key differentiator for our recipe is that these light and fluffy buttermilk biscuits are made without shortening, lard, or oil, relying solely on high-quality butter for that rich flavor and superior flaky texture. This keeps the ingredient list simple and the results consistently superior. The detailed instructions in the recipe card below will guide you step-by-step to biscuit perfection.
How Do You Make Biscuits Softer?
The primary factor for incredibly soft and tender biscuits in our recipe is the generous use of full-fat buttermilk. Buttermilk’s natural acidity tenderizes the gluten in the flour, resulting in a much softer and more delicate crumb structure. While some recipes suggest adding other ingredients like cream cheese, sour cream, or even yogurt for added softness, we find that high-quality, full-fat buttermilk, combined with proper dough handling (and crucially, avoiding over-mixing!), is more than sufficient to achieve an exceptional level of tenderness and moistness without altering the authentic, classic biscuit flavor profile. The fat content in the butter also plays a significant role in creating a rich and tender biscuit.
How to Store Buttermilk Biscuits?
To keep your freshly baked buttermilk biscuits at their very best, it’s essential to store them properly. Once completely cooled, place them in an airtight container. They can be kept at room temperature for up to 2 days, or if you need to extend their freshness, they will last well in the refrigerator for up to 3-4 days. Proper storage ensures they retain their wonderful moisture and delightful flavor, making them ready for your next meal or snack whenever the craving strikes.
How to Freeze Buttermilk Biscuits?
Buttermilk biscuits freeze wonderfully, making them an excellent candidate for meal prep or simply having a stash of homemade goodness ready to go. Once baked, allow the biscuits to cool completely. For best results, arrange them in a single layer on a baking sheet and flash freeze for about an hour until they are solid. This prevents them from sticking together. Then, transfer the frozen biscuits to a sealed freezer bag or an airtight container, ensuring as much air is removed as possible to prevent freezer burn. They can be stored in the freezer for up to 1 month. When you’re ready to enjoy them, simply follow the reheating instructions below.
How to Reheat Buttermilk Biscuits?
Reheating biscuits properly helps bring back their fresh-baked goodness and delicious texture. For the best results, reheat thawed or fresh biscuits in a preheated oven at 300°F (150°C) for about 5-10 minutes, or until they are warmed through to the center. If reheating from frozen, you might need an additional 5-10 minutes, depending on their size and your oven. Alternatively, they can be reheated in the microwave for approximately 30 seconds to 1 minute per biscuit (timing will vary based on your microwave’s power) until they are soft again, though this method may result in a slightly less crispy exterior compared to oven reheating.
Why Didn’t My Buttermilk Biscuits Rise?
A common frustration for home bakers is biscuits that don’t rise to their full, fluffy potential. If your homemade buttermilk biscuits turned out flat or dense, there are typically two main culprits:
- Over-mixing the Dough: As highlighted in our essential tips, over-mixing the dough is a leading cause of tough, flat biscuits. When you over-mix, you develop the gluten in the flour too much, making it overly elastic and preventing the biscuits from rising properly. The dough should be just combined, still slightly shaggy, to allow for a tender crumb and excellent lift.
- Twisting the Cutter: This is a subtle but significant mistake. When cutting out round pieces of dough, if you twist the biscuit cutter, you inadvertently seal the edges of the dough. This sealed edge acts as a barrier, preventing the layers from expanding and rising upwards in the oven, resulting in shorter, denser biscuits. Always press straight down with a sharp cutter and lift straight up cleanly.
Can Buttermilk Biscuits Be Prepared Ahead of Time?
Absolutely! Buttermilk biscuits are excellent for making ahead, offering great convenience for busy schedules. You can prepare the dough and cut out the biscuits, then either refrigerate them overnight (covered tightly to prevent drying out) or freeze them unbaked. If freezing unbaked, flash freeze the cut biscuits on a baking sheet until solid, then transfer them to a freezer bag or airtight container. When you’re ready to bake, you can bake them directly from the fridge (they might need an extra minute or two of baking time) or directly from frozen (add about 5-10 minutes to the baking time), often without needing to thaw. This makes them incredibly convenient for quick breakfasts, unexpected guests, or spontaneous gatherings, ensuring you always have fresh, warm biscuits at hand.
Serving Suggestions for Your Delicious Buttermilk Biscuits
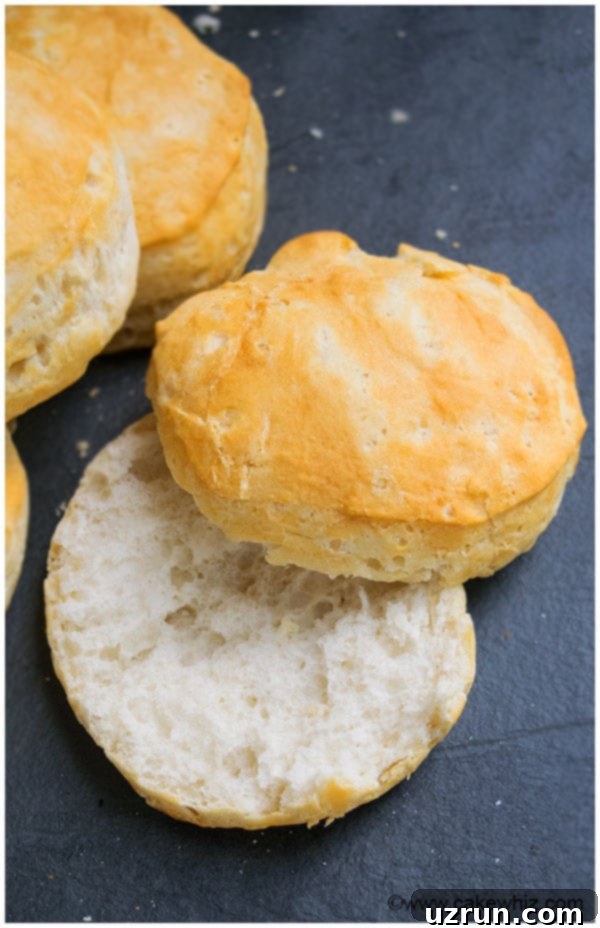
These versatile homemade buttermilk biscuits are truly a blank canvas for a myriad of culinary pairings. While they’re phenomenal simply slathered with butter, here are some ideas to elevate your biscuit experience and enjoy them to their fullest:
- Classic Breakfast & Brunch: Serve them warm with your favorite fruit jams, sweet preserves, or homemade apple butter. A generous drizzle of honey or maple syrup is also a delightfully sweet option. For a heartier breakfast or brunch spread, pair these flaky biscuits with fluffy scrambled eggs, crispy bacon, savory breakfast sausage, or even a frittata.
- Savory Delights: Buttermilk biscuits are the undisputed champion for biscuits and gravy, serving as the perfect vessel to soak up all that rich, creamy goodness. They also make an excellent and comforting accompaniment to hearty chili, warming soups, or slow-cooked stews, providing a perfect vehicle for scooping up every last delicious drop.
- As a Side Dish: Effortlessly replace traditional dinner rolls with these light and flaky biscuits for any meal. They are fantastic alongside classic comfort foods like fried chicken, tender pot roast, juicy barbecue, or even a simple grilled steak, adding a touch of homemade charm and Southern hospitality to your table.
More Delicious Side Dishes You’ll Love
If you enjoyed making these easy buttermilk biscuits, you might also like to try some of our other crowd-pleasing side dishes and savory treats:
- Jalapeno Garlic Mashed Potatoes
- Jalapeno Chicken Puffs
- Crispy Fried Green Beans
Recipe
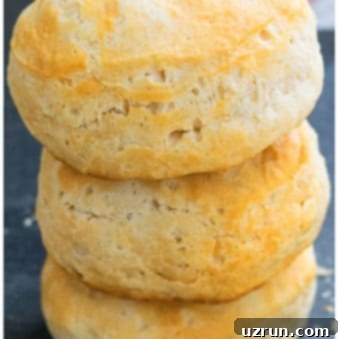
Easy Homemade Buttermilk Biscuits Recipe
Abeer Rizvi
Pin Recipe
Want to Save This Recipe?
Enter your email & I’ll send it to your inbox. Plus, get great new recipes from me every week!
By submitting this form, you consent to receive emails from CakeWhiz
Ingredients
- 2½ cups All-purpose flour Plus more for dusting
- 2 tablespoon Baking powder
- 1 teaspoon Sugar Granulated
- 1 teaspoon Salt
- ½ cup Butter Unsalted, Cut into cubes
- 2 tablespoon Butter Salted, Cut into cubes
- 1 cup Buttermilk
Instructions
-
In a mixing bowl, sift together flour, baking powder, sugar and salt.
-
Add this sifted mixture into a food processor.
-
Add butter and pulse until the mixture becomes crumbly.
-
In a large mixing bowl, add this crumbly flour mixture and buttermilk.
-
Mix with a woooden spoon until you have a sticky ball.
-
Sprinkle flour on your counter and turn the dough onto this floured surface.
-
Roll it out into a rough rectangle shape , about 1 inch thick.
-
Fold it over and roll it again. Repeat this 5 times.
-
Finally, roll it out into a rough rectangle shape again and use a circle cookie cutter to cut out round biscuits. Combine the leftover scraps together and roll them out to make more biscuits.
-
Place them on a cookie tray and bake at 425 degrees for about 15 minutes or until the biscuits are golden brown. Enjoy!
Notes
- Read all my tips above for best results and troubleshooting.
- If you don’t have a food processor, you can mix the cold butter and sifted flour mixture together with a fork or a pastry cutter until it resembles coarse crumbs. This method also works perfectly for achieving a flaky texture.
- These easy homemade buttermilk biscuits taste best when served fresh and warm from the oven. However, leftovers can be stored in a sealed airtight container at room temperature for up to 2 days, or in the fridge for up to 3-4 days. You can also freeze them for up to 1 month as detailed in the FAQ section.
Nutrition
An automated tool is used to calculate the nutritional information. As such, I cannot guarantee the accuracy of the nutritional information provided for any recipe on this site.
Until next time, happy baking, my lovelies!
