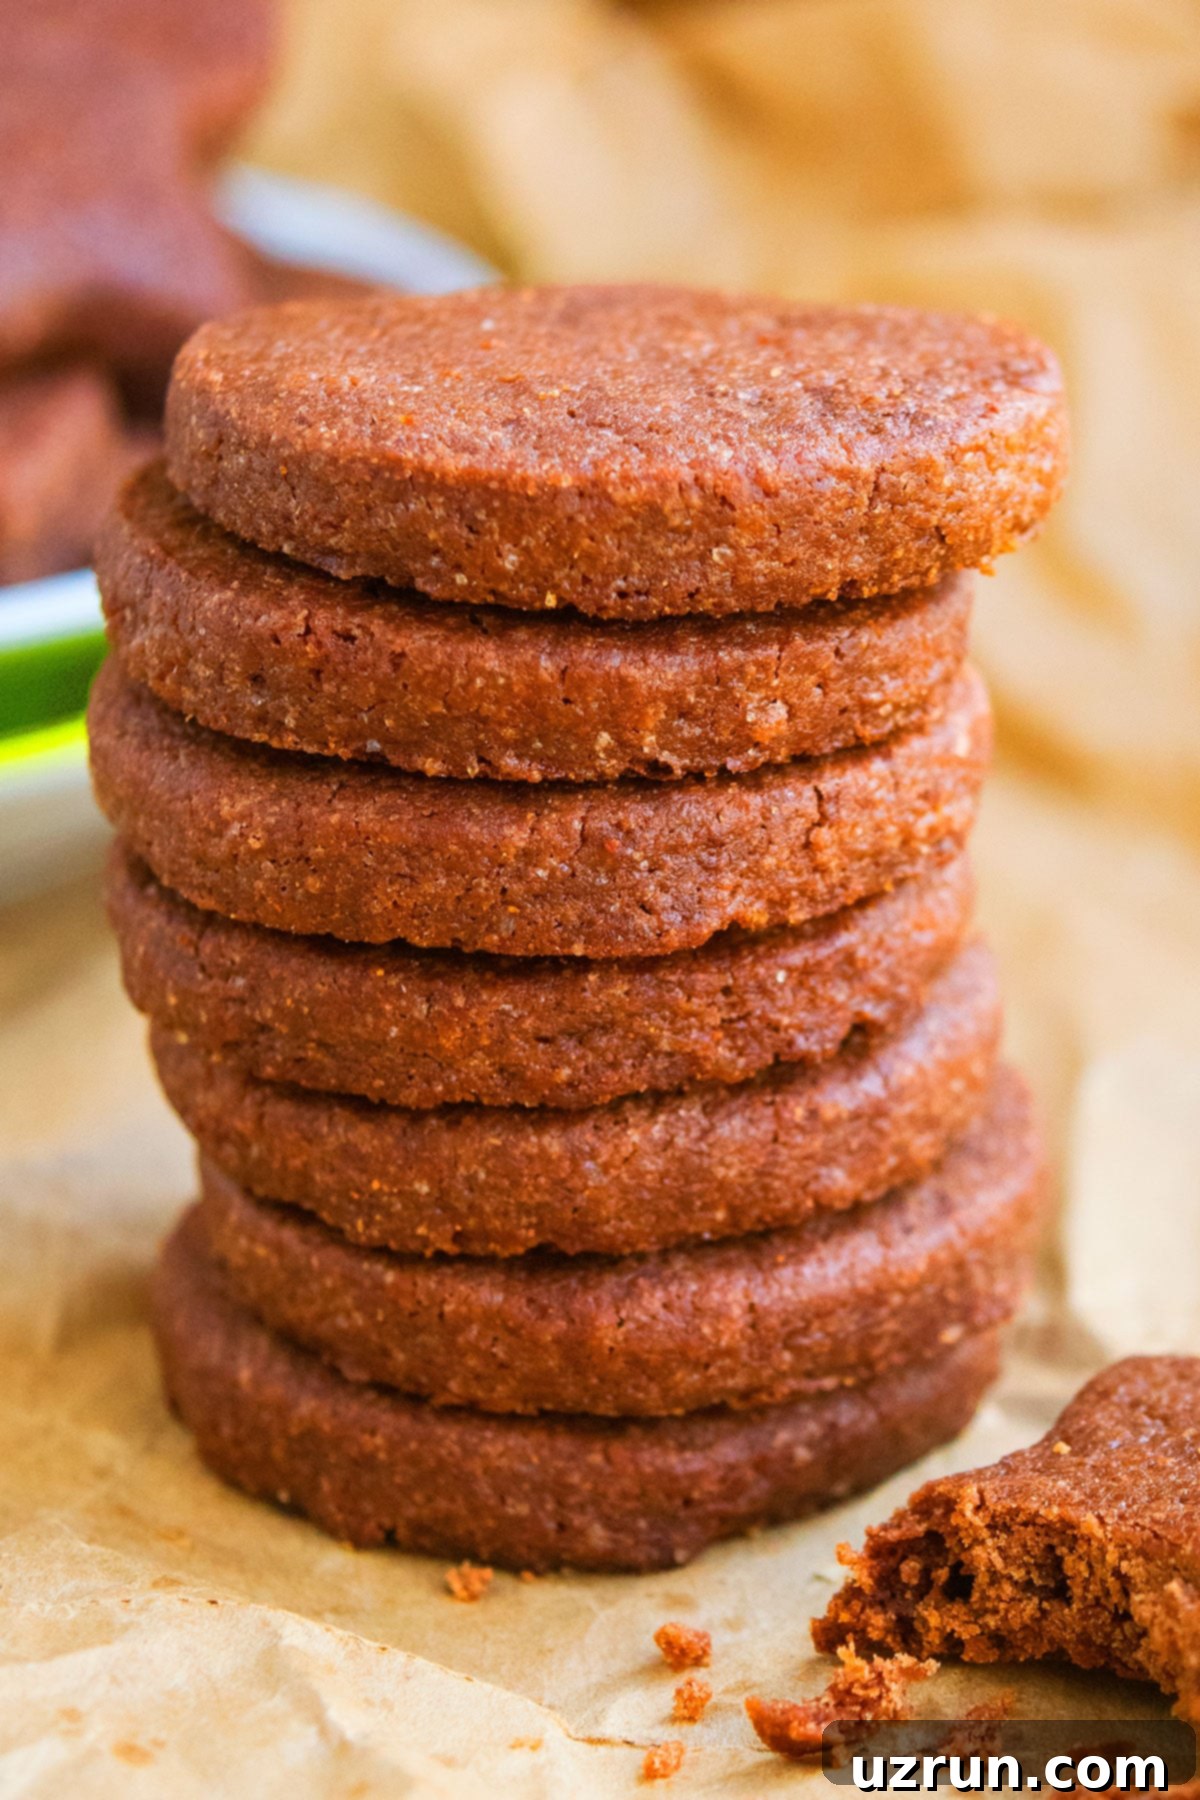
Easy Cut Out Chocolate Sugar Cookies: The Best Recipe for Decorating & Gifting
Prepare to fall in love with these incredibly easy cut out chocolate sugar cookies! This recipe delivers cookies that not only taste rich and deeply chocolatey but also beautifully hold their shape, making them absolutely perfect for intricate decorating. Whether you’re a seasoned baker or just starting out, these homemade treats are crafted with simple, accessible ingredients and yield a result that is wonderfully soft, yet firm enough to handle any icing or embellishment you desire. Get ready to bake a batch that will impress everyone, from casual snackers to holiday guests!
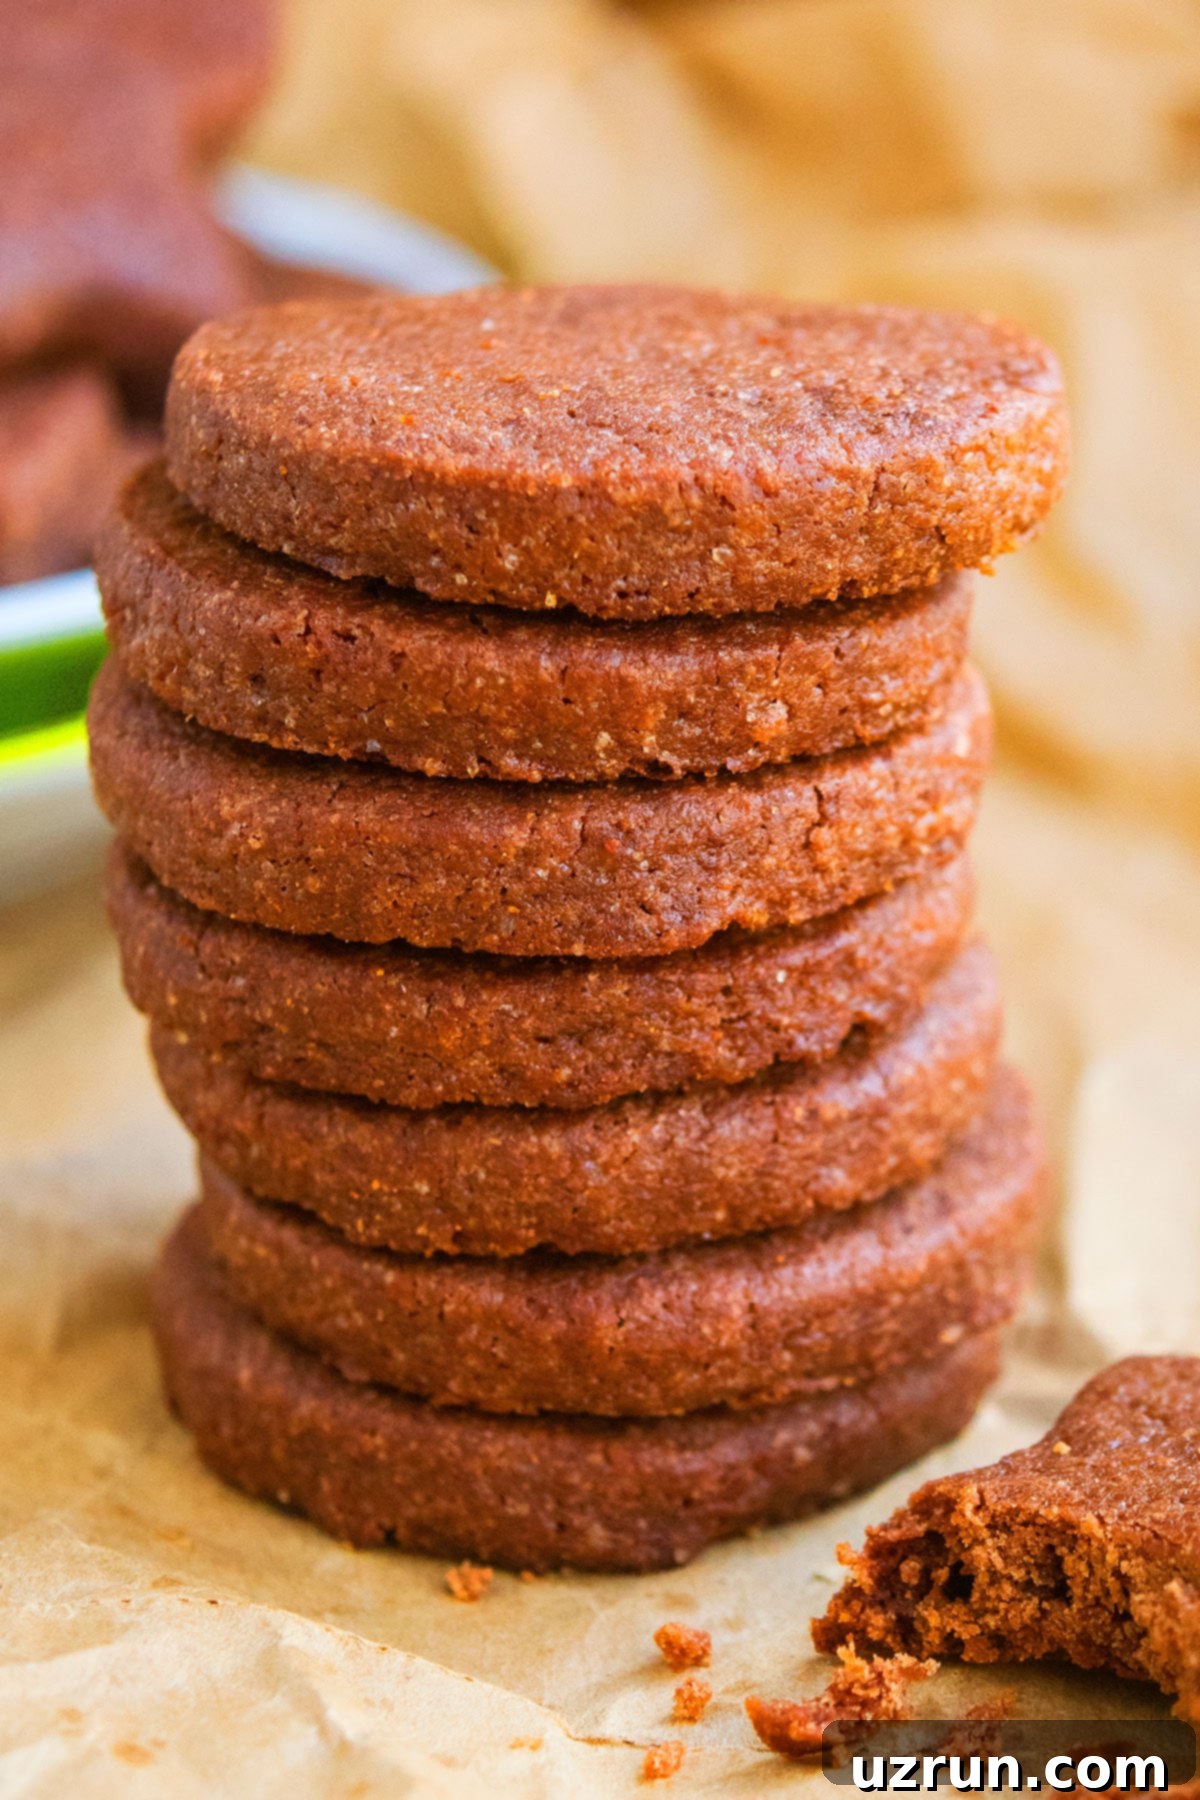
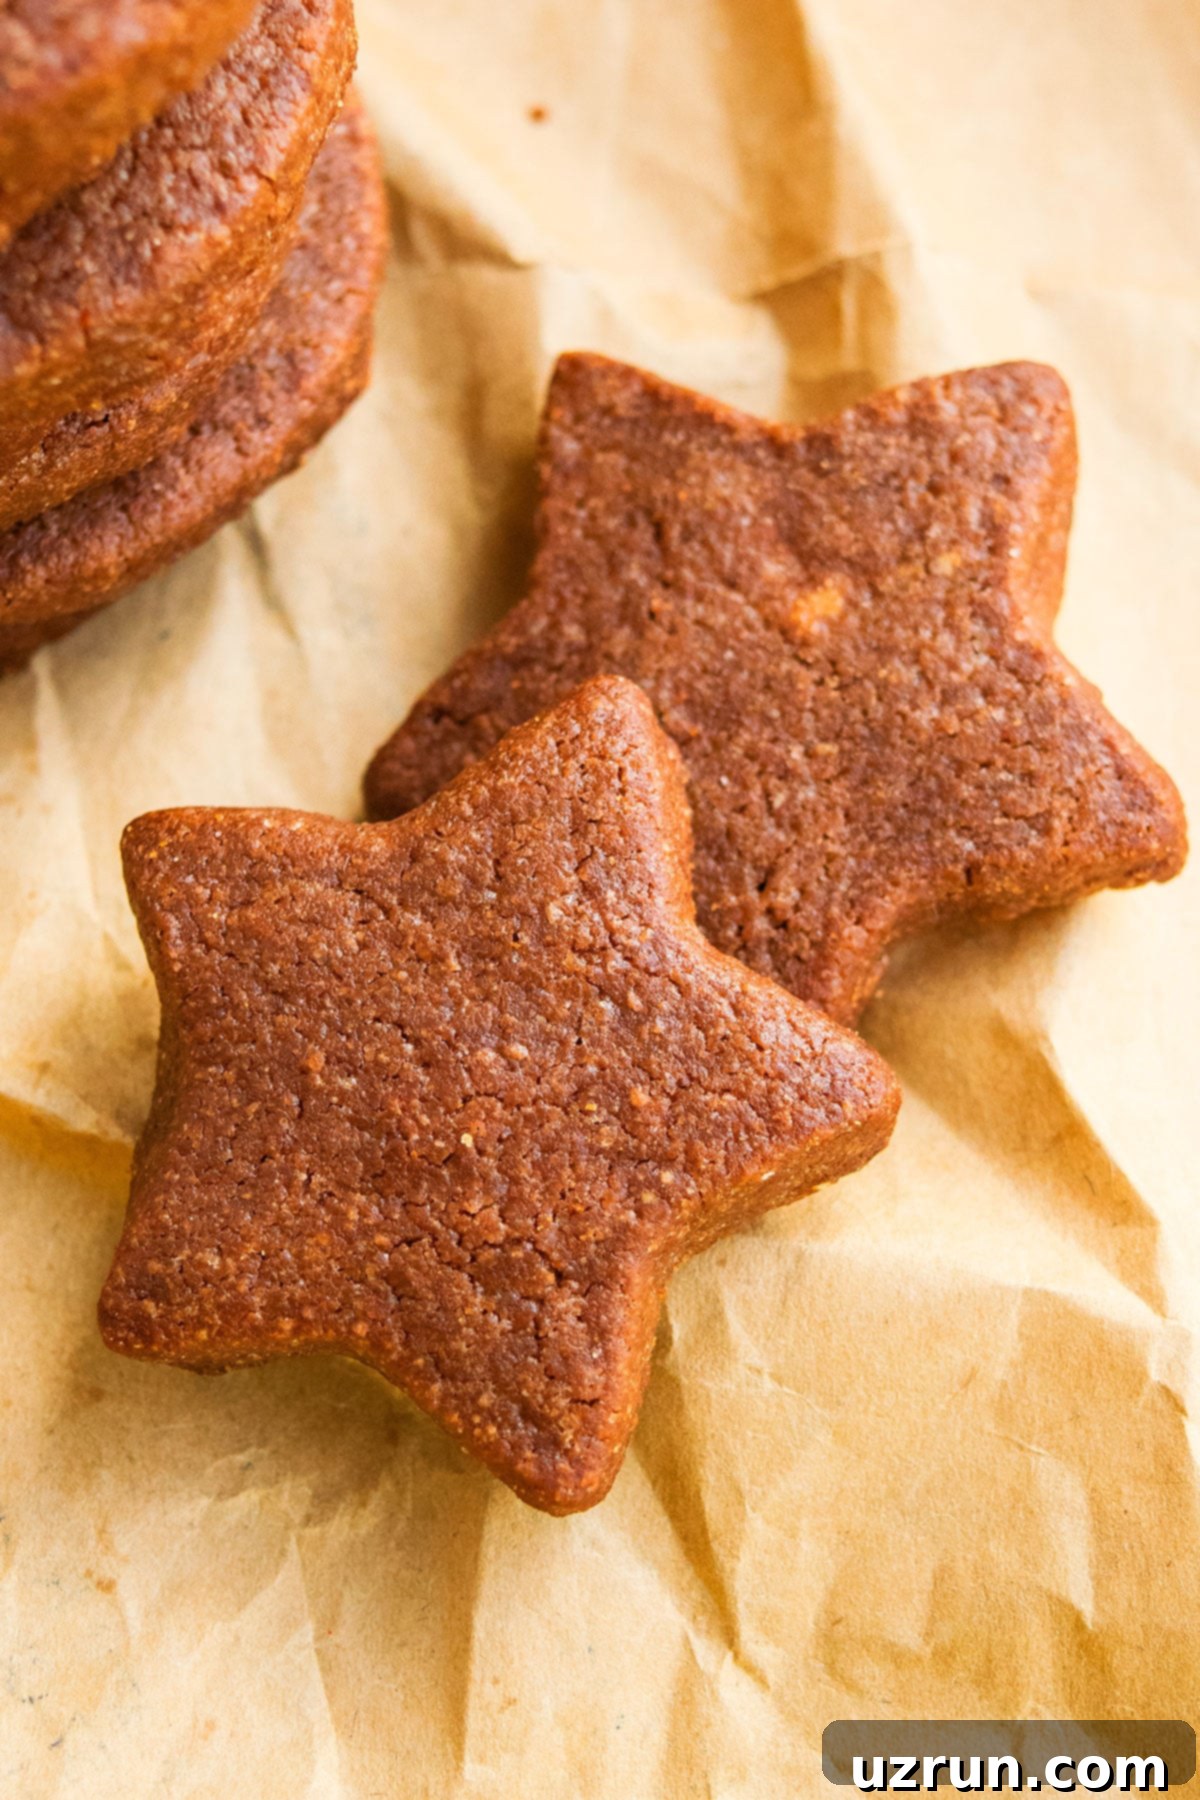
As a devoted chocoholic, these cocoa powder-infused delights stand out as one of my all-time favorite cookies. They masterfully combine the delightful texture of classic sugar cookies with an irresistibly rich, deep chocolate flavor that is truly heavenly. Their robust structure ensures that no matter what intricate shapes you choose to cut, from festive stars to intricate holiday designs, they will maintain their form beautifully throughout the baking process. This makes them an exceptional choice for any occasion, especially for crafting memorable Christmas cookies or personalized edible gifts.
These cookies are celebrated for their firm, slightly crispy edges and tender centers, making them not only delicious but also remarkably durable. They travel exceptionally well, making them ideal for packed lunches, homemade gifts, or even for shipping to loved ones. The sturdy base of these chocolate sugar cookies provides a perfect canvas for various decorations. You can effortlessly adorn them with vibrant Royal Icing, a glossy Glace Icing, or simply a luxurious drizzle of melted chocolate. In the past, many chocolate sugar cookie recipes I attempted fell short, often spreading or lacking flavor. However, after discovering and adapting a fantastic recipe from The Decorated Cookie, I can confidently say that these cut-out chocolate sugar cookies are truly exceptional and guaranteed to become a new favorite in your baking repertoire!
[feast_advanced_jump_to]
Why This Chocolate Sugar Cookie Recipe Is The Best
What sets this recipe apart from the rest? It’s all about consistency and flavor. We’ve fine-tuned the ingredient ratios to ensure the dough is pliable for cutting yet doesn’t spread excessively in the oven. The result is a perfect balance of a tender, melt-in-your-mouth cookie with a satisfying snap. The cocoa powder infusion isn’t just an afterthought; it’s a prominent, rich chocolate essence that complements any decoration. Plus, the minimal chilling time compared to some recipes means you can enjoy your beautiful cookies sooner!
Key Ingredients for Perfect Chocolate Sugar Cookies
Crafting these delectable chocolate sugar cookies requires just a few basic ingredients, but the quality and preparation of each truly make a difference. Understanding the role of each component will help you achieve the best possible results:
- Unsalted Butter: Using unsalted butter gives you complete control over the salt content in your cookies. Ensure it’s at room temperature (soft but not melted) for optimal creaming with sugar, which creates a light and airy base for your dough.
- Granulated Sugar: This recipe specifically calls for granulated sugar, which contributes to the crisp texture and helps the cookies maintain their shape. Unlike brown sugar, which adds moisture and chewiness, granulated sugar ensures a firmer cookie, ideal for decorating.
- Egg: A single large egg, brought to room temperature, acts as a binder, helping to hold the dough together and providing structure. Room temperature eggs emulsify more easily with the butter and sugar, resulting in a smoother, more uniform dough.
- Vanilla Extract: High-quality vanilla extract is crucial. It doesn’t just add a warm, comforting aroma; it enhances and deepens the chocolate flavor, adding a layer of complexity that elevates the entire cookie.
- All-Purpose Flour: This forms the primary structure of your cookies. Measuring flour correctly is essential – too much can make your cookies dry and crumbly, while too little can lead to spreading. We recommend spooning flour into your measuring cup and leveling it off.
- Cocoa Powder: The star of the show for that rich chocolatey flavor! For the best results, use a good quality unsweetened cocoa powder. Dutch-processed cocoa powder will give a darker color and a smoother, less acidic chocolate flavor, while natural cocoa powder will result in a lighter color and a slightly fruitier, more intense chocolate taste. Choose according to your preference!
Creative Variations to Elevate Your Chocolate Cut-Out Cookies
While these chocolate sugar cookies are fantastic on their own, their versatility allows for endless creative variations. Don’t be afraid to experiment and personalize your batch!
- Add Chocolate Chips: Introduce another layer of chocolate by stirring in white, milk, or semi-sweet mini chocolate chips into the dough. The smaller size is key here, as regular-sized chocolate chips can make cutting out shapes with cookie cutters a bit challenging. These melt into delicious pockets of gooey chocolate when baked.
- Dip Them: Transform your cookies into elegant treats by dipping them in melted chocolate. After baking and cooling, dip half or fully coat them in dark, milk, or white chocolate, then immediately sprinkle with festive sprinkles, chopped nuts, or even a dusting of sea salt for a sophisticated touch.
- Make Sandwich Cookies: Create irresistible cookie sandwiches by filling two cookies with your favorite creamy centers. A classic Buttercream Frosting Recipe or a tangy Best Cream Cheese Frosting would be delightful. For a refreshing summer treat, even a scoop of vanilla ice cream makes a fantastic filling!
- Use Other Extracts: While vanilla is a timeless classic, other extracts can dramatically change the flavor profile. Try almond extract for a marzipan-like nuance, or a hint of peppermint extract for decadent chocolate peppermint cookies, especially perfect for the holiday season. Orange extract can also create a wonderful chocolate-orange pairing.
- Roll into a Log for Slice-and-Bake: If you’re short on time or prefer not to use cookie cutters, this dough is very adaptable. Simply roll the chilled dough into a log, wrap it tightly, then slice off uniform rounds, place them on a baking sheet, and bake. This makes for super easy slice-and-bake chocolate cookies that are just as delicious.
- Decorate Them Extravagantly: Unleash your inner artist! These cookies are ideal for elaborate decorating with Royal Icing. Use different colors and various piping tips to create intricate designs, holiday themes, or personalized messages. Their firm structure ensures they can handle multiple layers of icing without crumbling.
How to Make Easy Cut-Out Chocolate Sugar Cookies (Step-by-Step)
Creating these delightful chocolate sugar cookies is a straightforward process. Follow these simple steps for perfectly formed and deliciously rich results every time:
- Cream Together Butter and Sugar: In a large mixing bowl, beat the room temperature unsalted butter and granulated sugar together until the mixture is light, fluffy, and pale in color. This process incorporates air into the butter, contributing to the cookies’ final texture.
- Mix in Egg and Vanilla Extract: Add the room temperature egg and vanilla extract to the creamed butter and sugar. Continue mixing until everything is well combined and smooth. Ensure there are no streaks of egg visible.
- Whisk Dry Ingredients Separately: In a separate bowl, whisk together the all-purpose flour and cocoa powder. This step is crucial for distributing the cocoa powder evenly throughout the dough, preventing pockets of unmixed ingredients and ensuring a consistent chocolate flavor.
- Combine Wet and Dry Mixtures: Gradually add the whisked dry mixture into the wet ingredients. Mix on low speed until just combined. Be careful not to overmix, as this can develop the gluten in the flour, leading to tough cookies. Sometimes, a gentle hand mix at the end ensures everything comes together without overworking.
- Chill the Dough: This is a critical step! Form the dough into a disk, wrap it tightly in plastic wrap, and refrigerate for at least 2 hours. Chilling helps solidify the butter, which prevents the cookies from spreading too much during baking and makes the dough much easier to handle and roll out. For best results, overnight chilling is highly recommended.
- Roll Out Dough and Cut Shapes: Once thoroughly chilled, remove the dough from the fridge. If it’s too hard, let it sit at room temperature for about 15-30 minutes until it’s pliable enough to roll. For ease and to prevent sticking, roll the dough between two sheets of wax paper or parchment paper to your desired thickness (about 1/4 inch is ideal). Use your favorite cookie cutters to create various shapes.
- Bake Until Done: Carefully transfer the cut-out shapes to a baking sheet lined with parchment paper. Bake in a preheated oven until the edges are set and the cookies are firm. Baking times will vary based on cookie size, but generally 8-12 minutes is sufficient.
Essential Tips and Techniques for Perfect Cut-Out Chocolate Sugar Cookies
Achieving bakery-quality cut-out cookies requires a few simple, yet crucial, techniques. Master these to ensure your chocolate sugar cookies are always a success:
- Ensure Egg and Butter Are at Room Temperature: This cannot be stressed enough! Room temperature ingredients emulsify better, creating a smooth, homogenous dough. Cold butter will result in a lumpy mixture, and cold eggs won’t incorporate as well, leading to a less uniform texture. Take them out of the fridge at least 30-60 minutes before you start baking.
- No Milk or Water in This Recipe: Resist the temptation to add any liquid if your dough seems a bit dry initially. This recipe is designed to produce a firm, non-sticky dough. Adding milk or water will alter the consistency, making the dough overly sticky and difficult to roll and cut, and can cause the cookies to spread.
- You Must Chill the Dough: Chilling is paramount for cut-out cookies. It allows the butter to firm up, preventing the cookies from spreading excessively in the oven and helping them maintain their intricate shapes. It also makes the dough much easier to handle, preventing it from sticking to your rolling pin or work surface. Don’t skip this step!
- Roll Dough Between Two Sheets of Wax Paper or Parchment Paper: This is a game-changer for all cut-out cookie recipes. It completely eliminates the need for additional flour dusting, which can toughen your cookies by adding more dry ingredients. It also prevents the dough from sticking to your rolling pin and countertop, making the rolling process cleaner and much more efficient.
- Impatient? Try Drop or Crinkle Cookies: If you find yourself in a rush and can’t wait for the dough to chill, you can still enjoy these chocolatey flavors! Scoop out tablespoons of the unchilled dough, shape them into balls, and for a fun twist, roll them in granulated sugar or powdered sugar before baking. These will bake up as delicious chocolate drop sugar cookies or chocolate crinkle cookies, though they won’t hold cut-out shapes.
- Don’t Overwork the Dough: Mix until just combined. Overmixing develops the gluten in the flour, resulting in tough, less tender cookies.
- Even Thickness is Key: When rolling out the dough, aim for a consistent thickness, ideally about 1/4 inch (0.6 cm). This ensures all cookies bake evenly. Thinner cookies might burn, while thicker ones might remain underbaked in the center.
- Cool Completely Before Decorating: Patience is a virtue, especially when it comes to decorating. Allow your cookies to cool completely on a wire rack before applying any icing. Hot or even warm cookies will cause frosting to melt and run.
Recipe FAQs for Chocolate Sugar Cookies
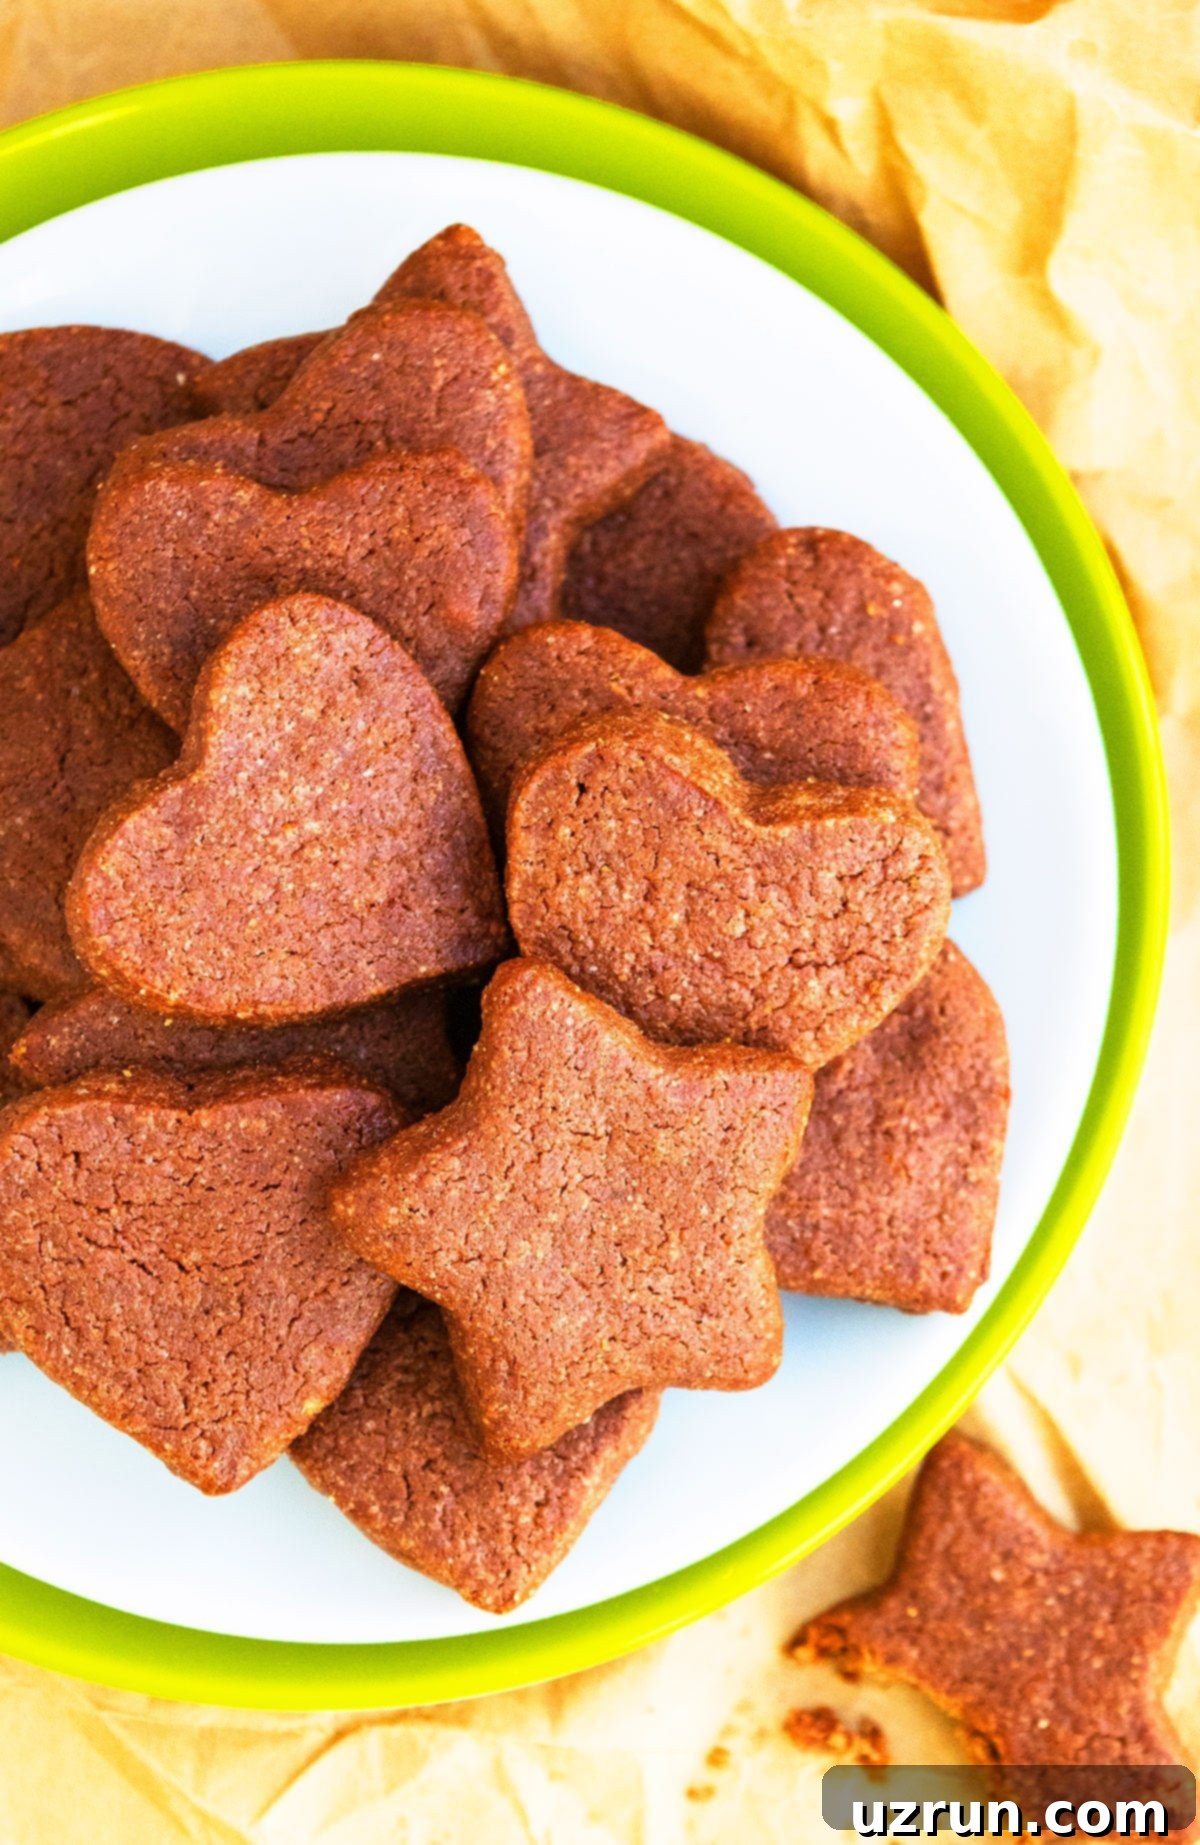
For cut-out sugar cookies, especially those intended for decorating, the ideal texture is firm and crisp on the outside, yet still delightfully soft and buttery on the inside. This balance prevents them from being overly chewy, which can make intricate decorating difficult, and ensures they hold their shape beautifully. They should have a satisfying snap but yield easily when bitten.
Yes, chilling the dough is a non-negotiable step for this recipe. It’s crucial for several reasons: it makes the dough much easier to handle, preventing it from becoming too sticky for rolling and cutting out shapes. More importantly, chilling solidifies the butter, which significantly reduces the spread of the cookies while baking, helping them maintain their crisp edges and intricate designs. Additionally, it allows the flavors, particularly the chocolate, to deepen and develop, resulting in a richer tasting cookie.
There are a few common reasons for sticky cookie dough. Firstly, ensure you’ve measured your ingredients precisely. Baking is a science, and “eyeballing it” can lead to imbalances, especially with flour and fat. Always use proper measuring cups and level off your flour. Secondly, not chilling the dough long enough (or at all) will result in sticky, hard-to-handle dough, as the butter hasn’t had a chance to firm up. Make sure you chill the dough for at least the recommended time. Lastly, ensure your butter and egg were at room temperature; if they were too warm, the dough might be softer than intended.
While this recipe uses all-purpose flour, you can often substitute it with a 1:1 gluten-free baking flour blend that contains xanthan gum. However, results may vary slightly in texture and how well the cookies hold their shape. It’s recommended to chill the gluten-free dough for a longer period to ensure optimal structure.
For a rich, deep chocolate flavor and a darker cookie, Dutch-processed cocoa powder is generally recommended as it has a lower acidity. Natural unsweetened cocoa powder can also be used, which will yield a slightly lighter colored cookie with a more intense, sometimes fruitier, chocolate flavor. The most important thing is to use a high-quality cocoa powder for the best taste.
Storage Solutions for Freshness and Convenience
Proper storage is key to enjoying your delicious chocolate sugar cookies for as long as possible. Here’s how to keep both baked cookies and raw dough fresh:
- Make Ahead: This recipe is fantastic for preparing in advance. You can bake these cookies a few days ahead of when you plan to serve or decorate them. Store them in an airtight container at room temperature for up to 2 days, or in the refrigerator for up to 1 week. For longer storage, the baked cookies can be frozen for up to 1 month. Thaw in the refrigerator before bringing to room temperature.
- Room Temperature: Once baked and completely cooled, these cookies can be kept in an airtight container on your kitchen counter for approximately 2 days. This is ideal if you plan to enjoy them quickly or are decorating them shortly after baking.
- Refrigerate: To extend their freshness, store the baked cookies in an airtight container in the refrigerator for up to 1 week. This is especially useful if your cookies are decorated with frosting that requires refrigeration.
- Freeze Dough: For ultimate convenience, the raw cookie dough freezes exceptionally well. Place the dough in a tightly sealed freezer bag or an airtight container and freeze for up to 1 month. When ready to bake, thaw the dough in the refrigerator overnight, then proceed with rolling, cutting, and baking as usual.
- Freeze Baked Cookies: You can also freeze already baked (and undecorated) cookies. Arrange them in a single layer on a baking sheet to freeze solid, then transfer them to an airtight container or freezer bag, separating layers with parchment paper. They will keep for up to a month. Thaw them in the fridge overnight or at room temperature for a few hours before serving or decorating.
More Easy Cookie Recipes You’ll Love
If you enjoyed baking these cut-out chocolate sugar cookies, you’ll surely love exploring these other simple and delicious cookie recipes. Perfect for satisfying any sweet craving or for your next baking adventure!
- Chocolate Cake Mix Cookies (Many Add-ins): Super easy and customizable cookies starting with a cake mix!
- Chocolate Thumbprint Cookies: A classic cookie with a delightful chocolatey twist, perfect for filling with jams or more chocolate.
- Chocolate Rolo Cookies (Stuffed): Indulgent cookies with a gooey caramel Rolo surprise inside.
- Easy Cereal Cookies (With Froot Loops): A fun and colorful recipe, perfect for kids and adults alike.
- Cake mix Chocolate m&m Cookies: Another fantastic cake mix cookie recipe, packed with colorful M&Ms.
Recipe
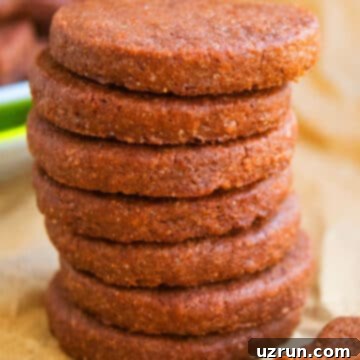
Cut Out Chocolate Sugar Cookies
Abeer Rizvi
Pin Recipe
10 minutes
10 minutes
2 hours
2 hours 20 minutes
Cookies, Dessert
American
24 cookies
146 kcal
Want to Save This Recipe?
Enter your email & I’ll send it to your inbox. Plus, get great new recipes from me every week!
By submitting this form, you consent to receive emails from CakeWhiz
Ingredients
- 1 cup Butter Unsalted, Room temperature is crucial for proper creaming.
- 1 cup Granulated sugar Contributes to the crisp texture and helps maintain shape.
- 1 Egg Large, at room temperature for smooth incorporation.
- 2 teaspoons Vanilla extract Enhances the chocolate flavor.
- 2 cups All-purpose flour Measured correctly to prevent dry or overly sticky dough.
- ½ cup Cocoa powder Unsweetened, for rich chocolate flavor. Dutch-processed is great for a darker color.
Instructions
-
In a large mixing bowl, using an electric mixer, cream together the room temperature unsalted butter and granulated sugar until the mixture is light, fluffy, and visibly pale. This typically takes 2-3 minutes on medium-high speed.
-
Add the large room temperature egg and pure vanilla extract. Mix on low speed until they are just incorporated and the mixture appears smooth, scraping down the sides of the bowl as needed.
-
In a separate medium-sized bowl, whisk together the all-purpose flour and unsweetened cocoa powder until there are no lumps and the ingredients are fully combined. This ensures even distribution of flavor and color in your cookies.
-
Gradually add this dry mixture into the wet butter-sugar mixture. Mix on the lowest speed until just combined and a cohesive dough forms. Be careful not to overmix the dough, as this can lead to tough cookies. Sometimes, finishing the mix by hand ensures everything comes together without overworking.
-
Form the dough into a flat disk, wrap it tightly in plastic wrap, and refrigerate for at least 2 hours. For optimal results and easiest handling, I often refrigerate it overnight. If the dough is rock-solid after chilling, allow it to sit at room temperature for 20-30 minutes until it’s pliable enough to roll out without cracking.
-
Once chilled, roll out the dough between two sheets of wax paper or parchment paper to an even thickness of about 1/4 inch (0.6 cm). Use your desired cookie cutters to create various shapes. Collect scraps, gently reform, chill briefly if needed, and re-roll once or twice.
-
Carefully transfer the cut-out cookies onto a cookie tray lined with parchment paper, leaving about 1 inch between each cookie.
-
Bake in a preheated oven at 375°F (190°C). Bake for 8 to 10 minutes for smaller cookies, or 10 to 12 minutes for larger cookies. Cookies are done when the edges are firm and set. They may still feel slightly soft in the center but will firm up as they cool.
-
Allow the cookies to cool on the baking sheet for 5 minutes before carefully transferring them to a wire rack to cool completely to room temperature. This step is essential for them to firm up properly. Once fully cooled, they are ready to be decorated or enjoyed!
Notes
- Ingredient Temperature: For best results and a smooth dough, always ensure your butter and egg are at room temperature before you begin mixing.
- Cocoa Quality: Use a high-quality unsweetened cocoa powder to achieve the richest, most satisfying chocolate flavor in your cookies.
- Dough Chilling is Essential: Refrigerating the dough is crucial not only to make it easier to roll and handle but also to prevent the cookies from spreading excessively during baking, ensuring they retain their cut-out shapes.
- Unsalted Butter: Opt for unsalted butter to have full control over the salt content, preventing your cookies from becoming too salty.
- Parchment Paper: Always line your baking tray with parchment paper. This prevents the cookies from sticking to the pan and ensures easy removal without breakage.
- Read Tips & Variations: For additional advice on baking and creative serving ideas, refer to the “Tips and Techniques” and “Variations” sections above.
- Storage for Baked Cookies: Store fully cooled baked cookies in a sealed airtight container at room temperature for up to 2 days, or in the fridge for up to 1 week.
- Freezing Dough: The raw cookie dough can be frozen in a tightly sealed freezer bag or container for up to 1 month. Thaw in the refrigerator before rolling and baking.
- Freezing Baked Cookies: Baked and undecorated cookies can also be frozen for up to a month in an airtight container. Thaw in the fridge or at room temperature.
Nutrition
Calories:
146
kcal
Carbohydrates:
17
g
Protein:
1
g
Fat:
8
g
Saturated Fat:
5
g
Cholesterol:
27
mg
Sodium:
17
mg
Potassium:
43
mg
Sugar:
8
g
Vitamin A:
245
IU
Calcium:
7
mg
Iron:
0.8
mg
An automated tool is used to calculate the nutritional information. As such, I cannot guarantee the accuracy of the nutritional information provided for any recipe on this site.
Tried this recipe?
Leave a comment below or rate and tag @cakewhiz on social
